Last updated on
Learn how to efficiently plumb a double kitchen sink with a disposal and dishwasher for a streamlined and functional kitchen setup.
Key takeaways:
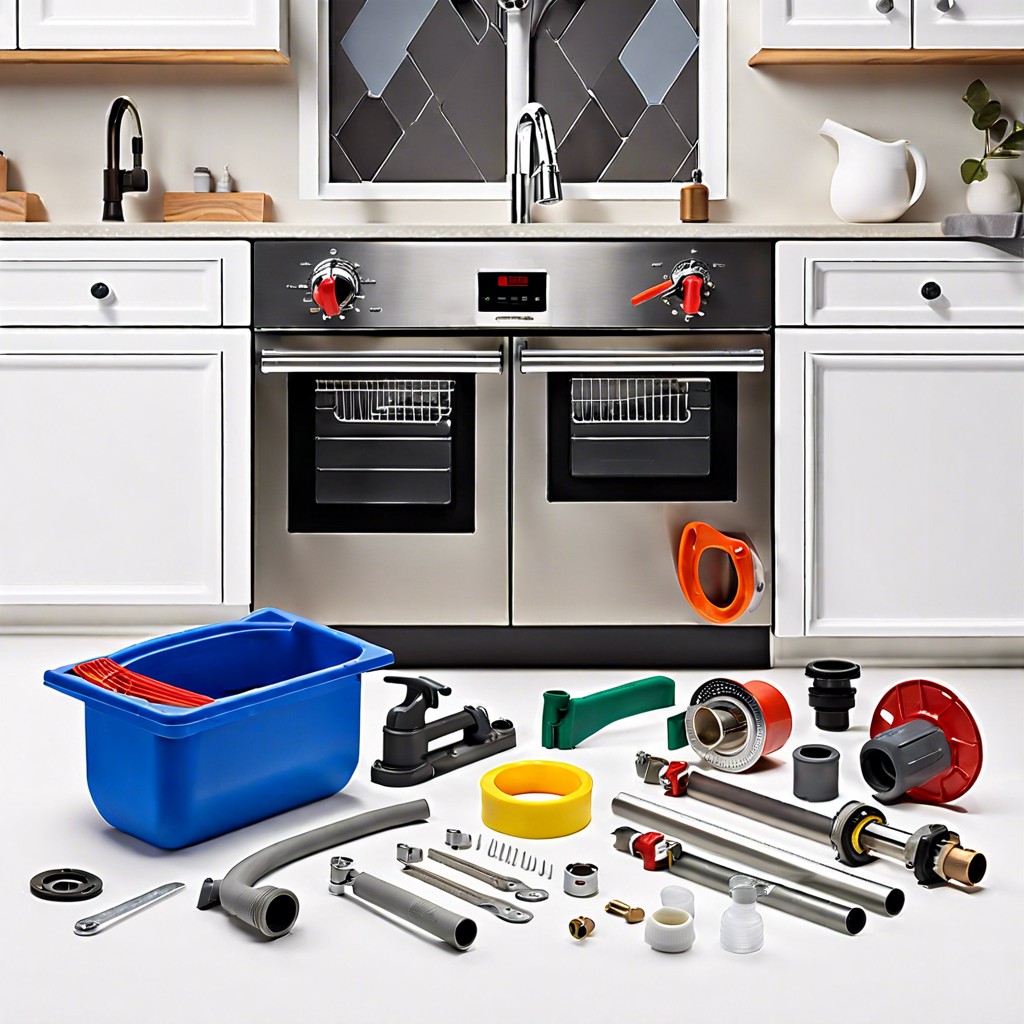
- Gather necessary tools and materials before starting the plumbing process.
- Shut off the water supply to prevent any accidents or leaks.
- Carefully install new sink drain lines with disposal and dishwasher connections.
- Test for leaks and secure all connections to prevent water damage.
- Consider seeking professional plumbing services for complex issues and to ensure compliance with building codes.
What's Inside
Gather Tools and Materials
Before diving into the plumbing process, ensuring you have all necessary tools and materials on-hand is crucial. You’ll need adjustable wrenches and channel-lock pliers for gripping and turning pipes. A pipe wrench, though heavier, may come in handy for stubborn fittings.
A hacksaw or tubing cutter will be your go-to for cutting pipes accurately. Keep Teflon tape or pipe joint compound nearby to seal threaded connections, preventing leaks.
For attaching pipes and fittings, PVC primer and cement will be essential if you’re working with PVC pipes. However, for metal pipes, a set of pipe fittings and coupling is required.
Don’t forget the key components: sink strainer, garbage disposal unit, dishwasher tailpiece, and continuous waste pipe. These are vital for the sink’s function.
Lastly, safety gear is significant. Gloves will protect your hands from sharp edges, while goggles safeguard your eyes from debris during cutting or sealing.
Having these items at your disposal simplifies the process, reducing trips to the store mid-installation and ensuring a smoother workflow.
Shut Off Water Supply
Before jumping into the plumbing work, it’s crucial to prevent water from gushing where it isn’t supposed to. First, locate the two valves under the sink—these are your water line shut-off valves. Turn them clockwise until they’re snug to cut off both hot and cold water supply. If the valves are stiff or won’t budge, a spray of penetrating oil can work wonders. Give it a minute, then try turning again.
What if there aren’t individual shut-off valves? Not to worry. Your next stop is the main water valve for the entire house. You might find it in the basement, utility closet, or on an exterior wall. Turning this valve off will halt water flow throughout your home, so inform the household to avoid surprises.
With the water off, open the faucet fully to release any residual pressure and water in the pipes. This helps drain the remaining water and prevents accidental spilling when you start disassembling the plumbing. Now, with the water successfully contained, you’re set to tackle the piping unimpeded by unexpected showers.
Install New Sink Drain Lines With Disposal and Dishwasher Connections
Mastering the installation of new sink drain lines requires attention to detail, since proper drain function is critical to a kitchen’s efficiency.
Firstly, position the garbage disposal unit under the sink, aligning it with the drain outlet of the sink basin that will be used for disposing of food waste. Ensure that the unit is set at a height that allows for a downward slope towards the main drain of the kitchen sink plumbing.
Next, install the sink strainer into the other basin. A watertight seal is paramount, so use plumber’s putty under the flange before tightening the locknut from below. This will secure the strainer in place and prevent potential leaks.
Following the strainer installation, connect the tailpiece to the strainer and ensure a snug fit. This is the vertical pipe that will carry water from the sink to the trap below.
The dishwasher connection involves attaching the dishwasher discharge hose to the disposal unit. There is typically a knock-out plug inside the inlet on the disposal—don’t forget to remove it before attaching the hose with a hose clamp.
After the dishwasher hose connection, continue with the P-trap assembly. A P-trap is crucial for preventing sewer gases from entering the home and should be connected between the sink tailpiece and the disposal unit. It is also often connected to a horizontal extension pipe that leads to the main drainpipe.
Lastly, connect the horizontal extension pipe and the disposal unit to the main drain ensuring that you maintain a consistent downward slope to promote proper drain flow.
Remember, each joint, from the disposal to the P-trap to the main drain, should be secured with appropriate fittings such as slip nuts and washers. Manual tightening should be sufficient; over-tightening with tools could damage the connections.
This sequence ensures that wastewater and food scraps can be efficiently transported away from the sink, and that the dishwasher can dispose of its water without issue. If the process seems complex, a diagram or manufacturer’s manual can serve as an invaluable visual guide.
Test for Leaks and Secure Connections
Upon completing the installation, it’s crucial to ensure the integrity of all connections to avoid potential water damage. To test for leaks, run water through the system, inspecting each joint carefully for drips. Begin by filling the sink and allowing it to drain while watching the waste lines, especially around the disposal and dishwasher hose connections. If visible, even small trickles should be addressed immediately.
Tighten any loose fittings using wrenches or channel locks. For persistent leaks, disassembling and applying plumber’s tape or replacing worn gaskets might be necessary. Repeat the process, running water, and observing until you’re confident that there are no leaks.
Always ensure that clamps are secure and that the disposal unit is firmly attached to avoid vibrations loosening connections over time. Regular checks, especially after disposal usage, can pre-empt issues. Be mindful not to overtighten, as this can damage fittings, leading to further leakage.
If all connections are dry after thorough testing, you’ve successfully secured your sink system against water damage. With everything snug and leak-free, you can trust in the reliability of your handiwork.
When to Seek Professional Plumbing Services
Venturing into plumbing projects can be empowering, but some scenarios signal a need for the skilled hands of a professional plumber. If you’re dealing with persistent leaks despite multiple reparations, it could indicate a deeper issue. A professional is equipped to troubleshoot and repair complex problems that might be missed at first glance.
Complex local building codes also need to be considered. They can be intricate, and noncompliance risks legal troubles and potential damage. A licensed plumber is versed in these codes, ensuring the job is up to standard.
Moreover, there may be a warranty concern. DIY fixes could inadvertently void warranties on your sink, disposal, dishwasher, or even your home insurance policy. Professional services often offer guarantees on their work, providing peace of mind alongside their expertise.
In addition, when extensive work is required, such as modifying plumbing lines or installing new pipes, the risk of causing damage escalates. Professionals come with the right tools and methods to avoid costly mistakes.
It’s about acknowledging limits and valuing your time, too. A seemingly quick fix can turn into a lengthy ordeal. A professional can complete the job efficiently, letting you focus on other household endeavors that demand your attention.


