Last updated on
Discover the transformative power of revamping your kitchen table with our simple, step-by-step guide to breathe new life into your dining space.
Are you tired of looking at the same old kitchen table day in and day out? Maybe it’s time for a change! Redoing your kitchen table can be a fun and rewarding project that breathes new life into your space. With a little bit of creativity and some elbow grease, you can transform your table into a stylish centerpiece that will impress all your guests.
In this article, we’ll walk you through the steps to redoing your kitchen table, from choosing the right materials to adding those finishing touches that will make it truly unique. So grab your paintbrush and let’s get started!
Key takeaways:
- Assess the condition of your kitchen table before beginning.
- Choose a design style that complements your existing space.
- Select a color palette that complements your kitchen decor.
- Consider the time and budget required for the project.
- Choose the right supplies and follow proper preparation techniques.
What's Inside
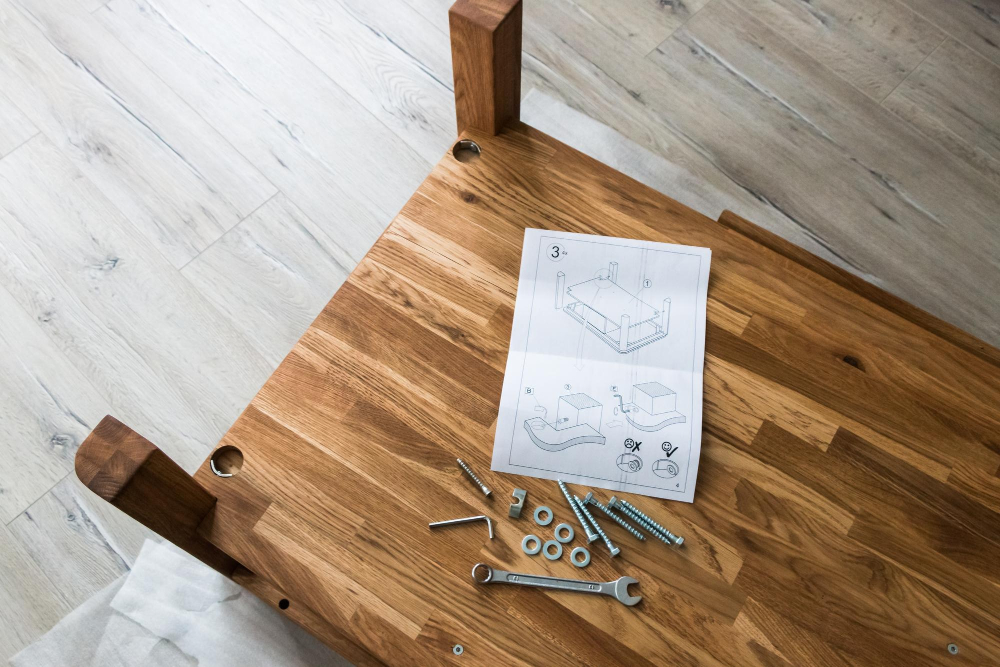
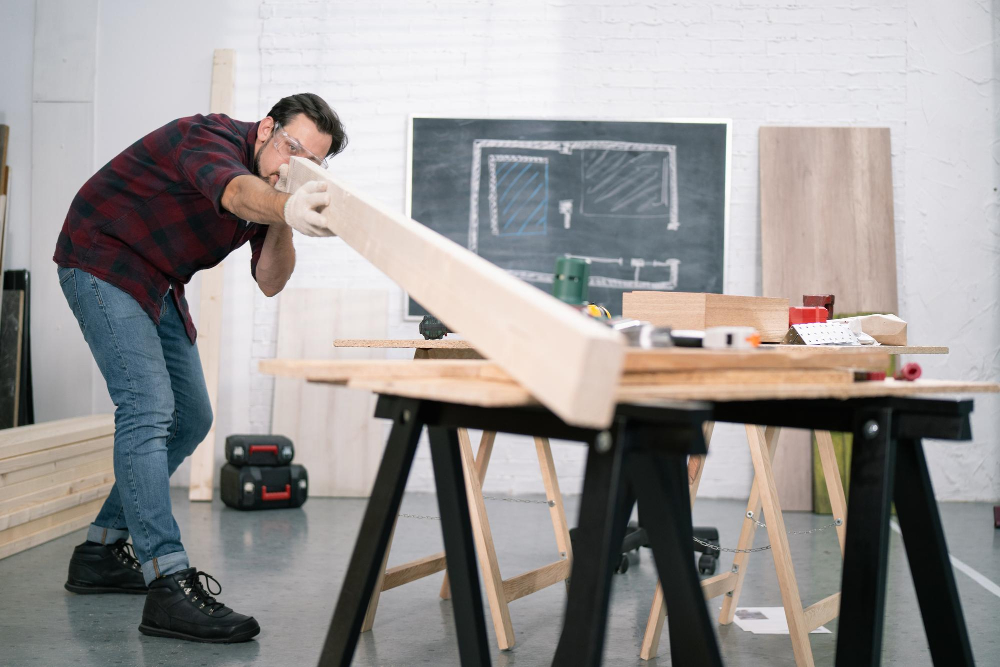
Assessing Your Table
The first step in redoing your kitchen table is to assess its current condition. Take a good look at the table and determine what needs to be fixed or updated.
Is the surface scratched, stained, or damaged? Are there any loose legs or wobbly joints that need attention? Assessing your table will help you decide on the best course of action for revamping it.
If you’re dealing with minor scratches and dings, a simple sanding and refinishing may do the trick. However, if your table has more significant damage like deep gouges or broken parts, it may require some repairs before moving forward with any cosmetic updates.
Assessing your budget is also an important consideration when deciding how much work to put into redoing your kitchen table. If you have limited funds available for this project but still want to make some changes, consider focusing on smaller updates like painting just the legs of the table instead of refinishing its entire surface.
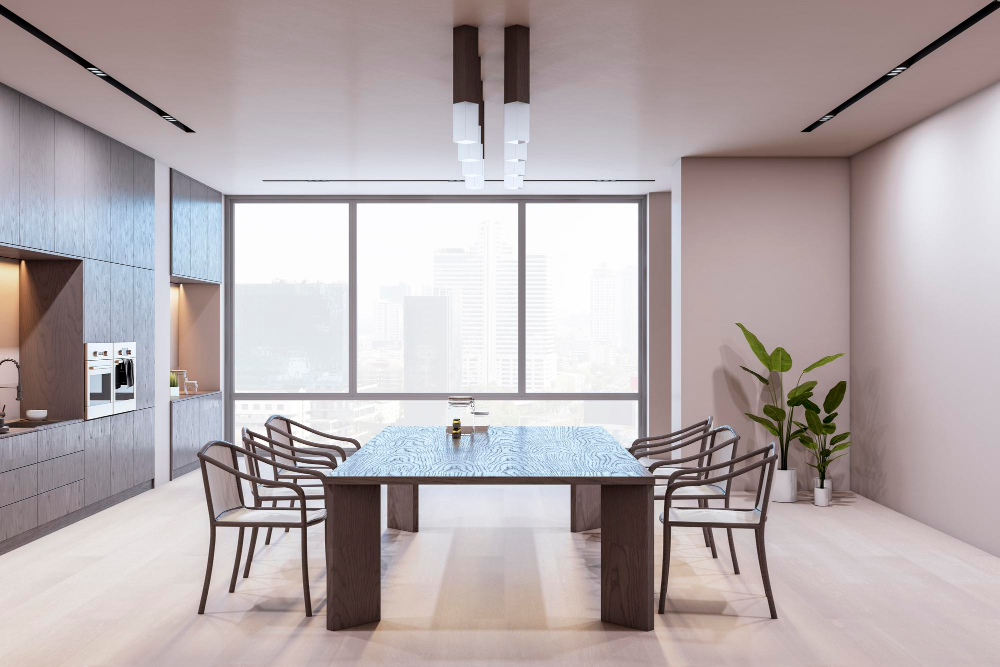
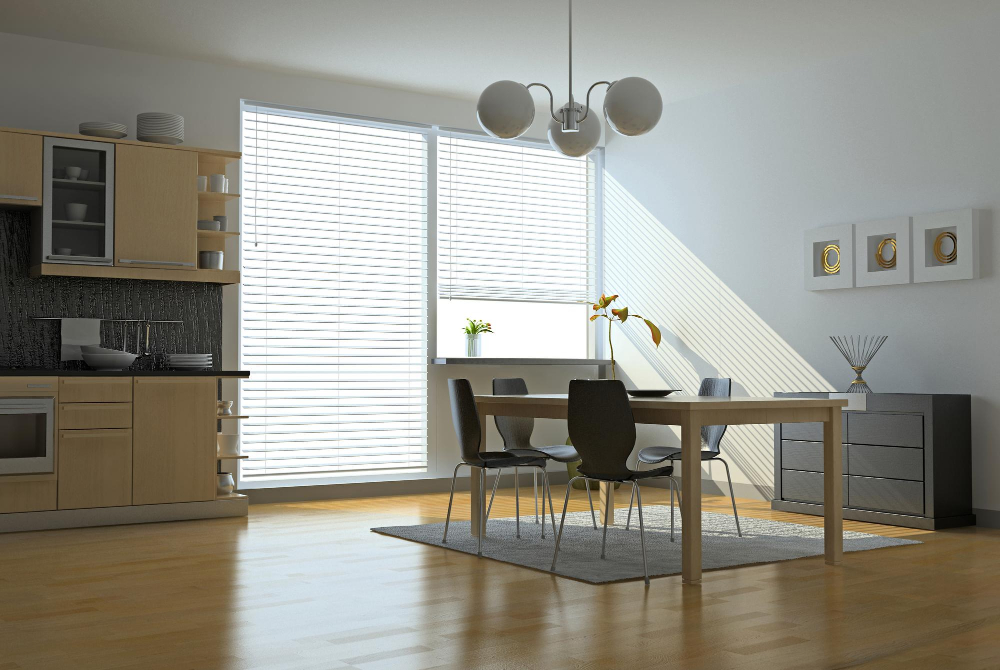
Choosing a Design Style
Choosing a design style is an important step in redoing your kitchen table because it sets the tone for the entire project. Do you want a rustic farmhouse look or something more modern? Are bright colors your thing or do neutrals speak to you? Take some time to browse through home decor magazines, Pinterest boards, and Instagram feeds for inspiration.
Once you’ve found a few styles that resonate with you, consider how they will fit into your existing space. Will this new style complement other elements of your kitchen or clash with them? Remember that while trends come and go quickly in home decor, choosing a timeless design will ensure that your newly redone kitchen table remains stylish for years to come!
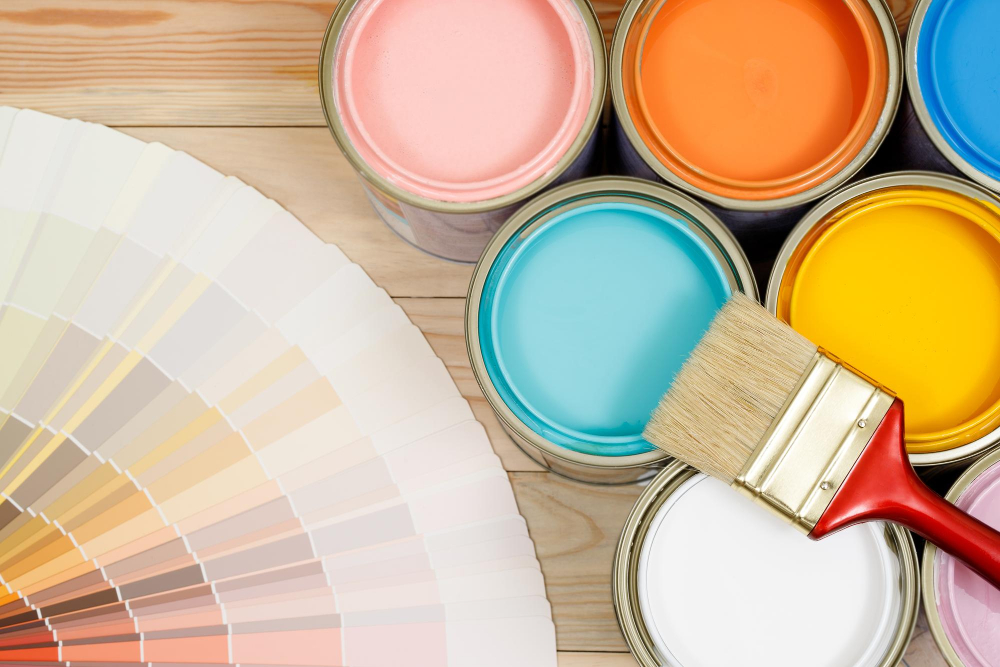
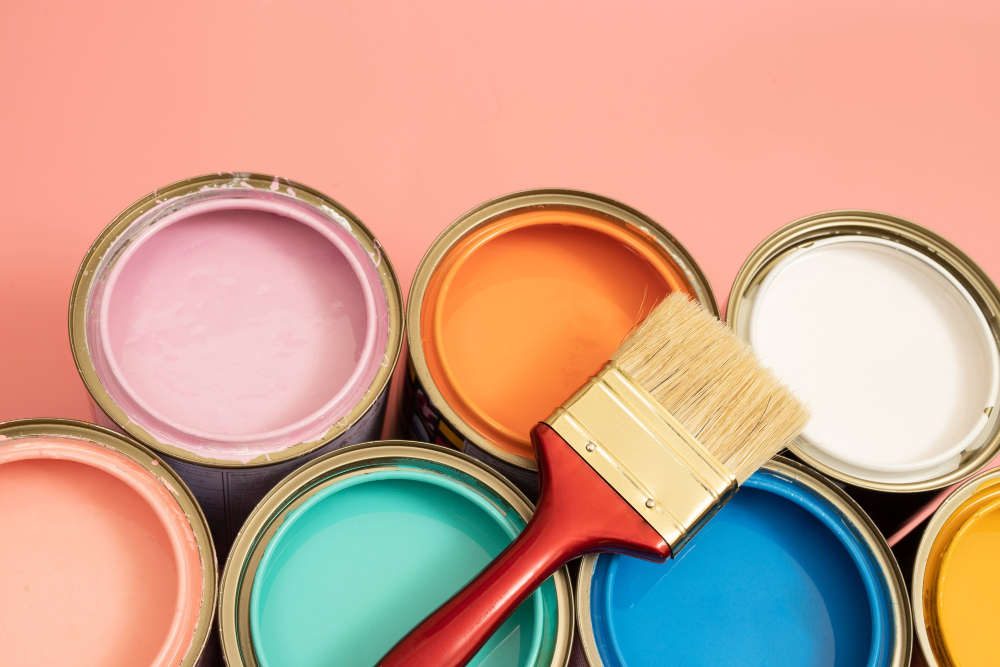
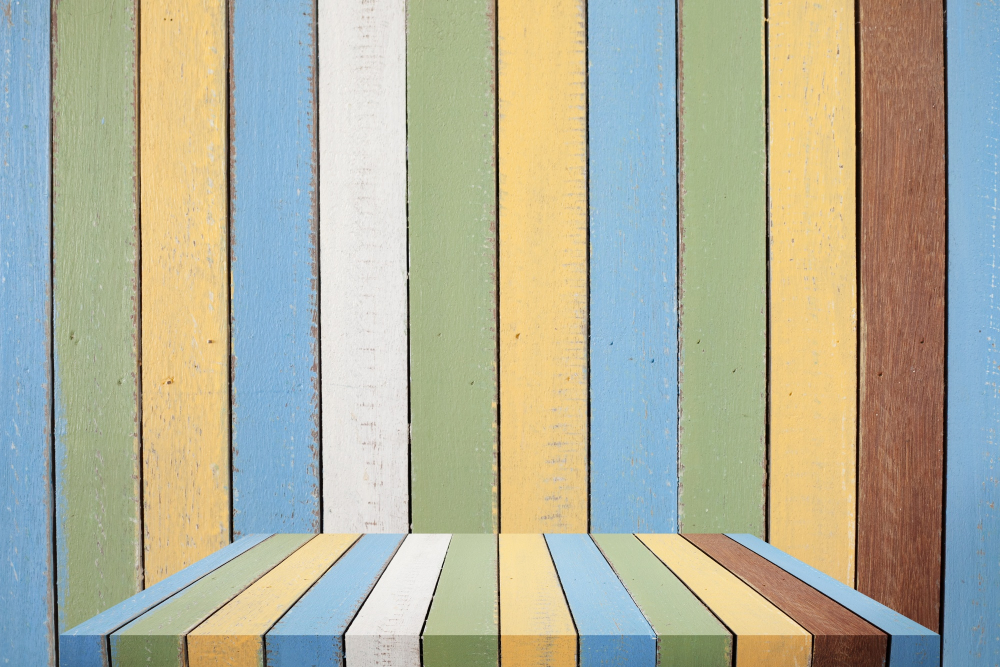
Selecting Color Palette
The colors you choose will set the tone for your entire dining space, so it’s important to consider them carefully. If you’re looking for a classic look that will stand the test of time, neutral colors like white or beige are always a safe bet.
On the other hand, if you want something more bold and eye-catching, bright hues like red or blue can make a statement.
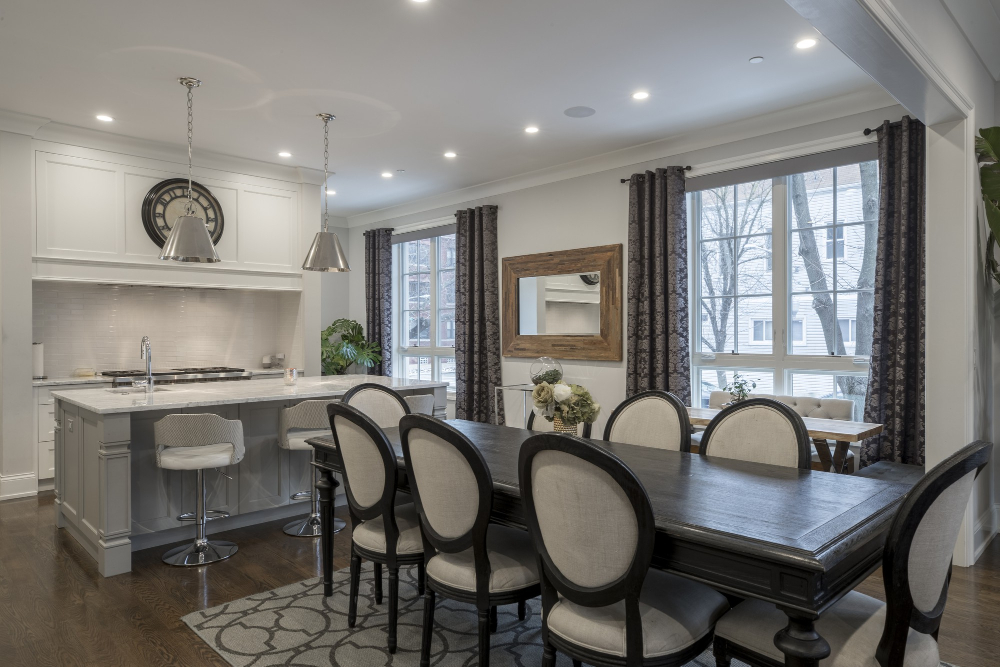
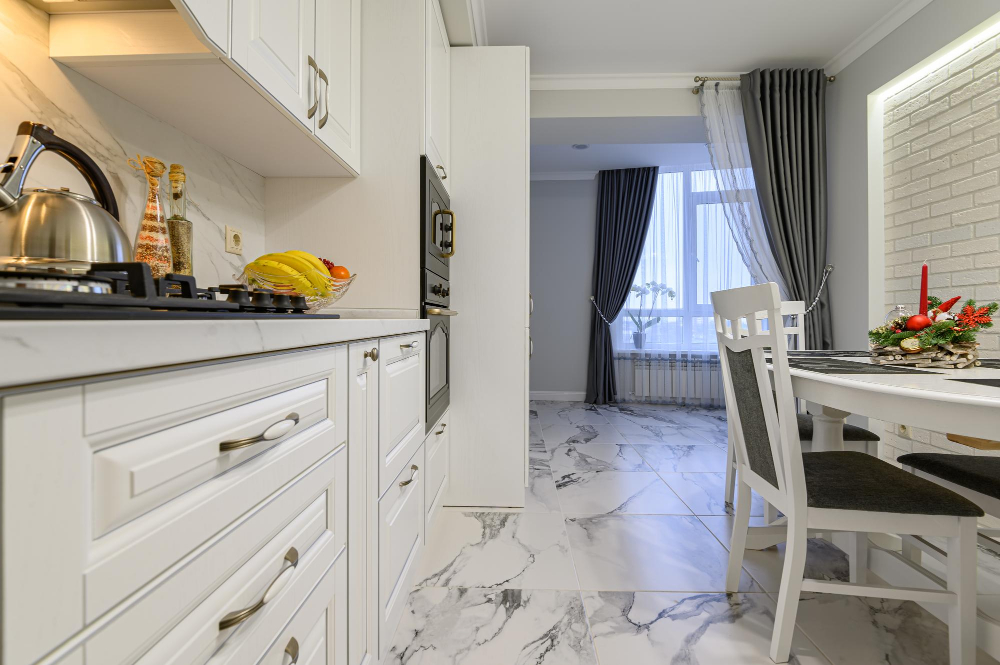
When selecting your color palette, think about how it will complement other elements in your kitchen such as walls and cabinets. You don’t want everything to clash! Also keep in mind any existing decor items that may be on display near or around where the table is located.
Another thing to consider when choosing colors is whether they match with any patterns or textures already present in room decor such as curtains etc. This can help create an overall cohesive look throughout all aspects of home decoration.
Time & Budget Considerations

Depending on the extent of the changes you want to make, this project can take anywhere from a few hours to several days or even weeks. Be sure to set aside enough time for each step of the process so that you don’t feel rushed or overwhelmed.
Think about how much money you’re willing and able to spend on supplies. The cost will vary depending on factors such as size of your table, materials used for refinishing (paints/stains/topcoats), decorative elements added etc.
If you’re working with a tight budget but still want an updated look for your kitchen table, consider repurposing items around your home instead of buying new ones. For example: use leftover paint from previous projects; reupholster chairs with fabric scraps; add decorative elements like stencils or decals rather than purchasing expensive hardware.
Choosing the Right Supplies
Choosing the right supplies is crucial for achieving a professional-looking finish that will last for years to come. The type of materials you’ll need will depend on the specific project, but some essential items include sandpaper, paint or stain (depending on your preference), brushes or rollers, drop cloths or plastic sheeting to protect surrounding surfaces from drips and spills.
When selecting paints and stains, consider factors such as durability and ease of application. For example, if you have young children who are prone to spilling drinks at mealtime – choose durable finishes that can withstand frequent cleaning without fading or chipping.
Don’t forget about safety gear! Sanding dust can be harmful when inhaled so make sure you wear protective eyewear and a mask while working with power tools like sanders.
Preparing the Table
This step is crucial for ensuring that your new finish adheres correctly and lasts as long as possible. Begin by removing any hardware or accessories from the table, such as screws or knobs.
Then, give it a thorough cleaning with warm water and soap to remove any dirt or grime that may have accumulated over time.
Next up is sanding! Sandpaper will help smooth out rough spots on the surface of your table so that paint or stain goes on evenly without bumps in between coats – this also helps ensure better adhesion too! Start with a coarse grit sandpaper (60-80) before moving onto finer grits (120-220). Be sure to wipe down all surfaces after each round of sanding using a tack cloth.
Once you’ve finished sanding, use wood filler if necessary to fill in any cracks or holes in the tabletop – this will create an even surface for painting/staining later on. Give everything one last wipe-down with mineral spirits before applying primer/paint/stain/topcoat/etc., making sure there are no remaining dust particles left behind!
Repairing Damages
Whether it’s a scratch, dent or loose leg, fixing these issues before starting will ensure a smooth and successful project.
If there are scratches on the surface of your table, use wood filler to fill in any gaps. Once dry sand down until smooth with fine-grit sandpaper.
For dents or chips in the wood use epoxy putty to fill them in and then sand down once dry.
Loose legs can be fixed by tightening screws or adding additional support brackets underneath for added stability.
Cleaning the Surface
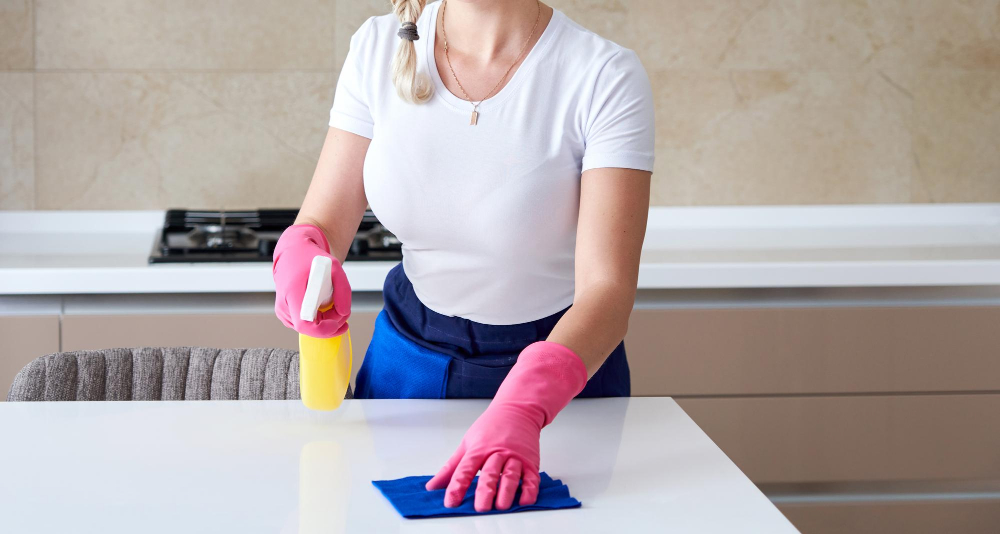
The first step in this process is cleaning the surface of your table. This may seem like an obvious step, but it’s important to ensure that any dirt or grime is removed before applying any paint or stain.
To clean the surface of your table, start by wiping down all areas with a damp cloth. For tougher stains or buildup, use a mild soap solution and gently scrub with a soft-bristled brush.
Be sure to rinse thoroughly with water and allow ample time for drying before moving on to the next steps.
It’s also essential that you remove any old finish from your table before proceeding further in this project as leaving traces can affect how well new finishes adhere later on during painting/staining processes.
Remove Old Finish
The first step in this process is removing the old finish from your table. This can be a bit of a messy job, but with some patience and elbow grease, you’ll be able to get rid of that old finish in no time.
To remove the old finish from your kitchen table, you will need to use an appropriate stripping agent. There are many different types available on the market today; however, we recommend using one that is specifically designed for wood furniture.
Before applying any stripper onto your tabletop surface make sure it’s clean and free from dust or debris by wiping down with mineral spirits or denatured alcohol. Apply enough stripper onto small sections at once so as not to dry out before scraping off.
Apply Stripper

This step is crucial in ensuring that the new finish adheres properly to the surface of your table. Before applying any stripper, make sure that you are working in a well-ventilated area and wearing protective gloves and eyewear.
To begin, use a paintbrush or roller to apply an even coat of stripper over the entire surface of your table. Be careful not to miss any spots as this can result in uneven staining or painting later on.
Allow the stripper to sit for about 15 minutes (or according to manufacturer instructions) before using a scraper tool or steel wool pad (depending on what type of wood you’re working with)to remove all traces of old finish from your kitchen table.
Clean With Mineral Spirits
Mineral spirits are a type of solvent that can help remove any remaining residue and prepare the surface for staining or painting. To use mineral spirits, simply apply a small amount onto a clean cloth and wipe down the entire surface of your table.
Be sure to wear gloves and work in a well-ventilated area as these solvents can be harmful if inhaled or absorbed through skin contact.
After cleaning with mineral spirits, allow some time for it to evaporate before moving on to sanding techniques.
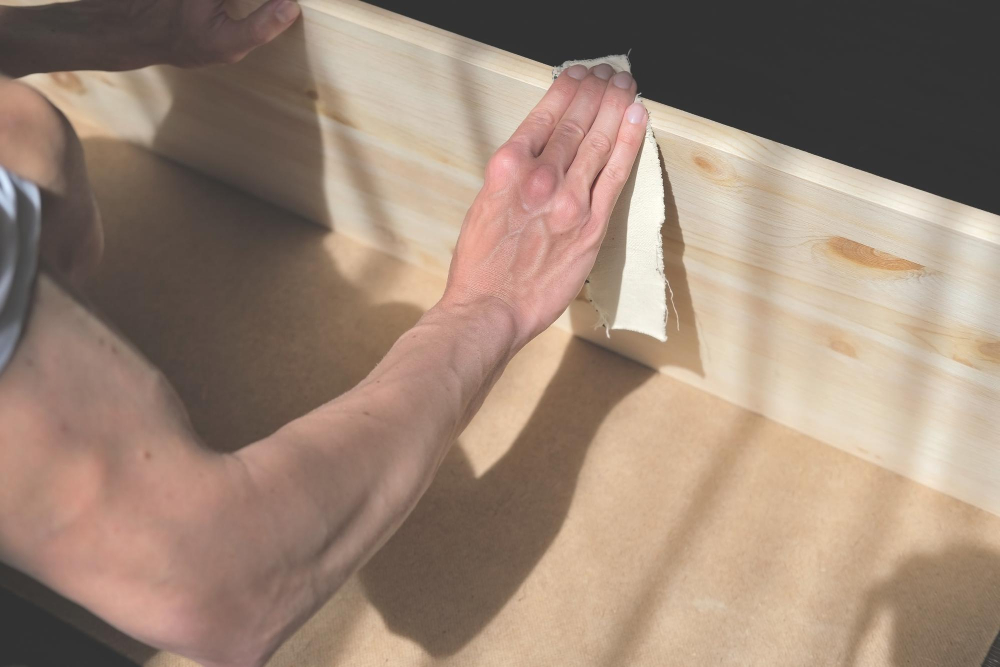
Sanding Techniques
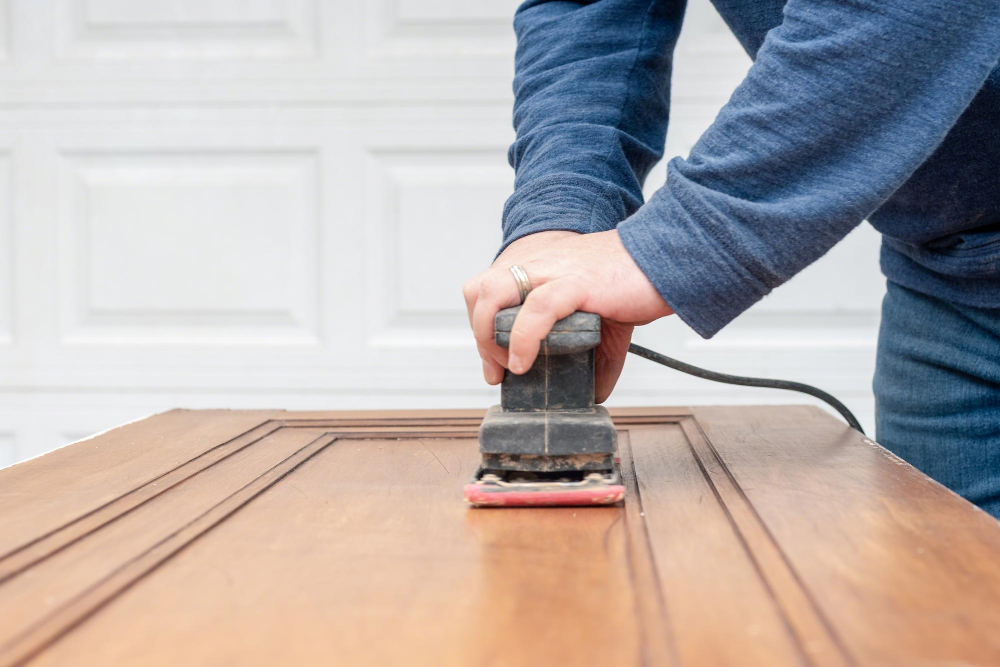
Sanding is an essential step in preparing your table for a new finish. It helps to remove any old paint or stain and creates a smooth surface for the new finish to adhere properly.
When sanding, it’s important to use the right technique and grit of sandpaper. Start with coarse-grit paper (around 80-100 grit) if there are deep scratches or stains on your table that need removing.
Then move onto medium-grit paper (around 120-150 grit) before finishing with fine-grit paper (220+). Be sure not to skip any steps as this will result in an uneven finish.
Use long strokes when sanding along the grain of wood, applying even pressure throughout each stroke. Avoid using circular motions as they can create swirl marks on the surface which will be visible once you apply paint or stain.
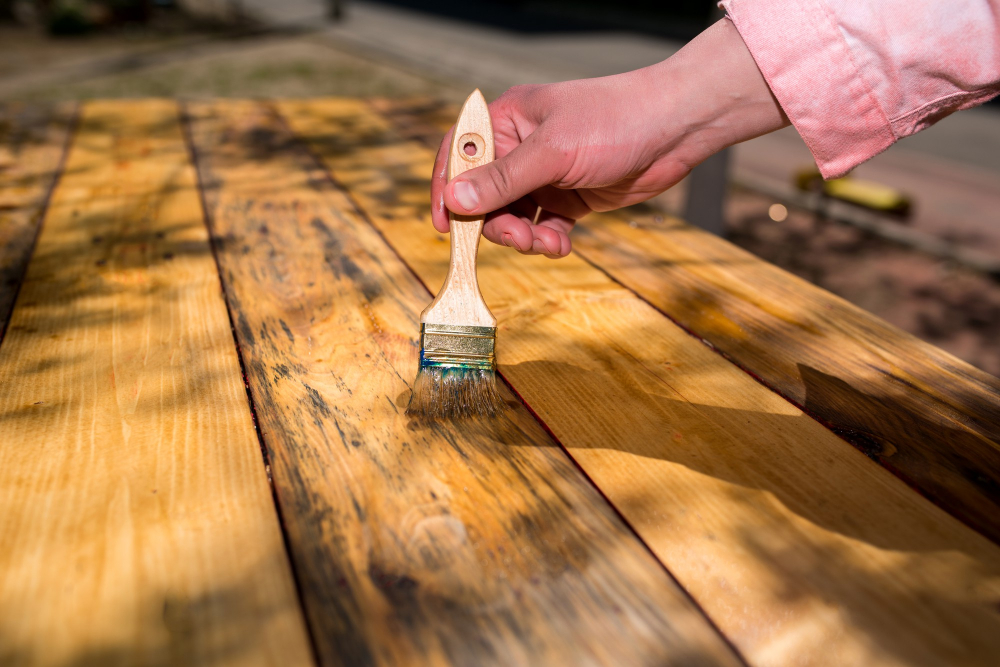
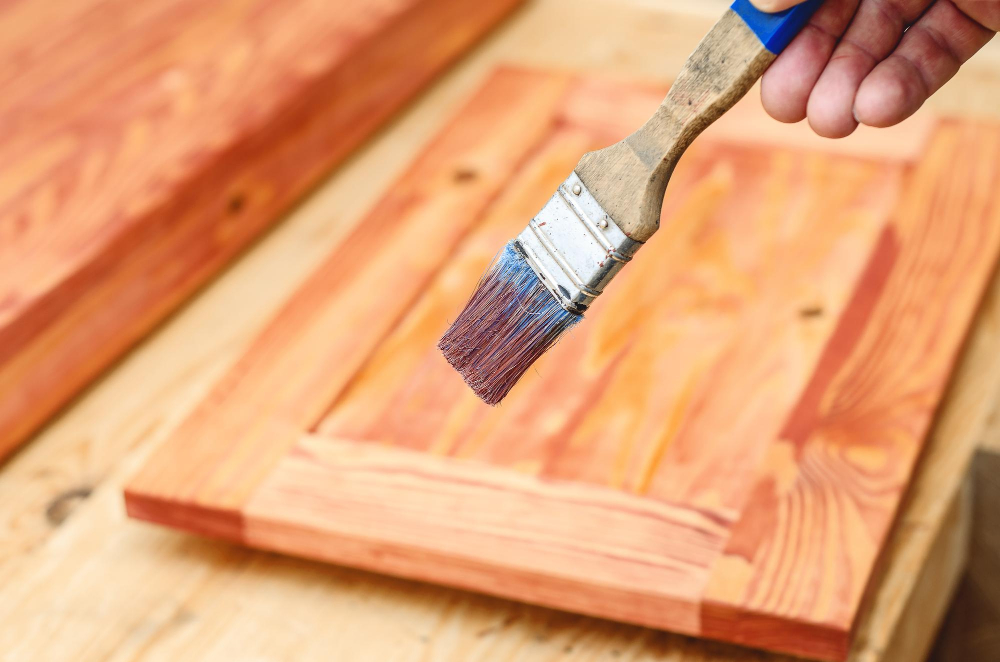
Applying Stain or Paint
This is where you can really let your creativity shine! If you’re going for a natural wood look, choose a stain that complements the existing color of your table. Apply it with a brush or rag in long strokes following the grain of the wood and wipe off any excess with a clean cloth.
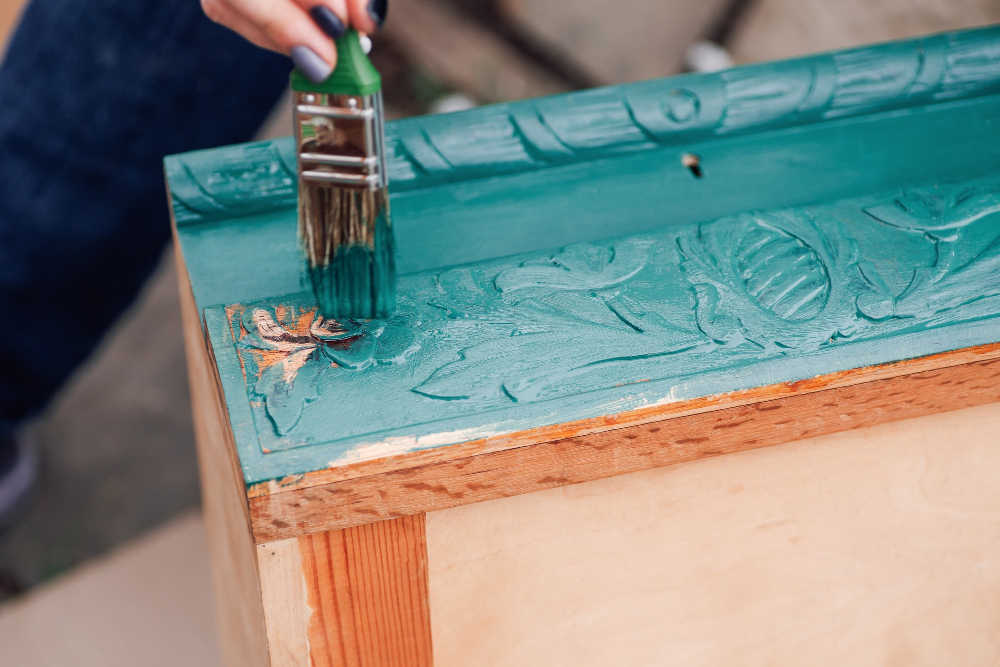
If painting is more your style, select an appropriate primer and paint that will adhere well to wooden surfaces. Use painter’s tape to protect areas like legs or edges from getting painted accidentally.
When applying either product, be sure to work in thin layers and allow each coat ample drying time before adding another layer. This will ensure even coverage without drips or bubbles forming on the surface.
Choosing a Topcoat
A topcoat will not only add an extra layer of protection but also give the table a polished and finished look. There are several types of topcoats available, including polyurethane, varnish, and wax.
Polyurethane is one of the most popular choices for its durability and resistance to scratches and stains. It comes in both oil-based and water-based formulas that can be brushed on or sprayed on depending on personal preference.
Varnish is another option that provides excellent protection against moisture damage while giving off a glossy finish. However, it tends to yellow over time when exposed to sunlight.
Wax is ideal for those who prefer a more natural look as it enhances the wood grain without adding any shine. It’s easy to apply by rubbing onto the surface with a cloth but requires regular reapplication as it wears off quickly compared to other options.
Applying Topcoat
A topcoat will protect your table from scratches, spills, and other damage while also giving it a beautiful finish. There are several types of topcoats available on the market including polyurethane, varnish, shellac or wax.
Choose one that suits your needs best.
Before applying any type of topcoat make sure that there is no dust on the surface by wiping down with a tack cloth. Apply thin coats using either brush or spray technique depending on what works best for you.
Allow each coat to dry completely before adding another layer until you achieve desired thickness (usually 2-3 coats). Once done let it cure according to manufacturer’s instructions before placing anything heavy onto its surface.
Painting Patterns
This is where you can really let your personality shine through! There are endless possibilities when it comes to painting patterns on a kitchen table. You could go for classic stripes or polka dots, or try something more intricate like chevron or herringbone.
If you’re feeling particularly artistic, consider freehanding a design onto the tabletop using stencils as guides.
To create clean lines and crisp edges when painting patterns on your table, use painter’s tape to mark off sections before applying paint. Be sure to wait until each section is completely dry before removing the tape so that there are no smudges or bleeding of colors.
Remember that less is often more when it comes to patterned designs – don’t overcrowd the surface with too many different elements as this can make it look cluttered and overwhelming. Instead, choose one main pattern and incorporate smaller accents throughout for balance.
Adding Decorative Elements
This is where you can really let your creativity shine! One simple way to add a pop of color and texture is by stenciling a design onto the tabletop. You can find stencils in all sorts of patterns and styles at your local craft store, or even create one yourself using contact paper.
Another fun idea is to decoupage the tabletop with images from magazines or wrapping paper. Simply cut out the images you like, arrange them on the surface of your table, then apply a layer of Mod Podge over top to seal them in place.
If you’re feeling particularly adventurous, consider adding some hardware accents like drawer pulls or corner brackets for an industrial look. Or try painting stripes or geometric shapes for a modern touch.
Recovering or Updating Seats
Recovering or updating seats is a simple and cost-effective way to give your dining set a cohesive and polished appearance. You can choose from an array of fabrics that complement the color scheme you’ve selected for the table, or opt for something bold and eye-catching that adds personality to space.
To recover a seat, start by removing it from its frame. Then remove any old fabric or padding using pliers or scissors.
Cut out new foam padding in the shape of the seat base using an electric knife (or have it cut at a craft store). Next, lay out your chosen fabric on top of this foam pad so there’s enough material around each side to wrap over onto underneath before stapling into place.
Once you’re happy with how everything looks on top (no wrinkles!), flip over one edge at time while pulling tautly across until all sides are secure – don’t forget corners! Finally trim excess material away leaving about 1/2 inch beyond staples as insurance against unraveling later down line. Updating chair cushions can be done in much same way but without having remove existing cushion first; simply cover old cushion with desired fabric choice then staple edges securely beneath bottom surface where they won’t show when seated upon.
Reassembling the Table
This is a crucial step that requires patience and attention to detail. Start by carefully placing the tabletop onto the base of the table, making sure that all screws and bolts are securely fastened.
Next, attach any additional elements such as legs or decorative pieces according to their instructions. If you’re recovering seats or adding new ones altogether, make sure they fit snugly into place before securing them with screws.
Take a moment to inspect your newly redone kitchen table from every angle. Admire how its fresh coat of paint has transformed its appearance and brought new life into your dining space.
Proper Maintenance

Proper maintenance will ensure that your hard work lasts for years to come. Here are some tips on how to care for your newly redone kitchen table:
1. Clean regularly: Wipe down the surface of the table with a damp cloth after each use.
2. Avoid heat damage: Use coasters or trivets under hot dishes and avoid placing hot items directly on the surface of the table.
3. Protect from scratches: Place placemats or a protective cover over the tabletop when doing activities such as crafting or playing games.
4. Touch up as needed: Keep extra paint, stain, or topcoat handy in case touch-ups are necessary due to wear and tear over time.
By following these simple steps, you can keep your newly redone kitchen table looking beautiful for years to come!.
FAQ
How do you revive a kitchen table top?
To revive a kitchen table top, sand the surface with 60-grit sandpaper in the direction of the grain, followed by 120-grit sandpaper, and then wipe down the table with a tack cloth to remove dust.
What kind of paint do you use to refinish a kitchen table?
To refinish a kitchen table, use semi-gloss or satin finish paint, either latex or oil-based, as it is the best for furniture, although spray paint is also an option but less long-lasting.
Can I repaint a kitchen table?
Yes, you can repaint a kitchen table successfully by using a stain-blocking primer, a durable paint with a hard finish, and a layer of protectant.
What are the steps involved in refinishing a wooden kitchen table?
Refinishing a wooden kitchen table involves removing the old finish, sanding the surface, applying a new finish, and adding a protective coat.
How can I choose the right stain or finish for my kitchen table makeover?
To choose the right stain or finish for your kitchen table makeover, consider factors like wood type, grain patterns, desired color, and durability with respect to usage and maintenance.
Are there any eco-friendly options for refinishing a kitchen table?
Yes, eco-friendly options for refinishing a kitchen table include using water-based stains, sealers, or paints that have low VOC content.


