Last updated on
Discover the simple steps to refill your kitchen sink soap dispenser and keep your hands clean effortlessly.
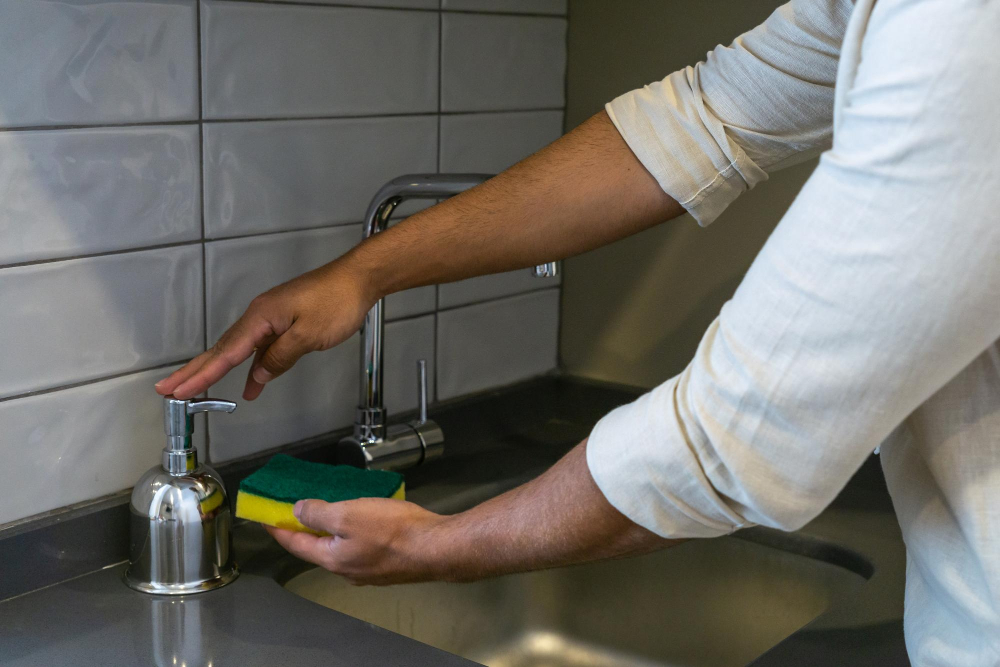
Have you ever found yourself struggling with a soap dispenser that just won’t dispense? It can be frustrating, especially when you’re in the middle of washing dishes or your hands. But fear not, because refilling a soap dispenser in your kitchen sink is an easy task that anyone can do.
In this article, we’ll walk you through the steps to refill your soap dispenser and have it working like new again. So let’s get started!
What's Inside
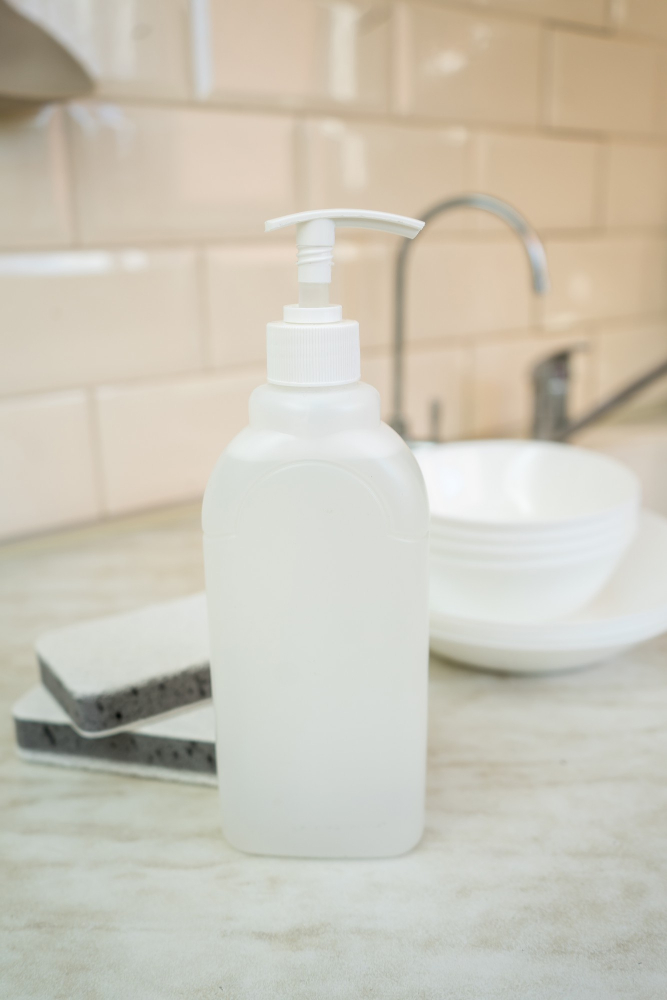
Types of Soap Dispensers

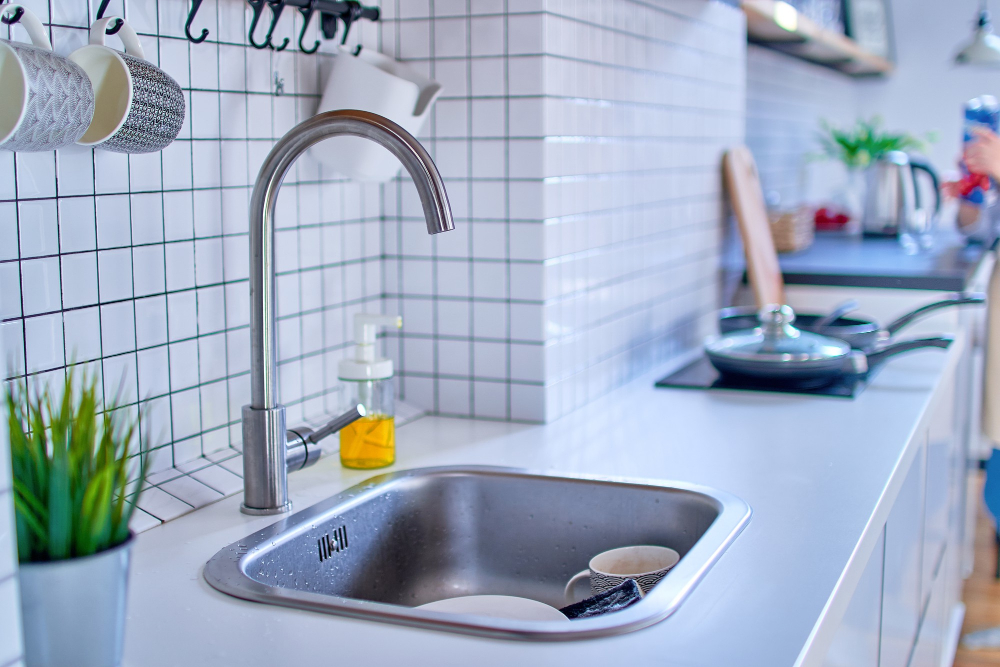
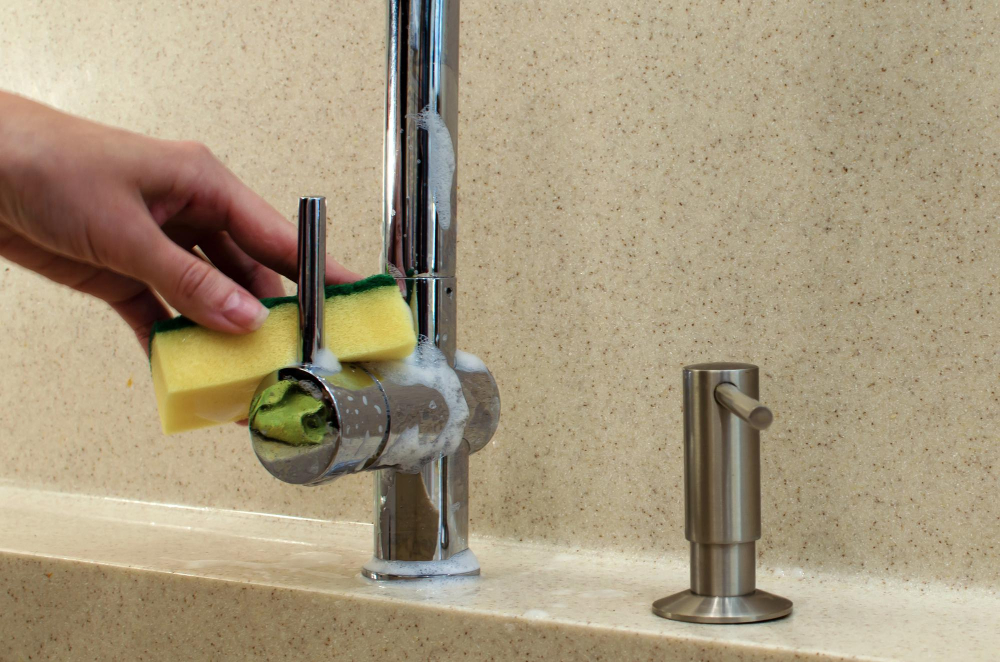
The most common ones are built-in soap dispensers that are installed directly into the kitchen sink or countertop. These can be filled from the top or bottom and usually require a refill bottle to be inserted underneath.
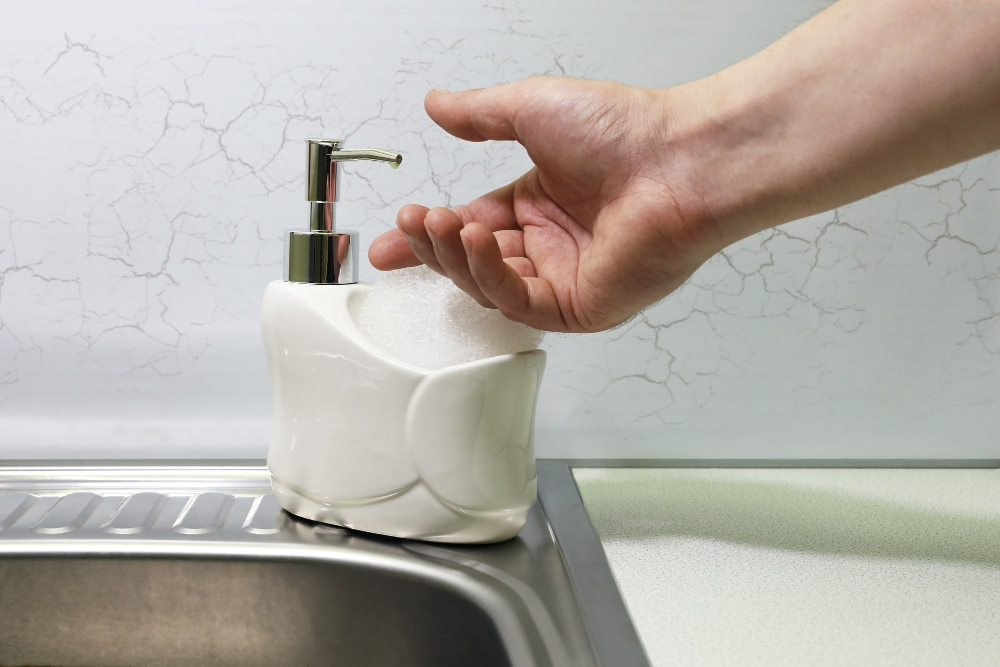
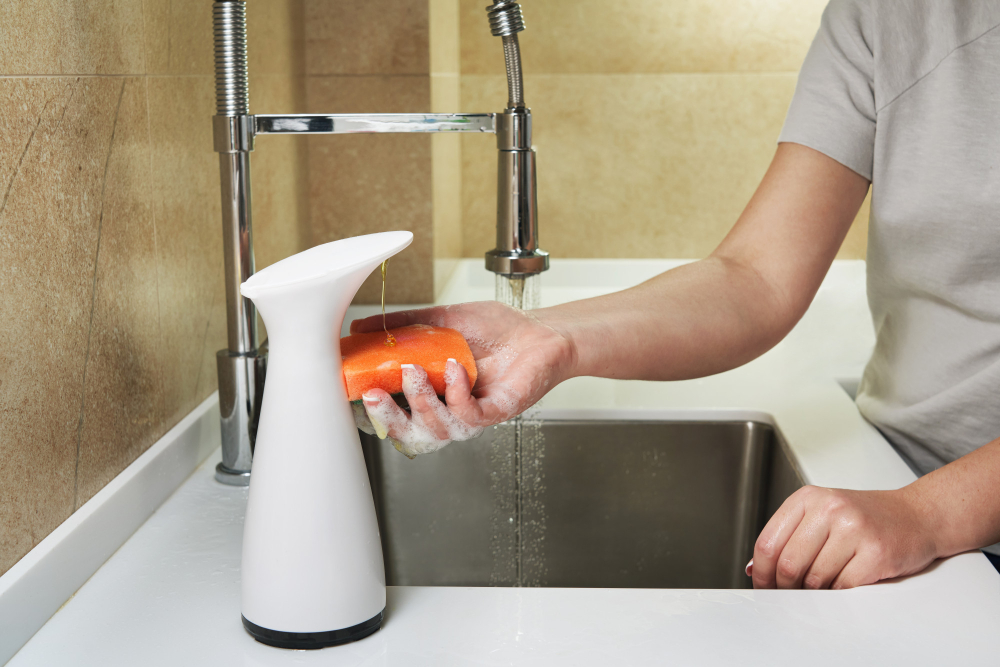
Another type of soap dispenser is a freestanding one that sits on your countertop. These can either be manual pump dispensers or automatic touchless ones that use sensors to dispense soap without touching them.
Wall-mounted soap dispensers are also available for those who prefer not to have anything sitting on their countertops. They’re great space savers but require installation onto a wall surface.
Choosing the Right Soap Dispenser
First and foremost, you’ll want to think about the type of soap you plan on using. Some dispensers work better with liquid soaps while others are designed for foaming soaps.
Another important factor is the size of your sink and counter space. You don’t want a dispenser that takes up too much room or looks out of place in your kitchen.
Lastly, consider the style and design of your kitchen when selecting a soap dispenser. There are many different styles available from sleek modern designs to more traditional options that can complement any decor.
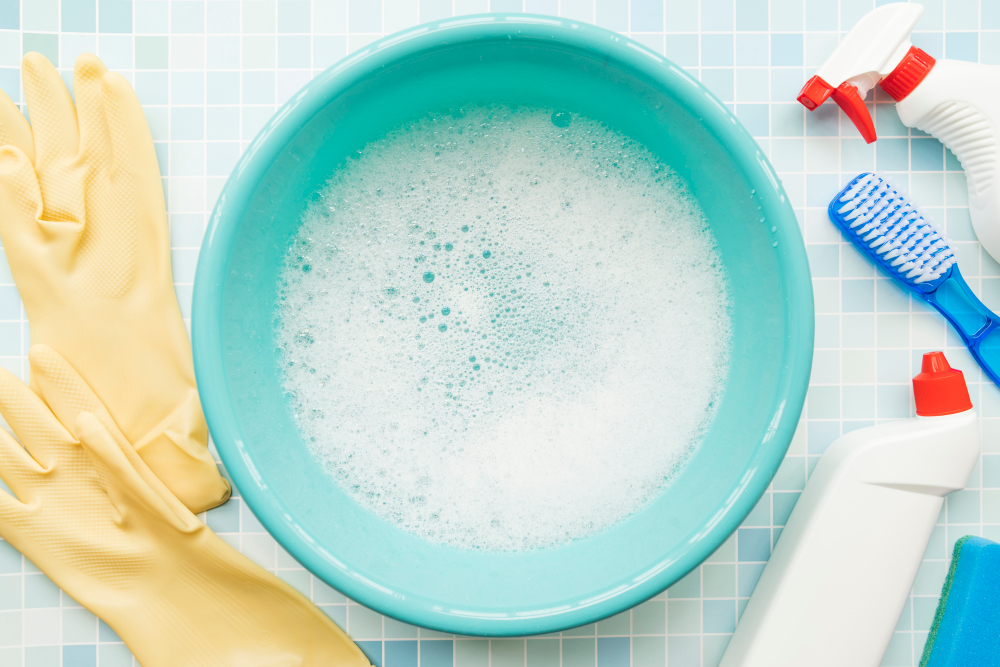
Tools and Materials
Fortunately, this is a simple task that requires only a few basic items.
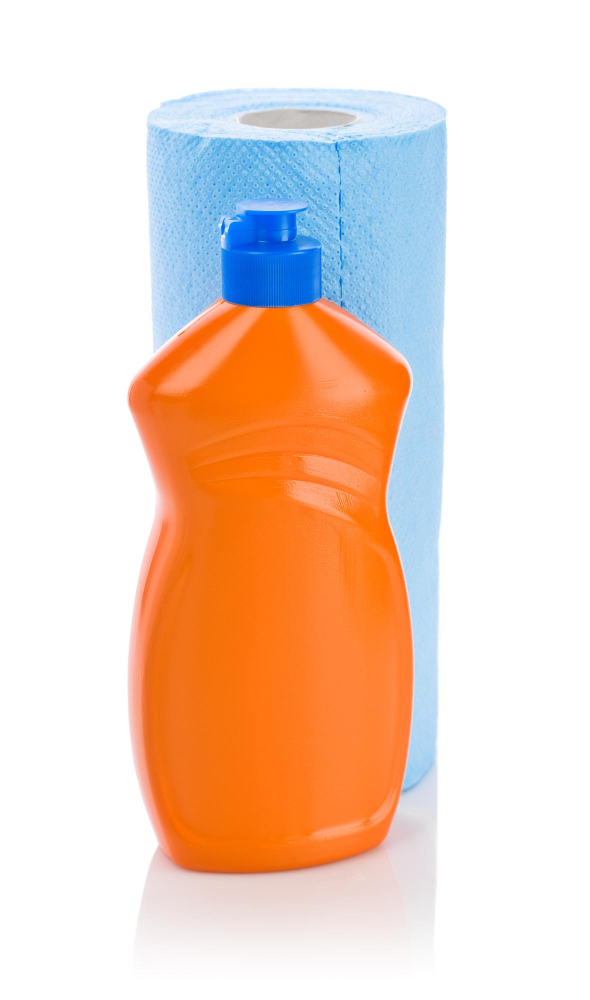
Firstly, you will need dish soap or hand soap of your choice. Make sure it is compatible with your dispenser type and won’t clog it up.
Next, prepare some warm water in a bowl or sink to clean the dispenser before refilling it. You may also want to have some paper towels on hand for cleaning up any spills during the process.
Depending on your specific model of soap dispenser, you may require additional tools such as pliers or screwdrivers for disassembling and reassembling parts of the unit.
Preparing to Refill the Soap Dispenser
First, clear any clutter around the sink to create a clean workspace. Next, make sure you have a new bottle of soap that is compatible with your dispenser.
Check the label on your old bottle or consult with the manufacturer if you’re unsure which type of soap to use.
You’ll also need some basic tools such as a screwdriver (depending on your dispenser model), paper towels or rags for cleaning up spills, and possibly some warm water for rinsing out any remaining residue in the container.
Once everything is ready, turn off any running water in order not to waste it during this process.
Removing Old Soap
This will ensure that the new soap you add won’t mix with the old and create a clog in the dispenser. To remove old soap from your kitchen sink dispenser, start by pumping out as much of the remaining liquid as possible.
Next, fill a bowl or container with warm water and add a few drops of dishwashing detergent. Remove the pump from your dispenser and place it into this solution for about 10-15 minutes to loosen up any dried-up residue.
After soaking time is over, use an old toothbrush or scrub brush to gently clean around all parts of the pump mechanism until no more gunk comes off on bristles. Rinse thoroughly under running water before reassembling everything back together again.
Cleaning the Dispenser
This step is crucial as any residue left behind can cause clogs and prevent the new soap from dispensing properly. To clean your dispenser, start by rinsing it with warm water to remove any remaining soap or debris.
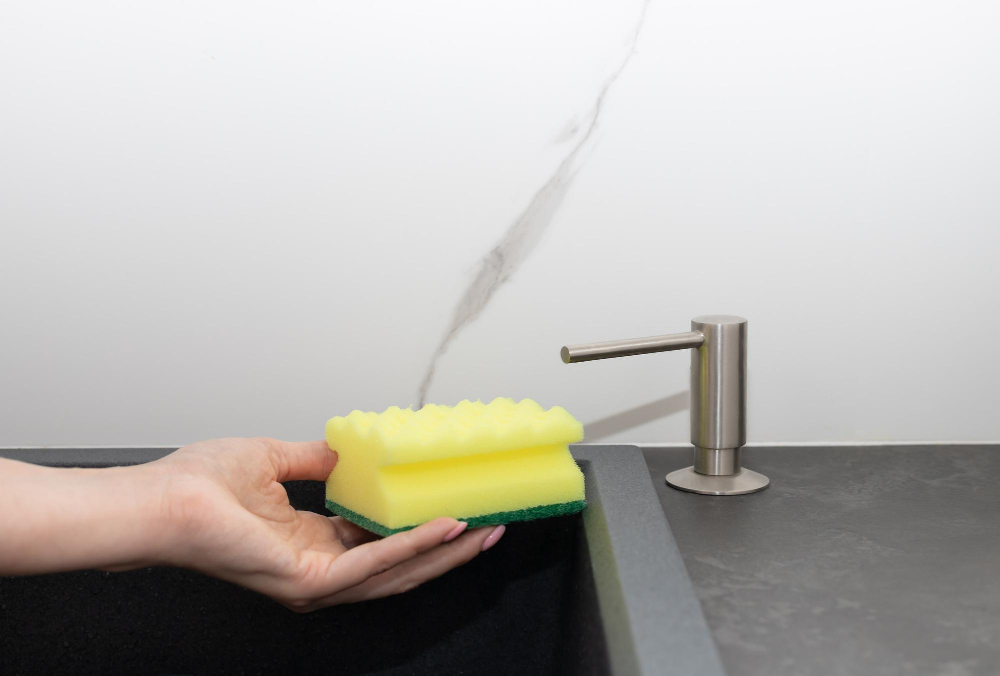
Next, fill a bowl with warm water and add a few drops of dishwashing liquid. Dip a soft-bristled brush into the soapy solution and use it to scrub all parts of the dispenser thoroughly.
Pay special attention to hard-to-reach areas such as corners or crevices where dirt may accumulate.
After cleaning, rinse off all traces of soapy water using warm running water until no suds remain in sight. Dry off excess moisture using paper towels or cloth before proceeding with refilling.
Types of Soap for Dispensers
There are several types of soaps available in the market that can be used for dispensers. Liquid hand soaps, dishwashing liquids, and even body washes can all be used as a refill for your kitchen sink dispenser.
Liquid hand soaps are the most common type of soap used in dispensers. They come in various scents and formulas such as antibacterial or moisturizing options.
Dishwashing liquids are also an excellent option if you want to use a multi-purpose cleaner that can handle grease and grime on dishes while keeping your hands clean at the same time.
Body washes may not be ideal for everyone but they work well if you prefer using natural or organic products with no harsh chemicals added.
Choosing eco-friendly options like biodegradable liquid soaps made from natural ingredients is another great way to reduce waste while keeping your hands clean without harming our planet’s environment. There are many types of soap available that will work perfectly fine with any standard kitchen sink dispenser.
Choosing the Right Soap
With so many options available, it can be overwhelming to decide which one is best suited for your needs. When selecting a soap, consider its effectiveness in cleaning and removing grease and grime from dishes or hands.
Liquid dishwashing detergents are specifically designed to cut through tough food stains on dishes while being gentle on hands. On the other hand, liquid hand soaps come in various scents and formulas that cater to different skin types.
Eco-friendly options such as biodegradable or plant-based soaps are also becoming increasingly popular due to their minimal impact on the environment.
Ultimately, choosing a soap comes down to personal preference based on factors like scent, texture, ingredients used and environmental concerns.
Eco-friendly Soap Options
When choosing a soap for your dispenser, consider opting for an eco-friendly option to reduce your carbon footprint and contribute to a healthier planet.
There are many types of eco-friendly soaps available, including those made from natural ingredients like coconut oil or olive oil. These types of soaps are biodegradable and do not contain harmful chemicals that can pollute waterways or harm aquatic life.
Another option is to choose refillable soap dispensers that allow you to use bulk liquid soap instead of single-use plastic bottles. This reduces waste and saves money in the long run.
Refilling Procedure
Here is a step-by-step guide on how to do it:
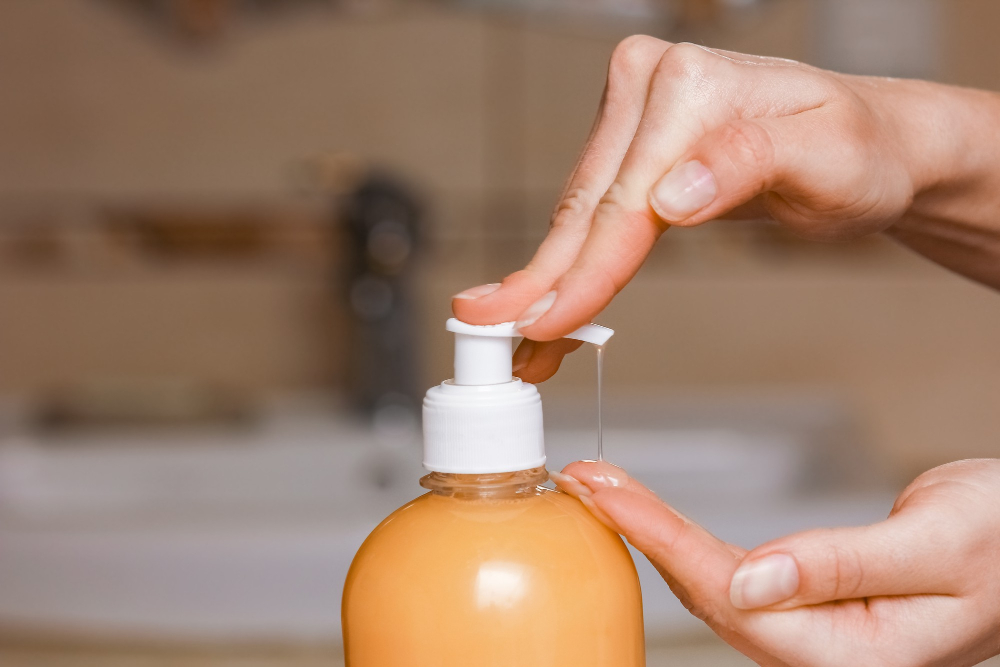
1. Remove the pump: Gently pull up on the top of your soap dispenser until it pops off.
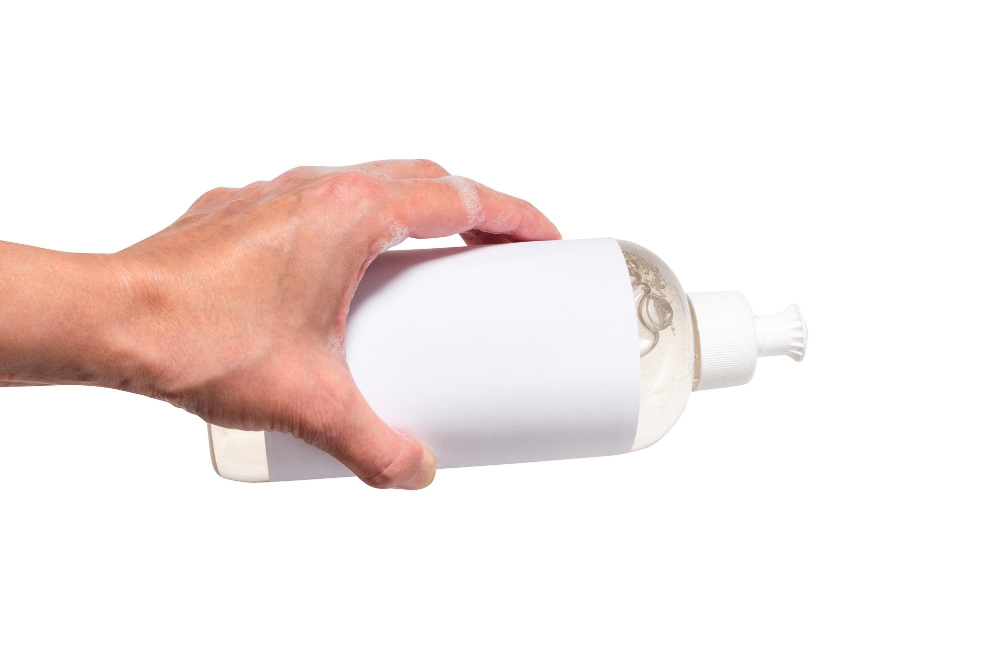
2. Fill with Soap: Pour or squeeze in enough liquid hand or dishwashing detergent into the bottle until almost full.
3. Add Water (Optional): If you’re using concentrated dishwashing liquid, add water to dilute according to instructions before pouring into your dispenser.
4. Reattach Pump: Push down firmly on top of pump head so that it snaps back onto its base securely without any gaps between them.
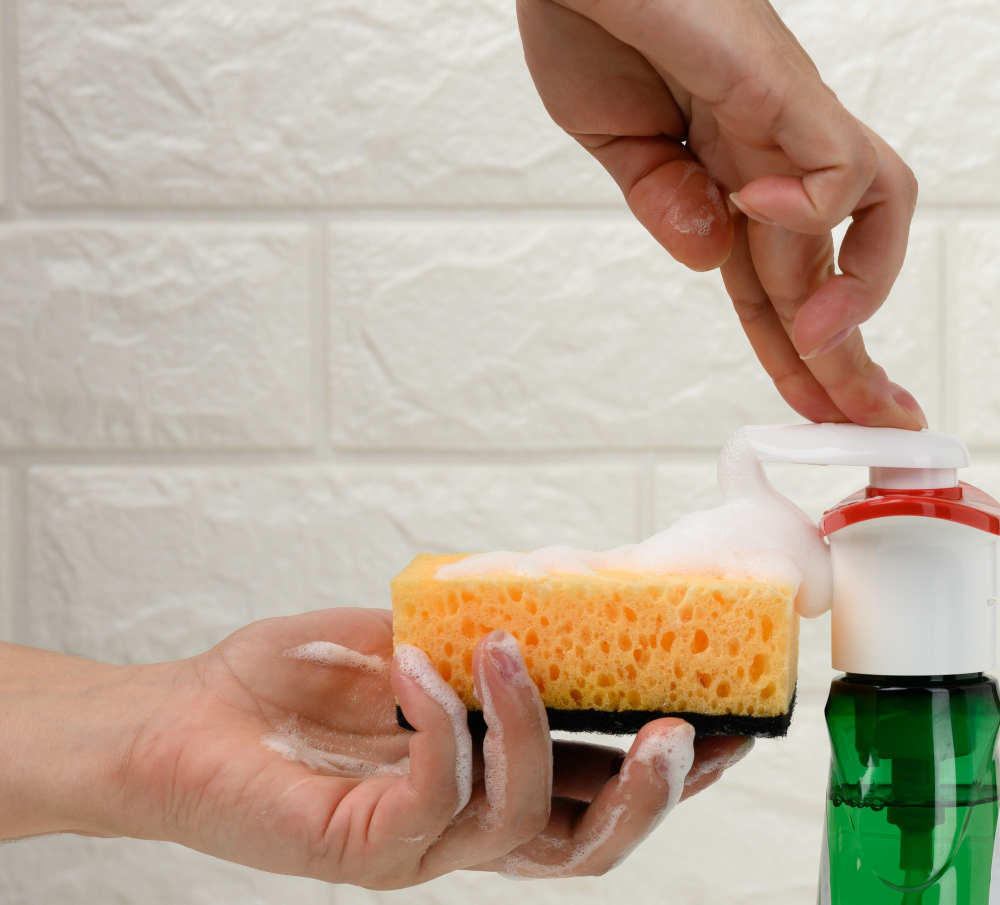
5.Test Dispenser: Press down several times slowly and steadily until bubbles appear at nozzle tip indicating that air has been expelled from inside container; then release pressure completely by letting go quickly but gently – this will help prevent clogging later when dispensing more product.
Step-by-Step Soap Refilling Guide
Here is a step-by-step guide on how to do so:
- Choose the type of soap you want to use for refilling.
- Pour the new liquid or gel soap into a small funnel.
- Insert the funnel into the opening of your dispenser bottle.
- Slowly pour in enough liquid until it reaches about ¾ full, leaving some space at top for air circulation inside.
- Remove any excess spilled around with a clean cloth or paper towel
- Replace pump head back onto bottle and screw tightly.
It’s important not to overfill as this can cause clogging issues later on down-the-line.
Refilling With Homemade Soap Solutions
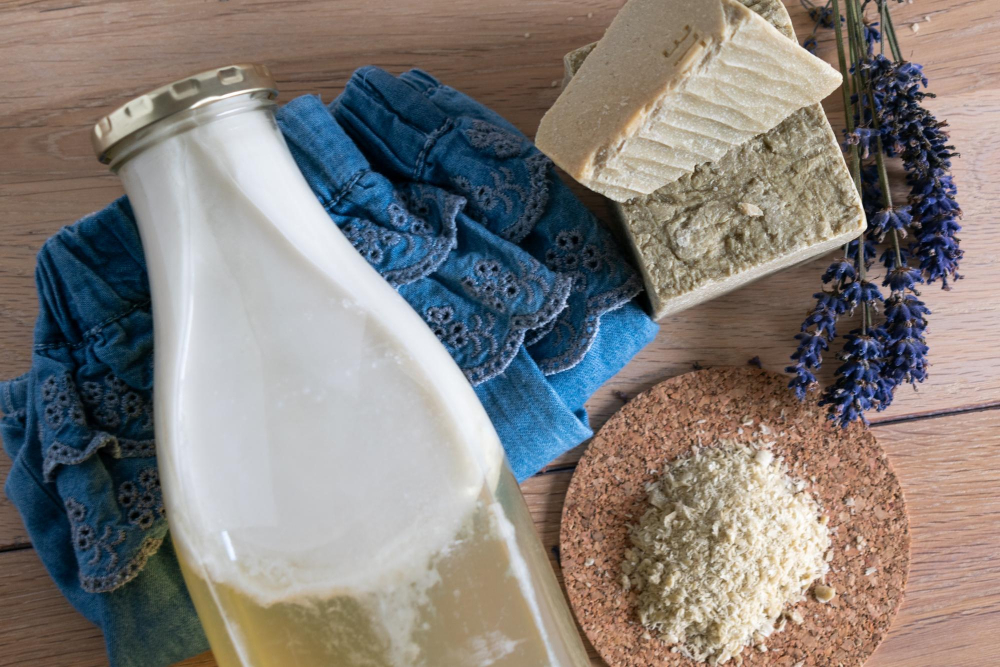
Homemade soaps are easy to make and can be customized with different scents or ingredients that suit your preferences. To make a simple liquid hand soap, all you need is some grated bar soap, water, and essential oils (optional).
To start the process of making homemade liquid hand soap:
- Grate one bar of natural or organic castile or glycerin-based unscented bar soap.
- Boil 8 cups of water in a pot on the stove.
- Add the grated bar into boiling water while stirring until it dissolves completely.
- Remove from heat once dissolved then let it cool down before adding any essential oil if desired.
Once cooled down add few drops of essential oil such as lavender for fragrance purposes only since this step is optional.
Reassembling the Dispenser
This is a simple process that involves putting all the parts back together in the right order. Start by inserting the pump mechanism into the top of the bottle and screwing it on tightly.
Then, slide any decorative cover or collar over this assembly and snap them into place if necessary.
Next, insert any additional components such as springs or valves that may have been removed during cleaning or disassembly. Make sure they are properly aligned with their corresponding openings before pushing them down firmly until they click into place.
Test your newly assembled soap dispenser by pressing down on its pump several times to ensure proper function before placing it back onto your sink counter for use again.
Troubleshooting Common Issues
Don’t worry; these problems are usually easy to fix. One of the most common issues is a clogged nozzle that prevents the soap from dispensing correctly.
To solve this problem, try removing the nozzle and soaking it in warm water for a few minutes to loosen any buildup or debris.
Another issue could be an airlock in the dispenser pump that stops it from working correctly. To fix this problem, remove all of the remaining soap and fill up with hot water instead before pumping several times until bubbles appear at its opening.
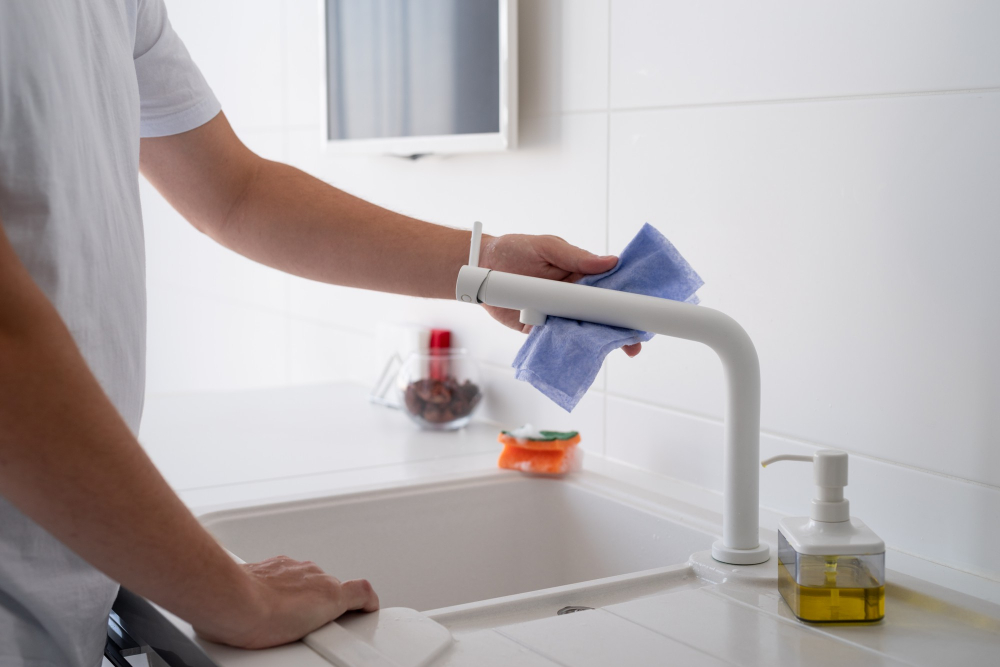
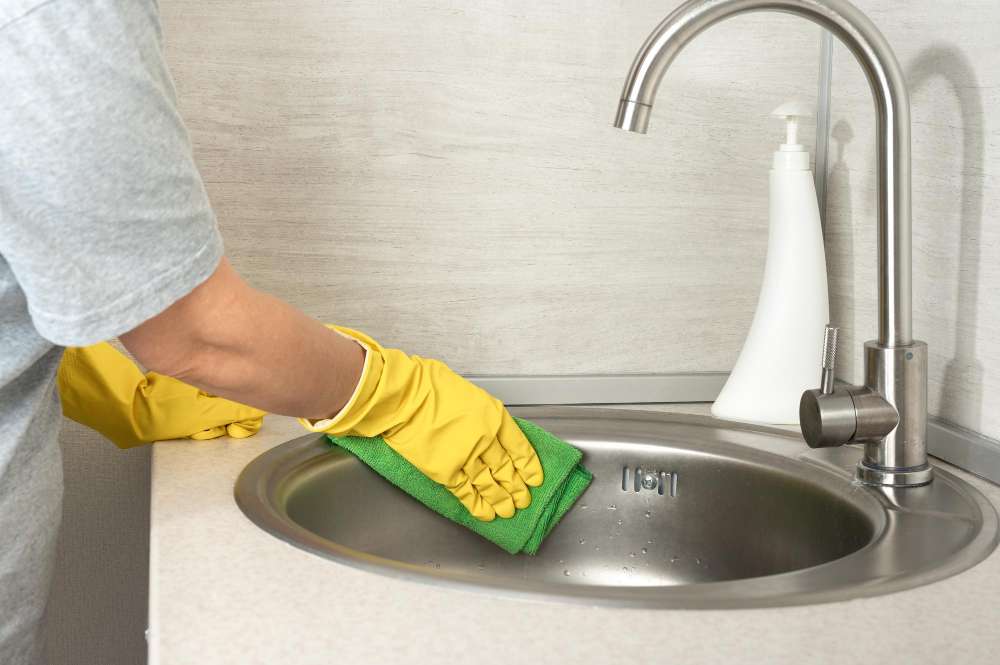
Cleaning and Maintaining the Soap Dispenser
Over time, soap residue can build up inside the dispenser and cause clogs or other issues. To prevent this from happening, make sure to clean your soap dispenser regularly.
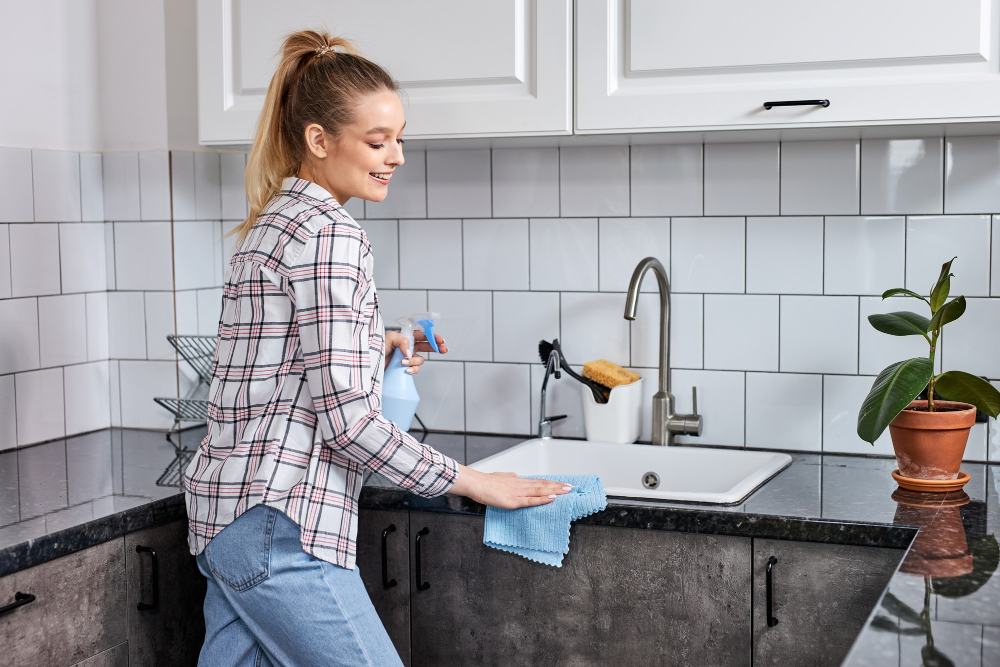
To clean the outside of the dispenser, simply wipe it down with a damp cloth or sponge. For more stubborn stains or grime buildup, use a mild cleaning solution like dish soap mixed with warm water.
To clean the inside of the dispenser, fill it halfway with warm water and add a few drops of dish soap. Pump several times to flush out any remaining old soap residue before rinsing thoroughly with hot water.
In addition to regular cleaning, there are some simple maintenance tips that can help extend the life of your kitchen sink soap dispenser:
- Avoid using abrasive cleaners that could scratch or damage plastic parts.
- Refill only when necessary – overfilling can cause leaks.
- Store extra bottles of liquid hand soaps in cool dry places away from direct sunlight.
- By following these simple steps for cleaning and maintaining your kitchen sink’s Soap Dispenser you will ensure its longevity while keeping germs at bay!
Dispenser Maintenance Tips
Here are some maintenance tips for your soap dispenser:
1. Clean the nozzle regularly: Over time, the nozzle of your soap dispenser can become clogged with dried-up soap residue or other debris.
To prevent this from happening, wipe down the nozzle with a damp cloth every few days.
2. Keep the area around the dispenser clean: Soap spills and splatters can accumulate around your sink over time if not cleaned up promptly.
Wipe down any excess drips or spills as soon as possible to keep things tidy.
3. Use high-quality soaps: Using low-quality soaps in your dispensers can cause them to clog more easily and require more frequent cleaning and maintenance.
Alternative Soap Dispenser Options
One popular choice is a touchless soap dispenser that uses motion sensors to dispense soap without touching the pump. This can be especially helpful in reducing the spread of germs and bacteria.
Another option is a countertop or wall-mounted automatic soap dispenser that releases foam or liquid with just one wave of your hand. These dispensers often come with adjustable settings for controlling how much product comes out at once, making them ideal for households with children who tend to use too much soap.
If you prefer bar soaps over liquid ones, consider using a self-draining dish instead of a traditional tray or holder. A self-draining dish allows excess water from your bar soaps to drain away easily while keeping them dry and clean between uses.
When to Replace a Dispenser
If you notice that the dispenser is leaking or not dispensing soap properly even after cleaning it, it might be time to replace it. If you’ve had the same dispenser for a long period of time and are looking for an upgrade or a change in style, replacing your old one with a new one can be an easy way to refresh your kitchen sink area.
When shopping for a new soap dispenser, consider factors such as durability and ease of use. Look for dispensers made from high-quality materials that will last longer than cheaper options.
You should also choose one that is easy to refill so you won’t have any trouble maintaining its functionality.
FAQ
What kind of soap do you put in kitchen sink dispenser?
In a kitchen sink dispenser, you should put liquid hand and dish soap.
What is the process for removing and refilling a built-in kitchen sink soap dispenser?
To remove and refill a built-in kitchen sink soap dispenser, unscrew the dispenser head, lift the pump mechanism, remove the empty soap container, refill it with soap, reattach the container, and screw the head back in place.
How can I prevent the soap dispenser from clogging or malfunctioning over time?
To prevent the soap dispenser from clogging or malfunctioning over time, regularly clean and maintain it, ensuring the use of appropriate soap viscosity.
Are there any eco-friendly alternatives to traditional liquid soap for kitchen sink dispensers?
One eco-friendly alternative to traditional liquid soap for kitchen sink dispensers is using solid dish soap bars or biodegradable and plant-based liquid soaps.


