Last updated on
Learn how to refinish a wood table with easy steps and useful tips to make it look brand new.
So, you’ve got a beloved wood table that’s seen better days? Fret not! Refurnishing that old charm is easier than you think. Dive into this step-by-step guide, and you’ll learn everything from understanding your table’s type to choosing the perfect stain or paint, and even finishing it off like a pro. Grab your tools and get ready—the ultimate table makeover awaits!
Key takeaways:
- Know your wood type before starting.
- Shop for eco-friendly supplies and quality stain.
- Clean table thoroughly before refinishing.
- Sand imperfections and dust away carefully.
- Apply protective finish for lasting results.
What's Inside
Understand Your Wood Table
Before diving headfirst into a refinishing project, it’s important to get to know the star of the show: your wood table.
Is it a cherished antique passed down from your grandmother or a trendy piece from a garage sale? Different woods and finishes require different approaches.
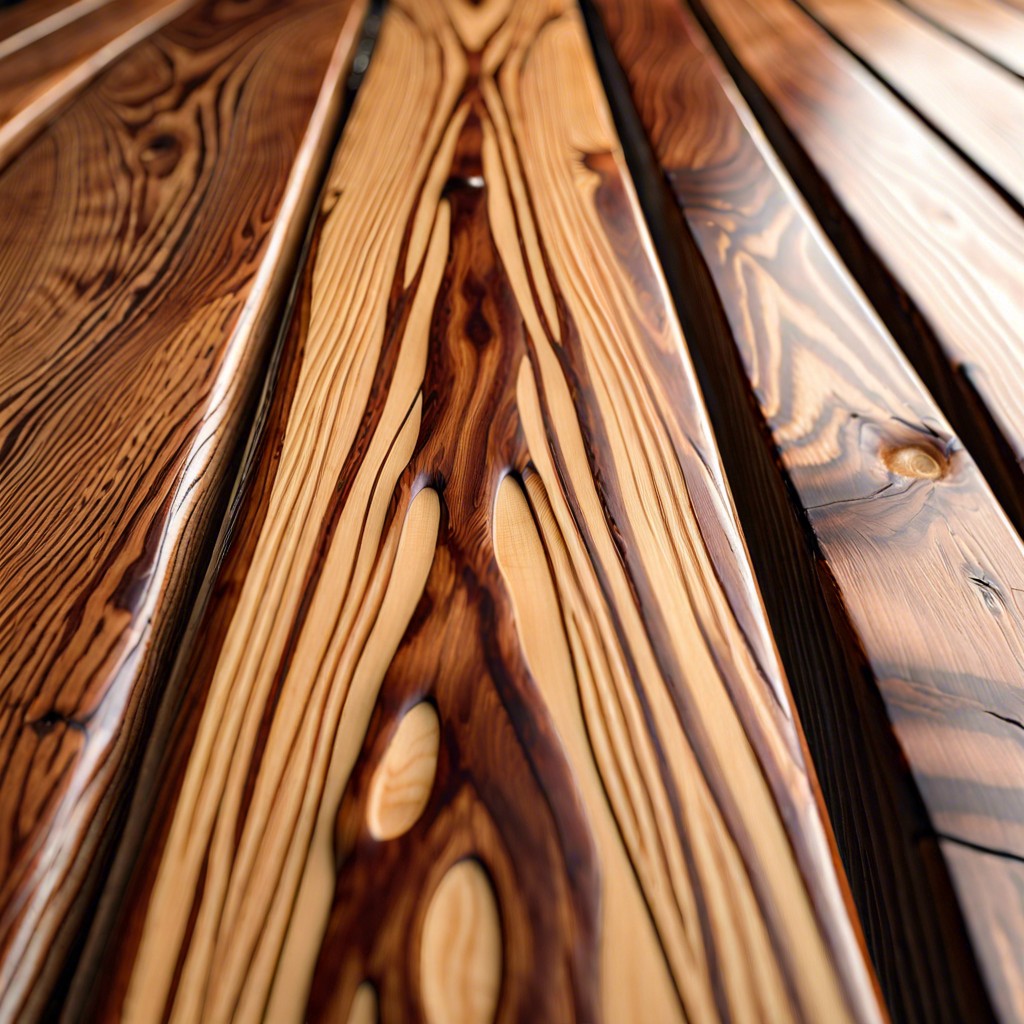
Inspect the table closely. Look for signs of the type of wood—oak, mahogany, maple, oh my! Each reacts differently to stains and finishes.
Check for existing damage. Are there deep scratches, water rings, or chunks missing? You’ll need to address these spots specifically before applying any new finish.
Consider the finish you’re stripping away. Is it a glossy varnish, a matte paint, or a stubborn lacquer? Knowing this helps you select the right stripping method and products.
Lastly, jot down any features that add character—carvings, inlays, or unique shapes. These can influence the tools and techniques you’ll use later on.
Understanding these aspects will make the refinishing process much smoother, ensuring your table looks fabulous at the end of the day. Plus, you’ll avoid pulling your hair out halfway through!
Shop for Supplies
Now that you’re ready to dive into the project, start with a trip to your local hardware store or, for the more adventurous, a deep dive into the black hole of online shopping.
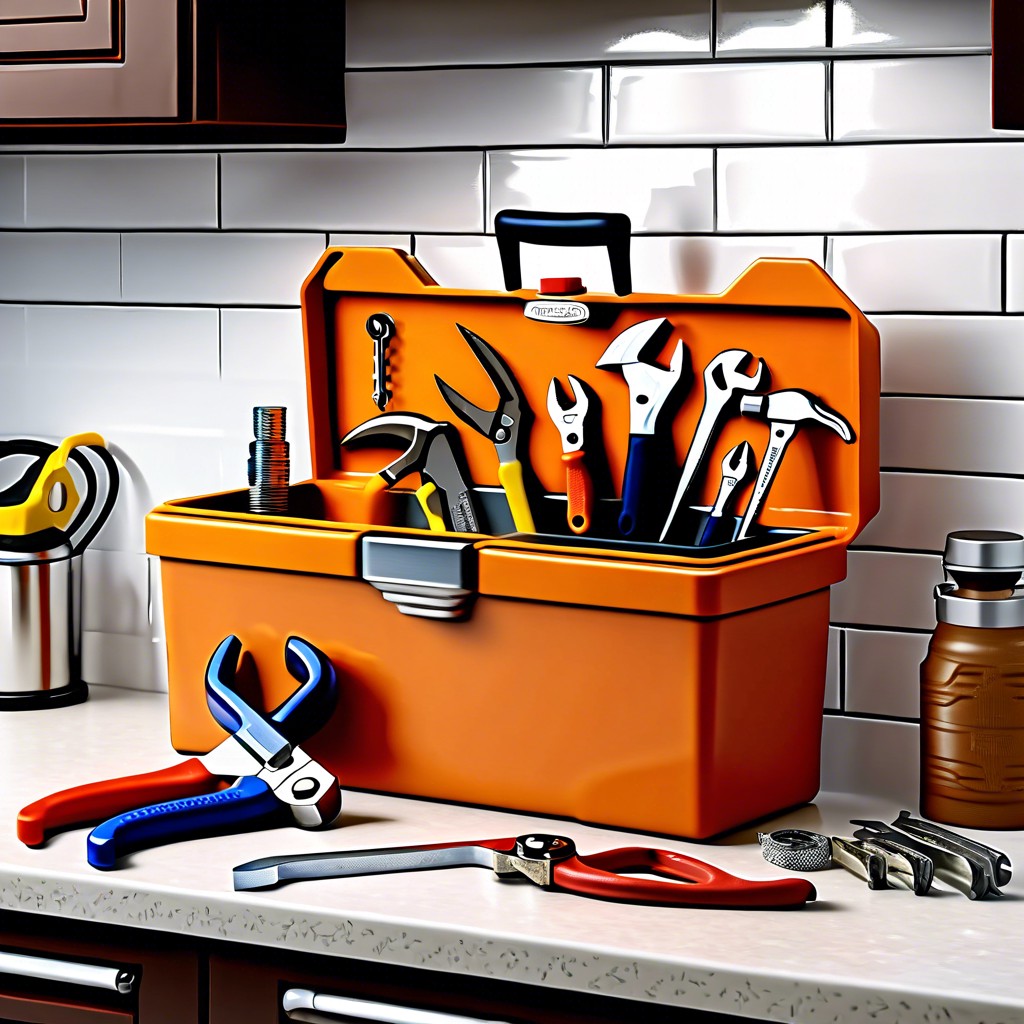
First, grab some chemical stripper. It’s essential for removing that old, tired finish. Look for one that’s eco-friendly if you want to keep your DIY efforts green.
Next, pick up some sandpaper in various grits. You’ll need coarse, medium, and fine grits to smooth out the table’s surface. Trust me; your fingertips will thank you.
Don’t forget some quality stain or paint. The array of colors can be overwhelming, so go with your gut or maybe consult your cat—they always seem to have an opinion.
A good pair of gloves is a must. Keep those hands looking good for the post-project Instagram boasting.
Lastly, get some protective finish to safeguard your masterpiece from the inevitable coffee spill. Choose between polyurethane, varnish, or wax, depending on the look and level of protection you’re after.
Clean Your Wood Table
Before diving into the messy part, grab a damp cloth and some mild cleaner. Give your table a good wipe-down. This gets rid of any dust, grime, or the mysterious sticky spots that seem to appear out of nowhere.
A clean surface makes everything smoother—quite literally. It helps the stripper work more effectively, ensuring thorough removal of the old finish. Plus, it stops any gunk from gumming up your sandpaper later on.
Think of this as giving your table a little spa day before the real makeover begins. Catch those crumbs and cobwebs!
No need for anything fancy, just some elbow grease and perhaps a small celebratory dance when you’re done.
Strip the Existing Finish
First, move your table to a well-ventilated area. This is crucial, not just because we care about your lungs (which, fun fact, we do), but because it helps the stripping agent work more effectively.
Wear gloves. Your hands are valuable—like, “open jars of pickles on the first try” valuable.
Apply a generous coat of the chemical stripper using an old paintbrush. This stuff is about as friendly as a cat during a bath, so you want to spread it on thick.
Let it sit. Check the label on your stripper for the recommended time. Usually, it’s around 15-30 minutes. Use this time to contemplate your life choices, or just have a snack.
Watch for bubbles. Once they appear, grab a putty knife and start scraping off the old finish. Work in sections, and be methodical. Channel your inner archaeologist—minus the sand, sweat, and existential angst.
Got stubborn spots? Reapply the stripper and repeat the process.
Lastly, clean the table with a cloth dipped in mineral spirits to remove any leftover gunk. This step is like flossing; you can skip it, but you’ll pay for it later.
Sand Down Imperfections and Water Spots
Sanding is like giving your table a spa day. You’re smoothing out all the rough spots and letting the real beauty shine through. Use medium-grit sandpaper (around 120-grit) first to tackle those stubborn spots and imperfections.
Water spots? No sweat. They usually come off pretty easily with a gentle but persistent sanding. Once you’ve given the table a good once-over, switch to fine-grit sandpaper (220-grit) to finish the job and smooth everything out like a baby’s bottom.
Remember: Sand with the grain of the wood to avoid scratches. Think of it as going with the flow rather than against it. Also, don’t forget the edges and corners. They deserve a little love too.
Clean Your Surface After Sanding
Alright! Your table’s sanded to perfection. Now, let’s talk dust busting. Sanding creates a fine layer of sawdust that can mess up your finish if left unchecked. Here’s how to handle it:
First, grab a vacuum cleaner and carefully go over the entire surface, focusing on crevices and edges where dust might hide. Don’t skip this step; dust is sneaky.
Next, use a tack cloth. These are sticky, cheesecloth-like materials designed for picking up remaining dust particles. Wipe the entire table surface gently but thoroughly.
Finally, give it the once-over with a slightly damp cloth. This will catch any missed particles and ensure a clean slate for your stain or paint. Just make sure the table is completely dry before moving on.
That’s it—your table is now ready for its close-up!
Choose Your Stain or Paint
For a beautifully refinished wood table, choosing the right stain or paint is crucial. Think of it like picking an outfit for your table – you want it to look fabulous and show-stopping.
Consider the existing wood color. Dark stains work well with woods like oak or walnut, enhancing their natural grain patterns. Lighter stains can refresh and brighten up cherry or mahogany.
Have a vision for the end result. If you’re going for a rustic vibe, a distressed paint job might suit you. For a modern look, a sleek, high-gloss paint can be a game-changer.
Test first. Always try your chosen stain or paint on a small, inconspicuous area. You wouldn’t wear a new outfit without trying it on, right?
Quality matters. Invest in high-quality stains or paints. Cheap products can unevenly coat, chip, or fade over time, ruining your hard work.
Remember, stains enhance wood’s natural look, while paints cover it. Decide how much of that wood beauty you want to showcase.
Happy choosing, and may your table turn heads in your kitchen!
Apply Stain or Paint
Before you dive in, make sure to choose the right type of stain or paint for your table. Water-based stains dry quickly and are easy to clean up, while oil-based ones penetrate deeper but take longer to dry.
First, apply a thin layer using a brush or cloth. Go with the grain of the wood for a smooth finish. Don’t panic if it looks uneven; that will even out as it dries.
For paint, use a quality brush or roller. Light, even coats are your friend here. Avoid overloading your brush, as this can lead to drips and uneven texture.
Let each layer dry completely before adding another. Trust me, patience pays off. You’ll end up with a rich color and smooth surface that’s worth the wait.
Lastly, keep the area well-ventilated. Fresh air speeds up drying and keeps those fumes from getting too overwhelming. Plus, nobody likes woozy DIY projects.
Apply Protective Finish
Let’s lock in all that hard work like a safe protects treasure. For a table as sparkling as grandma’s wit at Thanksgiving, here’s what you need.
First, pick the right finish. Choose from polyurethane, varnish, or shellac based on your table’s mission in life. Dining table? Go tough with polyurethane. Decorative table? Shellac could be your best friend.
Apply the finish in a well-ventilated area. Trust me, nobody enjoys the smell of chemicals lingering like an uninvited guest. Use a high-quality brush, foam brush, or even a cloth, depending on your selected finish, to smooth on a thin, even coat.
Patience, grasshopper. Let the first coat dry completely. We’re talking hours, not minutes. Once dry, lightly sand it with fine-grit sandpaper. Think of it as polishing a diamond—gently does it.
Wipe off the sanding dust with a tack cloth. You’ll want that surface clean enough to eat off, metaphorically speaking.
Apply additional coats as needed, usually two to three. Each coat should feel as smooth as your best dance moves. In between coats, repeat the sanding and cleaning steps.
Add Additional Coats If Necessary
Now comes the fun part: layering on more coats. Here’s why it’s worth the effort:
First, each additional layer intensifies the color and enhances the depth. It’s like adding more filters to your Instagram photo—better with each one.
Moreover, extra coats provide superior protection against wear and tear. Your table will be ready to fight off kids’ fingerprints, rogue water rings, and that unpredictable pet.
So, rule of thumb? Wait for the previous coat to dry completely. Then, lightly sand the surface with fine-grit sandpaper before applying the next coat. Think of it as giving your table a spa day between treatments. Happy refinishing!
