Last updated on
This easy-to-follow guide will outline the precise steps you need to successfully and safely remove your kitchen faucet without the need for professional help.
Key takeaways:
- Have the necessary tools: adjustable wrenches, pliers, bucket, sealant.
- Shut off water supply to prevent flooding.
- Disconnect water supply lines carefully.
- Remove faucet mounting nuts with a basin wrench.
- Lift out the old faucet with patience and care.
What's Inside
Equipment / Tools

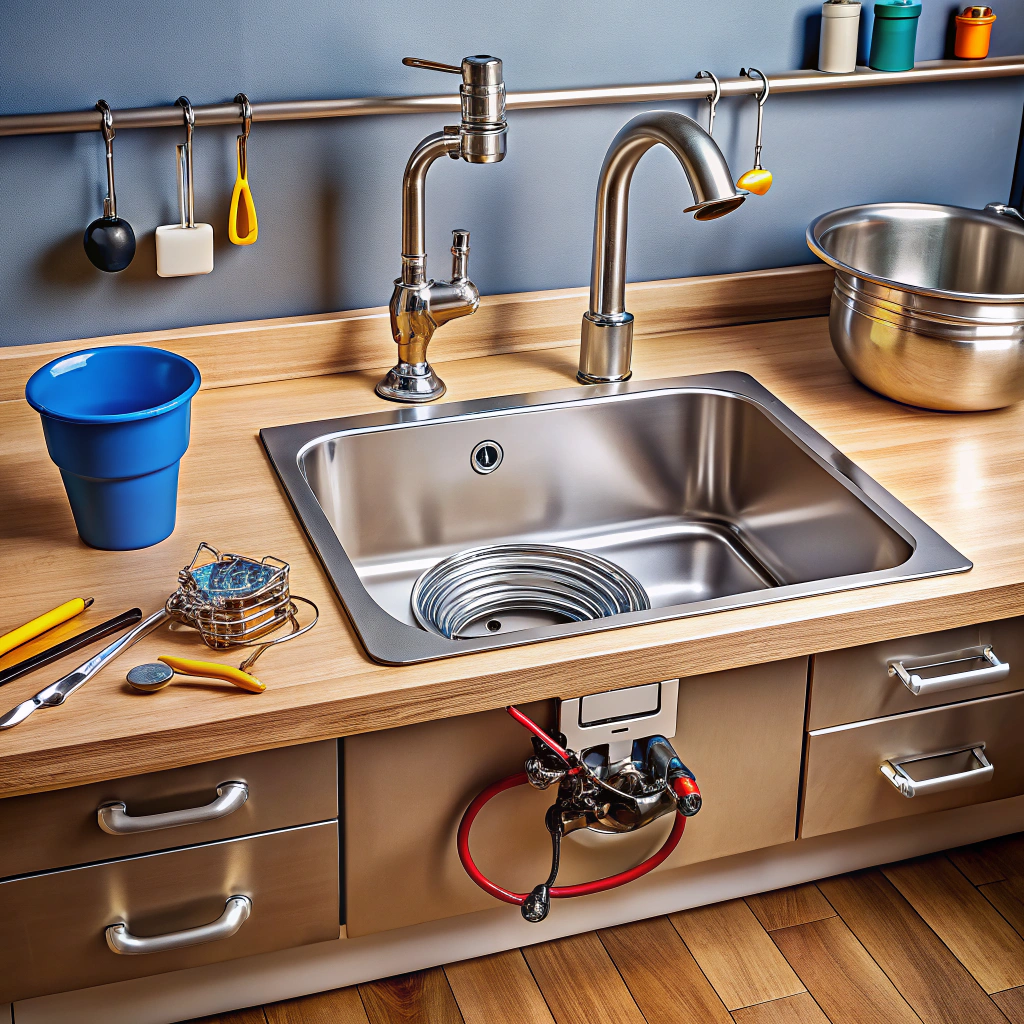
Before diving into the task, ensure you have the necessary equipment:
- Adjustable wrenches or a basin wrench for turning nuts in tight spaces.
- A pair of pliers for additional grip.
- A bucket or towel to catch any remaining water when disconnecting the supply lines.
- Silicone sealant or plumber’s putty for installation of the new faucet (if needed).
Having the right tools not only makes the process smoother but also helps prevent damage to your kitchen fixtures. The basin wrench, in particular, is invaluable for reaching those awkward nuts that standard wrenches can’t grasp effectively. With these on hand, you’re well-equipped to take on the job confidently and efficiently.
Shut Off Water
Before you get started on the exciting journey of faucet removal, it’s crucial to cut off the water supply to prevent a mini flood under your sink. This step sets the stage for a mess-free removal process.
Locate the two valves under the sink—these are the gatekeepers to your faucet’s water flow. Turn them clockwise, and you’ll effectively halt the water from gushing out when you disconnect the lines. A good rule of thumb is to twist until you can’t comfortably twist anymore; it should feel snug, but don’t force it.
After you’ve secured the valves in their off position, it’s wise to release any residual pressure. Simply open the faucet and let any remaining water in the lines drain out. This acts as a double-check to ensure that the water supply has been completely stopped, giving you the green light to proceed without unexpected waterworks.
Disconnect Water Supply Lines
Before diving in, place a bucket under the sink to catch any residual water. Now, with the water supply safely off, it’s time to detach the supply lines. Begin by finding the connections where the flexible supply lines meet the valves. These lines are often secured with nuts that can be loosened by using an adjustable wrench or a pair of channel-lock pliers. Hold the valve with one hand to keep it steady, and with the other hand, turn the nut counterclockwise to loosen it.
Occasionally, these nuts may be a bit stubborn due to mineral build-up or corrosion. If they don’t budge easily, a penetrating oil can work wonders. Apply it around the nut, wait for a few minutes, and then attempt to loosen it again.
Once you feel the nut move, continue to turn it until you can disconnect the supply line. Be ready for a small amount of water to spill out—this is normal. Carefully guide this water into your bucket. Repeat the same process on the other supply line, and then gently put them aside.
Proceed with a careful touch, as overtightening or wrenching too hard during this step can damage the valves or lines, potentially causing leaks when you reconnect them later on.
Remove Faucet Mounting Nuts
With the water supply lines now safely disconnected, you’re ready to tackle the next step—liberating your faucet from its mounting nuts. These nuts are what keep the faucet firmly attached to the sink, and they’re typically found under the sink, where the faucet tailpieces penetrate through the holes of the sink.
To begin, slide under the sink. It’s wise to have a basin wrench on hand, a tool specifically designed for this task. The long handle and swiveling jaw can reach up and easily turn the nuts that might be out of reach or difficult to grip with standard wrenches or pliers.
Sometimes, due to moisture and time, these nuts are a bit stubborn. If corrosion is keeping them in place, a dose of penetrating oil can do wonders. Give the oil a few minutes to work its magic. Then, firmly press the basin wrench onto each nut and turn it counterclockwise. As they loosen, you should be able to turn them by hand until they come free. Remember to support the faucet from above to prevent it from moving or falling.
In case you encounter plastic mounting nuts, caution is key—these can be brittle. Apply a gentle touch when using the wrench to avoid cracking them. If they prove resilient, applying heat gently with a hair dryer can expand the plastic slightly, making it easier to turn.
Removing the mounting nuts is a pivotal moment. Once they’re off, the faucet is no longer anchored in place, meaning you can lift out the old faucet and proceed to the next phase of your faucet replacement adventure.
Lift Out the Old Faucet
Once the mounting nuts are removed, it’s time for the main event of your project: extracting the old faucet. Start by gently wiggling it loose to break any seals that might be holding it in place. If there’s any resistance, a judicious use of penetrating oil can work wonders; just give it time to seep into the threads.
Next, check for any clips or additional fixtures from beneath that might be anchoring the faucet to the sink. If you find any, releasing these should be your next step. Take a moment to inspect for sealant or plumber’s putty that might’ve been used to secure the faucet — you might need to slice through it with a utility knife.
Once all is clear, lift the faucet from above. This should be straightforward, but if it’s stubborn, some mild side-to-side movement can help loosen it. Make sure there’s a towel or rag nearby to mop up any residual water that might escape when you free the faucet.
Remember, patience is key here; forcible tugging could damage the sink or countertop. When the faucet comes free, you’ll have a clear workspace to proceed with your renovation, a testament to the finesse and careful preparation that you’ve applied thus far.


