Last updated on
You will learn how to remove a single handle kitchen faucet with a sprayer by following clear, step-by-step instructions.
Ready to tackle that pesky single-handle kitchen faucet with sprayer? You’re in the right place! With clear steps, the right tools, and a sprinkle of patience, you’ll bid adieu to that old faucet in no time. This guide has got you covered from turning off the water supply to cleaning the sink area. Dive in and get ready to transform your kitchen space!
Key takeaways:
- Gather necessary tools and materials: Basin wrench, adjustable wrench, Phillips screwdriver, flashlight.
- Turn off water supply: Locate valves, turn off clockwise, drain lines.
- Disconnect water supply lines: Use adjustable wrench, catch water, watch for washers.
- Remove handle and housing: Use Allen wrench, find set screw, unscrew collar.
- Detach mounting nuts and faucet body: Use basin wrench counterclockwise, gentle wiggle.
What's Inside
Gather Necessary Tools and Materials

First things first, you’ll need a few trusty tools and materials to make this job a breeze. A basin wrench will be your best friend for those hard-to-reach spots. Grab an adjustable wrench for the nuts and bolts. A Phillips and a flathead screwdriver should cover your bases for any screws.
Don’t forget a bucket to catch any sneaky water left in the lines – nobody likes soggy socks! Old towels can be lifesavers for unexpected spills. It’s also handy to have some plumber’s tape in case you need to wrap any threads later on.
Lastly, a flashlight can help shine a light on those dim corners under the sink. Like going spelunking, but without the bats. Got everything? Let’s dive in!
Turn Off the Water Supply
Locate the water shutoff valves under the sink. There should be two: one for hot water and one for cold. Turn each valve clockwise until it stops.
If your valves are stubborn, don’t be afraid to use a bit of muscle, but not too much. You don’t want to break them. If the under-sink valves are uncooperative, you might need to shut off the main water supply to your home.
Once the water is off, give the faucet a quick test to ensure no water is flowing. This saves you from an unexpected shower later on. Also, it’s a good idea to place a bucket under the pipes to catch any residual water when you start disconnecting things.
Safety first: get those water supplies secure before you proceed.
Drain the Lines and Remove Excess Water
Once the water supply is off, turn on the faucet to let the trapped water flow out. This step minimizes mess later on. Open both the hot and cold knobs if your faucet has them.
Next, use a container to catch the remaining drips. Place it under the sink to prevent any small puddles from forming. You don’t want your workspace turning into a swimming pool, after all!
Finally, a few quick dabs with an old towel or sponge can soak up any lingering moisture. Congratulations, your faucet lines are now all drained and ready for the next step! Bonus points if you manage to avoid spraying water everywhere like an energetic puppy at bathtime.
Disconnect the Water Supply Lines
Grab your trusty adjustable wrench and prepare to tackle those water supply lines!
First things first: locate the nuts connecting the supply lines to the faucet. These little guys are usually found just under the sink basin.
Have a small bucket or towel ready. Why? Because a little water might spill out, and we don’t want any unexpected slip ‘n’ slides!
Turn your wrench counterclockwise (lefty-loosey!) to loosen the nuts. Once they’re loose, you can unscrew them by hand.
Keep an eye on the washers and seals. They tend to hide in strange places or disappear like socks in a dryer.
And voilà! The supply lines are disconnected, and you’re one step closer to saying au revoir to your old faucet.
Remove the Handle and Housing
This is where things start to get interesting. Think of this as the moment in a heist movie when the plan is put into action. First, grab your trusty Allen wrench. It’s your key to unlocking the mysteries of the handle.
- Locate the small set screw, usually found at the base of the handle. It might be hiding, but it’s there.
- Insert the Allen wrench and turn counterclockwise to loosen the screw. Voila, the handle should slide right off.
- Once the handle is removed, you might find a decorative cap or collar. It’s like a faucet necktie, but less stylish. Unscrew or pop it off, depending on the model.
If you’ve done it right, you’re now staring at the faucet’s inner workings. Feels a bit like disarming a bomb, but less dramatic. Stay cool and move on to the next step.
Detach the Mounting Nuts and Faucet Body
Now, let’s get to the fun part—working those muscles! You’ll need a basin wrench or an adjustable wrench to tackle those stubborn mounting nuts under the sink. Sometimes, they can be tight, so a bit of elbow grease might be required.
Before you go full Hercules on the nuts, make sure you’re twisting them counterclockwise. Righty-tighty, lefty-loosey is your mantra here. Careful though; a slip and you’ll have an instant DIY scar to show off.
Once those nuts are off, the faucet should lift away easily. If it’s sticking, give it a gentle wiggle. It might be bonded to the sink with old plumber’s putty, so a little patience goes a long way.
If the faucet body doesn’t budge, double-check for any hidden screws or fasteners. Manufacturers love to hide these like Easter eggs in a Marvel movie.
Disconnect the Sprayer Hose
Now, let’s get down to business with that sprayer hose.
- Locate the sprayer hose beneath the sink. It’s typically connected to a diverter valve. Got it in sight? Great.
- Use an adjustable wrench to loosen the nut connecting the hose to the faucet. Lefty loosey! Be gentle yet firm—like trying to convince your dog it’s bath time.
- Once the nut is loose, pull the sprayer hose out from above the sink. Expect a little water to drip; it’s just your faucet’s way of saying goodbye.
- If the hose is stuck, you might need to give it a bit of a wiggle. Think of it as persuading a stubborn jar lid.
- Keep a towel handy to mop up any excess water.
Voila, the sprayer hose is history.
Ready for the next step? Let’s roll.
Remove Any Remaining Components
Take a moment to assess the sink area. You might find some lingering washers, gaskets, or mounting brackets still clinging on. It’s like a bad guest overstaying their welcome. Get in there with a screwdriver or pliers and gently coax them out of their hiding spots.
Next, check for any leftover sealant or putty. It’s kind of like peeling old stickers off a lunchbox – annoying, but necessary. Use a putty knife or scraper to remove it. If it’s being particularly stubborn, a bit of vinegar or a commercial adhesive remover will help loosen things up.
Lastly, give the area a good wipe-down. A clean surface is crucial for the next steps and will make the new install much smoother. Plus, it’s always fun to channel your inner neat freak!
Remember, meticulous work now will make future tasks easier and prevent potential headaches down the line. And who doesn’t want to avoid headaches?
Clean the Sink Area
Once you’ve got all the faucet components out, give that sink area some TLC. You wouldn’t want to install a shiny new faucet on a grimy sink, right?
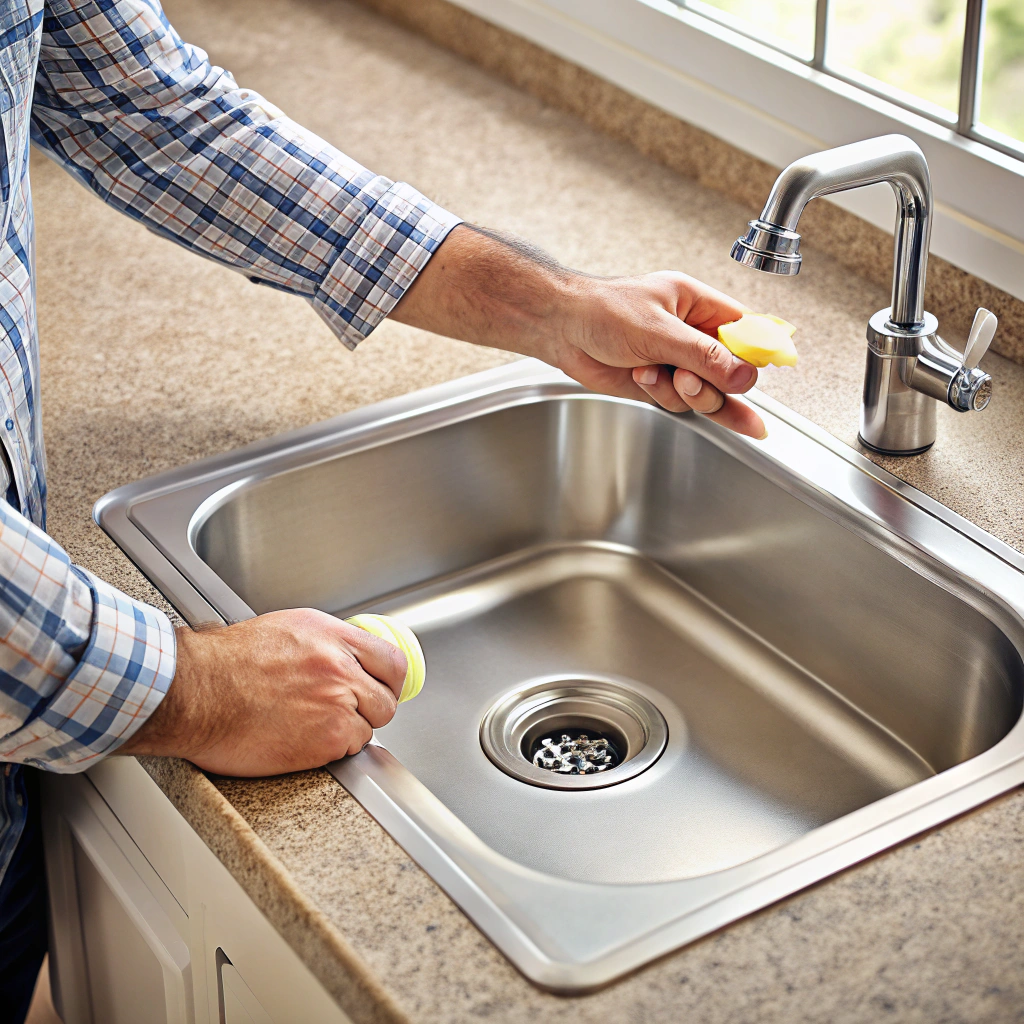
Get a sponge or cloth and some mild detergent. Scrub away any gunk and mineral deposits around the holes where the faucet and sprayer were placed. Old putty or sealant residue? Scrape it off gently with a plastic scraper to avoid scratching the sink’s surface.
Remember to clean around the edges and in any crevices. A little elbow grease here makes for a perfect installation spot later. Plus, it’s always nice to have a clean sink — even if just for a moment before the next spaghetti-sauce splatter attack!
Prepare for New Faucet Installation
Now that the sink is squeaky clean, it’s time to get ready for the next step.
Make sure you have everything for the new faucet laid out—gaskets, washers, and all those little parts that tend to go missing when you need them most.
Double-check the manufacturer’s instructions. They often include handy diagrams that can make the job a breeze.
Inspect the holes in your sink to ensure they match the new faucet configuration. You don’t want to discover after the fact that you need an extra hole—awkward!
Grab some plumber’s tape or putty. Plumber’s tape helps prevent leaks by sealing threaded connections. Plumber’s putty keeps water from seeping through the base of the faucet.
Lastly, a dry run won’t hurt. Position the new faucet and sprayer to see how it looks and if all parts fit snugly. Adjust if needed before committing to installation.
Following these tips will make the actual installation process smoother and glitch-free. Happy installing!
