Last updated on
Removing a backsplash can rejuvenate your kitchen or bathroom; this guide will show you the simplest and most effective techniques to do it yourself.
Key takeaways:
- Gather necessary tools and materials for backsplash removal.
- Prepare the work area and turn off electricity for safety.
- Remove caulk and tiles with patience and caution.
- Scrape away high sections and clean up debris.
- Know when to call a professional for complex materials or overwhelming scope.
What's Inside
Gather the Necessary Tools and Materials
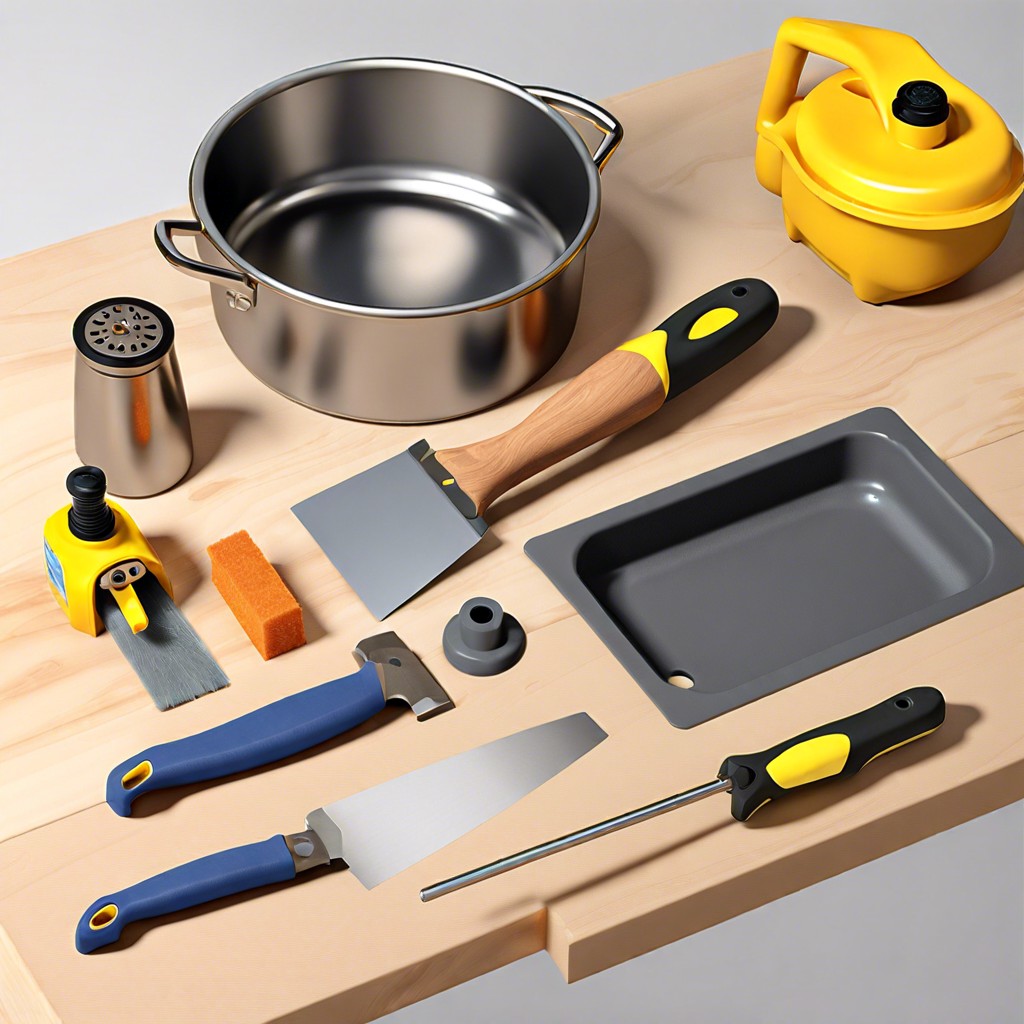
Embarking on a DIY backsplash removal adventure? Before charging into battle, make sure you’re well-equipped! First off, gather some safety goggles and heavy-duty gloves to protect your eyes and hands. Mistakes happen, and tiles can be sharp!
Next, arm yourself with a utility knife for slicing through old caulk—it’s surprising how something so simple can be your best friend in this task. You’ll also need a hammer and a chisel or a putty knife, which will come in handy for gently prying tiles off the wall without turning your kitchen into a demolition site.
Don’t forget a bucket or a wheelbarrow to keep those ousted tiles from staging a counterattack on your floor. Lastly, grab a tarp or some plastic sheeting to shield your countertops and floors from debris. Preparedness is the name of the game, and with these tools at your side, you’re ready to tackle that backsplash like a pro!
Prepare the Work Area and Turn Off Electricity
Before diving into the removal process, ensure your work area is prepped to prevent any mishaps. Clear off countertops and remove any nearby appliances or furniture that could obstruct your movement or get dusty. It’s vital to maintain a clutter-free space to navigate tools easily and keep everything within reach.
Additionally, since bathrooms and kitchens usually have electrical outlets near backsplash areas, turning off the power from your home’s circuit breaker is crucial for safety. This precaution helps avoid any accidental shocks when handling tools near these areas. Double-check that the power is off by testing the outlets with a voltage tester or by plugging in a small appliance to confirm they’re not receiving power. Safety first – always!
Remove Caulk and Tiles
Start by slicing through the caulk around the edges of the backsplash with a utility knife. This action separates the tiles from adjacent surfaces, ensuring a smoother removal process. Once the caulk is cut, it’s time to focus on the tiles.
Wedge a putty knife or a thin pry bar under the edges of the tiles. Apply gentle pressure to pry the tiles off. If they’re stubborn, you may need to tap the handle of your tool with a hammer to get them moving. As each tile comes free, be mindful of sharp edges and the hard surfaces around you, to avoid damage or injury.
For tiles that break during removal, secure a chisel at an angle under the remaining pieces and tap lightly with a hammer. This should help lift and remove the remnants.
In removing tiles, patience is a virtue. Rushing can lead to unnecessary damage to the wall, which could mean more work later on. So take your time, and the tiles will eventually relinquish their hold.
Scrape Away High Sections and Clean Up
After removing the tiles, you’ll often find adhesive residue and uneven surfaces. Use a putty knife or a scraper to gently remove any remaining high sections—being careful not to gouge the wall underneath. This process can be surprisingly satisfying, like peeling off a giant sticker that’s overstayed its welcome.
Next, sweep up the debris and give the area a thorough vacuuming; this ensures that no stray pieces are left behind. For the finer cleaning, dampen a sponge and wipe down the walls to remove dust and smaller particles. This step is essential for preparing the surface for any future plans you have, whether it’s re-tiling or painting. Clean walls are happy walls!
In short, aim for a smooth, clean surface that would make any level proud. This is a prime opportunity for perfectionists to shine; relish removing every last bit of grit and glue!
When to Call a Professional
Tackling a backsplash removal might have you feeling like a DIY superhero, but even superheroes have their limits. Here are a few signals that it’s time to hang up your cape and dial a pro:
– Complex Materials: If your backsplash is made of fragile materials like glass or high-end stone, mishandling them could turn your kitchen wall into a costly mosaic of mistakes.
– Damaged Walls: Discovering severe damage behind old tiles isn’t just a setback; it’s a renovation red flag. Professionals can rehabilitate your walls without further destruction.
– Plumbing Concerns: Spot pipes behind those tiles? Accidentally turning your kitchen into a water park isn’t on the DIY agenda. Plumbers have the magic touch to navigate around those pipes.
– Time Constraints: If your time is more valuable spent elsewhere, hiring a professional can transform hours of your labor into mere minutes of theirs.
– Overwhelming Scope: Feeling overwhelmed is your cue. If the project’s scale is more epic than expected, professionals have the team and tools to tackle it swiftly.
Recognizing when to call in the experts can save you time, money, and a potential DIY disaster. Keep these pointers in mind to ensure your kitchen revamp is a smash hit, not a tile tragedy.


