Last updated on
Learn how to safely remove cabinets from your wall with step-by-step instructions and handy tips to make the job easier.
Ready to tackle the task of removing your kitchen cabinets like a pro? You’re in the right place! This guide breaks down every step, from gathering tools to the final disposal, so you won’t miss a beat. Kiss those outdated cabinets goodbye with confidence and a touch of humor. Ready, set, unscrew!
Key takeaways:
- Gather tools: screwdriver, drill, pry bar, stud finder
- Clear area: remove clutter, protect surfaces, turn off power
- Remove doors, drawers: unscrew hinges, slide out gently
- Detach shelves, hardware: remove internal components
- Cut caulk, paint: use utility knife to free cabinets
- Unscrew side and back screws carefully and label
- Lower cabinets slowly with a buddy’s help
- Dispose responsibly: recycle, donate, follow guidelines
What's Inside
Gather Necessary Tools and Supplies
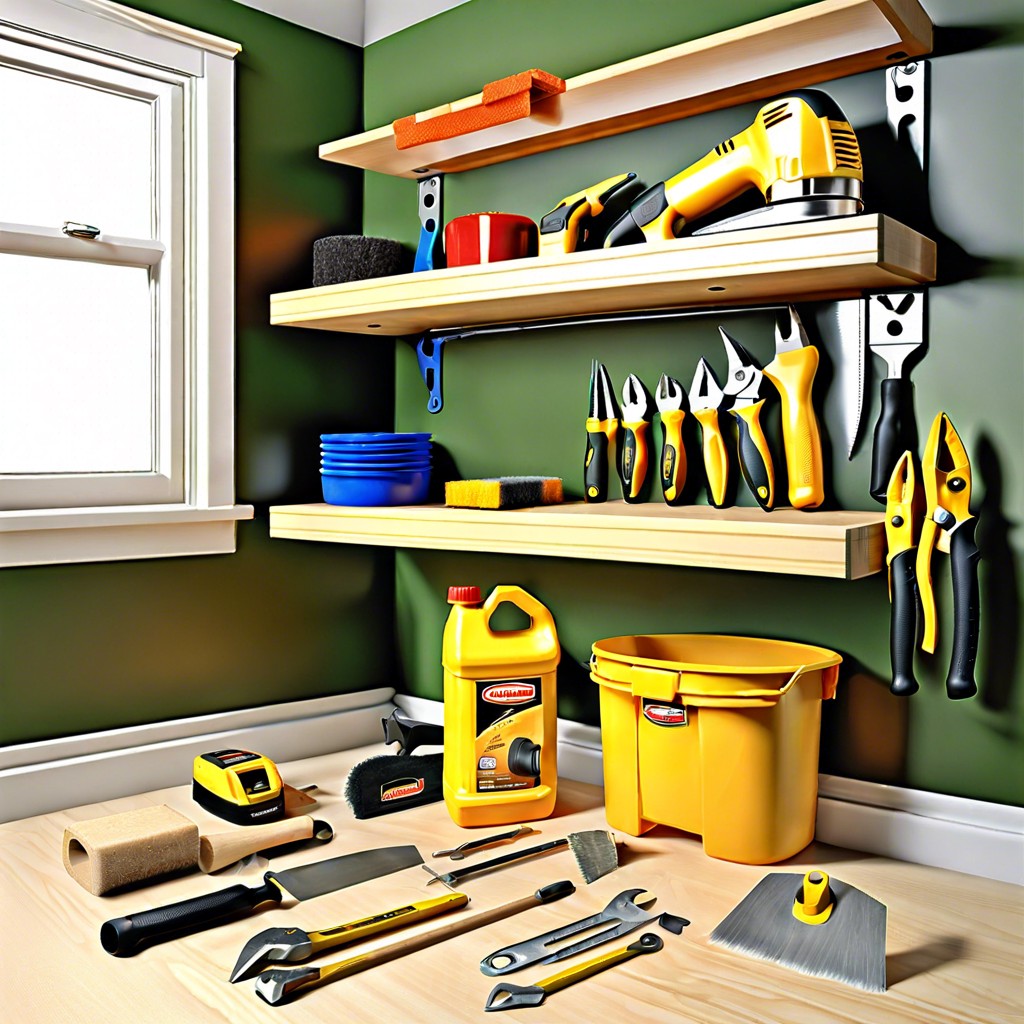
Ready for a cabinet deconstruction fiesta? First, arm yourself with the right gear.
You’ll need a screwdriver set. Trusty and true, this will be your new BFF. Cordless drills can speed up the process — just make sure they’re charged. A utility knife will help with any stubborn caulk or paint. Have a pry bar handy; it makes dealing with nails or super-glued sections way easier.
Don’t forget a stud finder. Cabinets are usually screwed into wall studs for stability. Find those sneaky studs before you turn into a wrecking ball.
A step ladder is essential unless you’re dunking basketballs in your spare time. Safety goggles and gloves? Absolutely. Safety is sexy.
Painter’s tape can help mark the spots you’ve already worked on, avoiding any “Whoops! Did I miss one?” moments. Lastly, a friend. Some things are just better with company, especially when it involves heavy lifting.
Clear and Prep the Kitchen Area
Imagine working in a kitchen strewn with pots, pans, and that rogue jar of pasta sauce. Chaos! Rule number one: clear out the clutter.
Move small appliances, dishes, and food items out of the way. This not only gives you the space to work but also keeps your grandma’s porcelain vase safe from accidental disaster.
Cover countertops and floors with drop cloths or old sheets. Trust me, this will save you from a cleaning nightmare later.
Turn off the power to any electrical outlets or appliances near the cabinets. Safety first, unless you’re aiming for a shockingly memorable experience.
Keep a garbage bag handy for any unexpected bits of debris or your cat’s newfound toy collection exposed during the process.
Remove Cabinet Doors and Drawers
Begin with removing the doors. Grab a screwdriver and start unscrewing the hinges. This will lighten the cabinet, making the next steps easier. Keep those screws and hinges in a small container; they love disappearing when you’re not looking.
Next, slide out the drawers. They might have simple roller tracks or complex dovetail joints. For roller tracks, just give them a gentle tug. Dovetail joints may need a bit more finesse—lift up slightly and pull. Label the drawers if you’re planning to reuse or reattach them elsewhere. No one enjoys a game of cabinet musical chairs.
Lastly, set everything safely aside. You don’t want a drawer or door becoming an overenthusiastic projectile later on. This phase is quick but crucial. Your back will thank you for it later.
Detach Shelves and Internal Hardware
Alright, time to ditch those shelves and bits and bobs inside the cabinets.
First, slide the shelves out. Most of ’em usually just rest on small pegs and can be lifted right out. If they’re not budging, check for screws.
Next, unscrew any internal hardware. Hinges, brackets, and any attached mechanisms need to go. It might be tempting to leave some, but trust me, you want a clean slate when pulling the cabinets off the wall.
Keep a bowl or container nearby for all those screws and bolts. Losing one might not seem like a big deal, but it sure is frustrating when it’s time to reassemble or repurpose.
Stay organized and take a moment to appreciate all the weird spices you found hiding in the back!
Cut Away Caulk or Paint
Slice through the caulk or paint sealing the cabinet edges to the wall. A utility knife works wonders here, like a magical wand for DIY enthusiasts. Be gentle but firm; you don’t want to damage the wall. Next, run the blade along the seams where the cabinet meets the wall. Double-check for any stubborn spots.
Tip: If the caulk resembles an uncooperative child clinging to its mother, a putty knife can lend a hand. Just slide it carefully under the edge. This loosens any remaining grip. Voilà! The cabinet is now free from its sticky bounds.
Unscrew Side Screws
Take out your trusty screwdriver. Look for screws on the side of the cabinets, typically connecting neighboring cabinets to one another. These screws hold the cabinets closely together to ensure stability and prevent wobbles.
- Use your screwdriver to carefully unscrew these fasteners.
- If the screws are stubborn, a power drill can offer extra muscle.
- Keep a firm grip on the screwdriver or drill, you don’t want slip-ups.
- Place removed screws in a labeled container; small screws love to play hide-and-seek.
Once the side screws are out, you’ll start to feel a bit more wiggle. That’s a good sign—your cabinets are loosening up, but don’t get too excited yet. There are more steps ahead. Stay focused and patient!
Locate and Unscrew Back Screws
Back screws are often the secret agents holding your cabinets steadfastly against the wall. Finding them might feel a bit like a treasure hunt.
Start by inspecting the inside of the cabinet, usually at the back panel. Use a flashlight if needed; these screws can be sneaky. They’re often located in corners or along support rails.
Got a cordless drill? Perfect. It will make this job quicker and your arms will thank you. Unscrew those screws with care, ensuring the cabinet is supported to avoid any sudden plummeting.
Enlist a helper if you can. One person can hold the cabinet steady while the other removes the screws. It’s like synchronized swimming, but with less water and more gravity.
Double check for any screws you might have overlooked. Cabinets can be tricksters, securing themselves with more screws than you’d anticipate.
Once all screws are out, give the cabinets a gentle nudge to see if they’re ready to come free. Sometimes they need a little jiggle to release from years of staying put. Moving them carefully will prevent damage to the wall or the cabinets themselves.
Carefully Lower and Remove the Cabinets
Enlist a buddy for this part. Cabinets are heavier than they appear, and no one wants to become a pancake under a rogue cabinet.
Communicate clearly. Decide who holds what and when to move. You don’t want an “I thought you had it” moment.
Lift the cabinet slightly to ensure it’s free of the wall before lowering. Check for any missed screws or caulking you might have overlooked.
Lower the cabinet slowly to prevent any sudden drops. It’s not a race, and this isn’t an extreme sport.
Place the cabinet on a sturdy surface to avoid tipping or wobbling accidents. Consider covering the surface with an old blanket or towel for extra padding.
Respect gravity, and remember: slow and steady wins the kitchen renovation race.
Dispose or Store Removed Cabinets
Now that you’ve got your cabinets down, it’s decision time! Are you holding on to them for future use, or saying goodbye?
- If you’re storing them:
- Find a dry place: Moisture is wood’s arch-nemesis. Keep those cabinets away from damp basements or garages.
- Stack smartly: Use blankets or cardboard between pieces to avoid scratches. And remember, you’re stacking cabinets, not playing Jenga.
- Label parts: If you ever plan to reinstall them, labels will save you from playing a tedious game of “Where does this go?”
- If you’re disposing of them:
- Check local disposal guidelines: Your local waste management folks may have specific rules for large items. Play by their rules.
- Donate if possible: Many organizations, like Habitat for Humanity, will gladly take your old cabinets and give them a second life.
- Recycle: Some parts, like metal handles or hinges, could be recyclable. It’s a win for you and Mother Earth.
And there you have it! Whether storing or disposing, make sure it’s done with a bit of care. No one wants a pile of broken wood and regret.

