Last updated on
Discover the straightforward process of removing a Pfister kitchen faucet handle to tackle repairs or replacements with ease and confidence.
If you have ever tried to remove a kitchen faucet handle, you know how frustrating it can be. Whether you are trying to replace a broken handle or simply want to clean the faucet thoroughly, removing the handle can seem like an impossible task.
If you own a Pfister kitchen faucet and are struggling with this issue, then this article is for you! In this post, we will guide you through the step-by-step process of removing a Pfister kitchen faucet handle so that your maintenance tasks can be completed with ease. So let’s dive in and learn how to remove your Pfister kitchen faucet handle like a pro!
What's Inside
Tools and Materials Required
This will ensure that you can complete the task smoothly without any interruptions or delays. Here is a list of items you’ll need:
Tools:
- Adjustable wrench
- Phillips head screwdriver
- Flathead screwdriver
Materials:
- Clean cloth or rag
- Penetrating oil (optional)
- Having these tools and materials ready before starting will make your work much easier, faster, and efficient. So let’s move on to shutting off the water supply!
Shutting Off the Water Supply
This step will prevent any accidental leaks or water damage during the repair process. To do this, locate your home’s main water valve and turn it off by turning its lever clockwise until it stops.
If you cannot find your main valve or if there isn’t one in your house, then look for a shutoff valve under the sink that connects to your faucet’s hot and cold supply lines.
Once you have located either of these valves, turn them both clockwise until they are fully closed. After shutting off the water supply valves successfully, open up both hot and cold handles on Pfister kitchen faucets to release any remaining pressure inside before proceeding with disassembling parts of a faucet handle.
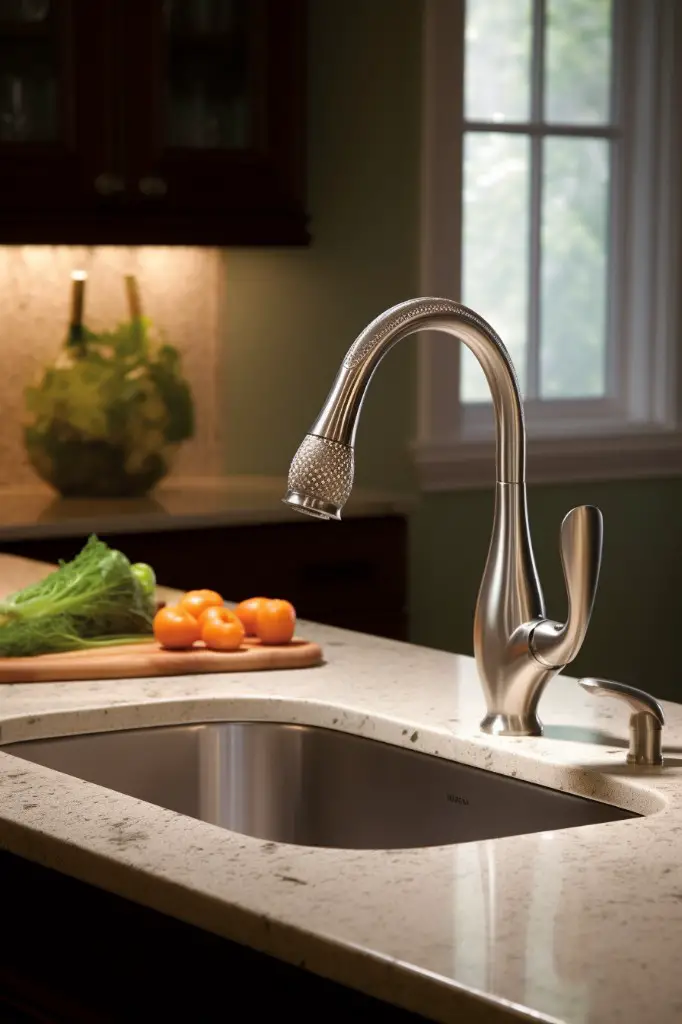
Removing Pfister Kitchen Faucet Handle
First, gather all the necessary tools and materials required for this task. Then shut off the water supply to avoid any leaks or spills during disassembly.
Next, locate and detach the screw that holds your Pfister kitchen faucet handle in place. Once you have removed it successfully, take out the handle cap by gently prying it off with a flathead screwdriver.
After removing these parts of your Pfister kitchen faucet handle assembly, disconnect its cartridge from both hot and cold supply lines using pliers or an adjustable wrench as needed.
Detaching the Screw
This screw is usually located at the center of the faucet and can be easily detached using an appropriate tool such as a Phillips head or flathead screwdriver.
To detach this screw, insert your chosen tool into its slot and turn it counterclockwise until it becomes loose enough to remove by hand. Be sure to keep track of this small but essential piece so that you do not lose it during disassembly.
With the removal of this crucial component, your Pfister kitchen faucet handle should now come off with ease.
Removing the Handle Cap
The handle cap is located on top of the faucet handle and covers up additional screws that hold everything together. To remove this piece, use a flathead screwdriver or a similar tool to gently pry it off from its position.
Be careful not to damage any surrounding parts while doing so. If you encounter resistance when trying to remove the cap, try wiggling it back and forth until it loosens up enough for removal.
Once you have successfully removed the Pfister kitchen faucet handle cap, set aside all pieces in an organized manner so that they can be easily reassembled later on.
Disconnecting the Faucet Cartridge
This is a small cylinder that controls water flow and temperature. To remove it, use pliers to grip the top of the cartridge and pull it straight out of its housing.
If your Pfister kitchen faucet has been in use for a long time or has not been maintained properly, then removing this part may require some extra effort.
If you find that your cartridge is stuck in place despite using pliers to grip it firmly, try wiggling it back and forth gently while pulling upward at an angle until it comes loose from its housing.
Be sure to inspect both sides of the cartridge for any signs of damage or wear before proceeding with reassembly. If there are any cracks or other visible defects on either side, replace them immediately with new ones before reinstalling everything else back into place.
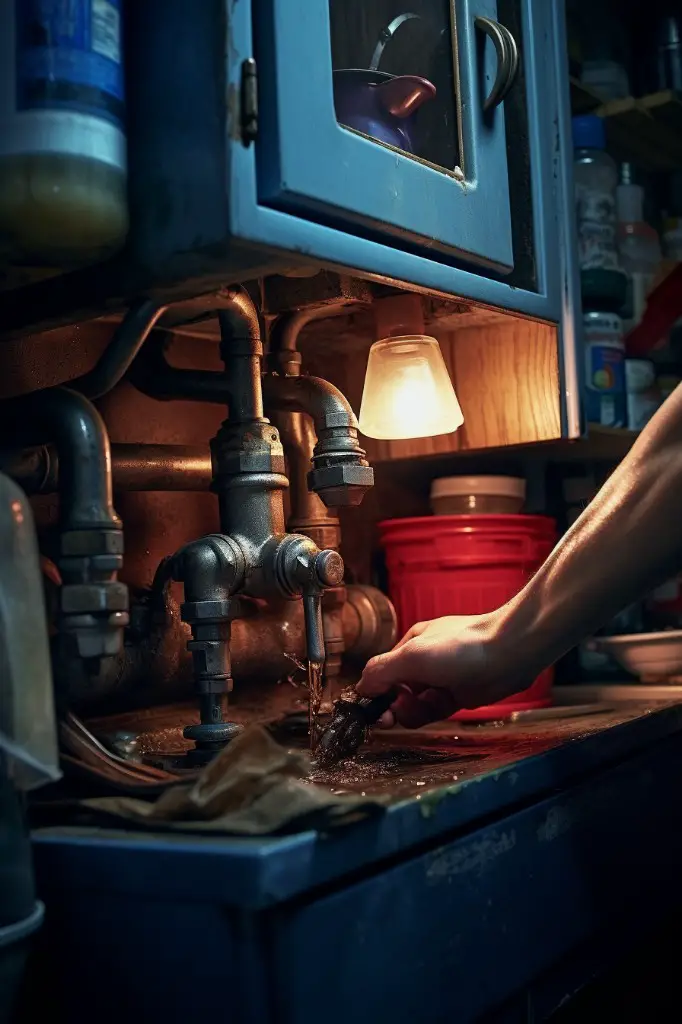
Disconnecting Supply Lines
This step is crucial as it will allow you to remove any debris or buildup that may be clogging your faucet and affecting its performance. To do this, locate the two supply lines that are connected to your faucet and use an adjustable wrench or pliers to loosen them.
Be sure to place a bucket underneath before loosening these connections as water may still be present in the pipes.
After removing both supply lines, inspect them for any signs of damage such as cracks or leaks. If either line appears damaged, replace it with a new one before reassembling your Pfister kitchen faucet handle.
Disconnecting supply lines can also help prevent future issues by allowing you easy access for cleaning and maintenance tasks in case of blockages caused by mineral deposits from hard water areas.
Detaching Spout and Hardware
This step is necessary if you need to replace any of these parts or clean them thoroughly. To do this, locate the mounting nuts that hold the spout in place under your sink.
Use a basin wrench or adjustable pliers to loosen these nuts by turning them counterclockwise until they are loose enough for you to remove by hand.
Next, lift off the spout from above while holding onto its base with one hand so that it doesn’t fall into your sink bowl accidentally. Once removed, inspect all parts for damage or wear before cleaning each component separately using warm water and mild soap solution.
If there is any mineral buildup on either part of your faucet assembly (spout/hardware), use white vinegar mixed with water in equal proportions as an effective cleaning agent; soak affected areas overnight before rinsing thoroughly with clean water.
Cleaning and Inspection
This step is crucial as it helps identify any underlying issues that may require repair or replacement. Begin by cleaning the handle, cartridge, spout, and hardware with a soft-bristled brush and mild soap solution to remove any dirt or debris buildup.
Next, inspect each part for signs of wear and tear such as cracks in plastic components or corrosion on metal surfaces. If you notice any damage during inspection, replace those parts immediately before reassembling your faucet.
Cleaning your Pfister kitchen faucet regularly can help prevent mineral buildup from hard water deposits that can cause blockages in supply lines leading to low water pressure issues over time.
Reassembling the Faucet Handle
Follow these simple steps to put everything back together:
1. Reattach the spout and hardware: Place the spout back onto its base and secure it with screws.
2. Connect supply lines: Reconnect any water supply lines that were disconnected earlier.
3. Install cartridge: Insert a new or cleaned cartridge into its housing, making sure that all components are properly aligned.
4. Replace handle cap: Snap on the decorative cover over your faucet handle assembly until you hear a click sound indicating proper attachment.
5. Tighten screw: Use an Allen wrench or Phillips head screwdriver (depending on your model) to tighten down any retaining screws holding handles in place securely but not too tight as this can cause damage over time due to stress points created by overtightening fasteners.
Reinstalling Faucet Handle
The process of reinstalling the handle is essentially a reversal of the removal steps. Begin by sliding back in place any hardware that was removed during disassembly, such as spout and supply lines.
Next, reattach the faucet cartridge and screw it into position using a Phillips head screwdriver. Make sure that everything is tightened securely but avoid over-tightening which can cause damage to your faucet.
After this step, replace any decorative caps or covers on top of your Pfister kitchen faucet handle before finally snapping back into place with gentle pressure.
Turn on water supply valves slowly while checking for leaks around connections and joints between parts.
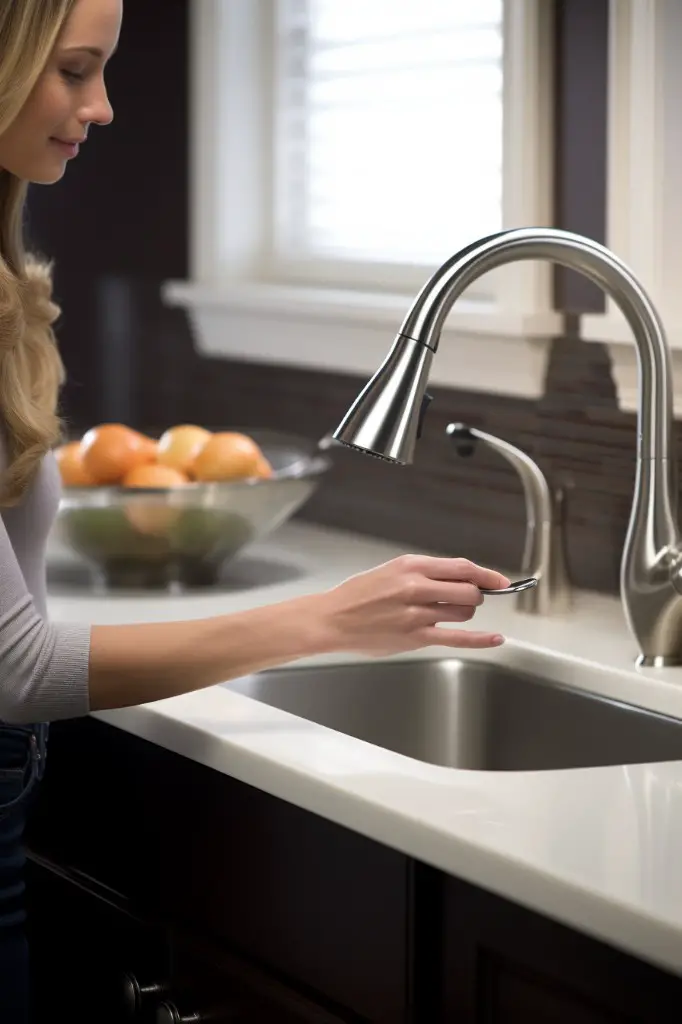
Testing for Proper Function
Turn on the water supply and check for any leaks around the base of the faucet or under the sink. If there are no leaks, turn on both hot and cold water to ensure that they are flowing correctly from their respective handles.
Next, test out your sprayer (if applicable) by pulling it out and checking that it is functioning properly. Make sure that all parts of your newly repaired or replaced Pfister kitchen faucet handle move smoothly without any resistance.
Troubleshooting Common Issues
One of the most common problems is a leaky faucet, which can be caused by worn-out O-rings or damaged cartridges. If this is the case, you will need to replace these parts to fix the issue.
Another problem that homeowners face with their kitchen faucets is low water pressure. This could be due to mineral buildup in your supply lines or aerator screen blockage.
To solve this problem, remove and clean your aerator screen and check for any clogs in your supply lines.
If you notice unusual noises coming from your Pfister kitchen faucet after reassembling it following repairs or replacements, then there might be an issue with air trapped inside it causing vibrations when water flows through it at high speed. In such cases simply turn on both hot and cold taps fully for about 30 seconds each while keeping them open simultaneously until all air has been purged out of system.
Pfister Kitchen Faucet Models
Some of their popular models include the Pfister Marielle, Pfister Pfirst Series, Pfister Ashfield, and many more. Each model has its unique design features that make it stand out from others.
It’s essential to know your faucet model before attempting any repairs or replacements as each model may have slightly different removal procedures. You can usually find your faucet’s model number on the installation manual or on the manufacturer’s website.
If you’re unsure about which Pfister kitchen faucet you own or need help identifying it for repair purposes, don’t hesitate to contact their customer service team for assistance. Knowing your specific faucet type will ensure that you follow accurate instructions when removing its handle without causing damage to other parts of your sink system.
Final Tips and Advice
Firstly, always make sure to turn off the water supply before attempting any repairs or replacements on your faucet. This will prevent any accidental flooding or damage.
Secondly, take note of the order in which you remove each component so that reassembly is easier later on. It’s also important to clean all parts thoroughly before putting them back together.
Lastly, if you encounter any issues during the process such as difficulty removing certain components or leaks after reinstallation, don’t hesitate to seek professional help from a plumber.
FAQ
What are the necessary tools and steps for disassembling a Pfister kitchen faucet handle?
Necessary tools and steps: using an Allen wrench, remove the setscrew, then gently pull off the handle.
Are there any specific precautions to take while removing the handle from different Pfister kitchen faucet models?
While removing the handle from different Pfister kitchen faucet models, ensure to turn off the water supply, follow the specific model instructions, and use the appropriate tools.
What maintenance or cleaning practices should be followed after removing a Pfister kitchen faucet handle?
After removing a Pfister kitchen faucet handle, one should clean the handle and surrounding area while also checking for damage or wear, and replace any parts if needed.


