Last updated on
Discover the simple steps to effectively remove wrap from your kitchen cabinets, transforming them into a fresh and attractive space in no time.
Do you have outdated or damaged wrap on your kitchen cabinets that you’re dying to remove? Are you worried about damaging the wood underneath? Fear not! Removing wrap from kitchen cabinets is a simple and straightforward process that can be done with just a few tools. In this article, we’ll guide you through the steps to safely and effectively remove wrap from your kitchen cabinets, giving them a fresh new look without breaking the bank.
So grab your tools and let’s get started!
What's Inside
Reasons for Removing Wrap
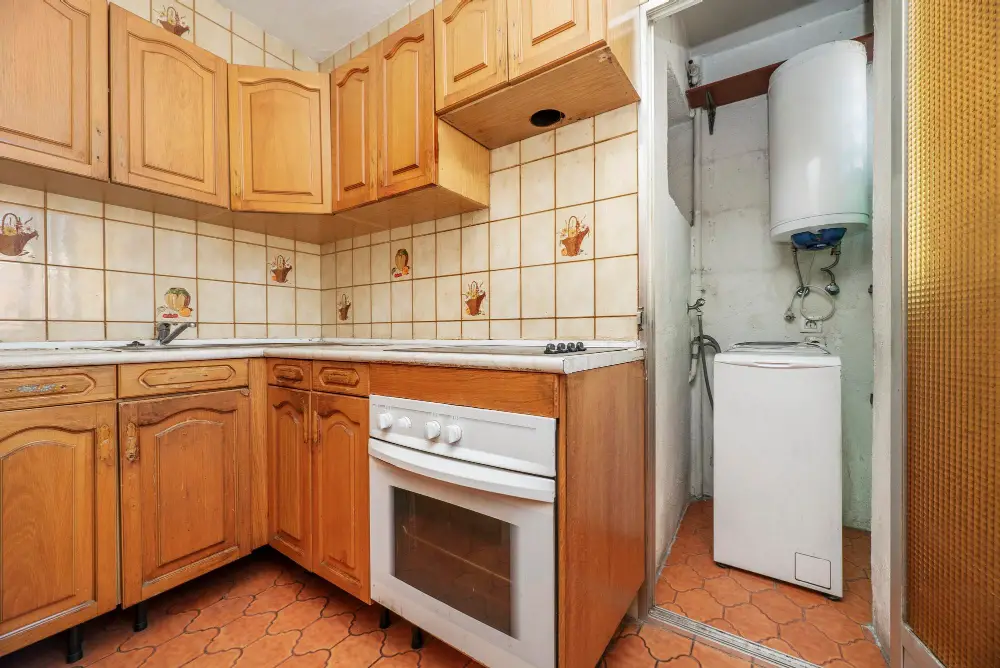
The reasons for removing wrap from kitchen cabinets are numerous. Perhaps the most common reason is that the wrap has become outdated or damaged over time, and you want to give your kitchen a fresh new look.
Alternatively, you may have recently moved into a new home with pre-existing cabinet wraps that don’t match your personal style or decor preferences. Whatever the reason may be, removing old cabinet wraps can breathe new life into your space without having to replace all of your cabinetry entirely.
Another important reason for removing old wrap is if it’s starting to peel off on its own accord; this could be due to age or poor installation quality. Peeling edges not only make cabinets look unsightly but also create an environment where dirt and grime can accumulate easily.
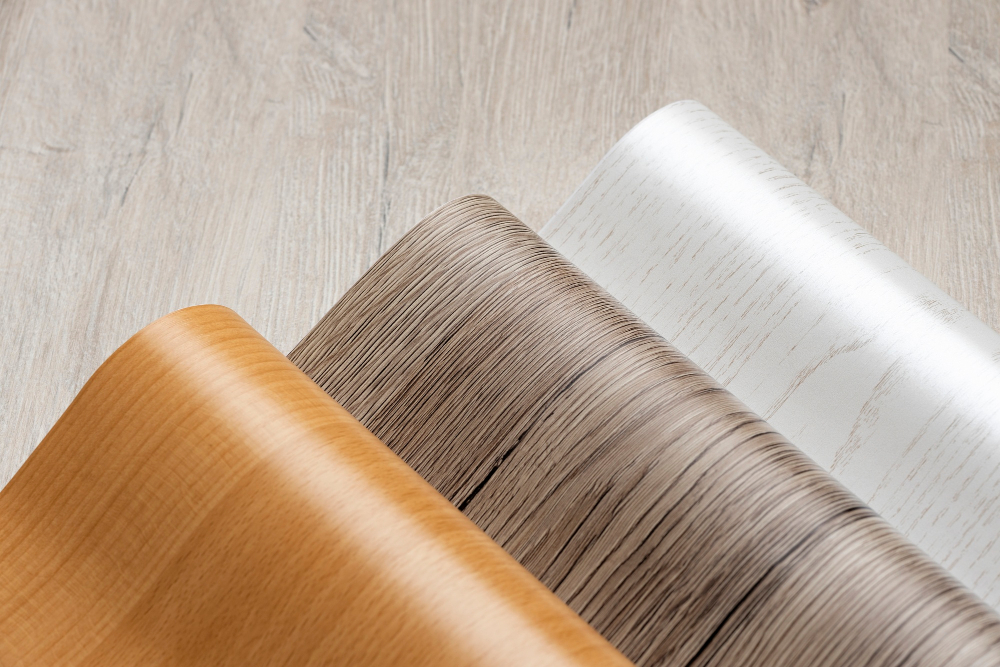
Types of Kitchen Cabinet Wraps
There are two main types of kitchen cabinet wraps: adhesive vinyl and thermofoil.
Adhesive vinyl is a thin layer of plastic that is applied directly onto the surface of the cabinet. It can be easily removed by peeling it off, but may leave behind some residue that needs to be cleaned up.
Thermofoil, on the other hand, is a thicker material that has been molded onto MDF (medium-density fiberboard) or particle board using heat and pressure. Thermofoil cannot simply be peeled off like adhesive vinyl; instead, it must be heated up in order to loosen its bond with the underlying surface before being carefully peeled away.
Identifying which type of wrap you have will help determine which removal method will work best for your specific situation.
Identify the Type of Wrap
This will help you determine which removal method is best suited for your specific situation. There are two main types of cabinet wraps: adhesive vinyl and thermofoil.
Adhesive vinyl is a thin layer of plastic that adheres to the surface of your cabinets with an adhesive backing. It can be easily removed by peeling it off or using heat to loosen its grip on the wood underneath.
Thermofoil, on the other hand, is a thicker material made from PVC (polyvinyl chloride) that has been vacuum-sealed onto MDF (medium-density fiberboard). Thermofoil cannot be peeled off like adhesive vinyl because it bonds more strongly with MDF than with wood veneer or solid wood surfaces.
To identify which type of wrap you have in place, examine its texture and thickness closely. Adhesive vinyl feels thinner and smoother than thermofoil; whereas thermofoil appears thicker and may have visible seams where pieces were joined together during installation.
Preparing the Work Area
This will help ensure that you have a safe and efficient workspace, and that your cabinets are protected during the process.
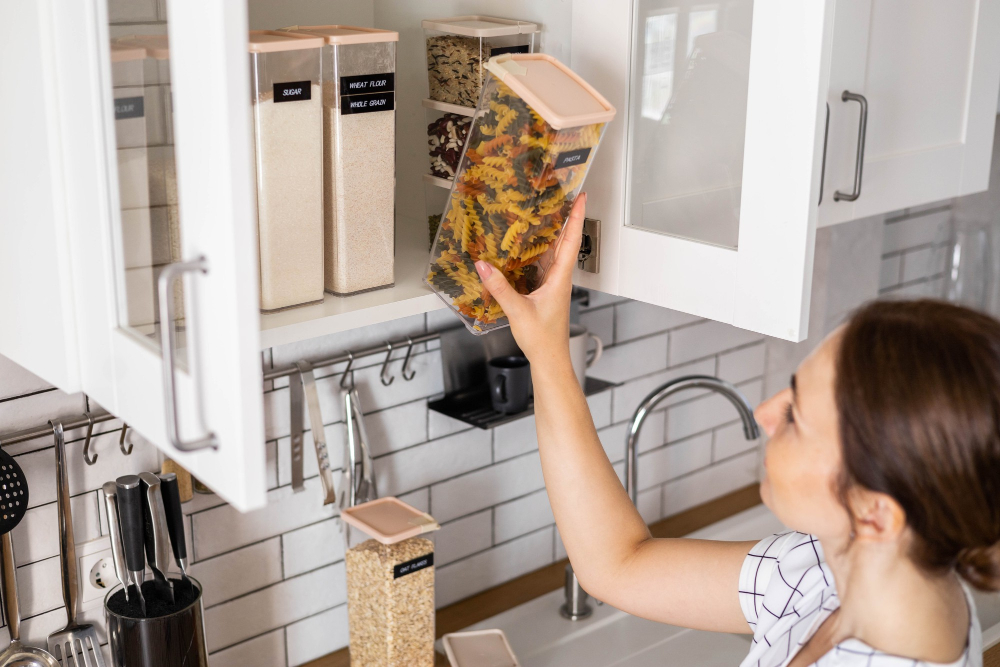
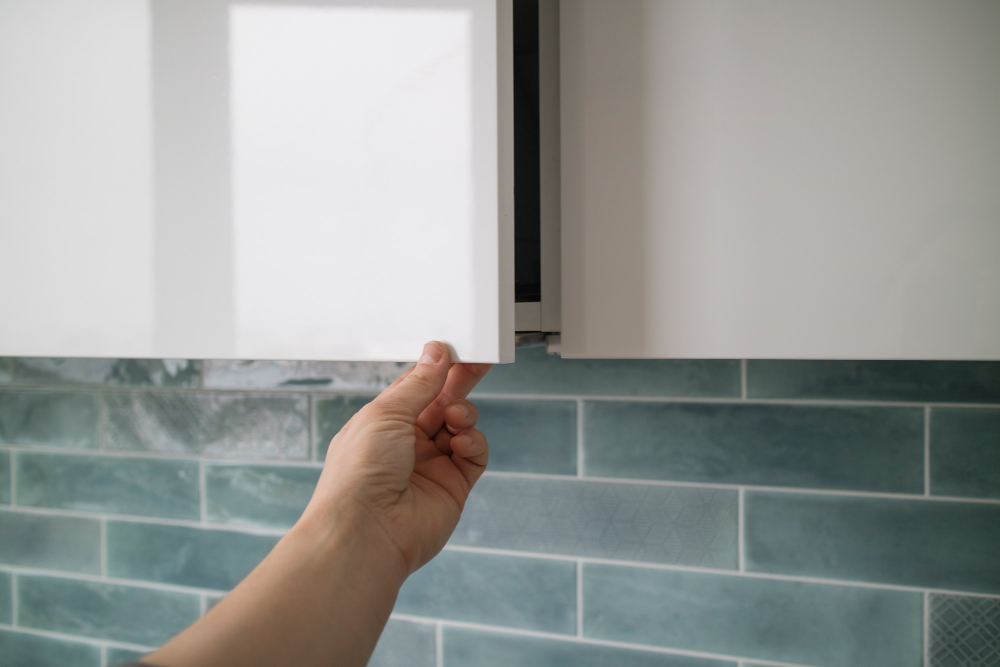
Start by clearing out any items inside or on top of your cabinets. You don’t want anything getting in the way while you’re working or accidentally falling onto a hot surface.
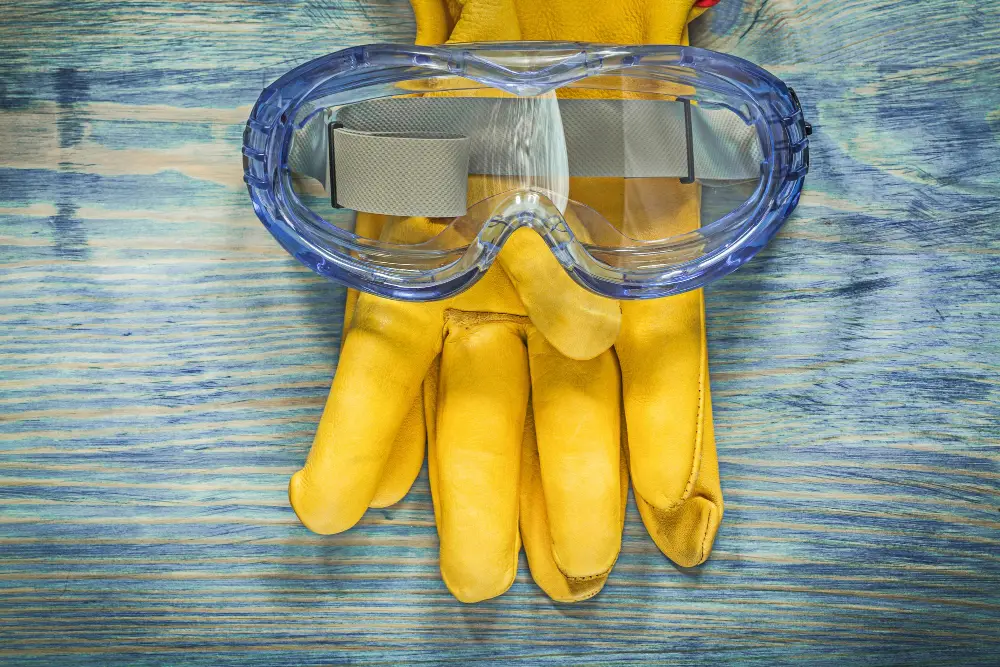
Next, cover any nearby surfaces with protective materials such as drop cloths or plastic sheeting to prevent damage from heat guns or chemical removers. Make sure to also protect yourself by wearing gloves and safety glasses throughout this process.
Open windows for ventilation if possible since some chemical removers can produce fumes that may be harmful when inhaled for extended periods of time.
Safety Precautions
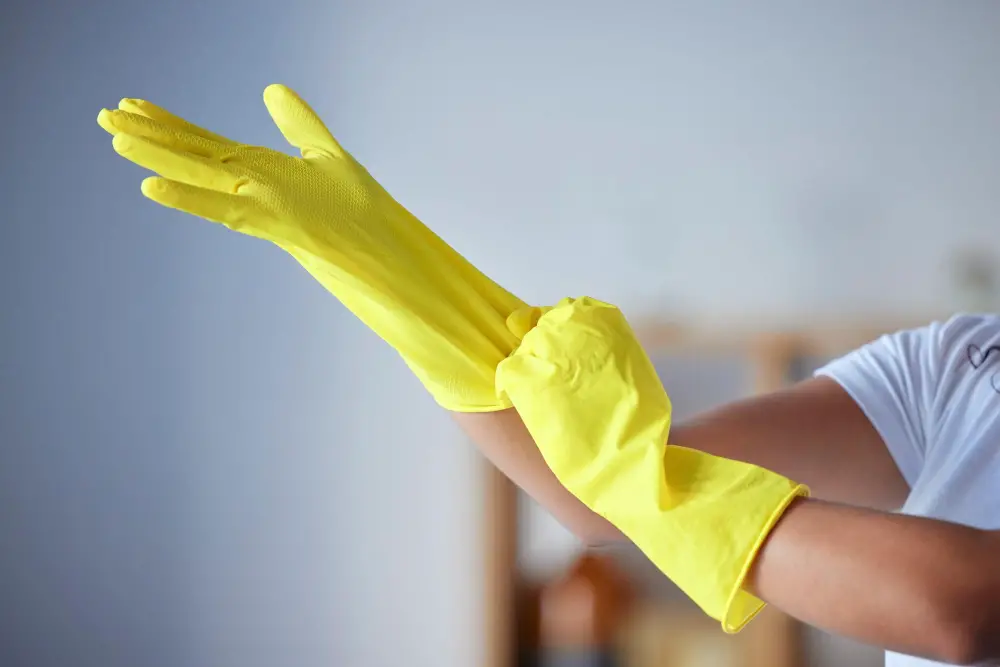
First and foremost, make sure that you’re wearing protective gloves to avoid any potential burns or cuts. Ensure that the work area is well-ventilated by opening windows or using a fan if necessary.
When working with heat sources such as a hairdryer or heat gun, be careful not to overheat the wrap as this can cause it to melt and become even more difficult to remove. Keep in mind that chemical removers can also be hazardous if not used properly – always follow the manufacturer’s instructions carefully and wear protective eyewear.
Gathering Necessary Tools and Materials
You’ll need a few basic items that can be found at any hardware store or online retailer. Here are some essential tools and materials you’ll need:
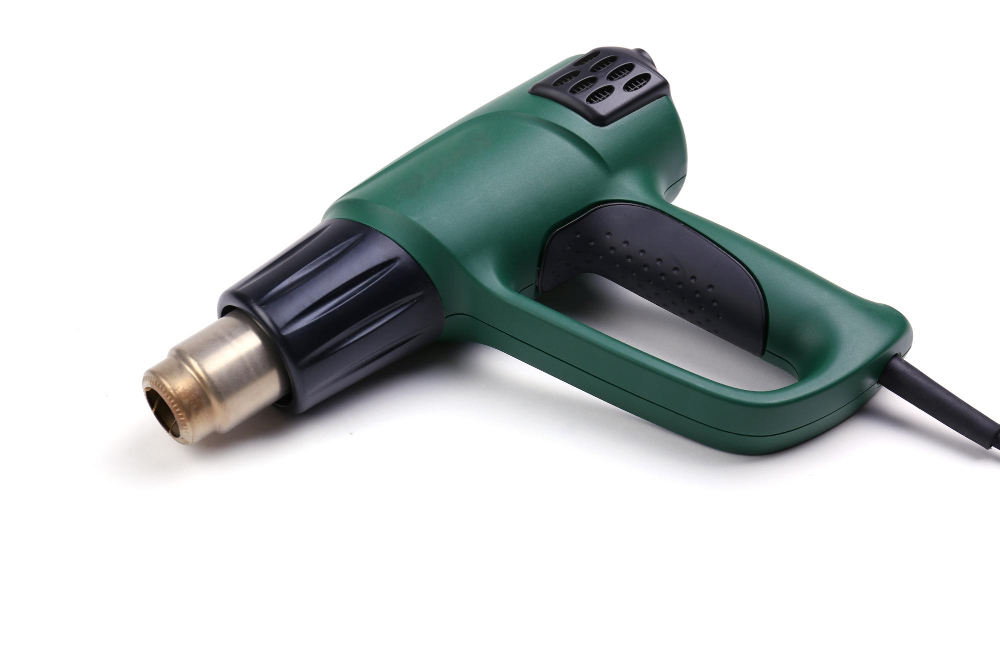
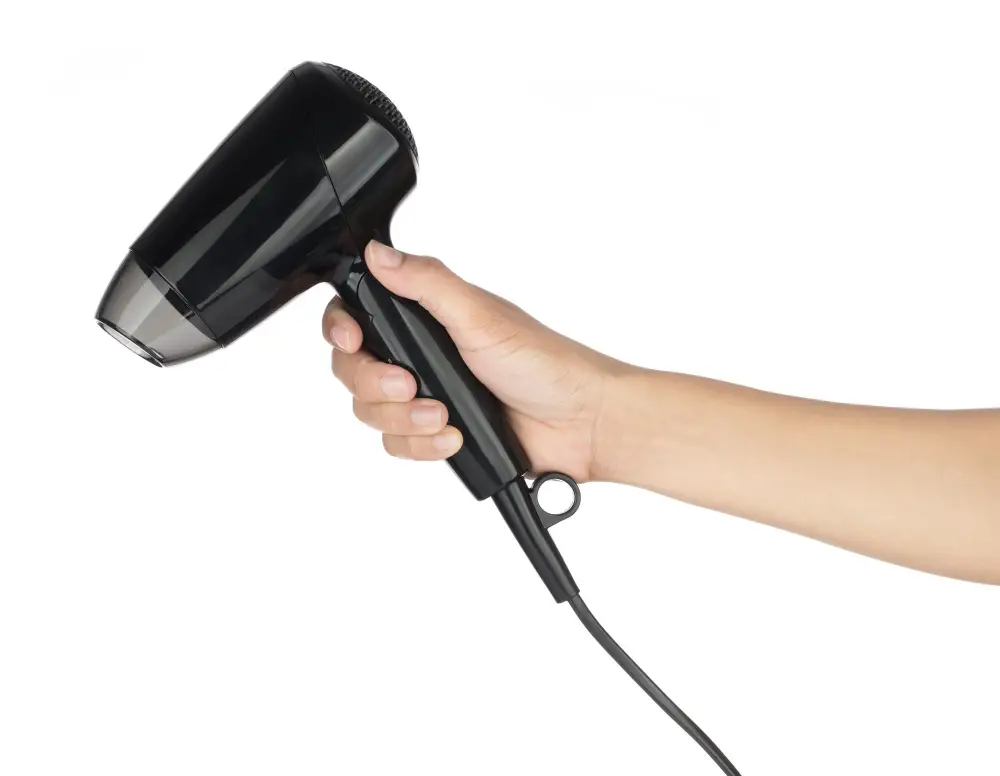
1. Heat gun or hairdryer: A heat gun is ideal for removing stubborn wraps, but a hairdryer will also work.
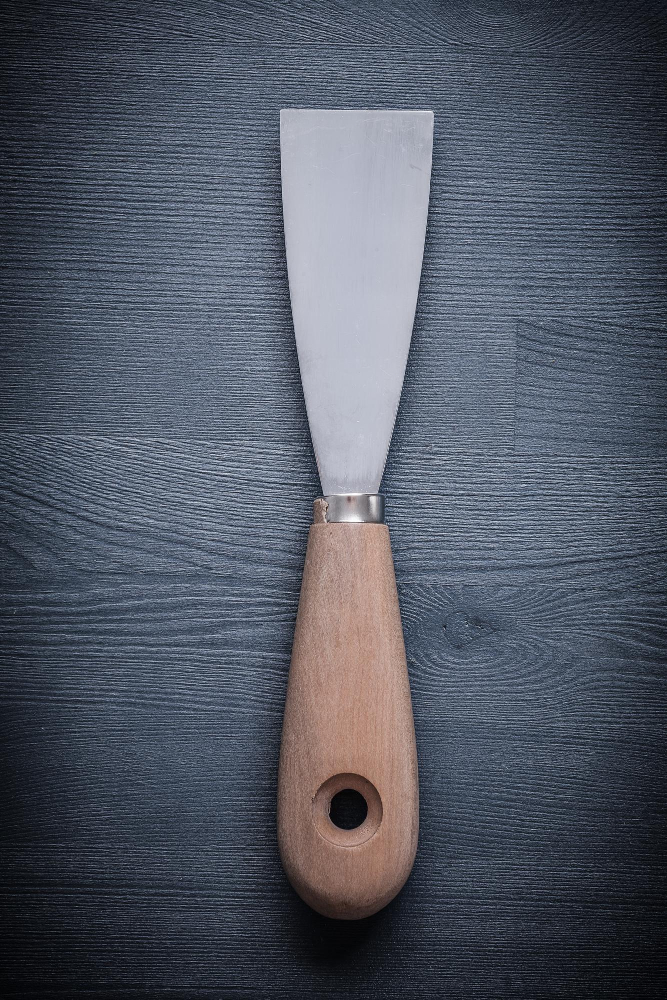
2. Plastic scraper: Use this tool to gently scrape off the wrap without damaging the wood underneath.
3. Chemical remover (optional): If using chemical removers, make sure they are safe for use on your specific cabinet material.
4. Protective gear: Wear gloves and safety glasses to protect yourself from chemicals and debris during removal.
5. Cleaning supplies: Have cleaning rags, soap solution, water spray bottle ready as well as sandpaper if needed.
Identifying Wrap Removal Points
The easiest way to do this is by locating any seams or edges in the wrap. These areas are typically where two pieces of wrap meet and are therefore easier to lift and peel away.
If your cabinets have a lot of intricate details or curves, look for areas with less detail that will be easier to work on first. This will give you an idea of how much time and effort it will take for each section.
It’s also important to note that some wraps may not have visible seams or edges, making them more difficult to remove without damaging the underlying wood surface. In such cases, using heat or chemical removers may be necessary.
Warming Up the Wrap
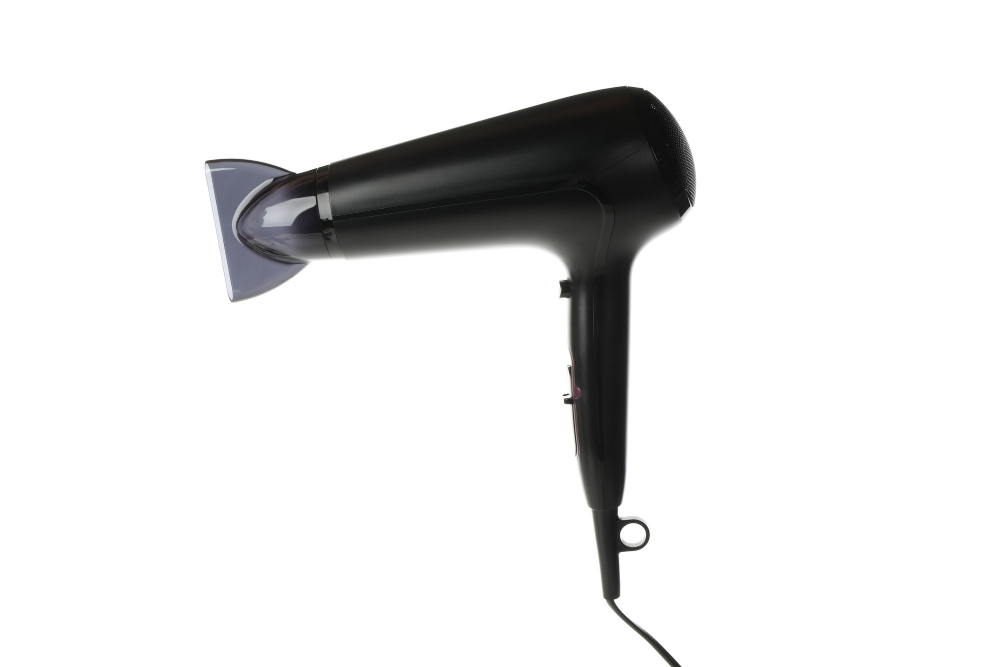
This will make it easier to peel off without damaging the underlying wood or leaving behind any residue. To do this, use a hairdryer or heat gun on low heat and hold it about 6 inches away from the surface of the wrap.
Move back and forth over each section for about 30 seconds until you feel that area is warmed up enough.
Be careful not to overheat one spot as this could cause damage to both your cabinet and yourself! Once an area has been heated sufficiently, gently try peeling off a corner of wrap with your fingers or a plastic scraper tool. If it doesn’t come off easily yet, continue heating that section before trying again.
Removing Wrap With Heat

This method works best for vinyl or plastic wraps, as they tend to soften and become more pliable when exposed to heat. To begin, use a hairdryer or a heat gun on low setting and hold it about 6 inches away from the surface of the wrap.
Move it back and forth over one section at a time until you feel that area has warmed up enough.
Once heated, gently peel off the wrap starting at one corner while still applying gentle pressure with your other hand on top of where you are peeling so that it doesn’t tear apart in small pieces. If there’s any resistance during this process, apply more heat until all parts come off easily.
Be careful not to overheat any particular spot as this can damage your cabinet underneath causing further problems down the line.
Using Chemical Removers
These products are designed to break down the adhesive used to attach the wrap and make it easier to remove.
When using chemical removers, be sure to follow all safety precautions listed on the product label. Wear gloves and protective eyewear, work in a well-ventilated area, and keep children and pets away from your workspace.
To apply the remover, use a brush or sponge applicator according to manufacturer instructions. Allow it time (usually 15-30 minutes) for it penetrate through layers of adhesive before attempting removal with heat or peeling by hand.
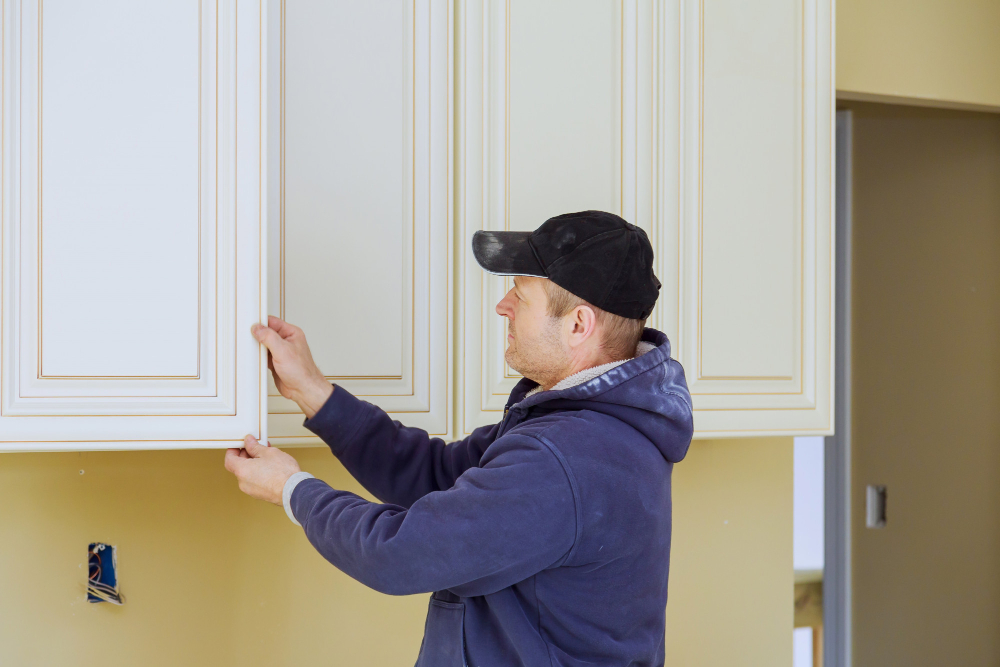
Gently Peeling the Wrap

Begin at one corner of the cabinet door or drawer front and gently lift the edge of the wrap with a plastic scraper or putty knife. Be careful not to gouge or scratch the wood underneath.
As you peel, keep your hands close to where you are working so that you can feel any resistance from adhesive that is still stuck on. If there is any resistance, use a heat gun again for a few seconds until it becomes pliable enough for easy removal.
Continue peeling slowly and carefully until all of the wrap has been removed from each surface. Take care around corners as these areas may require more attention than flat surfaces.
If there are stubborn areas where adhesive residue remains after removing most of the wrap material, try using an adhesive remover solution specifically designed for this purpose before proceeding further with scraping tools which could damage your cabinets’ finish if used improperly.
Removing Wrap From Cabinet Corners
The wrap may have been applied in multiple layers or wrapped around the corner, making it difficult to remove without damaging the wood underneath. To tackle this issue, start by using a heat gun or hairdryer on low heat to warm up the area and soften the adhesive.
Next, use a plastic scraper or putty knife to gently lift one edge of the wrap at one corner while continuing to apply heat with your other hand. Slowly peel back each layer of wrap until you reach any stubborn areas that won’t come off easily.
For these tough spots, try using chemical removers specifically designed for removing adhesive residue from surfaces like Goo Gone® or WD-40®. Apply them sparingly with a cotton swab and let them sit for several minutes before attempting removal again.
Be patient when working on cabinet corners as they require extra care and attention during removal.
Dealing With Stubborn Areas
These can be corners, edges or intricate designs on the cabinet surface. In such cases, it’s important not to force the wrap off as this could damage the underlying wood.
Instead, try using a plastic scraper or putty knife to gently lift and peel away small sections of the wrap at a time. You can also use heat from a hairdryer or heat gun in combination with your scraping tool for better results.
If there are still some stubborn areas left after trying these methods, consider using chemical removers specifically designed for removing adhesive residue without damaging surfaces underneath. Be sure to follow all safety precautions when working with chemicals and always test them on an inconspicuous area first before applying them more broadly.
Cleaning Up Residue
The type of adhesive used on the wrap will determine how difficult it is to remove the residue. For water-based adhesives, warm soapy water and a soft cloth can be effective in removing any leftover glue.
For stronger adhesives like solvent-based ones, you may need to use a specialized cleaner or solvent recommended by the manufacturer.
Be sure to follow all safety precautions when using solvents and cleaners as they can be harmful if not handled properly. Always wear gloves and work in a well-ventilated area.
After cleaning off all of the adhesive residue, wipe down your cabinets with a damp cloth or sponge to remove any remaining dirt or dust particles that may have accumulated during removal.
Inspecting for Damage
The removal process can sometimes cause scratches or dents in the wood underneath, so it’s crucial to check for any issues before moving on to applying a new finish.
Start by examining each cabinet closely and running your hand over the surface. Look out for any rough patches or areas where the wood may have been damaged during removal.
If you notice anything concerning, take note of its location and severity.
If there are only minor scratches or scuffs present, these can often be easily repaired with some sandpaper and touch-up paint. However, if there is more significant damage such as deep gouges or cracks in the wood itself, you may need to consider replacing that particular cabinet door altogether.
Repairing Any Surface Issues
If you notice scratches, dents or other imperfections on the wood underneath, don’t worry! These can be easily repaired with a few simple steps.
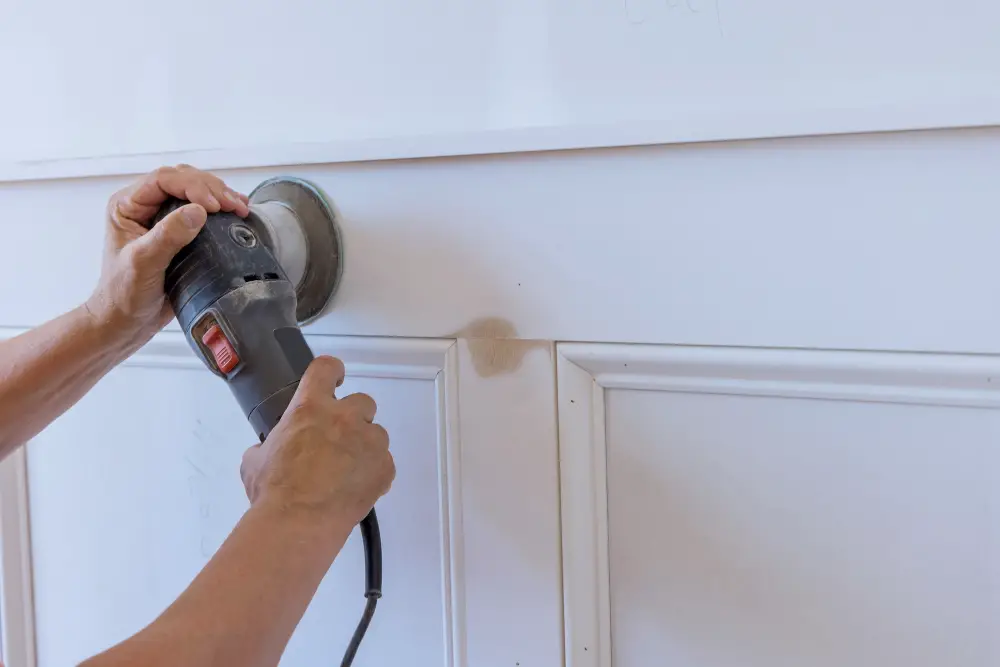
Firstly, sand down any rough areas using fine-grit sandpaper until they are smooth to touch. Then fill in any holes or cracks with wood filler and let it dry completely before sanding again.
Once you have a smooth surface to work with, apply primer and paint over the area if necessary.
If there are deeper scratches that cannot be filled in with wood filler alone, consider using a colored wax stick that matches your cabinet color. Simply rub it into the scratch until it is levelled out and blends seamlessly into surrounding areas.
Disposing of Old Wrap
Old wrap can be bulky and difficult to handle, so make sure you have a plan in place before starting the removal process.
One option is to check with your local waste management facility for any specific guidelines on disposing of old wrap. Some facilities may require that you separate the plastic from other materials or bring it in during designated drop-off times.
Another option is recycling. Many types of plastic wraps are recyclable, but not all recycling centers accept them due to their adhesive backing or mixed material composition.
Check with your local recycling center first before attempting this method.
If neither disposal nor recycling options are available in your area, consider repurposing the old wrap instead! You could use pieces as drawer liners or even create unique wall art by cutting out interesting patterns and shapes.
No matter which method you choose for disposing of old cabinet wraps, always remember to prioritize safety when handling sharp tools and potentially hazardous materials like adhesives and chemicals.
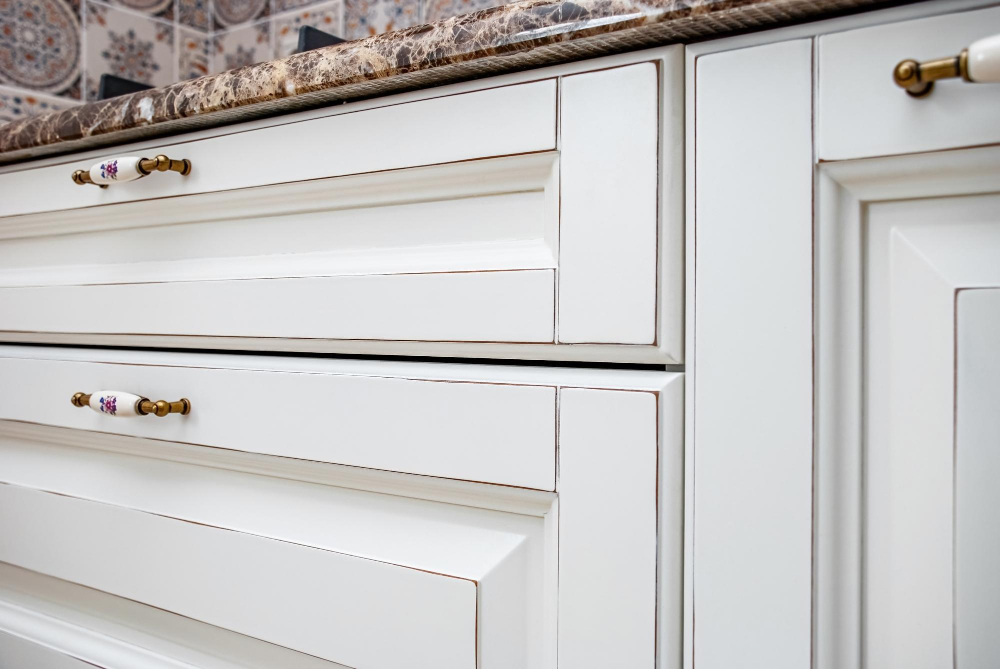
Choosing a New Finish
This is an exciting opportunity to give your kitchen a fresh look and feel. There are several options available for finishing your cabinets, including painting or staining them.
If you decide to paint your cabinets, consider using high-quality paint that will withstand daily wear and tear. Choose colors that complement the overall design of your kitchen while also reflecting personal style preferences.
Staining is another option for finishing wood cabinetry. Stains come in various shades and can be used to enhance the natural beauty of wood grain patterns on cabinet doors and drawers.
Whichever finish you choose, make sure it complements other elements in the room such as countertops, backsplash tiles or flooring materials. Remember that choosing a new finish requires careful consideration since this decision will impact how often maintenance needs arise over time.
Applying New Wrap or Paint
You can choose to replace the old wrap with a new one or paint over the surface for an entirely different look. If you opt for applying new wrap, measure and cut it carefully before sticking it onto your cabinet surfaces.
Make sure that there are no air bubbles trapped underneath by smoothing out any wrinkles as you go along.
If painting is more your style, start by sanding down any rough spots on the cabinet surface and then clean them thoroughly with soap and water. Once dry, apply primer evenly across all surfaces before adding two coats of paint in your desired color.
Whichever option you choose, be sure to let everything dry completely before reassembling hardware or placing items back into cabinets.
Final Clean-up and Reassembly

Use a mild detergent and warm water to wipe down all surfaces, including the insides of drawers and shelves. Dry everything with a clean cloth or allow it to air dry completely.
Next, reassemble any hardware that was removed during the process such as handles or knobs. If any pieces were damaged during removal, now is also an excellent time for replacements.
Consider adding new finishing touches like fresh paint or new cabinet liners for added protection against wear and tear in high-use areas of your kitchen.
With these final steps complete, stand back and admire your newly transformed kitchen cabinets! Removing old wrap can be an easy DIY project that breathes life into outdated cabinetry without breaking the bank.
FAQ
Can you remove wrap kitchen cupboards?
Yes, vinyl kitchen wraps can be removed when you decide your kitchen is ready for a refresh or if the wrapped door has been damaged.
Can you remove vinyl wrap from kitchen?
Yes, you can remove vinyl wrap from your kitchen by heating it with a heat gun or hair dryer, then using a plastic scraper or credit card to gently lift and peel it away.
How do you remove protective film from kitchen cabinets?
To remove the protective film from kitchen cabinets, apply a wide packing tape to the entire surface, ensuring its adhesive is stronger than the film-to-cabinet bond, and then carefully peel off the tape along with the film.
What is the best method to safely remove wrap from kitchen cabinet doors?
The best method to safely remove wrap from kitchen cabinet doors is by using a hairdryer to gently heat the wrap and then carefully peeling it off.
Are there any specific tools or products recommended for removing vinyl wrap from kitchen surfaces?
One recommended tool for removing vinyl wrap from kitchen surfaces is a heat gun or hairdryer, along with a plastic scraper or squeegee.
What precautions should be taken to avoid damaging kitchen cabinets while removing wraps or protective films?
To avoid damaging kitchen cabinets while removing wraps or protective films, ensure to peel them off gently, use a plastic scraper if necessary, and avoid using sharp tools or excessive force.


