Last updated on
Learn how to easily replace your sink sprayer head with this step-by-step guide.
Key takeaways:
- Turn off the water supply before starting the replacement process.
- Disconnect the hose from the old sprayer head with finesse.
- Remove the old sprayer head by loosening the securing nut.
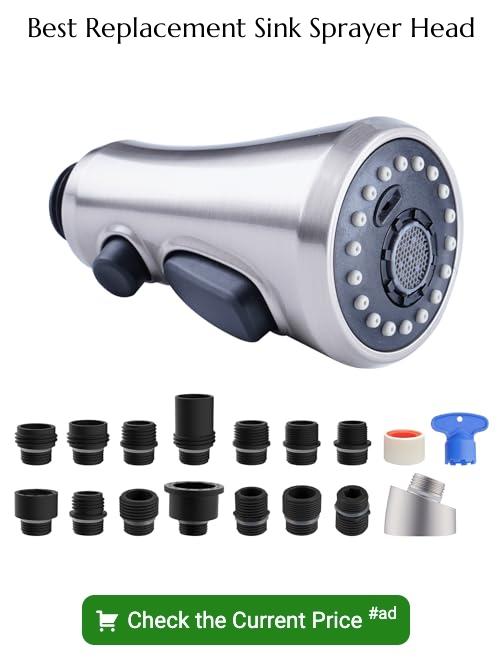
- Attach the new sprayer head, ensuring a snug fit.
- Test the new sprayer head for leaks and adjust as needed.
What's Inside
Step 1: Turn Off the Water
Before you dive into the task, hit the brakes on the water supply. You’ll find the shutoff valves under the sink—look for two knobs, typically chrome-plated. Twist the one for the cold water clockwise until it’s snug, not Superman-tight. Give the hot water knob the same VIP treatment.
Hesitant about which way to turn? Remember the old saying, “righty-tighty, lefty-loosey.” After both valves are off, run the faucet to bleed any water still strutting in the lines. The aim? Dry working conditions to keep surprises (and splashes!) to a minimum. With the stage set, you’re ready to move forward, confident you won’t create an accidental indoor fountain.
Step 2: Disconnect the Hose
Before you dive in, locate the valve under the sink and turn it clockwise to cut off the water supply – believe me, a mini Niagara Falls in the kitchen is the last thing you need. Now, with the threat of an impromptu indoor water feature out of the way, let’s get down to business.
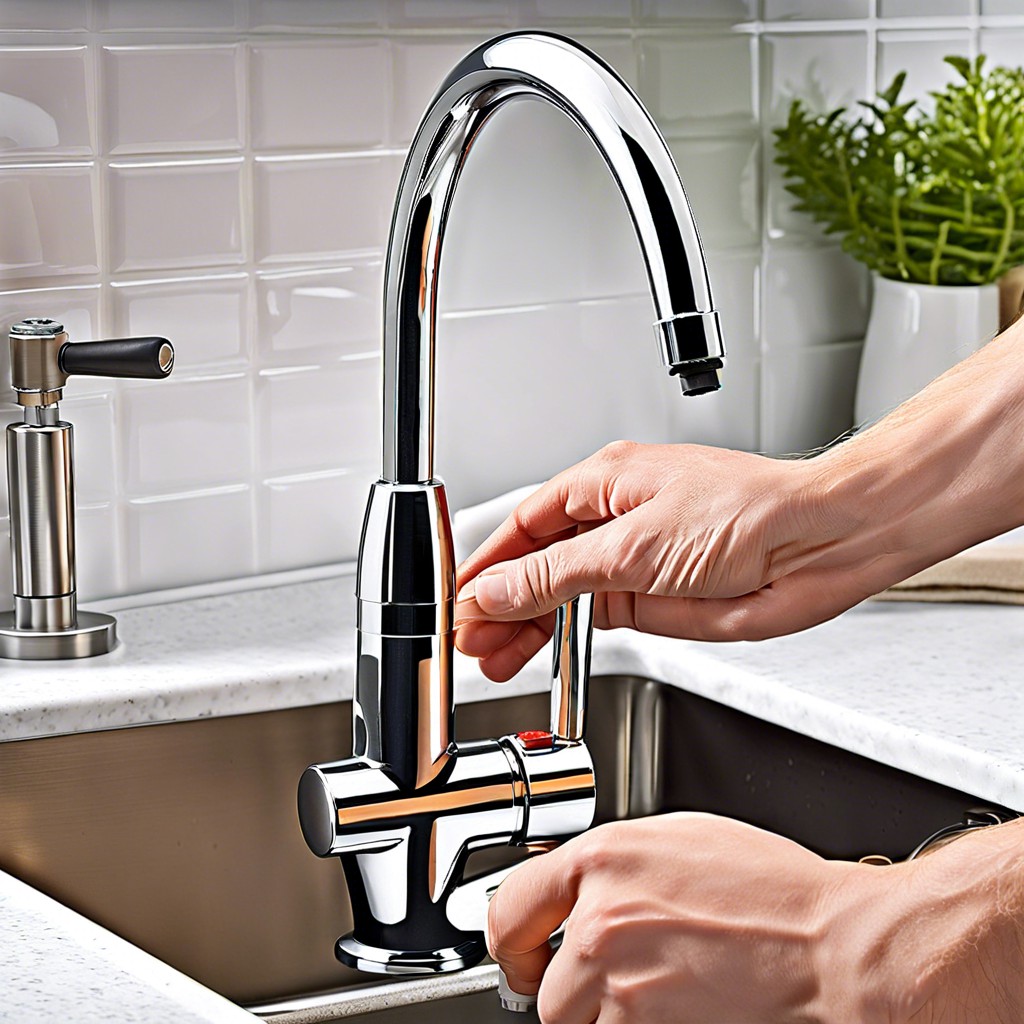
Peek under the sink and you’ll spot the hose that connects to the sprayer head. This sucker can be a bit clingy, but with a gentle twist and pull, you can convince it to let go of the sprayer head. If it seems to have taken an oath of everlasting attachment, a wrench can be your best wingman here. Use it to loosen the connection, but refrain from going all Hulk on it – finesse over force, my friend.
A quick tip: Keep a small bucket or towel at the ready. Some water might still be loitering in the line, and it’s going to want to come out and play. Catching these dribbles shows you’re always one step ahead.
Once you’ve detached the hose with the grace of a plumber-ballerina hybrid, you’re all set to move on to the next stage of the operation: out with the old, and in with the show-stopping new sprayer head! Keep your eyes peeled; precision is the name of the game here.
Step 3: Remove the Old Sprayer Head
With the water supply safely off and the hose disconnected, you’re now ready to bid farewell to the old sprayer head. Think of this as a break-up—it’s not you, it’s the sprayer head, and it’s time for it to go. Start by loosening the nut that secures the head to the hose. A little elbow grease and a wrench should do the trick.
Occasionally, you may hit a snag if the nut is holding on for dear life, seemingly in love with the hose. In such a case, a few drops of penetrating oil can be the couple’s counselor that eases the separation. Give the oil a few moments to work its magic, then try loosening the nut again.
Once the nut is off, the sprayer head should come off quite easily—like taking a hat off your head. If it doesn’t, check for any sneaky clips or washers that might be holding things in place. Be gentle yet firm, as if you are coaxing a cat out from under the bed. There’s no rush. Patience is often the best tool in your DIY arsenal.
Remember to keep all parts you remove in case you need them for reference when picking a replacement, or if you discover you need them for reassembly. Now take a deep breath, the tough love part is over. The sprayer head is off, and you’re one step closer to a spruced-up sink.
Step 4: Attach the New Sprayer Head
With the old head off, it’s time for a fresh start. First up, check your new sprayer head for a washer or O-ring—think of it as a tiny superhero cape for preventing leaks. Slide that onto the hose fitting if it’s not already in place. Now, gently thread the new head onto the hose. Imagine it’s like a soft-serve ice cream cone; no Hulk-smashing needed—just a snug fit will do. A gentle twist by hand should suffice, but if you meet resistance, a wrench can give you that extra nudge—just don’t overdo it!
Next, take a peek at the connection. If it’s dripping like a leaky faucet, your hand-tightening might need a touch more oomph. Iterative adjustments are your friend here; small turns can make a big difference. Lastly, it’s the moment of truth. Point the sprayer into the sink (we’re not aiming for a water show, after all) and reconnect the water supply. A quick look under the sink to confirm no water is making a break for it, and voila—you’re all set!
Step 5: Test the New Sprayer Head
Alright! You’ve played your part as a zealous DIY plumber, and now it’s the moment of truth. Time to give that new sprayer head a whirl. But before we get to the fun part, let’s flip the script and turn that water supply back on. If you’ve got a valve under the sink, that’s your target—give it a gentle twist and let the water flow.
Now, give that sprayer head a squeeze. Water should be making its grand entrance, smooth and steady. Keep your eyes peeled here: we’re on the lookout for any uninvited drips or leaks at the connection points.
Feeling a bit like a maestro conducting a water symphony? Excellent! If it’s a no go and the water’s playing a game of hide-and-seek, double back and check the connections. Tighten any loose parts with a careful touch and a trusty wrench.
Check the water pressure too. If it’s acting shy, a quick clean of the aerator might just coax it out. Keep in mind that when you’re testing, the goal is a Goldilocks situation: Not too much pressure, not too little, but just right.
If everything’s shipshape, take your new kitchen companion for a victory lap, watch it dance and sprinkle its way across those dishes. Pat yourself on the back; you’ve earned it!


