Last updated on
Learn how to sand your cabinets for a perfect paint job that looks professional and lasts.
Key takeaways:
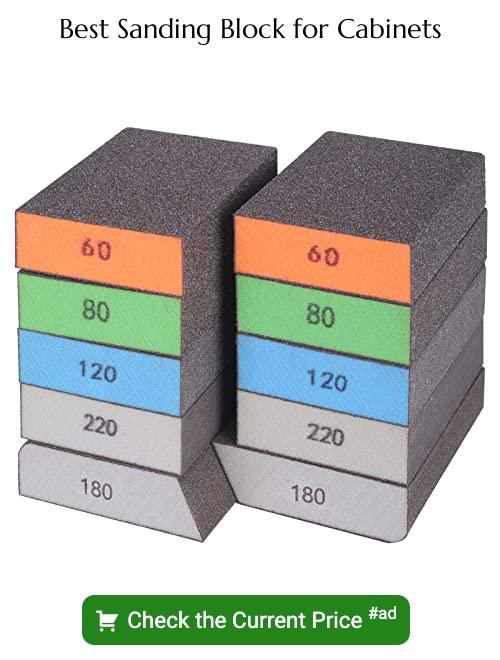
- Gather necessary materials and tools: sandpaper, sanding block or electric sander, shop vac or handheld vacuum, rags, safety gear.
- Remove cabinet doors and hardware to avoid patchy paint or gunked-up hardware.
- Clean cabinets thoroughly with dish soap, toothbrush, and white vinegar mixture.
- Fill in holes or dents with wood filler, sand lightly, and wipe away dust.
- Choose the right sandpaper grit and sand in the direction of the wood grain.
What's Inside
Gather Necessary Materials and Tools
First things first, let’s talk about what you need. Think of it like baking a cake – you wouldn’t start without all your ingredients laid out, right?
Grab yourself some quality sandpaper. For cabinets, you’ll want a few different grits – start with 120 for the rough stuff and finish with 220 for smooth sailing.
Invest in a good sanding block or electric sander. Both work wonders, but if you’re into power tools, go for the electric option. Your arms will thank you.
Don’t forget a shop vac or a handheld vacuum. Sanding is messy business; a tornado of dust is guaranteed. You’ll want to keep things tidy.
Get some rags, preferably microfiber. They’re perfect for wiping down surfaces and getting into nooks and crannies.
Lastly, wear some safety gear. Goggles and a dust mask are non-negotiable. You don’t want to end up looking like you’ve been in a flour fight, do you?
Now that you’re armed with tools, you’re ready to dive in. Just try not to make it look too easy!
Remove Cabinet Doors and Hardware
Unscrewing the cabinet doors might seem like a hassle, but trust me, it’s your best friend in disguise. Leaving them on will have you cursing under your breath every time you miss a spot or accidentally paint a hinge. Plus, nobody wants patchy paint or gunked-up hardware.
First things first, grab a screwdriver and remove all the doors and drawers. Make sure to keep track of those screws – nothing ruins a Saturday project like an impromptu game of Find the Missing Hardware. Put the screws and hardware in labeled bags. Bag and tag, my friend.
While you’re at it, you might as well give those hinges, knobs, and handles a good clean. Grease and grime are so last season. Clean hardware also means when you reattach them, your now-beautifully painted cabinets will shine and sparkle, like they’re auditioning for a kitchen makeover show.
Don’t try to cheat by taping around the hardware. It’ll save you a fraction of time but cost you in frustration and shoddy results. No cutting corners here!
Clean the Cabinets Thoroughly
First things first, grab some dish soap and warm water. Give those cabinets a good scrub. Grease and grime are like the villains in our DIY adventure, and we’re the superheroes armed with sponges.
Next up, don’t overlook the nooks and crannies. An old toothbrush works wonders here. It’s like a mini back-scratcher for your cabinets.
If you encounter stubborn stains, white vinegar mixed with water can be your secret weapon. Just be sure to rinse it off well afterwards.
Dry everything off with a clean cloth. Moisture is not our friend when it comes to sanding.
Fill in Any Holes or Dents
Grab that wood filler and let’s get those cabinets looking smooth!
First, identify any holes, dents, or scratches. You don’t want your sleek new paint job to highlight every little imperfection. Small nail holes? Easy fix. Larger dents? No worries—grab a putty knife and some filler.
Scoop a bit of wood filler onto the putty knife and press it into the hole or dent. Make sure it’s level with the surface; we don’t want lumpy cabinets. Let it dry completely, which usually takes about 20-30 minutes. While you’re waiting, have a coffee, text a friend, or contemplate the mysteries of the universe.
Once the filler is dry, lightly sand over the area with fine-grit sandpaper. This will smooth it out and help it blend seamlessly with the rest of your cabinet. Remember, this isn’t a workout—light pressure will do the trick! Then, wipe away any dust with a damp cloth. Voilà! You’re ready for the next step in your cabinet makeover.
Choose the Right Sandpaper Grit
For a smooth, professional finish, selecting the proper sandpaper grit is crucial. Start with a medium grit, around 120. This will help remove any old varnish or paint without gouging the wood.
Next, switch to a finer grit, like 220. This will smooth out the surface and prepare it for primer or paint. Think of it as giving your cabinets a spa treatment; a little rough at first, then smoother and ready to glow.
If the surface is in rough shape, start with a coarser grit, perhaps 80, but be gentle. Too much aggression can mean more work in the end. Finish up with that trusty 220 to ensure a smooth canvas.
Remember, not all cabinets are created equal. Adjust according to the condition of the wood. Maybe it’s a quick touch-up or a total makeover; your cabinets will tell you what they need. Just listen closely, and keep sanding!
Sand in the Direction of the Wood Grain
Think of the wood grain as a one-way street. Sanding against it is like driving the wrong way; chaos ensues. You want a smooth, even finish, and the grain is your guide.
Follow the lines. Just like coloring within the lines as a kid, sanding along the grain ensures you don’t end up with unsightly scratches and marks that scream “I don’t know what I’m doing.” The wood grain helps you achieve that pro-level smoothness.
Go with the flow. The grain isn’t just there for looks; it tells you the natural direction the wood fibers are arranged. Sanding with the grain opens up these fibers evenly, allowing the primer and paint to adhere better—no one likes a flaky paint job.
Gentle strokes win the race. While sanding can feel like an upper-body workout, it’s really more about finesse than brute force. Light, even strokes along the grain do the trick—think more Tai Chi, less Hulk Smash.
Clean Off Dust From Sanding
Grab a vacuum with a brush attachment and go over every nook and cranny of the cabinets. Dust loves to hide in corners, so give those areas extra attention.
Next, use a tack cloth. This sticky cloth will pick up the fine dust particles that the vacuum might have missed. It’s like a lint roller for your cabinets.
For extra cleanliness, a slightly damp microfiber cloth can be used to wipe down the surfaces. Ensure it’s just barely damp, not wet. We don’t want to introduce moisture, just to get rid of that stubborn dust.
Finally, let the cabinets dry completely before moving on to painting. Patience is key here—damp cabinets can ruin your painting efforts. And we don’t want that, do we?
Read More
 How to Choose Kitchen Cabinets: Your Ultimate Buying Guide
 Staining Cabinets: A Step-by-Step Guide to a Fresh Look
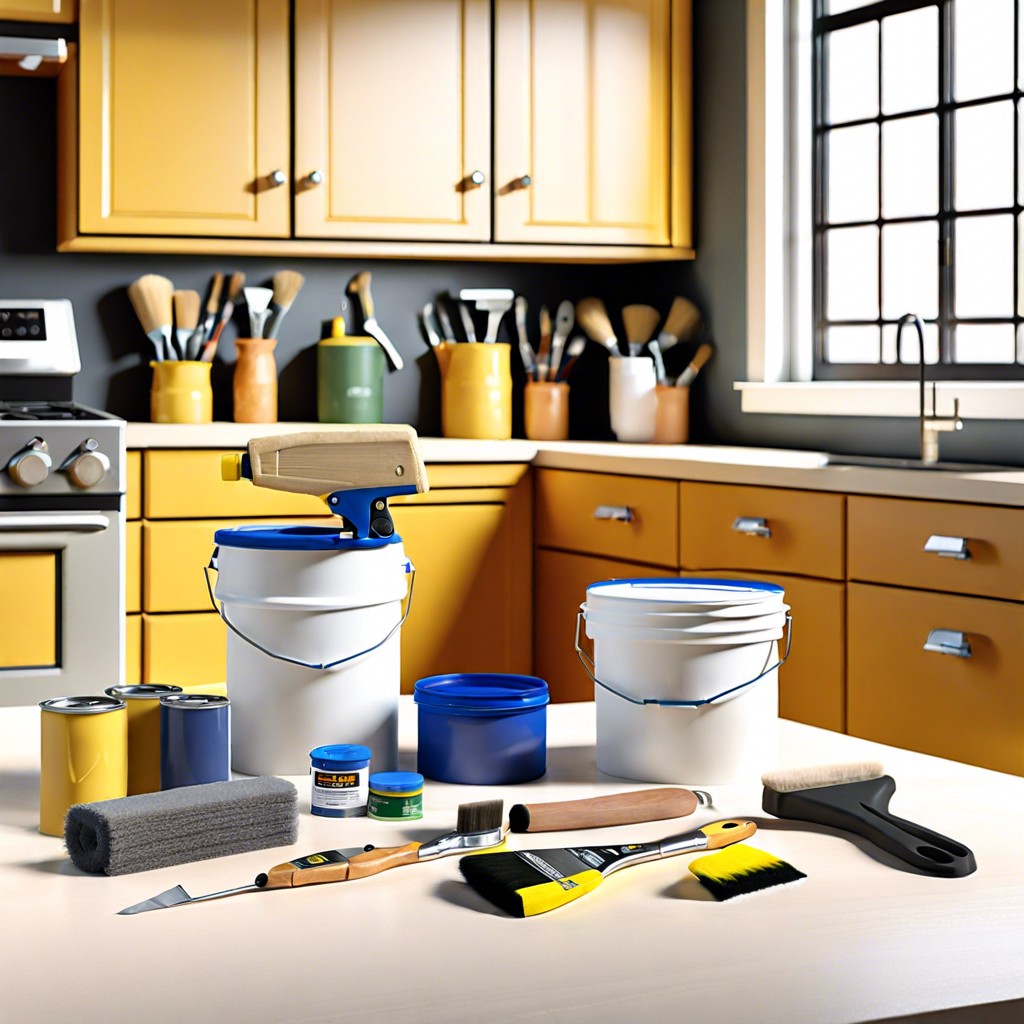 How Long Does It Take to Paint Kitchen Cabinets: A Time-Saving Guide
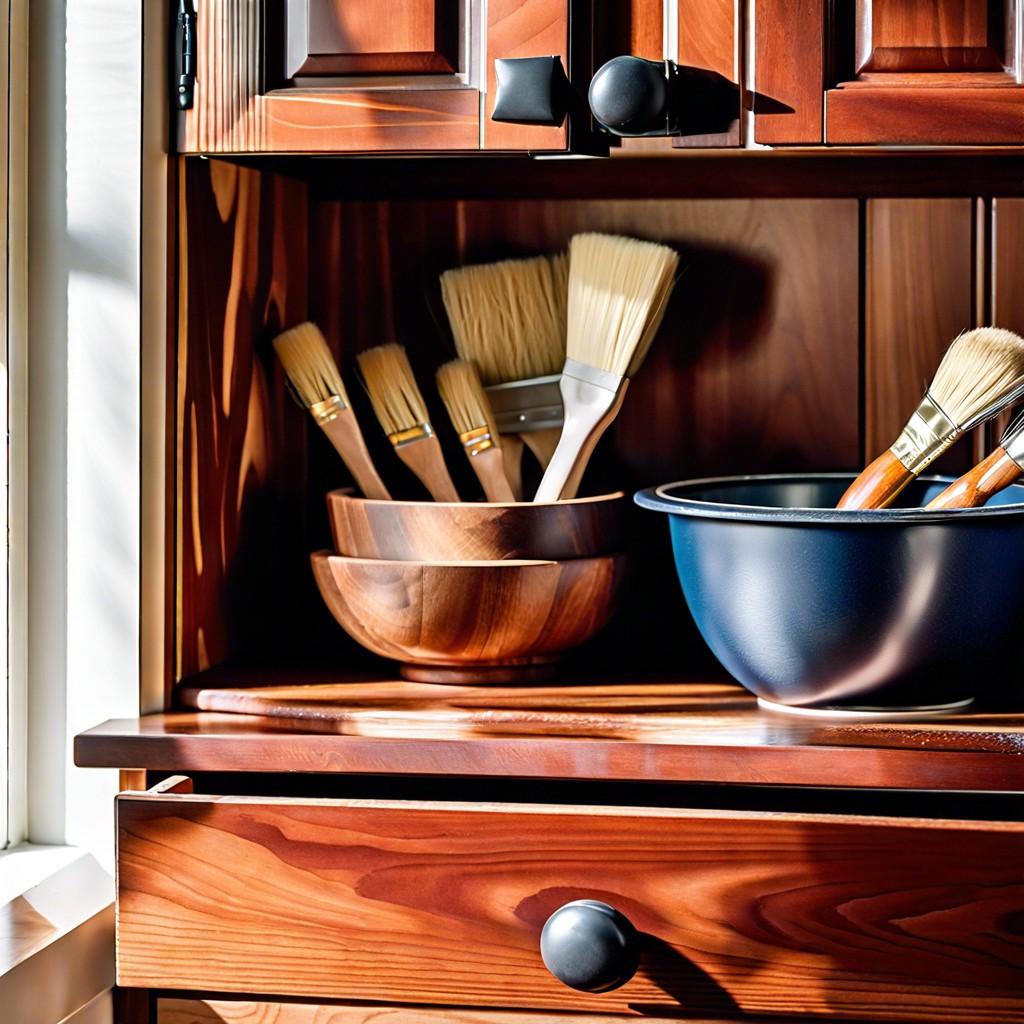 Cost to Refinish Cabinets: A Cheaper Revival
 How to Install Upper Cabinets: Tips for a Perfect Kitchen Makeover