Last updated on
Discover the straightforward process of sealing your kitchen cabinets to protect them from damage and extend their longevity with our easy-to-follow guide.
Are you tired of your kitchen cabinets looking old and worn out? Do you want to protect them from moisture, stains, and scratches? If so, then sealing your kitchen cabinets may be the solution. Sealing your cabinets not only enhances their appearance but also extends their lifespan.
In this article, we will guide you through the steps on how to seal your kitchen cabinets effectively. So let’s dive in!
What's Inside
Cabinet Material Selection
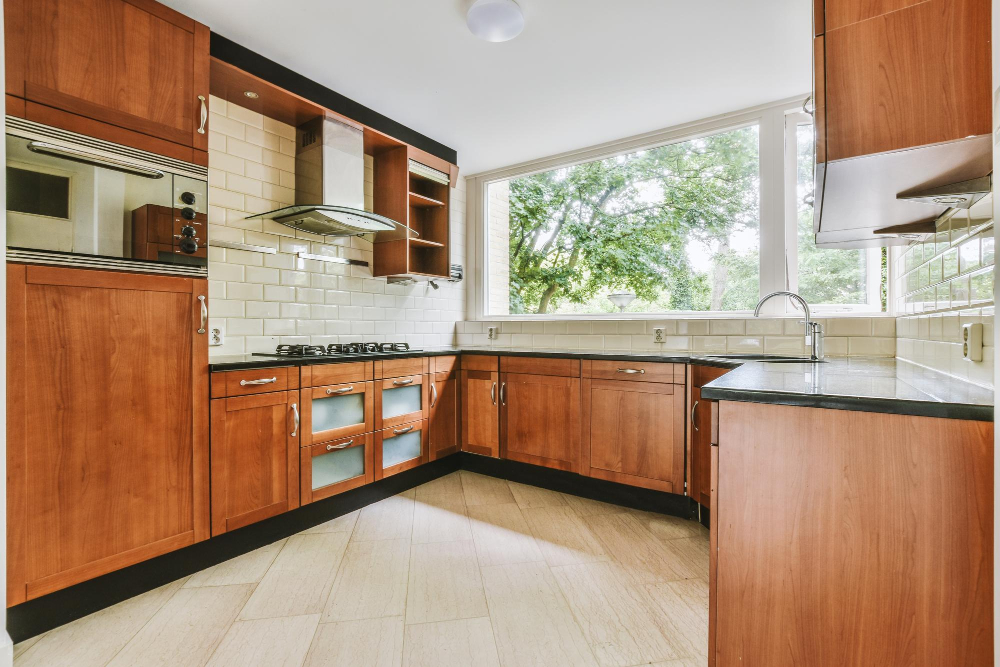
When it comes to sealing kitchen cabinets, the material of your cabinets plays a crucial role in determining the type of sealant you should use. Different materials require different types of sealants for optimal protection and longevity.
For instance, if your kitchen cabinets are made from wood, then you need to choose a sealant that is compatible with wood surfaces.
On the other hand, if your kitchen cabinets are made from metal or laminate materials such as MDF (medium-density fiberboard), then you need to select a suitable sealer that can adhere well on these surfaces without causing any damage.
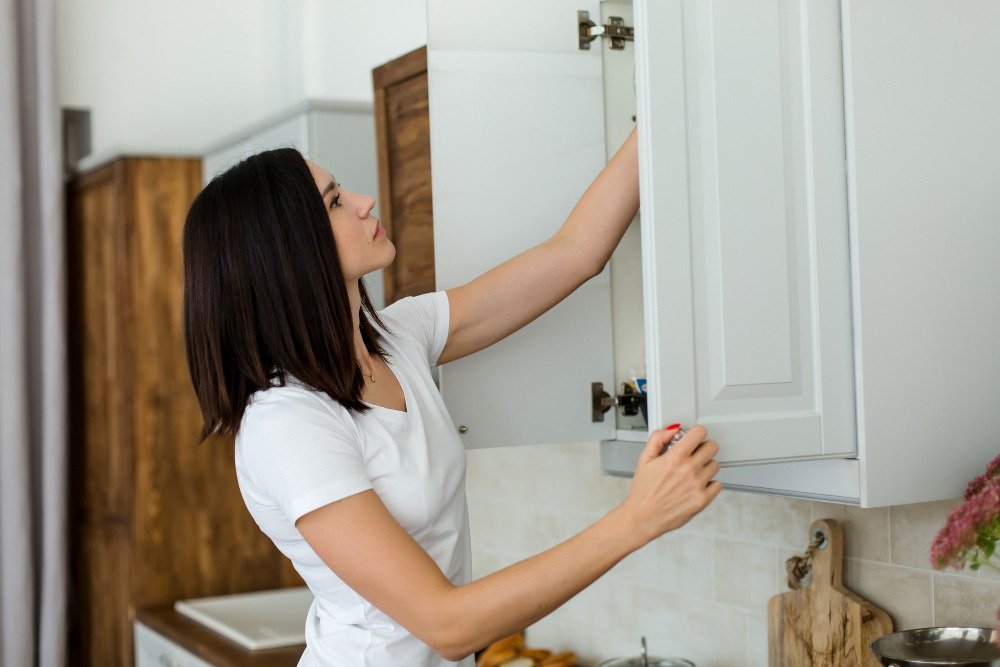
Preparing Kitchen Cabinets for Sealing
This step ensures that the sealant adheres well and provides maximum protection for your cabinets. Start by removing all items from the cabinets and drawers.
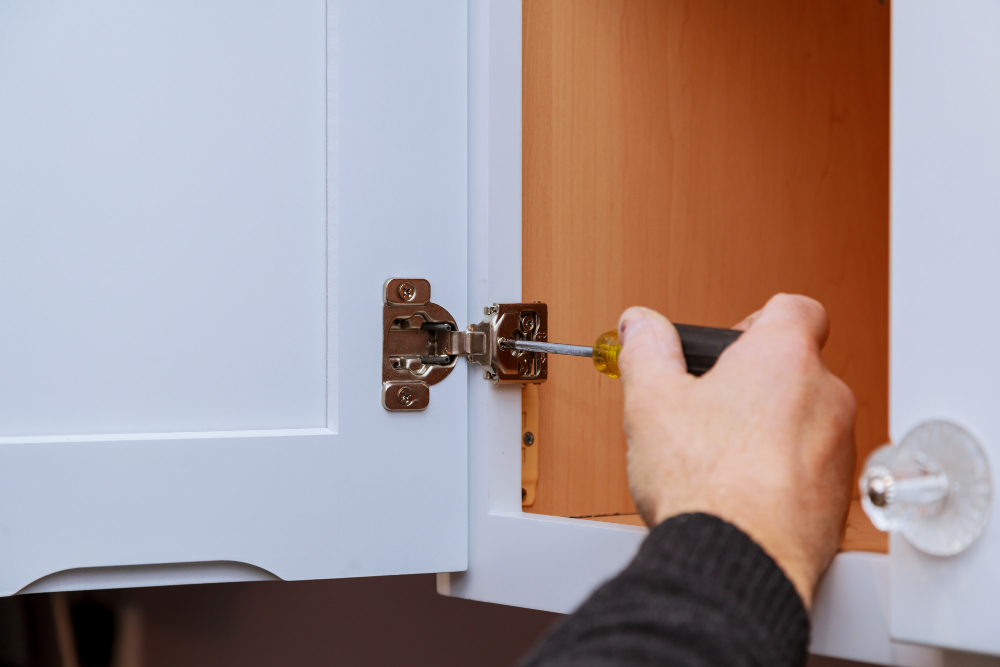
Next, remove any hardware such as knobs or handles using a screwdriver.
Once you have removed all hardware, inspect each cabinet carefully for any damage or cracks that need repair before sealing. Use wood filler to fill in any holes or gaps in the wood surface of your kitchen cabinetry.
After filling in gaps with wood filler, sand down rough spots on surfaces until they are smooth enough to touch without feeling bumps underfoot when running fingers over them gently.
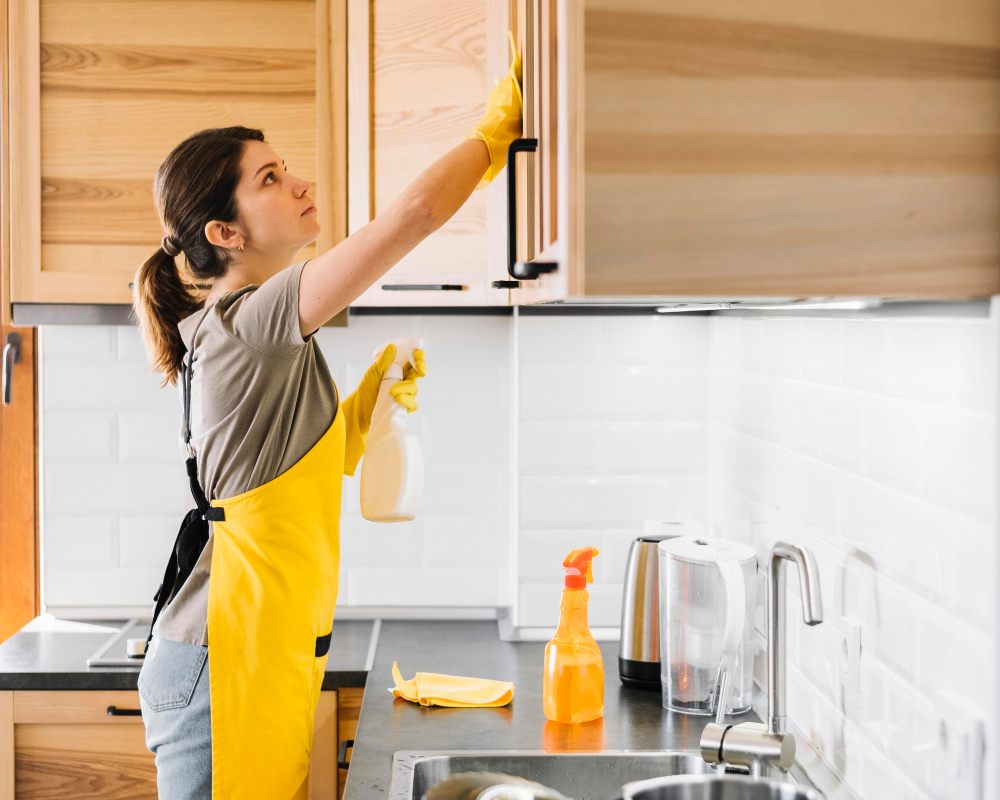
Cleaning the Cabinets
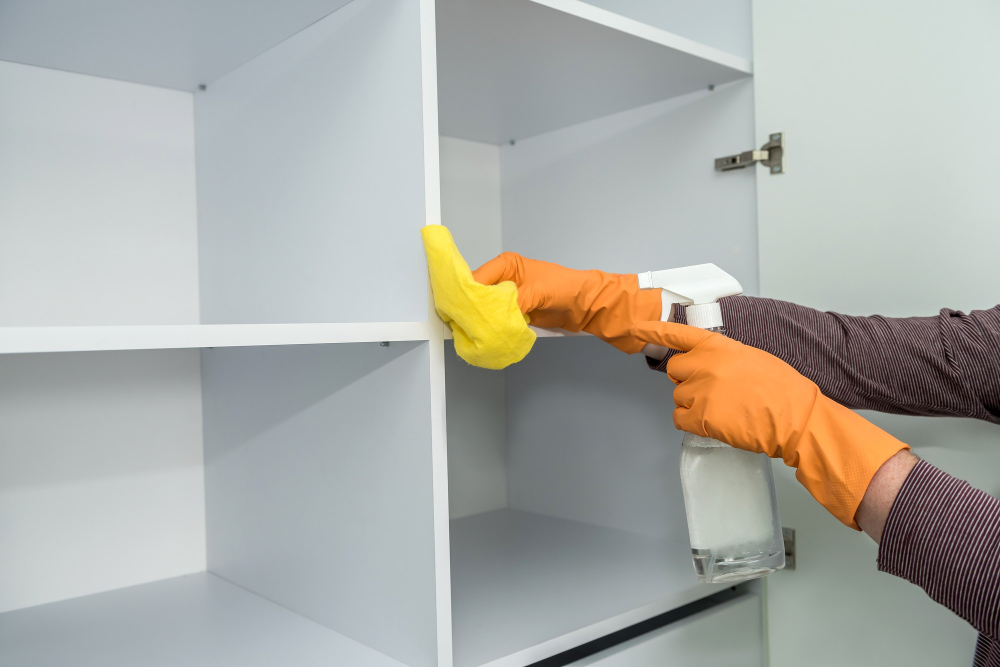
Cleaning helps remove dirt, grease, and grime that may interfere with the sealant’s adhesion. Start by removing all items from inside the cabinets and drawers.
Next, use a soft cloth or sponge dipped in warm soapy water to wipe down all surfaces of your kitchen cabinets. Avoid using abrasive cleaners as they can scratch or damage cabinet finishes.
For stubborn stains or grease buildup on cabinet doors and drawer fronts, you can use a mixture of vinegar and water instead of soap. Simply mix equal parts white vinegar with warm water in a spray bottle then apply it onto affected areas before wiping off with a damp cloth.
Once you have cleaned all surfaces thoroughly let them dry completely before proceeding to sanding if necessary.
Stripping Old Finishes
Stripping the old finish will ensure that the new sealant adheres correctly and provides maximum protection for your cabinets. To strip off an existing finish, you can use sandpaper or chemical strippers.
Sandpaper is an effective way of removing small areas of paint or varnish from your kitchen cabinet surfaces. However, if you have large areas to cover, using a chemical stripper may be more efficient and less time-consuming.
When working with chemical strippers, make sure that you wear protective gloves and goggles as they contain harsh chemicals that can cause skin irritation or eye damage if not handled carefully. Apply the stripper generously on the surface of each cabinet door using a brush then let it sit for about 20 minutes before scraping off with a putty knife.
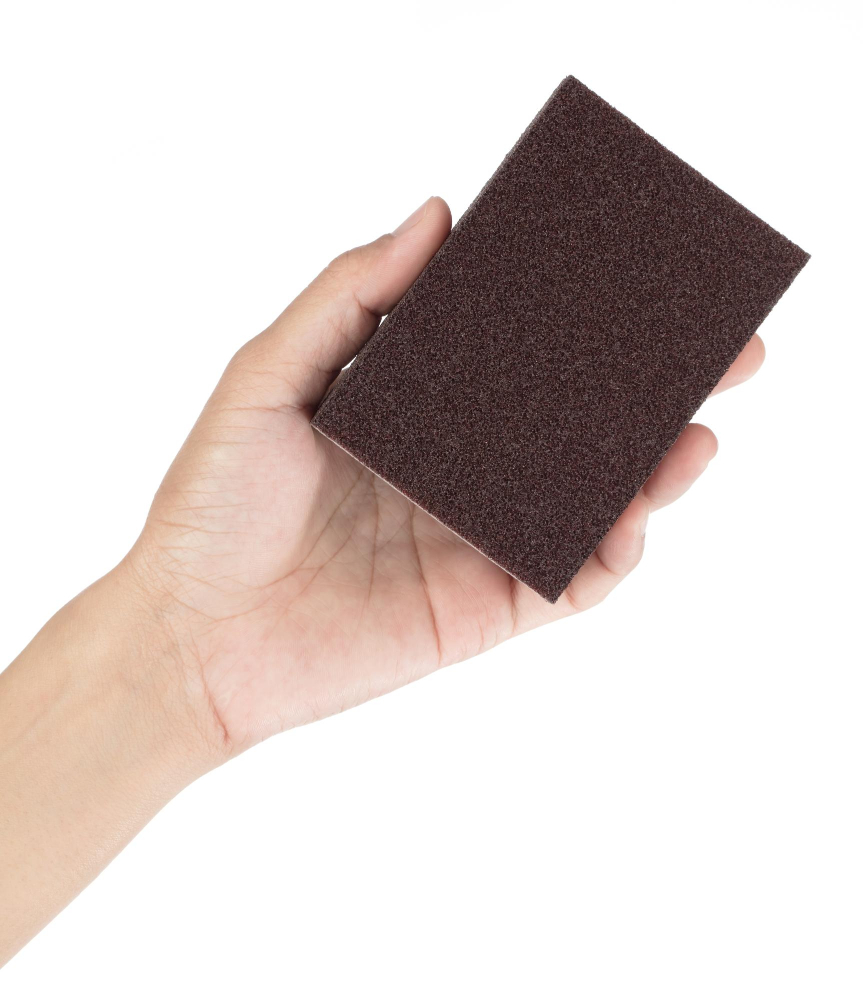
Sanding the Cabinets
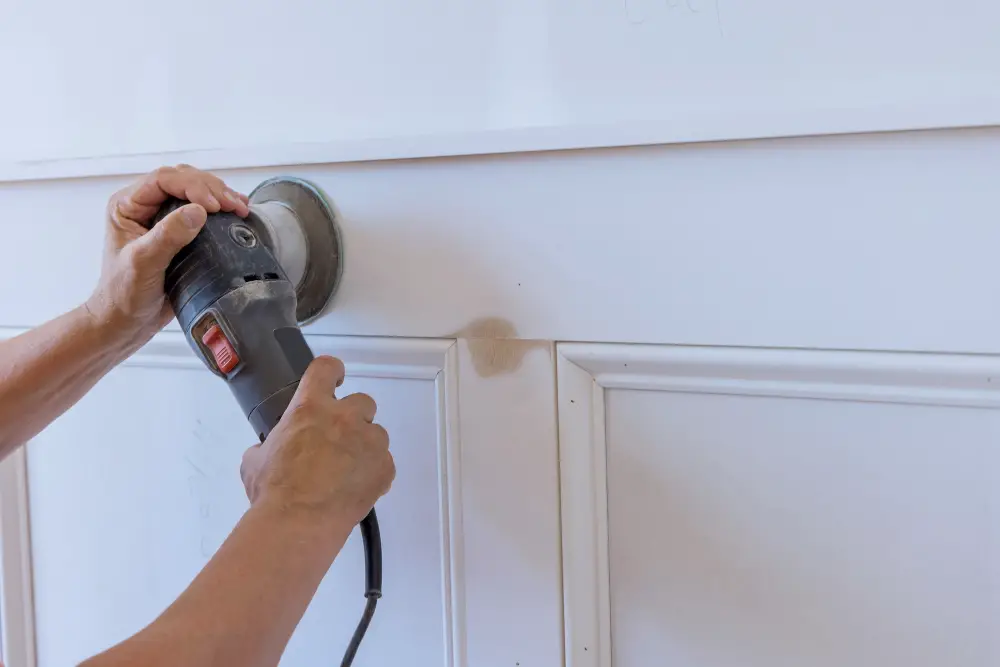
Sanding is a crucial step in preparing the surface for sealing. It helps to remove any remaining debris or rough spots on the cabinet surface, ensuring that you have a smooth and even finish.
To start sanding your cabinets, use 120-grit sandpaper with an orbital sander or by hand. Begin by working on flat surfaces such as doors and drawers before moving onto edges and corners.
Make sure to wear protective gear like gloves, goggles, dust masks while doing this task as it can be dusty work! Also remember not to over-sand; otherwise you may damage the wood underneath.
Once done with 120-grit paper move up through finer grits until reaching around 220-240 grit paper which will give you a nice smooth finish ready for sealing!
Applying Wood Filler
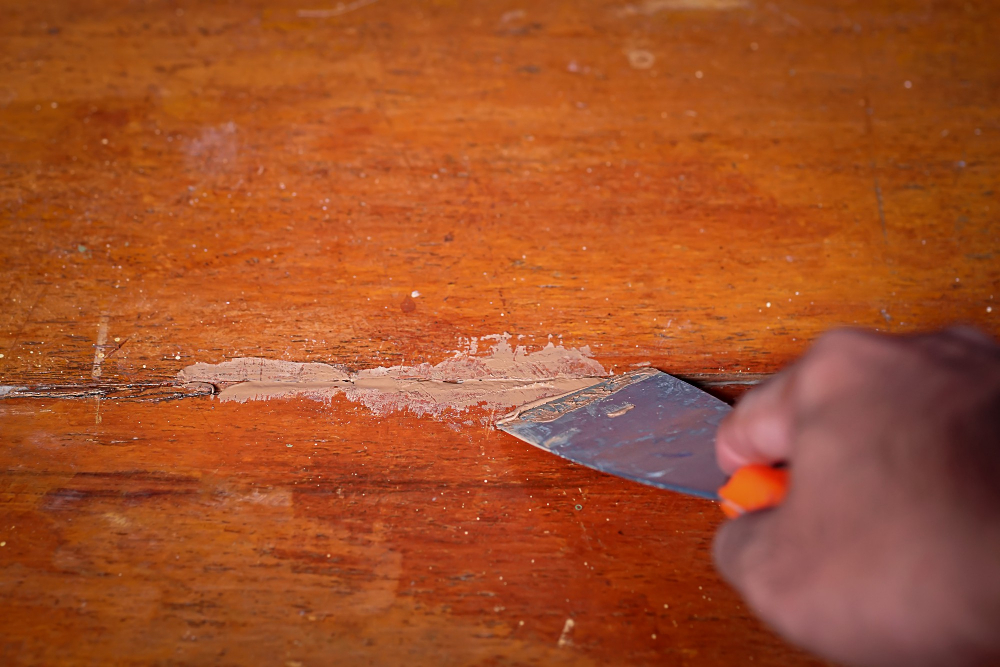
These imperfections can be filled with a wood filler to create a smooth surface for sealing. Applying wood filler is an essential step that ensures the final finish looks professional and flawless.
To apply the wood filler, use a putty knife to scoop out some of it from its container and spread it over the damaged area. Make sure you fill all cracks and holes completely while smoothing out any excess material with your putty knife.
Allow sufficient time for drying before sanding down any rough spots on top of where you applied the filler until they are flush with surrounding surfaces. Once done, wipe off dust particles using a clean cloth before proceeding to seal your kitchen cabinets.
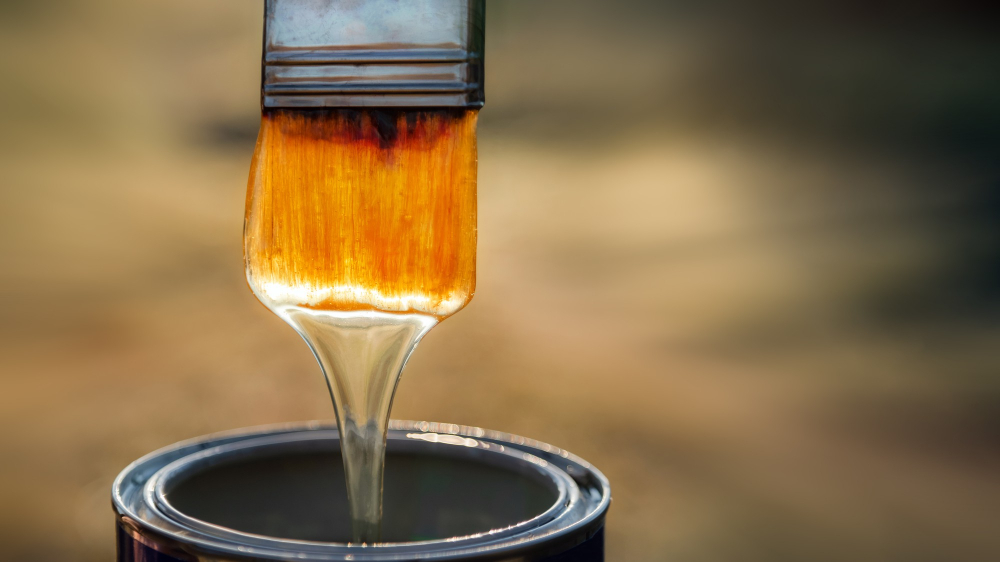
Types of Sealants
The most common ones include polyurethane, varnish, shellac and lacquer. Each type has its unique properties that make it suitable for specific cabinet materials and finishes.
Polyurethane is a popular choice because of its durability and resistance to scratches. It also dries clear which makes it ideal for light-colored wood cabinets.
Varnish is another option that provides excellent protection against moisture damage but can yellow over time when exposed to sunlight.
Shellac is an all-natural sealant made from insect secretions mixed with alcohol. It’s easy to apply but not as durable as other options.
Lacquer offers a hard finish that resists water damage well but requires more skill during application than other types of sealants due to the need for spraying equipment or brushes. Choosing the right type of sealer depends on your personal preferences regarding appearance, durability requirements, ease-of-application needs among others factors such as cost-effectiveness or environmental friendliness concerns.
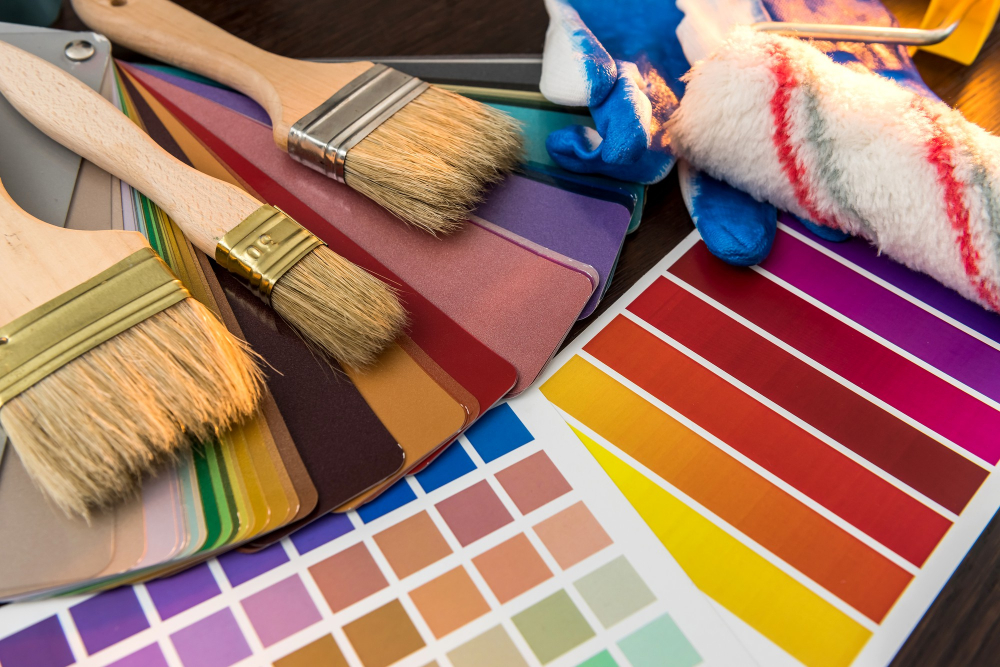
Choosing the Right Sealant
There are various types of sealants available in the market, including oil-based and water-based options. Oil-based sealants offer a more durable finish but take longer to dry and emit strong fumes during application.
On the other hand, water-based sealants dry faster and have low VOC emissions but may not be as long-lasting.
Another factor to consider when selecting a cabinet sealer is its resistance level against moisture, stains, scratches or UV rays depending on your needs.
It’s also essential to choose a product that matches your desired look for the cabinets; some finishes can alter their appearance by adding color or shine while others maintain their natural look.
Prepping the Work Area
This step is crucial as it ensures that the sealant adheres correctly and prevents any damage to surrounding surfaces. Start by removing all items from your cabinets and drawers, including dishes, utensils, and appliances.
Next, cover countertops with a drop cloth or plastic sheeting to protect them from accidental spills or drips. You can also use painter’s tape around the edges of your cabinet frames where they meet walls or other surfaces.
Ensure proper ventilation in the room by opening windows or using fans if necessary. It’s also advisable to wear protective gear such as gloves and goggles when working with sealants.
Resistance to Scratching
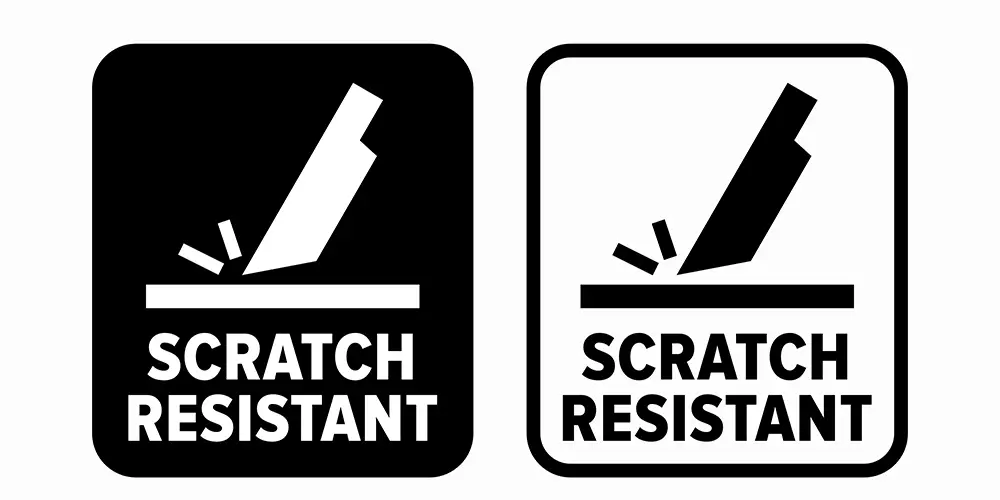
Kitchen cabinets are prone to scratches, especially if you have kids or pets in your home. Sealing them with a protective coating can help prevent scratches from occurring and keep them looking new for longer.
When choosing a sealant, make sure it has scratch-resistant properties. Some sealants may be more durable than others when it comes to resisting scratches, so do some research before making your final decision.
It’s also essential to note that even with the best sealant on the market; there is no guarantee that your kitchen cabinets will never get scratched. However, sealing them will undoubtedly reduce their susceptibility and provide an added layer of protection against everyday wear and tear.
Clear-Coat Appearance
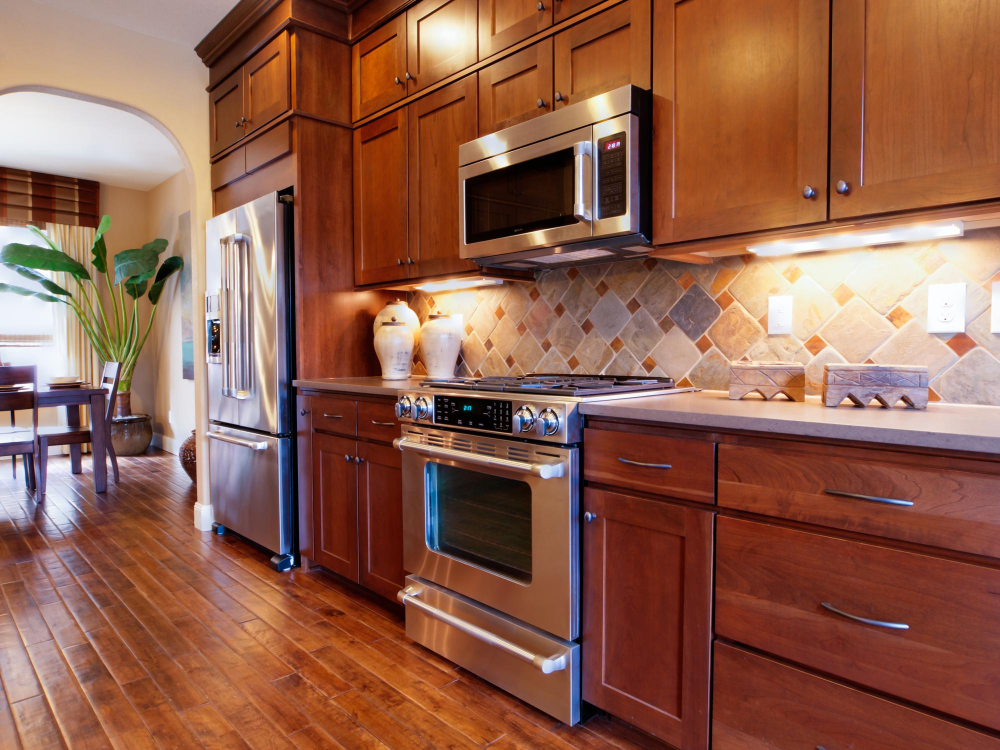
A clear coat is an excellent choice if you want to maintain the natural look of your wood cabinets while still providing protection against moisture and scratches.
The appearance of the clear-coated cabinet will depend on several factors such as lighting, type of wood used for making cabinets, and how many coats are applied. The more layers that are added, the glossier and shinier they become.
It’s essential to note that some sealants may yellow over time due to exposure from sunlight or heat sources in your kitchen. Therefore it’s crucial when choosing a sealant for your kitchen cabinet; consider one with UV inhibitors which helps prevent yellowing over time.
Solid Coating
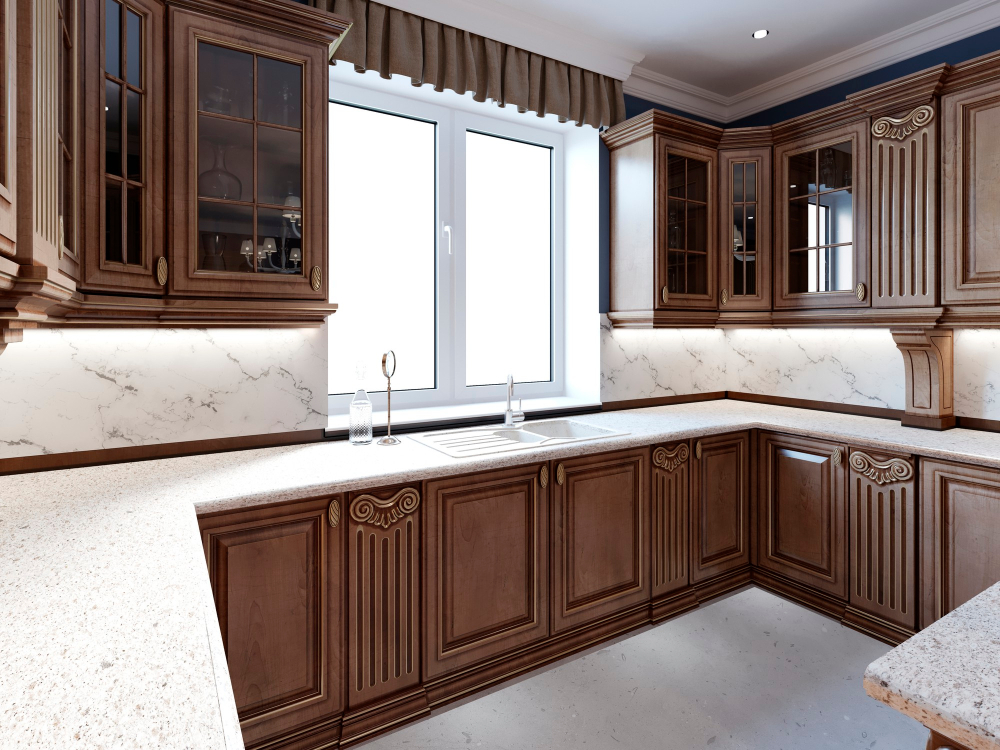
This type of sealant creates a thick layer on top of the wood, providing maximum protection against moisture and scratches. Solid coatings are available in different colors and finishes, including matte, satin, and gloss.
When choosing a solid coating for your kitchen cabinets, consider the overall style of your home’s interior design. A glossy finish may look out of place in a rustic or traditional-style kitchen while it can be perfect for modern kitchens with sleek lines.
Applying solid coatings requires more time than clear-coat sealants as they need multiple coats to achieve full coverage. However, once applied correctly and allowed enough drying time between coats (usually 24 hours), you will have durable sealed cabinets that will last longer than those finished with clear-coat sealants.
Yellowing of the Finished Coating

This issue can be caused by several factors, including exposure to sunlight and heat. To prevent yellowing, it’s essential to choose a high-quality sealant that contains UV inhibitors or opt for water-based finishes instead of oil-based ones.
Another way to avoid yellowing is by applying thin coats of sealant rather than thick ones. Thick coatings tend to trap moisture and heat, which can cause discoloration over time.
If you notice any signs of yellowing on your sealed cabinets, don’t panic! You may be able to fix the problem with some light sanding and reapplication of the finish coat. However, prevention is always better than cure when it comes to maintaining your kitchen cabinets’ appearance.
How to Apply Lacquer to Your Kitchen Cabinets
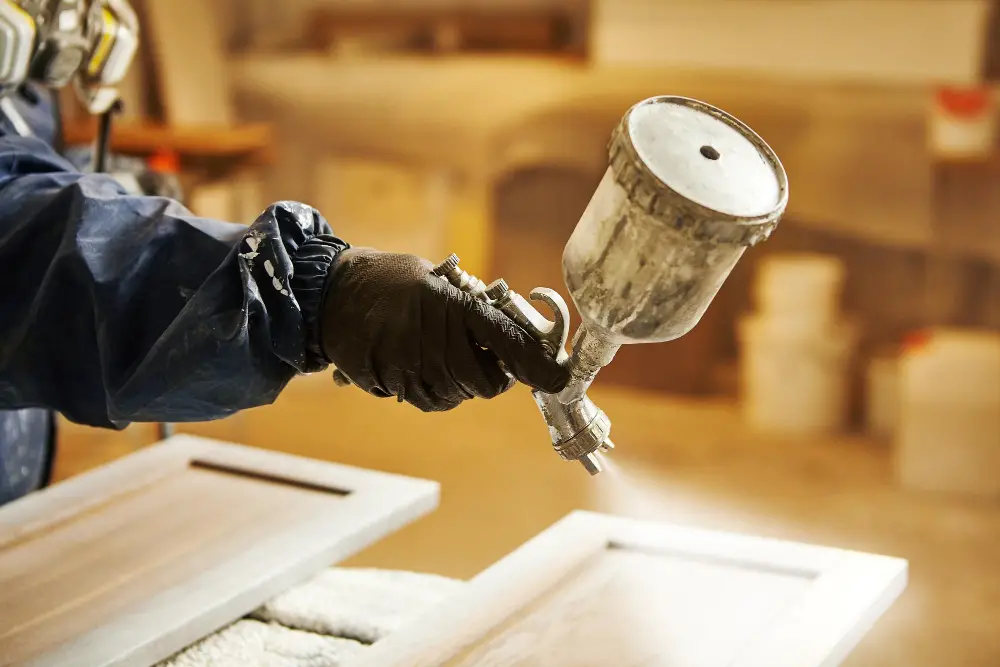
One popular option is lacquer, which provides a durable and glossy finish. To apply lacquer to your kitchen cabinets, you will need spray equipment or brushes.
If using spray equipment, make sure that the area is well-ventilated and wear protective gear such as goggles and a respirator mask. Apply thin coats of lacquer in even strokes while holding the sprayer 6-8 inches away from the surface of each cabinet door.
Alternatively, if using brushes for application instead of spraying equipment; use natural bristle brushes with long handles so that you can reach all areas easily without getting too close to any surfaces where drips may occur during application process.
Using Spray Equipment
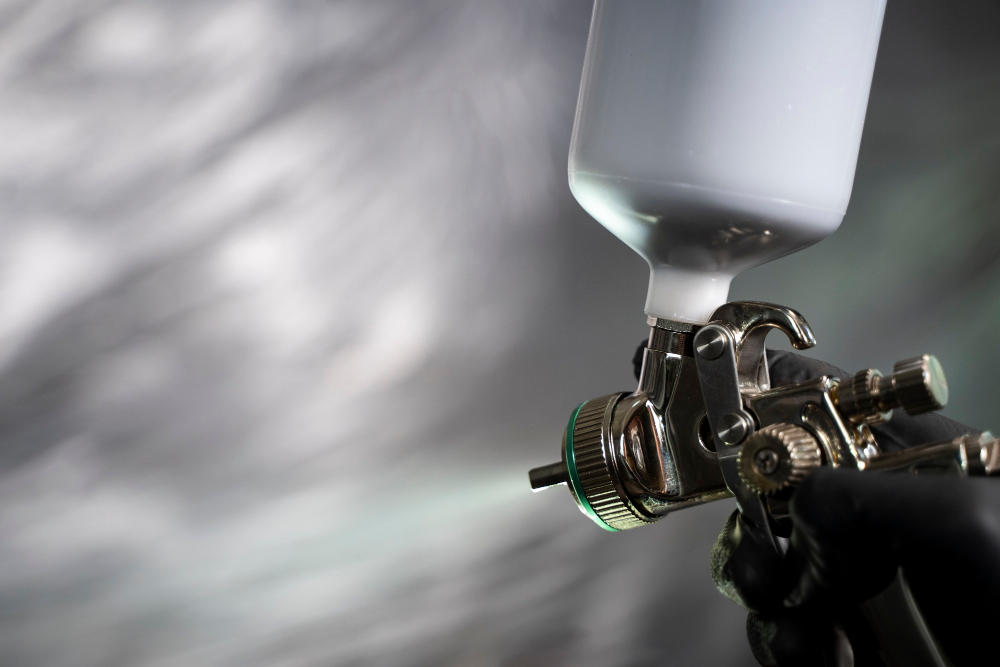
It provides a smooth and even finish, which can be challenging to achieve with brushes or rollers. However, using spray equipment requires some skill and experience.
Before you start spraying the sealant on your cabinets, make sure that you have covered all surfaces around the work area with plastic sheets or drop cloths. This will prevent overspray from getting onto other surfaces.
When using spray equipment, it’s essential to maintain a consistent distance between the nozzle of the sprayer and the surface of your cabinet doors. If you hold it too close or too far away from them while spraying, this may result in uneven coverage.
It’s also crucial to apply multiple thin coats rather than one thick coat when using spray equipment for sealing kitchen cabinets. This will ensure that each layer dries evenly without any drips or runs forming on its surface.
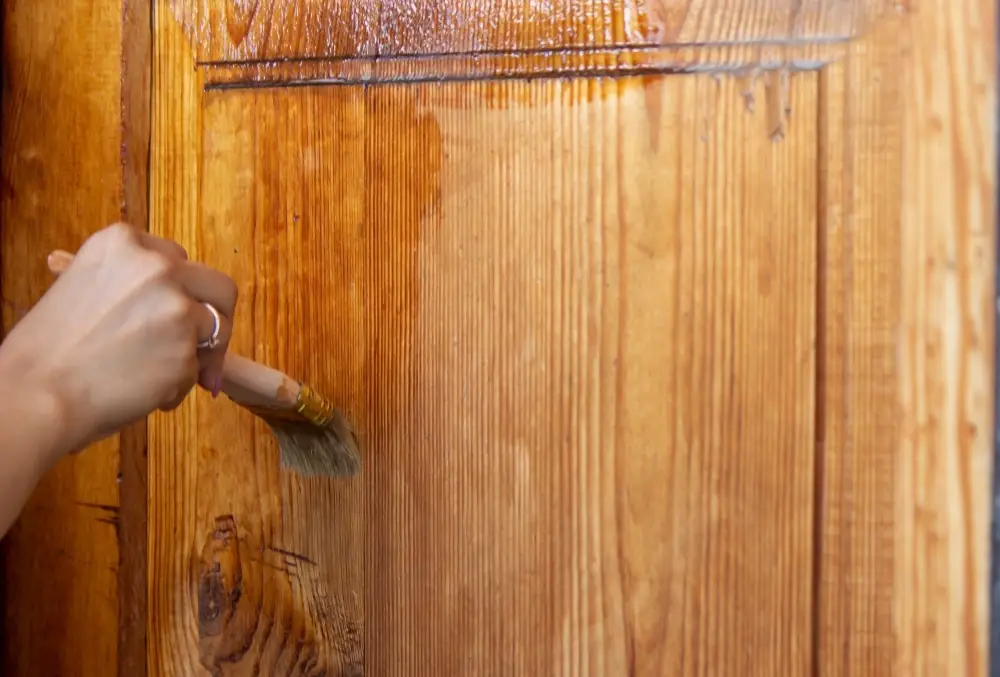
Using Brushes
They come in different sizes and shapes, making it easy to reach every corner of the cabinet surface. When using brushes, ensure that you use a high-quality brush with soft bristles that won’t leave marks on the finished coating.
To apply sealant using a brush, dip the tip of your brush into the can and remove any excess by wiping it against its rim. Start from one end of your cabinet’s surface and work towards another while ensuring even coverage throughout.
When brushing over corners or edges, be careful not to overload them with too much sealant as this may cause drips or unevenness in appearance once dry.
After applying one coat of sealer using a brush let it dry completely before adding another layer if necessary. Remember always to follow manufacturer instructions when working with any type of sealing product.
Maintaining Sealed Cabinets:
Once you have sealed your kitchen cabinets successfully, maintaining them is essential for their longevity. Avoid harsh chemicals when cleaning sealed surfaces; instead opt for mild soap solutions mixed with warm water.
Regular dusting will also help keep dirt at bay while preventing scratches caused by abrasive materials like sandpaper or steel wool pads. In case there are spills on sealed surfaces wipe them off immediately before they penetrate through layers causing damage underneath.
Drying and Curing Time

Drying time refers to the period required for the solvent in the sealant to evaporate, while curing time is when a chemical reaction occurs between components of the sealer. The drying and curing times vary depending on factors such as humidity levels, temperature conditions, and type of sealant used.
Typically, oil-based polyurethane takes longer than water-based ones because they contain more solvents that need more evaporation time. On average, most types of cabinet seals take about 24 hours or less to dry completely before you can apply another coat or reinstall hardware.
Curing times are usually longer than drying times since it involves a chemical reaction that hardens your cabinets’ surface fully. It’s best not to use your kitchen until after at least three days have passed since sealing them; this will give enough cure-time for maximum protection against scratches or stains.
Reinstalling Hardware
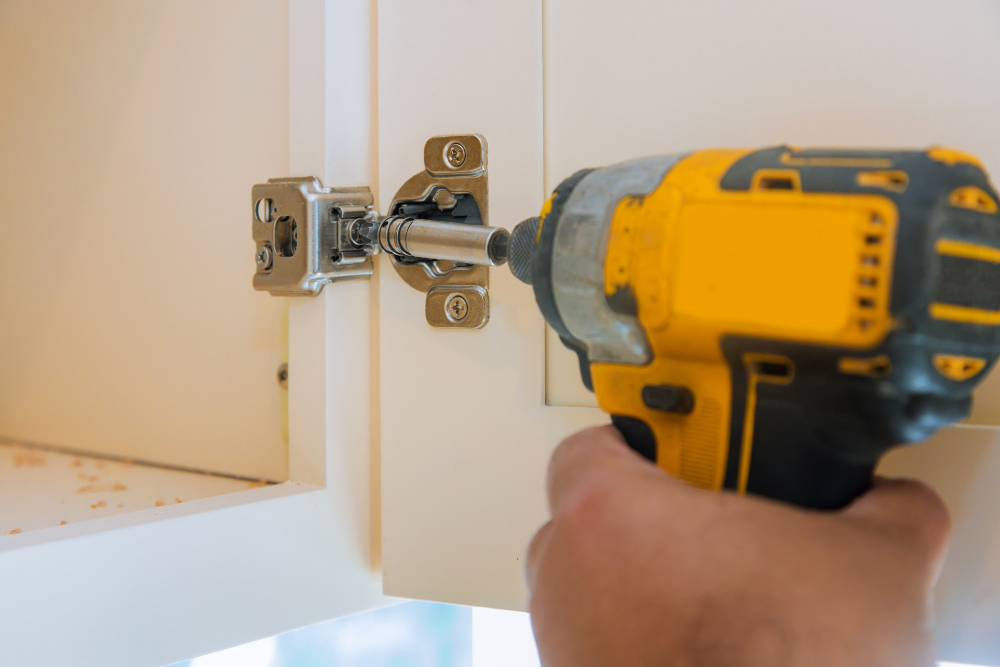
This is a crucial step that requires attention to detail. Make sure you have all the necessary tools before starting this process.
Begin by placing all of your cabinet hardware in a safe place where they won’t get lost or damaged during reinstallation. Next, use a screwdriver or drill to attach each piece of hardware back onto its respective cabinet door or drawer front.
Take your time when reinstalling each piece of hardware and ensure that everything is aligned correctly before tightening any screws fully. Once you’ve finished installing all of your kitchen cabinet’s handles and knobs, give them one final check for tightness.
Reassembling the Cabinets
Begin by replacing any hardware that you removed earlier, such as handles or knobs. Make sure they are securely fastened in place.
Next, carefully reinstall the cabinet doors and drawers using a screwdriver or drill. Double-check that everything is level and aligned correctly before tightening all screws.
Give your newly sealed kitchen cabinets a thorough cleaning with warm water and mild soap to remove any dust or debris from the sealing process.
Maintaining Sealed Cabinets
Regular cleaning and maintenance will help keep the sealant intact and extend the life of your cabinets. Here are some tips for maintaining sealed cabinets:
1. Clean spills immediately: Wipe up any spills or stains as soon as possible to prevent them from penetrating the sealant.
2. Use a soft cloth: Avoid using abrasive cleaners or scrubbers that can scratch or damage the finish.
3. Avoid extreme temperatures: Keep your kitchen at a moderate temperature to prevent warping, cracking, or peeling of cabinet surfaces.
4. Don’t use harsh chemicals: Harsh chemicals like bleach can break down sealants over time; instead, use mild soap and water for regular cleaning.
5. Inspect regularly: Check your cabinets periodically for signs of wear and tear such as scratches, chips in paintwork so that you can address issues before they become more significant problems.
By following these simple steps on how to maintain sealed kitchen cabinets correctly will ensure their longevity while keeping them looking great!
FAQ
Do kitchen cabinets need to be sealed?
Sealing kitchen cabinets is recommended for protection and extended lifespan, but not necessary if one prefers the look and feel of unsealed cabinets.
What is the best thing to seal kitchen cabinets?
The best thing to seal kitchen cabinets is a transparent top-coat, such as polyurethane, polycrylic, spar urethane, nitrocellulose, or waterborne acrylic.
What are the benefits of sealing kitchen cabinets?
Sealing kitchen cabinets provides protection against moisture, stains, and wear and tear, extending their lifespan and maintaining their appearance.
How often should kitchen cabinets be resealed?
Kitchen cabinets should be resealed every 2-4 years, depending on usage and environmental factors.
Which type of sealant works best for different kitchen cabinet materials?
For different kitchen cabinet materials, the best sealant type is generally a water-based polyurethane, as it provides superior protection and durability.


