Last updated on
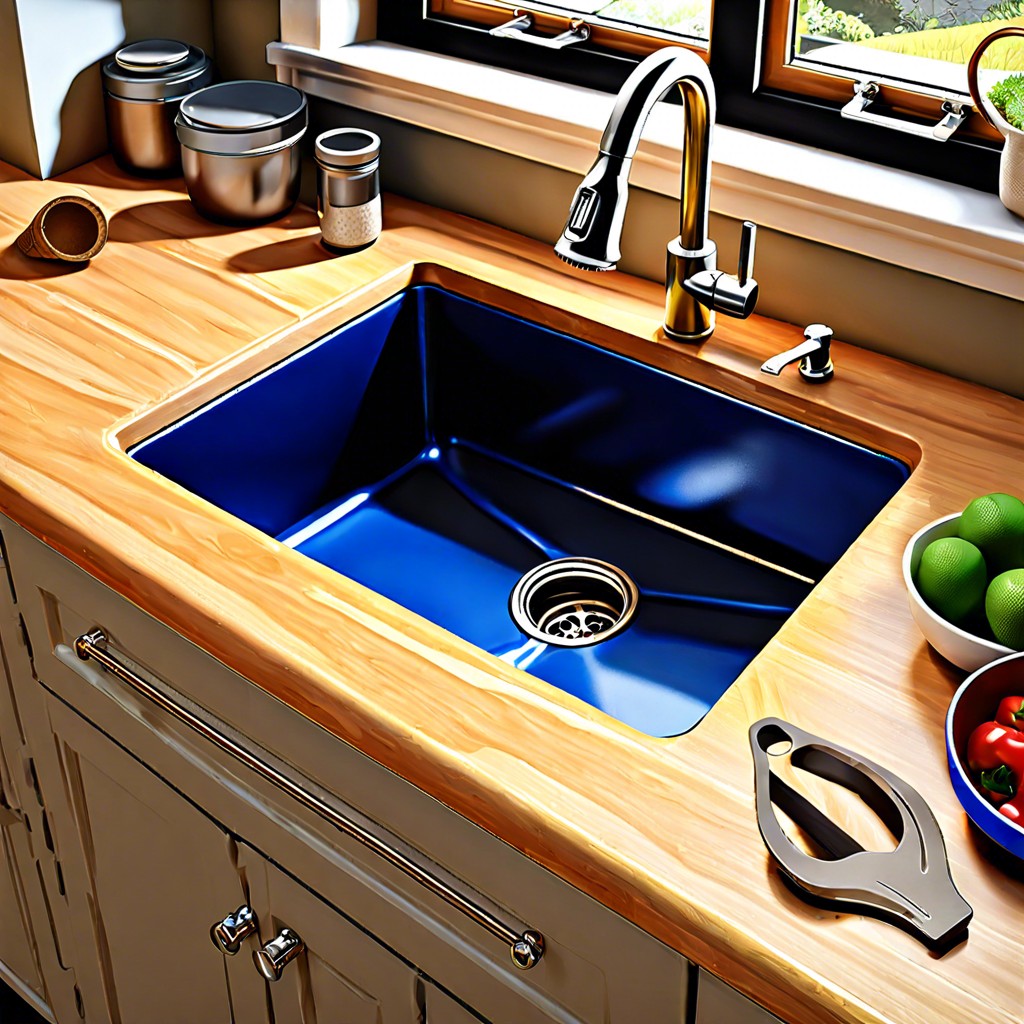
You’ll learn how to properly seal your kitchen sink to the countertop to prevent leaks and keep your kitchen looking sleek.
Key takeaways:
- Start with clean surfaces and remove old sealant
- Use painter’s tape for clean lines and boundaries
- Apply sealant slowly and evenly with a caulking gun
- Smooth out the sealant with your finger and remove the tape
- Allow the sealant to fully cure before checking for leaks
What's Inside
Gather Your Tools and Materials
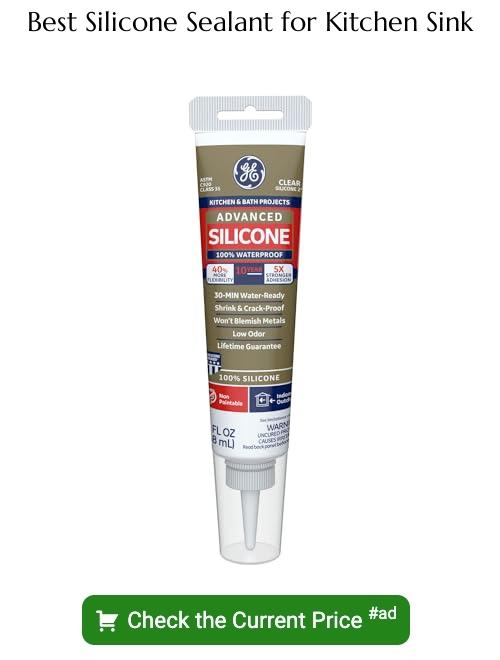
First things first, raid that toolbox! You’ll need a caulking gun, silicone sealant, painter’s tape, rubbing alcohol, and a rag. Don’t forget a utility knife for those pesky old seals. Silicone sealants love a clean, dry surface, so grab some alcohol to wipe down the area. While you’re at it, toss in some disposable gloves. Trust me, nobody wants sticky fingers.
Think of your caulking gun as the Batman to your DIY Gotham City. It makes applying the sealant a breeze. And painter’s tape? That’s your Robin, ensuring straight, tidy lines. It’s basically your tag-team partner.
Happy sealing! Now, let’s move to the next step.
Start With a Clean Surface
You don’t want yesterday’s spaghetti sauce messing up your seal job. Grab some rubbing alcohol or a good kitchen cleaner and get those surfaces spotless. This step is like giving your sink and countertop a fresh start. If there’s any old sealant clinging on, use a razor blade or putty knife to scrape it off.
Check for any leftover moisture. Water loves to hide in those sneaky corners. A dry surface makes sure the sealant sticks properly and does its job. So, grab a clean cloth and make sure everything is bone-dry before moving on. Clean and dry – that’s the goal here!
Apply Painter’s Tape
Painter’s tape is your best buddy here. Start by lining the edge of the sink and the surrounding countertop. This protective measure helps create a clean, straight line when you apply the sealant.
Make sure to press down firmly on the tape to avoid any pesky seepage of sealant underneath. It’s like setting up boundaries in a relationship – firm, no-nonsense.
And here’s the trick: place the tape about 1/8 inch from where the sink meets the countertop. This distance ensures that your sealant covers the joint perfectly without spreading all over the place. A little patience goes a long way!
Apply Sealant
Grab your caulk gun and get ready to seal the deal! Here’s how you do it:
First, cut the tip of your caulk tube at a 45-degree angle. This helps you apply the sealant smoothly. A small hole is better; you can always cut more if needed.
Insert the tube into the caulk gun. Squeeze a small amount out until you see it coming from the tip. Now, you’re primed and ready.
Position the gun at the starting point, usually a corner. Hold it at a 45-degree angle and gently squeeze the trigger. Move slowly and steadily along the joint where the sink meets the countertop. Keep it even and consistent.
Don’t rush. It’s like frosting a cake—slow and steady wins the race. Just less delicious, and hopefully less messy!
Tool the Bead & Remove the Painter’s Tape
Using a wet finger, gently smooth out the bead of sealant to ensure it’s even and fills any gaps. Trust me, nothing fancy needed—your finger is the best tool here.
Have a roll of paper towels handy. Wipe off excess sealant from your finger as you go. It prevents smudges and keeps things neat.
Now, whip off that painter’s tape while the sealant is still wet. Pull it away at a 45-degree angle to avoid messing up your perfect bead. Timing is crucial. Do it slowly and don’t rush.
Let Sealant Cure Completely
This step involves a bit of a waiting game, kind of like watching paint dry but, you know, with more excitement because it’s your sink. Here’s what you need to keep in mind:
First, follow the manufacturer’s instructions on the sealant tube. Cure times can vary, but generally, you’ll need to wait 24 hours. Resist the urge to run water or touch the sealant. Think of it as giving your sealant time to find itself. Everyone needs some personal space, even sealant.
It’s essential for the sealant to fully harden to provide a strong, watertight bond. Trust me, you don’t want to speed this up. Let it cure completely to avoid having to start over.
If the area is damp or humid, it may take a bit longer. Keep the area as dry as possible. Consider using a fan to circulate air if the humidity is high. But please, no hairdryers on full blast!
Okay, maybe sneak a peek to ensure everything looks good, but no touching. Checking without poking doesn’t count as breaking the rules, right?
Check for Leaks
Fill your sink with water, but don’t go overboard; it’s not a swimming pool. Plug the drain to avoid having a mini Niagara Falls in your kitchen. Carefully observe the area where the sink meets the countertop, especially where you applied the sealant.
If you spot any water droplets forming, it’s time to channel your inner detective and identify exactly where they’re sneaking through. A leaking sink can ruin a good kitchen vibe faster than overcooked pasta. Dab a bit of tissue paper along the edges to precisely locate the culprits if you can’t see the leaks outright.
Once you’ve located any leaks, dry the area thoroughly and add a bit more sealant as needed. Better safe than sorry; nobody wants to play the water-wrangling game after a long day.


