Last updated on
Learn the step-by-step process of sharpening kitchen scissors to ensure they cut smoothly and efficiently every time.
Key takeaways:
- Recognize the signs of dull scissors for timely maintenance.
- Choose the correct sharpening tool to avoid further damage.
- Follow the step-by-step process of using a sharpening stone.
- Test the scissors’ performance on various materials.
- Maintain the scissors’ edges through proper storage and care.
What's Inside
Identifying Dull Scissors
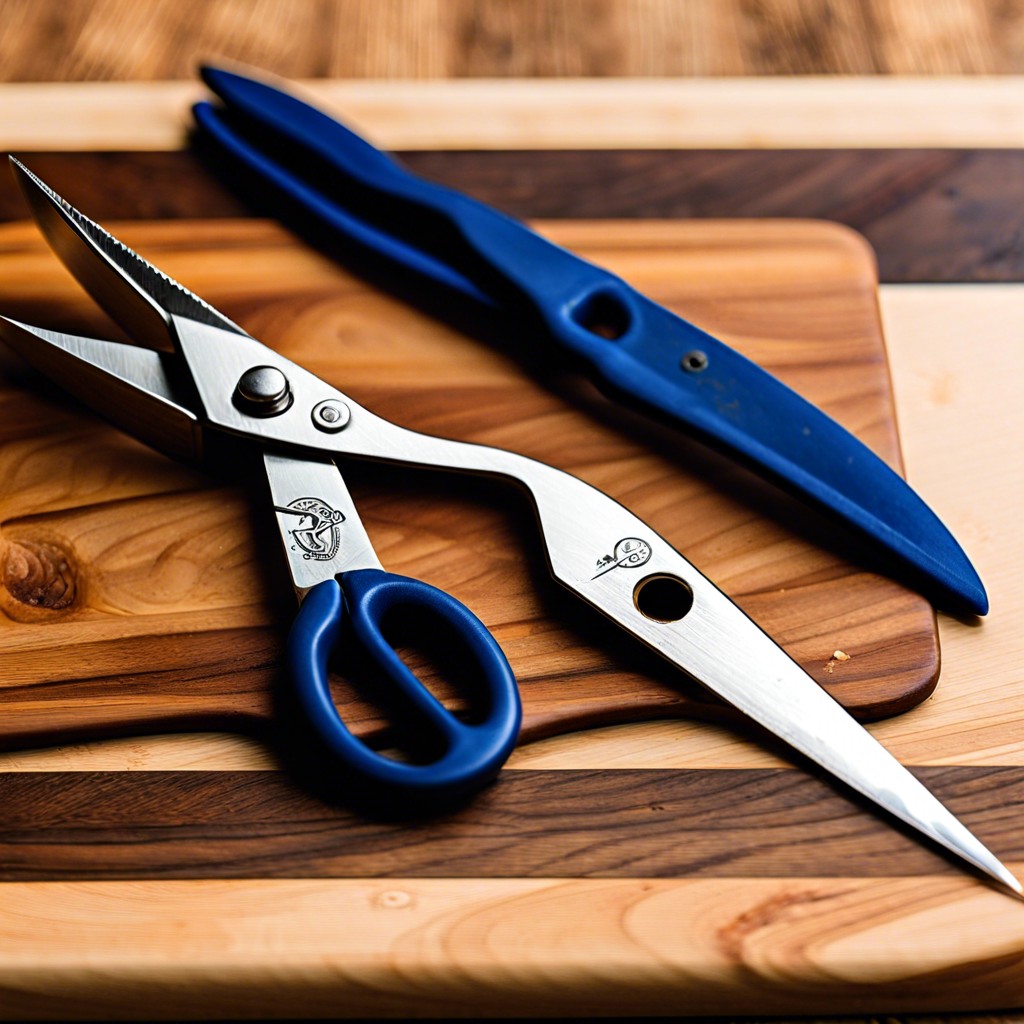
Recognizing the signs of dull scissors is key to timely maintenance. Cutting becomes a chore; you’ll notice a lack of smoothness and efficiency. Where once a firm, gentle pressure sliced through materials, now repeated sawing motions are needed. Examine the cut edges of paper or fabric – jagged lines are a telltale sign. Another test is to hold the scissors open and look at the blades – any glints of light along the cutting edge suggest nicks or dull spots. Listening can be just as revealing; a sharp pair of scissors will have a satisfying snip sound, while dull blades may produce a quiet, gritty noise. Paying close attention to these details will ensure you recognize when it’s time to sharpen up!
Selecting the Correct Tool for Sharpening
There are a variety of tools available for sharpening kitchen scissors, but it’s important to choose the right one for the job to ensure you’re not damaging the scissors further.
One go-to option is a sharpening stone, also known as a whetstone. They often feature dual sides with different grits – one coarse and one fine. Starting with the coarse side helps to grind away any nicks or imperfections before refining the edge with the fine side.
Another tool is a handheld scissor sharpener, designed with a V-shaped notch where the scissors can be inserted and pulled through. This tool is user-friendly and a quick fix for less serious dullness issues.
For those who need additional guidance, there are electric scissor sharpeners on the market that come with preset angles, ensuring that you sharpen at the correct edge every time.
Ceramic rods, similar to those used for knife sharpening, can also be effective. While they might take a bit more skill to use, they’re gentle on your scissors and deliver a precise edge.
It’s essential to avoid using tools that are too harsh for scissors, such as file sharpeners, as they can warp the blade rather than restore its cutting edge. Select a tool that matches both your comfort level and the needs of your scissors to achieve the best edge.
Sharpening Scissors With a Sharpening Stone
Sharpening stones, often made of diamond or ceramic, provide an effective means to restore your kitchen scissors’ edge.
First, ensure the stone is wet if you’re using a water stone or prepped according to the manufacturer’s instructions.
Hold the scissors in your non-dominant hand and open them as wide as they go. With the other hand, position the stone against the cutting edge of one of the blades. It’s crucial to match the angle of the cutting edge – typically 20 to 30 degrees.
Use gentle pressure to move the stone along the blade from the pivot out to the tip. Even strokes are key, gliding the stone in one consistent direction to ensure a uniform sharpening process.
After several passes, switch to the other blade, repeating the process. Always maintain the same angle for an even edge.
Periodically check for sharpness by carefully cutting through a thin material like paper. If the blades glide through smoothly without tearing, you’ve honed the edge successfully.
Remember to clean the blades after sharpening to remove any metal filings before using the scissors on food or kitchen materials.
With patience and a steady hand, your kitchen scissors will be back in cutting form in no time.
Testing the Scissors’ Performance
Once you’ve sharpened the blades, it’s imperative to evaluate the performance to ensure your efforts have paid off. Grab a piece of thin paper or kitchen foil; scissors fresh off the sharpening block should slice through effortlessly with a smooth, clean cut. If the paper snags or the cut is jagged, a little more work might be necessary to get that keen edge.
Don’t stop at paper; test on other materials you frequently cut. Fresh herbs are perfect for this; the scissor blades should glide through basil or parsley without bruising the delicate leaves. This not only confirms the sharpness but also simulates the practical use you’d get in the kitchen.
If you find your scissors lacking, carefully repeat the sharpening process. Remember, it’s a tactile experience; you’ll begin to feel when the scissors move from rough to razor-edged. Testing isn’t a one-off task; integrate it into your kitchen routine to keep your scissors in top shape continuously.
Tips to Maintain Sharp Scissors Edges
Maintaining sharp scissors is not just about periodic sharpening; it’s about regular care. Store them properly by keeping them in a protective case or sheath to avoid nicks and dulling.
Consider the cutting surface; avoid using your scissors on hard surfaces like metal or plastic, which can quickly blunt the blades. Stick to materials they are designed for, such as paper or fabric.
Clean your scissors regularly to prevent build-up of adhesive residues and debris, which can contribute to dullness. A simple wipe with a damp cloth and drying them thoroughly does the trick.
Oiling the hinge point isn’t just for smooth operation—it also prevents rust and corrosion, which can hamper the cutting edge. A drop of oil every few months will keep the action smooth and extends the lifespan of the scissors.
Use your scissors frequently. Regular use actually helps to keep them sharp—just ensure it’s the right usage and not on materials that could damage the blades.
By following these tips, your kitchen scissors will maintain their edge and last longer, making every cut as satisfying as the first.


