Last updated on
Storing ice for a party has never been simpler, because this article unveils proven techniques to keep your ice solid and your drinks chilled to perfection.
Storing ice for a party can be a challenging task, especially when you’re expecting a large number of guests. But with the right approach, it can be a breeze. The trick lies in knowing the right quantity to buy, selecting suitable storage containers, maintaining the appropriate temperature, and the correct timing for it all.
Dive into this article that provides all the necessary details, including pro-tips and insider secrets, to store ice effectively for any party, ensuring your guests’ drinks stay refreshingly cold throughout the event!
Key takeaways:
- Estimate 1 lb of ice per person for a 3-4 hour party.
- Decide whether to make or buy ice based on space and convenience.
- Choose the right ice cube shape and size for different drinks.
- Use coolers or ice buckets for storage, considering the party size and location.
- Start cooling drinks at least a few hours before the party.
What's Inside
Estimating the Amount of Ice Needed

A successful party involves plenty of chilled drinks, and that calls for substantial ice supplies. Factor in the number of guests, the duration of the party, and the forecasted weather. As a rule of thumb, plan for about 1 lb of ice per person for a 3-4 hour party. Take into account if the ice is also meant for consumption, not just cooling beverages, and adjust your estimate upwards. An event in a hot summer day will require more ice than a gathering on a cooler evening. Remember to add an additional 20-30% to account for unexpected needs or extended party duration. This careful planning will ensure you’re not met with a warm drink dilemma in the midst of the celebration.
Planning for Ice Cube Production or Purchase
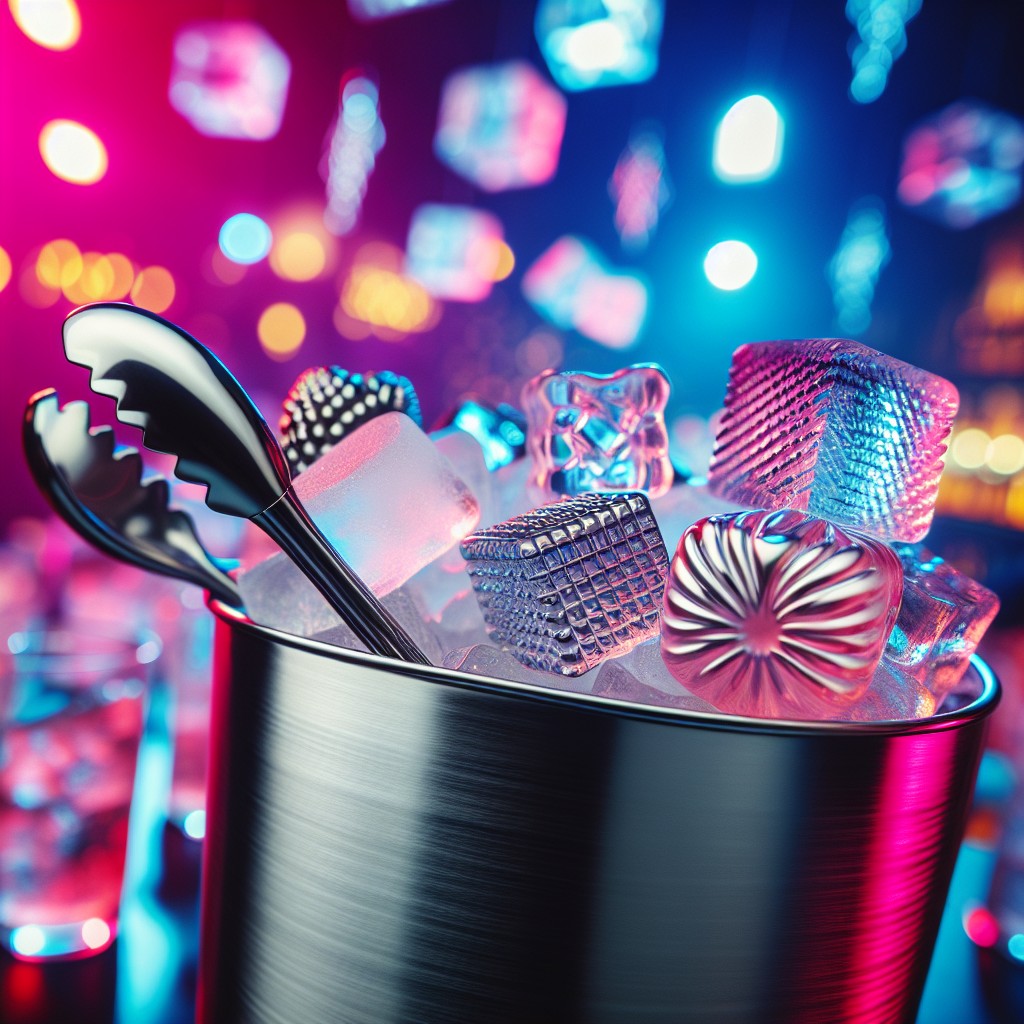
A key element in the success of your ice-cooling venture for your party is proper planning.
It’s crucial to determine whether you’ll be making the ice cubes at home or buying them. If you decide to make them, you’ll need enough space in your freezer and adequate time. Make sure to start early so your freezer isn’t overstuffed and can properly freeze the ice cubes.
On the other hand, purchasing ice is an easier route. Consider factors such as transportation, storage, and the number of bags you can fit in your cooler or storage container. It’s advisable to buy a bit more than estimated; chilling beverages takes more ice than generally anticipated.
Remember that you’ll be aiming for optimal cooling efficiency, so choose a method that best suits your circumstances.
Choosing the Right Ice Cube Shape and Size
When it comes to party planning, small details matter, right down to the size and shape of your ice cubes. Standard-sized cubes are versatile and chill drinks quickly, making them an effective choice for most events. If you’re offering whiskey or other sipping spirits, consider larger, slow-melting cubes to prevent diluting the flavor. Thin flakes or crushed ice are ideal if you plan to serve cocktails, as they rapidly lower temperature and blend smoothly with ingredients. For a playful approach to kids’ parties or summer gatherings, novelty-shaped ice molds – like stars, hearts, or fruits – can be a fun addition. Remember, different ice types can coexist at a party to meet a range of chilling needs. From cocktails to soft drinks, ensure there’s a cube type for every glass.
Deciding On the Type of Ice Storage
Ice storage comes down to two main options: coolers or ice buckets. Consider the size of your gathering, location, and duration. Coolers, with excellent insulation, are brilliant for longer parties or outdoors. They can keep ice from melting for hours, even in hot weather.
On the other hand, ice buckets are ideal for smaller or indoor gatherings. Look for insulated buckets to slow down the melt rate, however, you may still need to replenish more frequently than a cooler.
Consider having more than one storage option. For example, a cooler can act as your main storage, while the ice bucket is used as a more accessible option for guests. Remember, location is key—place them strategically for easy access, but not in direct sunshine.
Preparing the Storage Area
To ensure optimal cooling, it’s essential to position your cooler or other ice storage unit in a shaded, cool area away from direct sunlight. This not only maintains low temperatures but also slows down the melting process.
If using a cooler, ensure it is clean and dry before adding ice. For other storage units like an ice bucket, make sure it is insulated and fully clean.
Remember, the longer it takes for the ice to melt, the longer your drinks will stay chilled and refreshing.
Adding the First Layer of Ice
Before starting the stacking process, line the bottom of the storage system with a layer of ice. Do this step carefully, ensuring to distribute it evenly, as this will lay the foundation for cooling. The initial layer of ice acts as an automatic cold source, chilling the drinks directly in contact with it. Because cold air sinks, this base layer contributes to maintaining a low temperature throughout the cooler. This strategy also reduces the warming effect that might occur if the drinks were in direct contact with the warm bottom of the cooler or storage unit. This eco-cooling system eliminates the need for constant ice replenishment and is a proactive measure in offering your guests cold beverages throughout the party.
Layering ice is not just about filling; it’s being strategic to maintain the right temperature.
Arranging Drinks for Optimal Cooling
To ensure your beverages stay frosty, think strategically about how you stock them in the cooler. Start by placing a layer of ice at the bottom and then adding your first round of beverages. Make sure all surfaces of the bottles or cans are in contact with the ice for effective cooling.
Centre your drinks as much as possible, instead of pushing them to the perimeter, as the core is the coolest part. Subsequent layers of drinks should be interlaid with additional ice, ensuring a cold embrace on all sides.
For those party favorites, consider keeping them at the top for easy access. This way, guests won’t need to rummage through the icy depths, keeping the chill in and your drinks in the optimal temperature zone.
Stacking Drinks and Ice
Begin by placing the larger, heavy bottles at the bottom of the storage container. Distribute them evenly, leaving gaps where the ice will comfortably fit. Pour a generous quantity of ice over the bottles, ensuring it fills the gaps and covers the tops of the bottles.
Next, add the smaller bottles and cans, arranging them on top of the layer of bigger bottles and ice. This assures efficient usage of space and promotes better cooling of drinks. Pour a second round of ice, again filling the gaps and covering the cans and smaller bottles.
Keep in mind, the trick isn’t to just pile it all in. It’s about layering strategically – allowing ice to touch each bottle or can for optimal cooling, and ensuring that attendees can easily reach in to grab their choice of beverage without knocking others over.
For multiple coolers or larger containers, apply the same strategy on a bigger scale. Rotating the bottles during the event, so that those buried deep within make their way to the top, also increases cooling efficiency and user-friendliness.
Time to Start Cooling Before the Party
Timing is everything when it comes to cooling drinks for a party. Kick off the chilling process at least a few hours before guests arrive. Preferably, start the night before for the best results. This allows the beverages ample time to reach your desired temperature.
Remember, drinks on the top layer will chill more slowly, as heat rises. As a general rule, for a large amount of drinks to get adequately chilled, overnight cooling is recommended. If you’re short on time, remember to rotate the drinks from top to bottom occasionally. This will ensure even temperature distribution.
Of course, convenience is a factor. Starting the cooling process the night before might be impractical. If that’s the case, a minimum of 2-3 hours before the party should be sufficient for an average-sized cooler filled with ice and drinks.
Keep these tips in mind to ensure your drinks are perfectly chilled when the festivities begin!
Regulating the Temperature Throughout the Party
When the event kicks off, keeping an eye on the cooler’s internal temperature will make sure your ice lasts longer. A stand-alone or in-built thermometer can help you in this regard, providing real-time data for you to make any needed adjustments.
Ensure a stable temperature around the cooler – continuous exposure to sunlight or being near a heat source can hasten ice melting. Placing the cooler in a shaded spot or covering it with a blanket can help maintain a consistent low temperature.
Aside from location, also limit the opening of the cooler. Each time the lid is lifted, precious cold air escapes, and warmer air gets in. Thus, recommend your guests to choose their refreshments quickly, and always close the cooler tightly after use. This will ensure a longer lifespan for your ice, and cold drinks throughout the event.
Remember, it’s about striking the right balance – if drinks are too cold, it could spoil the flavor. Moreover, freezing temperatures can cause glass bottles to break, leading to safety issues. Aim to maintain an internal temperature just above freezing point, usually around 33-36°F (0.5-2°C).
Avoiding Overfilling of the Cooler
Carefully managing the quantity of ice in your cooler is crucial. Tossing in more cubes than necessary can result in inefficient cooling and wasted ice.
Aim for a balanced ratio of roughly 3/4 ice to 1/4 contents by volume. Also, ensure your contents are evenly distributed and nestled within the ice.
Remember, the idea is to surround your drinks with a cold environment, not create an iceberg! Stack items somewhere near the top of the cooler so they are easy to grab without digging through a frosty mountain.
A little planning and restraint in filling your cooler can yield an all-night supply of cold drinks.
Maintaining Hygiene Standards While Handling Ice
As a ticklish point in any food-related event, hygiene can’t be overlooked when dealing with ice. It’s vital to languish the temptation of using bare hands to handle ice. Always use clean ice tongs or scoops. Ensure these tools are washed and sanitized before the event begins and continue to clean them at regular intervals during the party.
It’s also a great idea to store these tools in a separate clean container when not in use. Next, the storage unit to be used for the ice should also be thoroughly cleaned and dried before the first layer of ice is added. It helps to freeze the storage unit overnight to kill any lingering bacteria. Plus, this pre-cooling stage ensures that your ice won’t melt as quickly.
Lastly, regularly wiping down the exterior of your coolers or buckets minimizes the risk of transferring any grime or bacteria to the ice inside when the storage unit is opened and closed. Remember, keeping it clean keeps it cool!
Checking and Replacing Melted Ice
It’s crucial to keep a close eye on the condition of your ice throughout the event. As ice melts, it reduces the cooler’s chilling performance, and drinks start to warm up. Periodic inspections can avoid this inconvenience.
Here are a few guidelines:
- Set a reminder, ideally every hour, to inspect the cooler.
- Make sure to use clean hands or tools when handling ice to prevent contamination.
- When the ice level has significantly dropped, it’s time to add fresh cubes.
- Never let the ice completely melt away before replacing it.
- Dispose of ice that has changed in color or smell, as it might signal contamination.
- Melted ice can be drained from the cooler to make space for new ice, but remember to retain some water, which aids in chilling.
Remember, frequent checking and swift replacement of ice ensure your drinks remain cold, fresh, and appealing to guests, all the while maintaining high hygiene standards.
Draining Excess Water From the Cooler
It’s a given that as the day progresses, you’ll notice some water pooling at the bottom of your cooler. It’s essential to handle this right away to avoid waterlogging the drinks or diluting the remaining ice.
1. Keep an eye on the cooler: Just as you mingle with friends, keep a casual eye on the cooler’s status.
2. Drain strategically: Use the cooler’s built-in drain plug if it has one. If not, tilt it slightly away from the party area to avoid accidents. Puddles of chilled water can be slippery!
3. Act swiftly: As soon as you notice substantial water accumulation, drain it. This action maintains the cooler’s temperature and conserves ice.
4. Consider timing: Try to drain excess water when guests are less likely to be grabbing a drink, keeping the interruption minimal.
5. Think hygiene: Lastly, ensure to wipe clean anything that becomes wet in the process. Maintaining a clean and dry area around the cooler is key to a successful party.
Handling Ice With Ice Scoops
Ensure that you have an adequate number of scoops. These handy tools allow for efficient and sanitary ice handling. Select scoops made of durable, non-porous material such as stainless steel or hard plastic. These materials resist bacteria and are easy to clean.
Remember, scoops are not meant for chip or break ice, avoid using them for such purposes; they have a specific purpose. Always store scoops in a clean, dedicated container or holder outside of the ice cooler to prevent cross-contamination. Ideally, keep a bin near the cooler for used scoops that can be washed regularly.
Never leave scoops in the cooler; this promotes bacteria growth and causes the ice to melt faster. Lastly, remember to use a different scoop for consumable ice to avoid cross-contamination.
Setting Aside a Supply of Ice for Consumption
It’s crucial to reserve a separate stash for guests to use in their drinks. Allocate a dedicated container, ideally an insulated bucket, to ensure that the ice remains solid for longer.
Place this within easy reach of the drink station, but away from heat sources to prevent melting. Tongs or a scoop should be provided to avoid direct hand contact, ensuring both cleanliness and convenience. Remember, hygiene is vital when it comes to edibles.
This way, everyone can enjoy chilled beverages without having to dig around in the cooler.
Avoiding Ice Odors During Storage
Remember, no one wants foul-smelling ice. To maintain the freshness and clean taste, store your ice away from foods with strong odors. Using airtight containers or ice bags will also prevent the absorption of surrounding smells.
Regularly cleaning the ice cooler, ice trays, or ice machine keeps it odor free. Turning off the ice maker when not in use or emptying the automatic ice tray in the refrigerator also help because stale ice can gather unpleasant odors over time.
Always ensure that the source of your water is clean and filtered as well since this can greatly impact the taste and smell of the ice.
Preventing Ice From Clumping Together in Storage
A common issue when storing ice for long periods is the formation of large clumps. This can be quite a hurdle while serving, plus, big chunks don’t cool drinks as efficiently. So how does one tackle this?
Firstly, ensure that the cooler is not overly filled. This provides more space for the ice cubes to spread out, reducing the chances of clumping.
Another effective strategy is occasional shaking or stirring. This breaks up any initial formations of ice clumps while promoting more uniform cooling in the process.
Storing in multiple, smaller containers rather than one larger one is also helpful. This makes it easier to manage the ice and significantly reduces the clumping likelihood.
And finally, in a pinch, use a clean and sturdy utensil to break apart the larger chunks. Remember, safety comes first. So avoid using sharp or dangerous tools for this purpose. A simple, sturdy wooden spoon should do the trick without posing any risk.
In these ways, the issue of ice clumping together can be easily managed and your guests can enjoy chilled drinks hassle-free!
FAQ
How do you store ice for an event?
For optimal ice storage during an event, pre-chill the cooler in a cold location for a few hours before using, and use block ice instead of crushed ice as it melts more slowly, thereby lasting longer.
How do you store large amounts of ice?
To store large amounts of ice, transfer the ice cubes to a clean paper bag, fold it closed and keep it in the freezer, ensuring to pull out the cubes as needed without them sticking together.
How long before a party should you get ice?
Before a party, you should get ice at least 30 minutes in advance to ensure that large bottles, and a multitude of cans and bottles in an ice bin, are adequately chilled for your guests.
What are the most effective methods to prevent ice from melting quickly during events?
The most effective methods to prevent ice from melting quickly during events include using insulated coolers, applying ice packs, incorporating a layer of rock salt, or insulating your ice with a thermal blanket.
Can you employ reusable ice cubes for large parties, and how?
Yes, reusable ice cubes can be employed for large parties by simply freezing them ahead of time and adding them to beverages to keep them cold without diluting the drinks.
How do you calculate the amount of ice needed for a specific number of guests at a party?
To calculate the amount of ice needed for a party, multiply the number of guests by 1 to 1.5 pounds, which is the typical amount of ice a single person uses during an occasion.
