Last updated on
Did something happen to your garbage disposal and it needs fixing? Here’s how to take a garbage disposal apart to try and fix it. Read on!
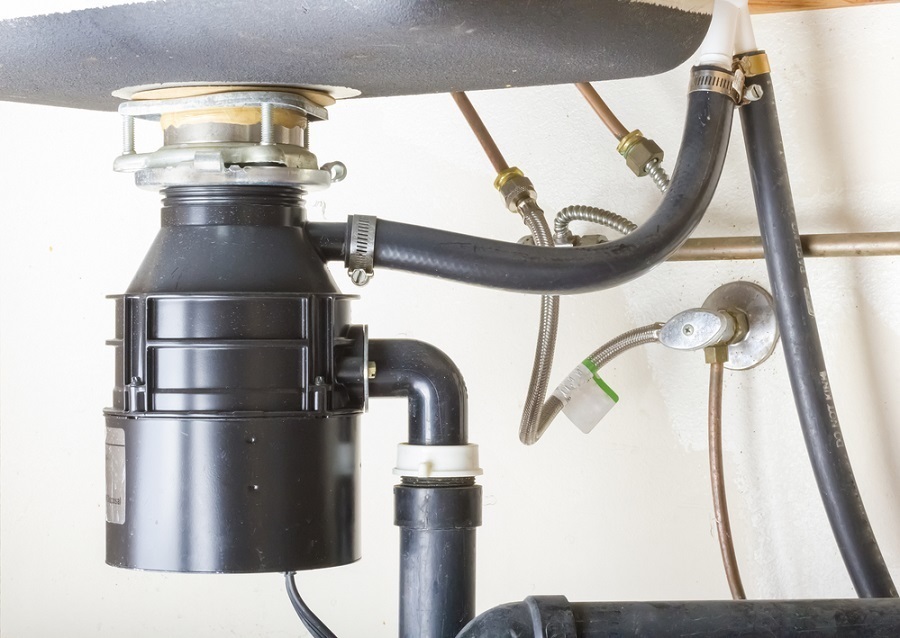
Garbage disposals are a home appliance that we use daily without any thought. That is, until something goes wrong with them. Whether you’re aiming to fix a clogged garbage disposal or ready to install an upgrade, removing your garbage disposal is an easy task that you can likely accomplish without the help of a professional. This article aims to show you the fastest, safest way to remove your garbage disposal.
What's Inside
When to Take Apart Your Garbage Disposal
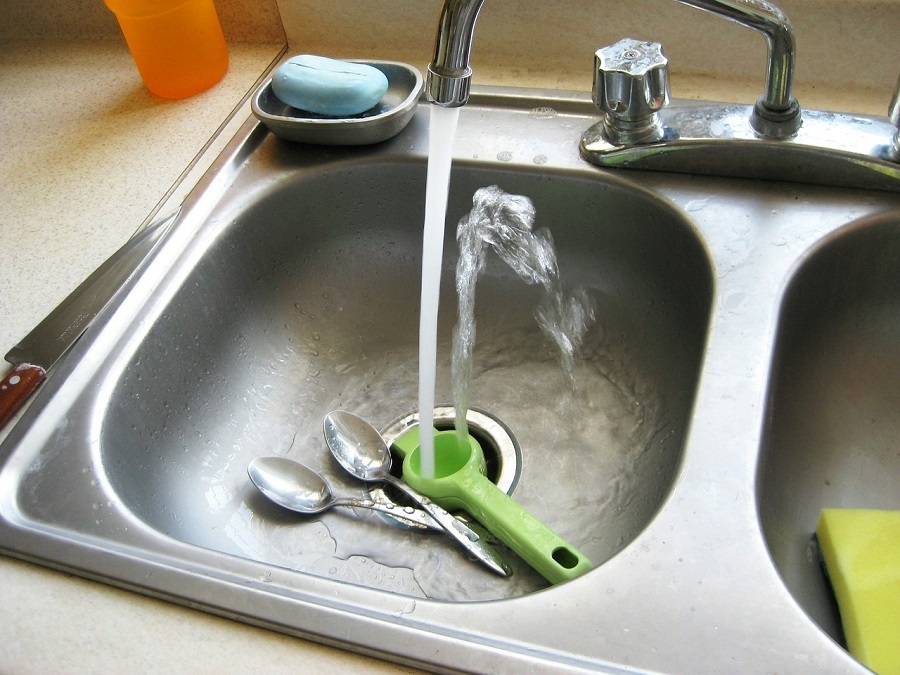
Stop! Before you take apart your garbage disposal, there are a couple of things you can try first, especially if you’re just trying to fix a common garbage disposal problem.
- Try the reset button. This is usually a red button located on the bottom or the lower backside of the unit.
- Check your electricity. If your disposal isn’t working at all, you may have tripped a circuit. Check your breaker box to make sure electricity is being supplied to the unit.
- If the garbage disposal’s blades are jammed, you can try turning the blades manually by using an alan wrench on the bottom of the unit.
- For larger items stuck inside your garbage disposal, cut the power to the unit (a critical step), and use tongs to reach down and pick up the item.
- For standing water in your sink and garbage disposal, a plunger can sometimes clear a clog and get things moving again.
Tools Needed to Take Apart a Garbage Disposal
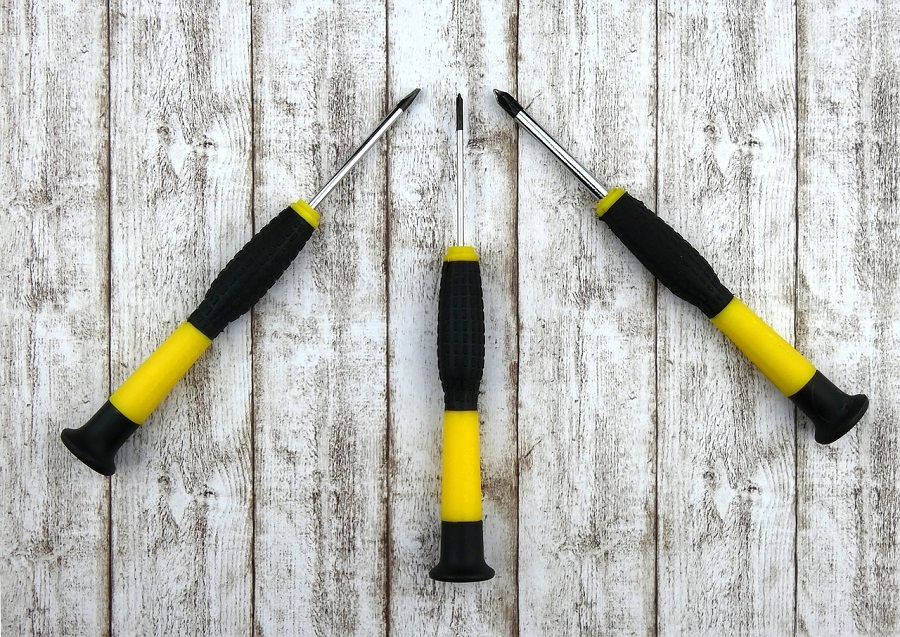
- Screwdriver
- Adjustable wrench
- Pipe Wrench or tongue-in-groove pliers
- Bucket
- Rags or drop cloth
- Safety glasses
If your garbage disposal is hardwired, you will also require:
- Voltage tester
- Wire cutters
How to Disassemble a Garbage Disposal: Step by Step Guide
Step 1: Disconnect the Garbage Disposal
Cutting the power to your garbage disposal starts at your home’s breaker box. Most modern boxes are labeled with what part of the home they control, but if you’re unsure, then you may have to use some trial and error here to see which switch successfully turns off power to the garbage disposal and possible part of your kitchen.
The next step is to unplug the garbage disposal at the unit near the unit. Typically, the garbage disposal is plugged into a standard outlet under the sink. If your particular model is hardwired, you will need to remove the metal panel at the bottom of the unit. Use a voltage tester to make sure there isn’t any electricity running to the product, and then you can use wire cutters to severe the lines.
Step 2: Prepare the Area
Clearing the area below a garbage disposal is often a step that gets skipped. I can tell you right now that you will save yourself a bunch of cleanup and hassle if you take a few moments to clear out the cabinet that houses your garbage disposal, and lay down some old rags or drop cloths. Additionally, you may need a bucket or large bowl to catch water that comes down when you remove the appliance.
I prefer to put a box under the garbage disposal at this point as well. These units aren’t extraordinarily heavy, but having something there to support the weight of unit will make it easier to handle as you unscrew it. A simple cardboard box works just fine.
Step 3: Disconnect the Dishwasher
Not all garbage disposals are connected to a dishwasher, but if yours is, now is the time to disconnect it.
Start by turning off the water to the location. The water valve should be close to the garbage disposal under the sink and can be turned off by turning clockwise. Double-check to make sure it is off by checking your sink’s tap.
Next, you will disconnect the hose that attaches the dishwasher to the garbage disposal. The drain is usually held in place by a clamp that can be removed with a screwdriver. This tube may have water in it, so have your bucket ready when you detach it.
Step 4: Remove the Fittings on the P-trap and the pipe attached to the garbage disposal
The p-trap is the piece of pipe that is u-shaped and connects the water supply to the wall. On sinks without a garbage disposal, this is usually where you will find the earring or ring you dropped down the sink. You will need an adjustable wrench or pipe wrench to do this. Disconnect this pipe first and let the water drain into your bucket. Then disconnect any other water connections that are directly linked to your garbage disposal.
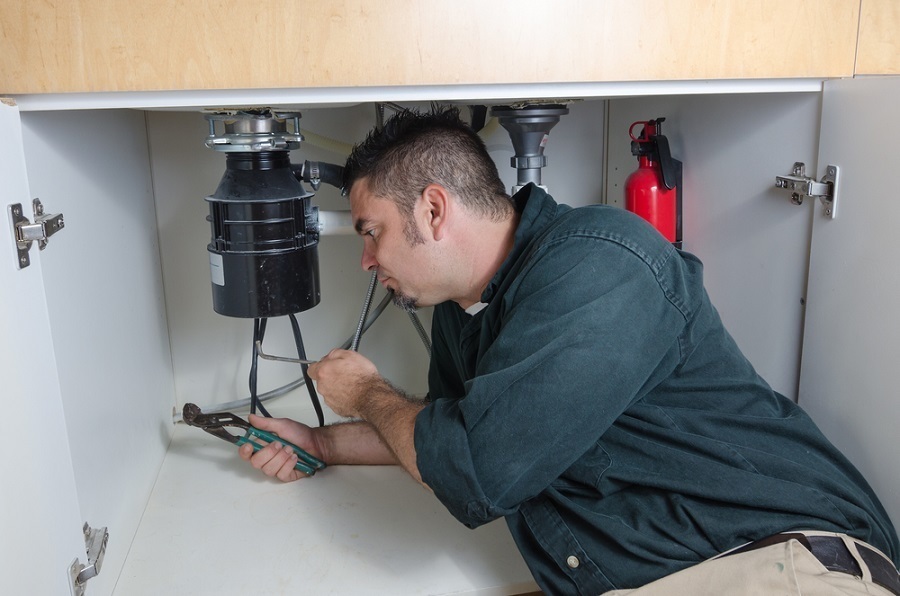
Step 5: Remove the Garbage Disposal
This is actually the easy part! Some garbage disposals are kept in place with a snap ring that won’t require any tools to be removed. Others are mounted with a few standard screws. This is where that cardboard box will come in handy so that you’re not dealing with the weight of the unit with one hand while working with the other hand to loosen it.
You have now “freed” your garbage disposal. After removing the mounting hardware and cleaning off any existing plumbing, you will be ready to reinstall or install a new model.
For particular troubleshooting for your particular model, we recommend first consulting your user manual. Oftentimes, customer service can walk you through the process.
What Not to Put in the Garbage Disposal
To keep your garbage disposal running smoothly, there are some items that you should avoid putting in them. Following these rules is especially crucial if your home has a septic system and disposal.
Items to avoid include:
- Bones
- Grease, oil, or fat
- Eggshells
- Produce stickers or other non-food items
- Coffee grounds
- Nuts or fruit pits
Garbage disposals are a home chef’s best friend when they are working the right way. If it’s time for an upgrade (or you just want to get to the bottom of an annoying issue), you can easily remove the unit yourself with a few tools and a little bit of time. It might even come so naturally that you’ll begin to wonder what other home plumbing projects you can tackle!