Last updated on
Discover the ultimate guide to transforming your single kitchen sink into a functional and spacious double basin, perfect for enhancing your dishwashing experience.
If you’re someone who spends a lot of time in the kitchen, you know how valuable counter space and sink real estate can be. A double sink can make all the difference when it comes to meal prep and clean-up, but what if your kitchen only has a single sink? Luckily, there’s an easy solution that doesn’t require a complete kitchen renovation.
In this article, we’ll show you how to turn a single kitchen sink into a double without breaking the bank or hiring a professional plumber. So let’s get started!
What's Inside
Understanding the Benefits of a Double Kitchen Sink
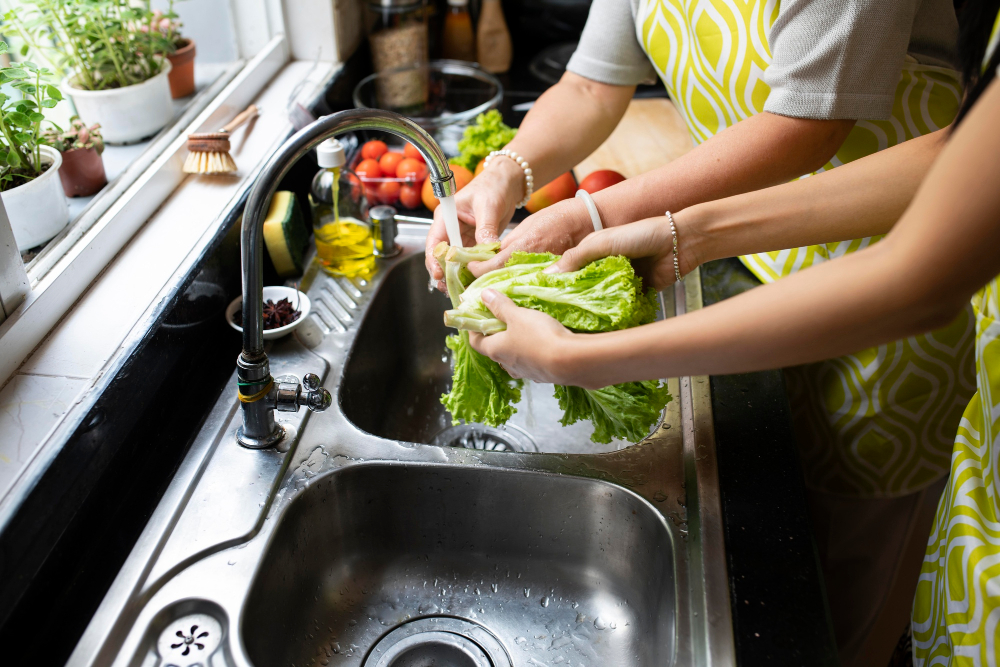
A double kitchen sink offers a range of benefits that can make your life in the kitchen much easier. Firstly, it provides more space for washing dishes and preparing food, which is especially useful if you have a large family or frequently entertain guests.
With two basins, you can wash dishes on one side while rinsing them off on the other without having to switch between tasks constantly.
Another advantage of having a double sink is that it allows for better organization and separation of dirty and clean items. You can use one basin exclusively for washing dishes while using the other to rinse fruits or vegetables before cooking.
Some people prefer to use their second basin as an area for soaking pots and pans before cleaning them properly later on. This helps prevent stubborn stains from setting in over time.
Planning the Conversion
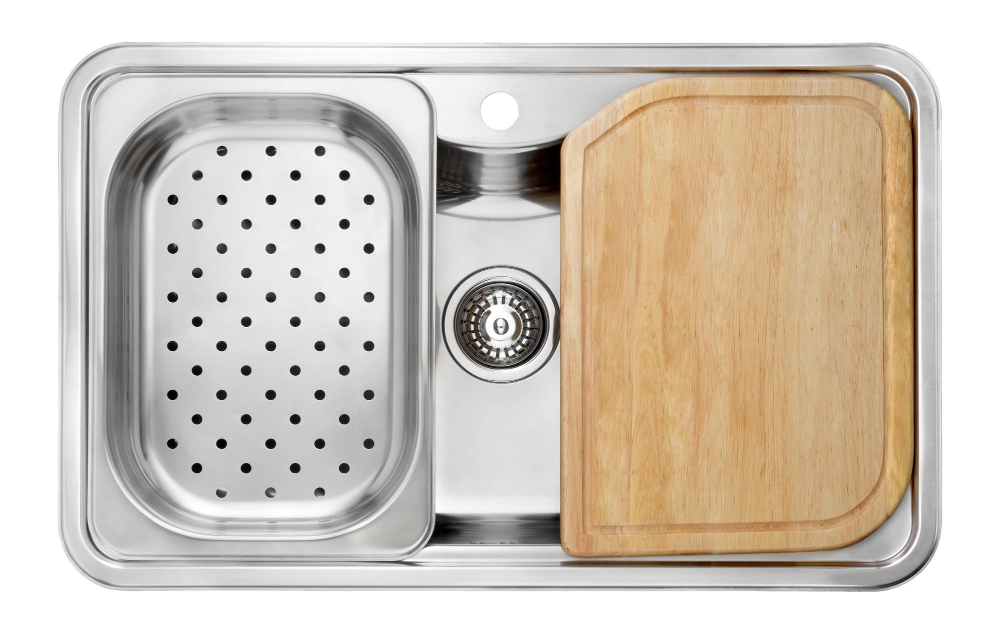
This will help ensure that everything goes smoothly and that you end up with a functional double sink in your kitchen.
Firstly, consider the layout of your kitchen and where the new sink will be placed. You’ll need to measure the space available for a double basin sink carefully.
Make sure there is enough room for both basins without compromising counter space or cabinet storage.
Next, decide on what type of double sink you want based on its size, material (stainless steel or porcelain), style (undermount or top mount), and features such as built-in drainboards or garbage disposals.
Once you have chosen a suitable model for your needs and budget range, gather all necessary tools like wrenches pliers etc., materials like silicone sealant tape etc., before starting work so that everything is within reach when needed during installation.
Measuring Your Space for a Double Sink
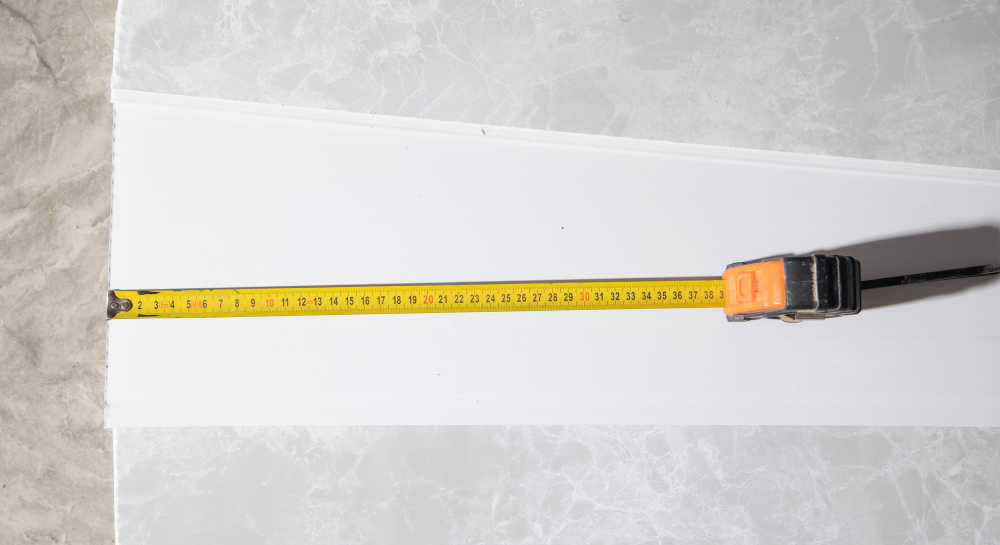
This will help ensure that the new sink fits perfectly and that there are no surprises during installation. Begin by measuring the width of your countertop where the current single sink is installed.
Double sinks typically come in standard sizes ranging from 33 inches to 36 inches wide, so make sure you choose one that fits within these dimensions.
Next, measure the depth of your countertop from front to back and compare it with the depth of various double sinks available on the market. You’ll want to make sure there’s enough clearance between any nearby cabinets or appliances and your new double basin.
Consider how high you want each basin in relation to other fixtures like faucets or soap dispensers when selecting a specific model.
Choosing the Right Double Sink for Your Kitchen
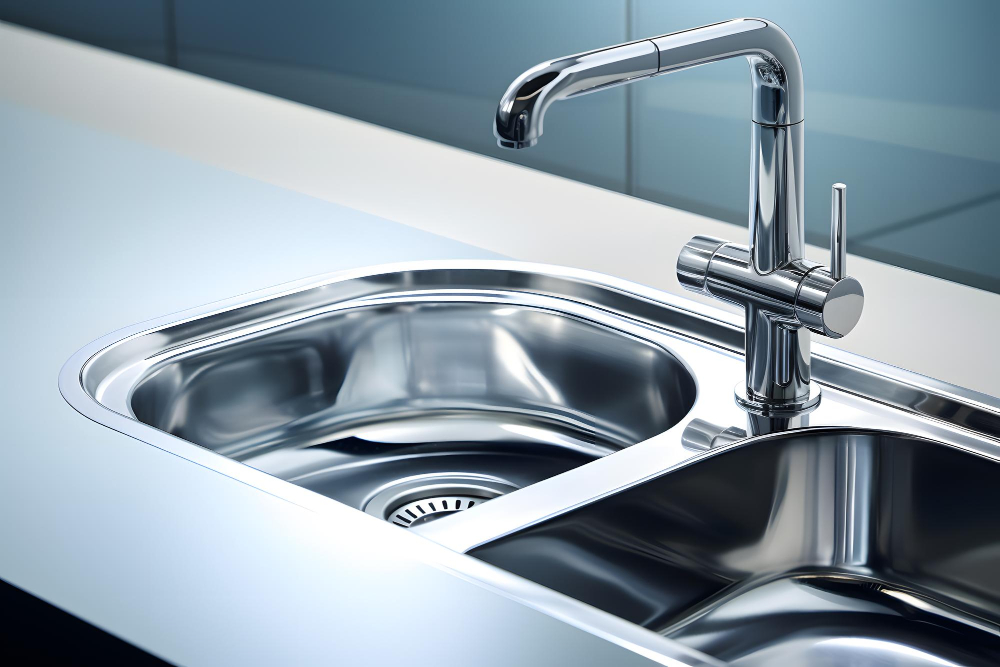
There are several factors to consider when selecting a new sink, including size, material, and style. First and foremost, you’ll need to measure your existing countertop space to ensure that the new sink will fit properly.
Double sinks come in various sizes ranging from 30 inches up to 48 inches or more.
When it comes to materials, stainless steel is a popular choice due its durability and affordability. However, if you’re looking for something more stylish or unique there are also options like porcelain or granite composite sinks available on the market.
Another factor worth considering is whether you want a top-mount (drop-in) or undermount installation type of double basin kitchen sink. Top-mounts sit on top of your counter while undermounts attach underneath it giving them sleeker look but requiring professional installation.
Lastly but not leastly – think about how much time do you spend washing dishes? If this activity takes up significant amount of time then investing into deeper basins might be beneficial as they can accommodate larger pots and pans making cleaning easier than ever before!
Gathering Necessary Tools and Materials

Before starting any DIY project, it’s important to have all of the required items on hand so that you don’t have to stop mid-project or make multiple trips to the hardware store.
Here are some of the essential tools and materials you’ll need for this project:
Tools:
- Adjustable wrench
- Basin wrench
- Channel-lock pliers
- Hacksaw or reciprocating saw (if cutting countertop)
- Screwdriver set (flathead/Phillips)
- Silicone caulk gun
Materials: – Double sink kit with mounting hardware – Plumbers putty – PVC pipe fittings – Teflon tape.
It’s always a good idea to read through all instructions before beginning any work. This will help ensure that you understand each step in advance, as well as identify if there are additional tools or supplies needed beyond what is listed above.
Necessary Plumbing Adjustments
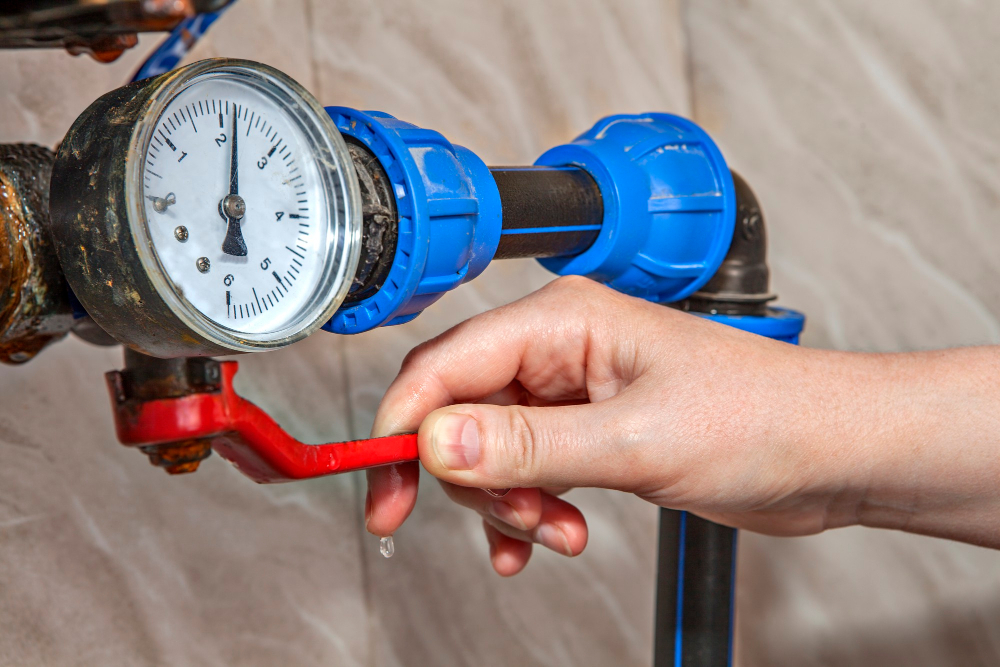
This step is crucial in ensuring that your new double sink functions properly and efficiently.
Firstly, turn off the water supply valves under the sink and disconnect all pipes from the old single basin. You may need a wrench or pliers to loosen any tight connections.
Next, you’ll need to install a T-fitting onto your existing drain line so that both sinks can be connected to it. Make sure that this fitting is installed at an appropriate height so that there will be enough room for both drains.
You may also need additional PVC piping if there isn’t enough length on your current pipes to reach both sides of the new double basin.
It’s important not only to ensure proper drainage but also adequate water pressure when using two basins simultaneously; therefore, installing separate shut-off valves for each side of the sink can help regulate water flow more effectively.
Removing the Old Single Sink
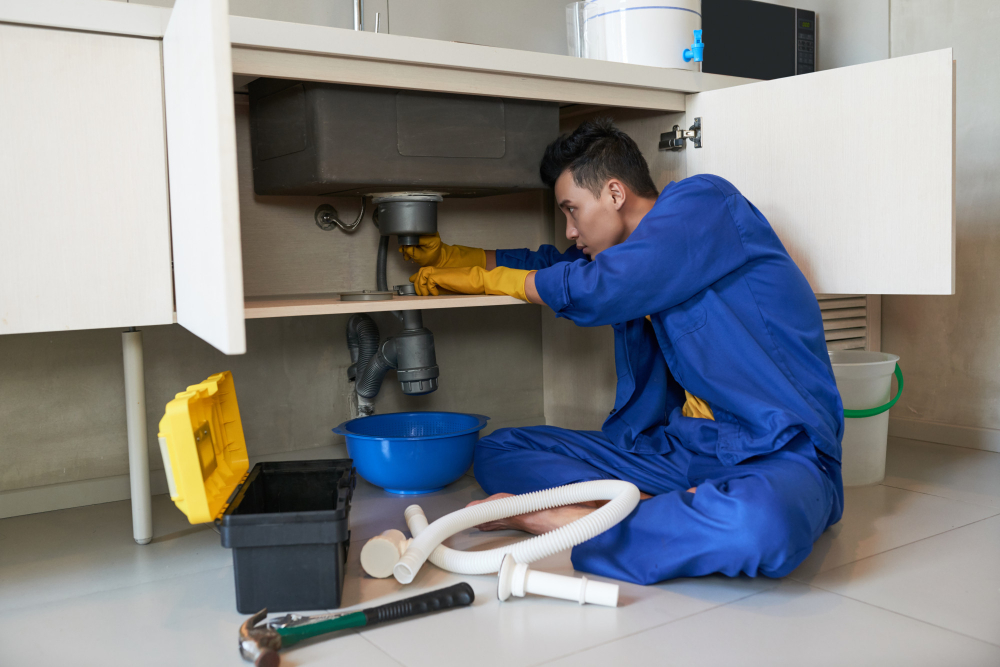
This step can be a bit tricky, but with the right tools and some patience, you should be able to do it yourself.
Firstly, turn off the water supply valves under your kitchen sink. Then disconnect any plumbing connections such as drain pipes or garbage disposal units that are attached to your current single basin.
Next up is removing any mounting clips or screws that hold down the old sink in place. You may need someone else’s help at this point since sinks can be heavy and awkward to handle alone.
Once all attachments are removed from underneath, carefully lift out the old single basin from its countertop cutout using a pry bar if necessary. Be sure not to damage surrounding countertops during removal!
Preparing the Countertop for Installation
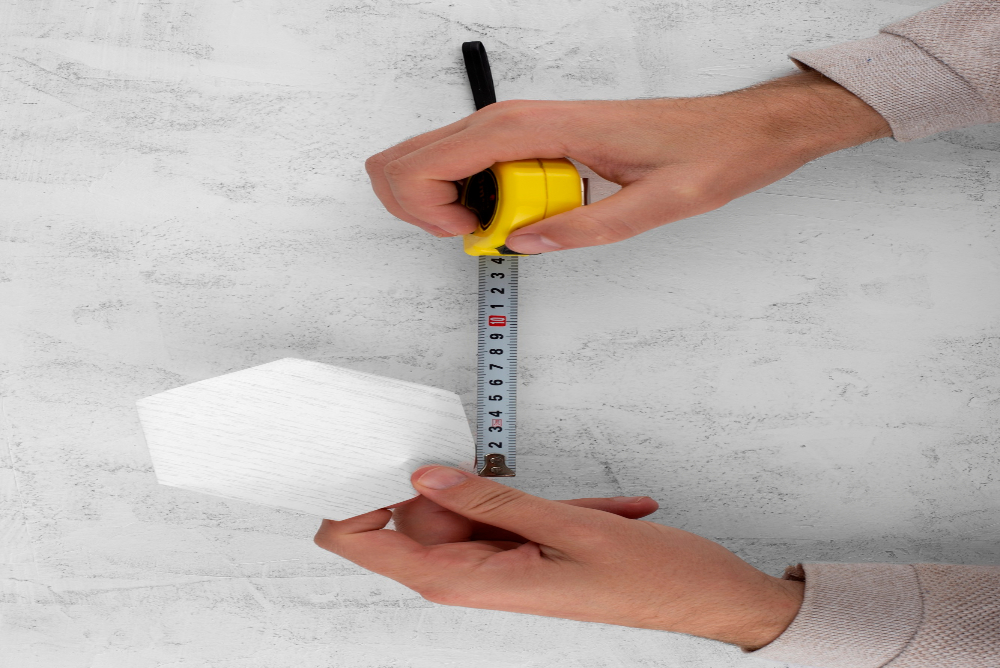
This step is crucial in ensuring that your sink fits snugly and securely into place. First, remove any debris or old caulking from around the edges of the existing single sink using a putty knife or scraper.
Next, measure and mark out where you want to cut the hole for your new double basin sink. Use a template provided by the manufacturer as a guide if available; otherwise use measurements taken directly from your new sink.
Once you have marked out where you need to cut, drill pilot holes at each corner of where you will be cutting with an appropriate size drill bit (refer to manufacturer instructions). Then use a jigsaw or reciprocating saw with an appropriate blade (again refer to manufacturer instructions) along these lines until all excess material has been removed.
Sand down any rough edges around the newly created opening so that they are smooth and even before proceeding with installation.
Installing the New Double Sink
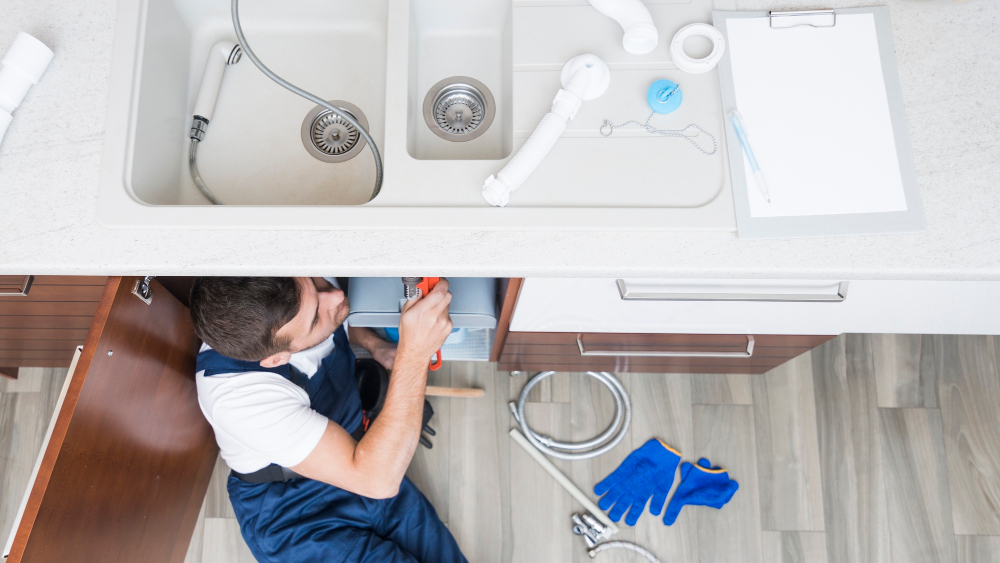
Begin by placing the new sink into position on top of your countertop. Make sure that it fits snugly and is level with your counter surface.
Next, attach any mounting clips or brackets that came with your new double sink to secure it in place. These will typically be located underneath the rim of each basin.
Once you’ve secured the mounting clips or brackets, apply a bead of silicone caulk around both basins’ edges where they meet with your countertop. This will help create a watertight seal between them.
Connect any necessary plumbing components such as drain pipes and water supply lines according to manufacturer instructions carefully. Remember always to test for leaks before using either basin for washing dishes or food preparation purposes.
Connecting the Faucet and Drain Pipes
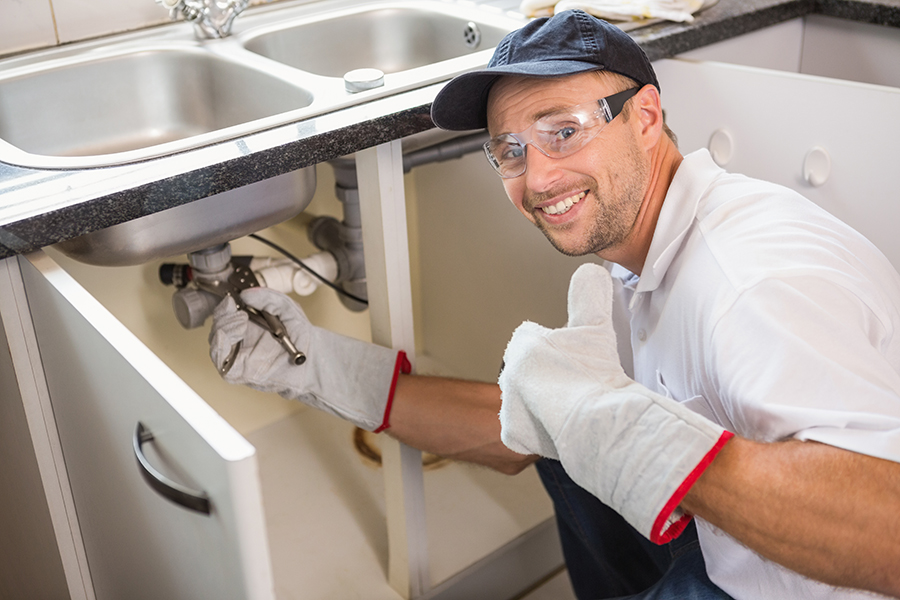
Before you begin, make sure you have all the necessary tools and materials on hand, including plumber’s putty, Teflon tape, adjustable wrenches or pliers.
Firstly, install the new faucet onto your countertop according to manufacturer instructions. Then connect each water supply line to its corresponding valve using an adjustable wrench or pliers.
Make sure that each connection is tight but not over-tightened as this can cause damage.
Next up are drain pipes – these will need to be connected from both sinks into one main pipe leading out of your home. You’ll need PVC piping cutters for this job as well as PVC cement and primer.
Start by measuring how much piping you’ll need between both sinks before cutting it with PVC cutters accordingly (make sure there’s enough slack so that it doesn’t pull too tightly). Apply primer first then cement onto each end of every piece before connecting them together securely with couplings.
Installing the Garbage Disposal Unit
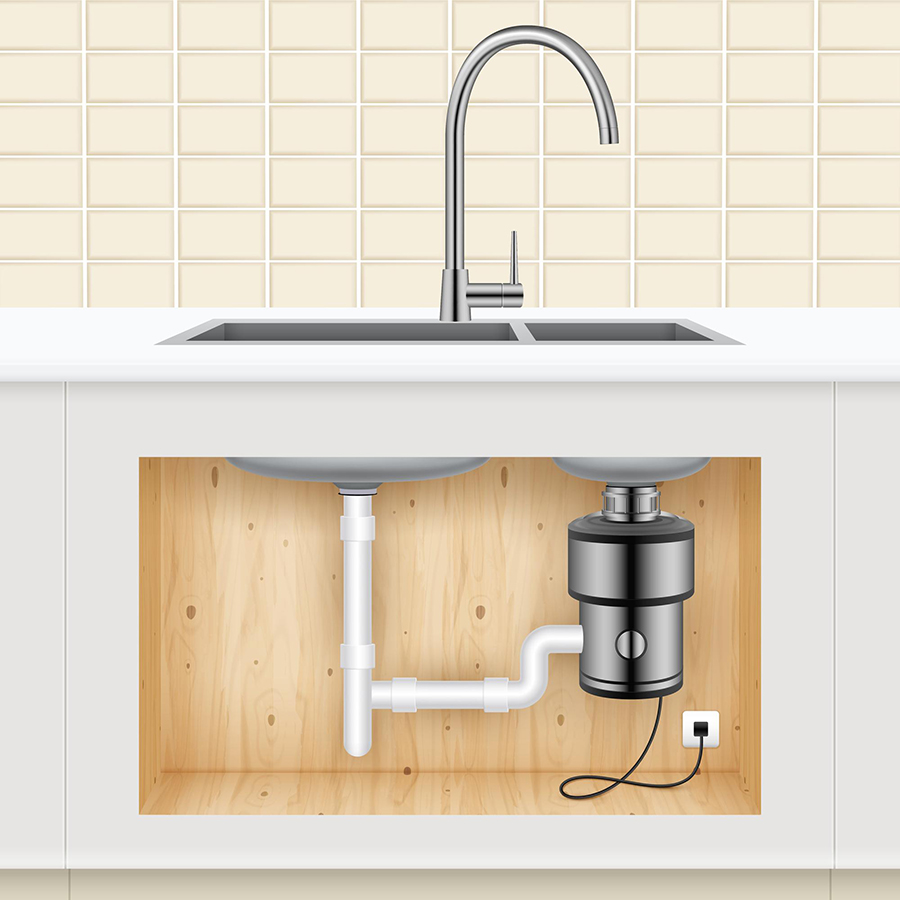
A garbage disposal can help you dispose of food waste quickly and easily, reducing the amount of trash in your home and keeping unpleasant odors at bay.
To install the garbage disposal unit, start by turning off power to the area where you’ll be working. Then, remove any existing plumbing connections from under the sink and detach them from the old single sink.
Next, attach mounting hardware to both sides of your new double sink according to manufacturer instructions. Once that’s done, place rubber gaskets over each mounting ring before lowering it into position on top of each side’s drain hole.
Securely tighten all bolts with a wrench or pliers until they’re snug against both sinks’ underside surfaces while ensuring that everything is levelled correctly.
Connect electrical wires as per manufacturer instructions before testing for leaks or other issues once again after installation completion.
Sealing and Securing the Sink
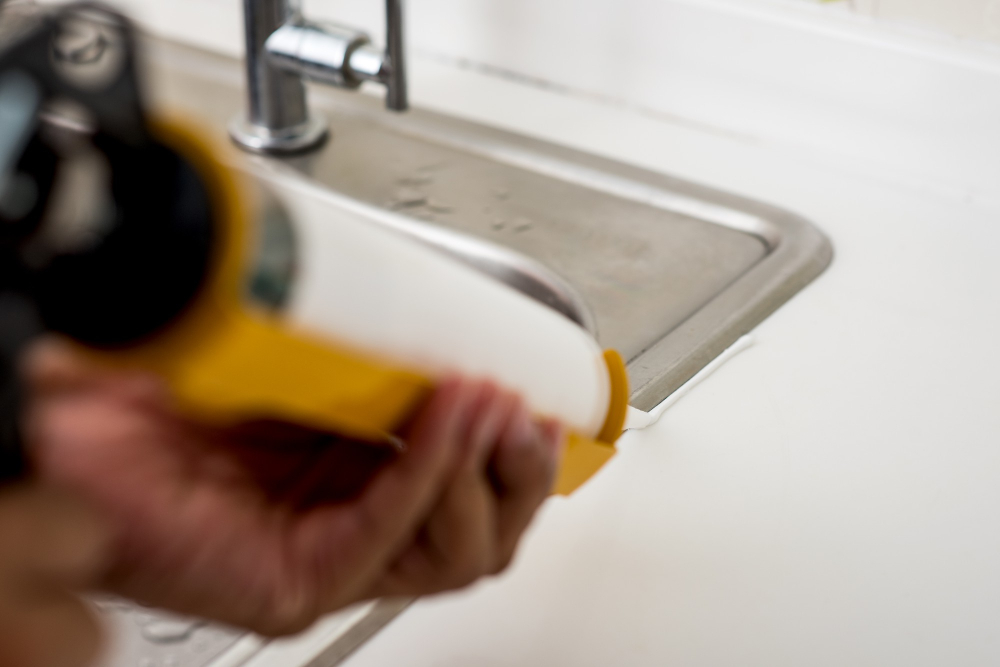
This will help prevent leaks and ensure that the sink stays in place for years to come. To begin, apply a bead of silicone caulk around the edge of the sink where it meets the countertop.
Smooth out any excess with your finger or a caulk smoothing tool.
Next, use mounting clips or brackets (depending on what came with your sink) to secure the sink in place from underneath. Tighten them evenly so that they hold the weight of both basins without shifting or tilting.
Connect all necessary plumbing components including drain pipes and garbage disposal unit if applicable before testing for leaks by running water into each basin separately while checking under cabinets for any signs of moisture.
Testing for Leaks
This step is crucial in ensuring that everything has been properly installed and connected. To do this, plug both drains with stoppers or rags and fill the sinks with water until they are about halfway full.
Then let them sit for a few minutes while checking underneath the sink for any signs of leakage.
If you notice any drips or puddles forming under the sink, turn off the water supply immediately and check all connections to make sure they are tight enough. If necessary, use plumber’s tape or sealant to fix any leaks.
It’s also a good idea to run some dish soap around all of your connections before filling up your sinks again – if there are still leaks present after doing so then you’ll be able to see bubbles forming where air is escaping from beneath one of these points (indicating an issue).
DIY Vs Hiring a Professional Plumber

While DIY projects can be fun and rewarding, they’re not always the best option for everyone.
If you’re confident in your plumbing skills and have experience with similar projects, then converting your single sink into a double may be something you can handle on your own. However, if you don’t feel comfortable working with pipes or making adjustments to existing plumbing systems, it’s best to leave this job up to the professionals.
Hiring a professional plumber ensures that everything is done correctly and safely. They will also know how to properly install any necessary components such as garbage disposals or water filtration systems.
Hiring someone else means less stress for you since they’ll take care of all aspects of installation from start-to-finish.
How Much Does It Cost To Replace A Kitchen Sink?

The good news is that this project can be done on a budget, especially if you opt for a DIY approach. On average, the cost of replacing an old kitchen sink with a new double basin model ranges from $300 to $500 depending on factors such as materials and labor costs.
However, keep in mind that additional expenses may arise if any plumbing adjustments are needed or if you choose to hire professional help. If your current plumbing setup doesn’t accommodate two sinks or requires significant modifications for installation purposes, then hiring an experienced plumber might be necessary.
Ultimately though, investing in upgrading your kitchen sink can add value and functionality to your home while also enhancing its aesthetic appeal.
Maintaining Your New Double Sink

Here are some tips for keeping your new double sink in top condition:
1. Clean regularly: Make sure to clean the sink after each use with a mild soap and water solution or a non-abrasive cleaner.
2. Avoid harsh chemicals: Do not use abrasive cleaners or harsh chemicals such as bleach, ammonia, or vinegar on the surface of the sink as they can cause damage.
3. Use a protective mat: Consider using a protective mat at the bottom of each basin to prevent scratches from pots and pans.
4. Fix leaks promptly: If you notice any leaks around your faucet or drain pipes, fix them immediately before they cause further damage.
5. Check for clogs regularly: Keep an eye out for any signs of clogging in either basin and address them promptly by using baking soda and vinegar solutions or calling in professional help if necessary.
Pros and Cons of a Double Kitchen Sink

One of the biggest advantages is that you’ll have more space for washing dishes, preparing food, and cleaning up after meals. This can be especially helpful if you have a large family or frequently entertain guests.
Another benefit is that you can use one side of the sink for soaking dishes while still having access to clean water on the other side. Some people prefer double sinks because they allow for better organization when washing dishes.
However, there are also some downsides to consider before making this upgrade. For example, installing a double sink may require additional plumbing work which could increase your overall costs.
Larger sinks take up more counter space which could limit your workspace in smaller kitchens.
Furthermore,a bigger basin means using more water than necessary during dishwashing tasks leading higher utility bills at end month.
Common Mistakes to Avoid

Here are some things to avoid:
1. Not measuring correctly: Before purchasing your new double sink, make sure you measure your countertop space accurately to ensure it will fit properly.
2. Choosing the wrong size or style of sink: Double sinks come in various sizes and styles, so choose one that fits both your needs and aesthetic preferences.
3. Forgetting about plumbing adjustments: Converting from a single to double basin requires additional plumbing adjustments such as adding another drain line and water supply lines.
4. Rushing through installation: Take time during each step of the process to ensure everything is installed correctly before moving on.
5. Neglecting proper sealing techniques: Properly sealing around the edges of your new sink is crucial for preventing leaks and ensuring longevity.
By avoiding these common mistakes, you’ll save yourself time, money, and frustration in the long run while enjoying all of the benefits that come with having a functional double kitchen sink!
FAQ
Can you convert single sink to double?
Yes, converting a single sink to a double sink is possible, but it requires effort and investment, making it practical for those who share morning routines simultaneously.
How much does it cost to make a single sink into a double?
The cost to make a single sink into a double ranges from $1,200 to $5,400, considering the average prices for double vanities ($750 to $3,200), removing the existing vanity ($100 to $400), and replacing old plumbing and pipes ($350 to $1,800).
How do I convert a single faucet to a double faucet?
To convert a single faucet to a double faucet, install a two-handled faucet using the three existing holes in the sink and cover any unused holes with an escutcheon or base plate to hide them from sight.
Can two sinks share one drain?
Yes, two sinks can share one drain as long as the centerline of the outlet of both sinks is not more than 30-inches horizontally from the trap centerline, according to the International Plumbing Code (IRC P3201.6).
What are the essential tools and materials needed for converting a single sink to a double sink?
Essential tools and materials for converting a single sink to a double sink include: additional sink, faucet, drain assembly, T-fitting, tailpiece, plumber’s putty, Teflon tape, pipe wrench, hacksaw, and screwdriver.
How do you properly install and connect the plumbing for a double sink setup?
To properly install and connect the plumbing for a double sink setup, assemble and attach the drainpipes and p-traps, connect the water supply lines, and ensure all connections are secure and leak-free.
What are the key considerations when choosing between a single sink and a double sink for a kitchen remodel?
Key considerations when choosing between a single sink and a double sink for a kitchen remodel include available space, functionality needs, and personal preferences.


