Last updated on
Learn the straightforward steps to shutting off the water supply under your sink to tackle maintenance or emergencies with ease.
Key takeaways:
- Locate the water supply valves under the sink easily.
- Turn the valves clockwise to shut off the water.
- Test the faucet to ensure the water is off.
- Use penetrating oil or a wrench if the valve is stuck.
- Call a professional plumber if you encounter resistance or leaks.
What's Inside
Locate the Water Supply Valves
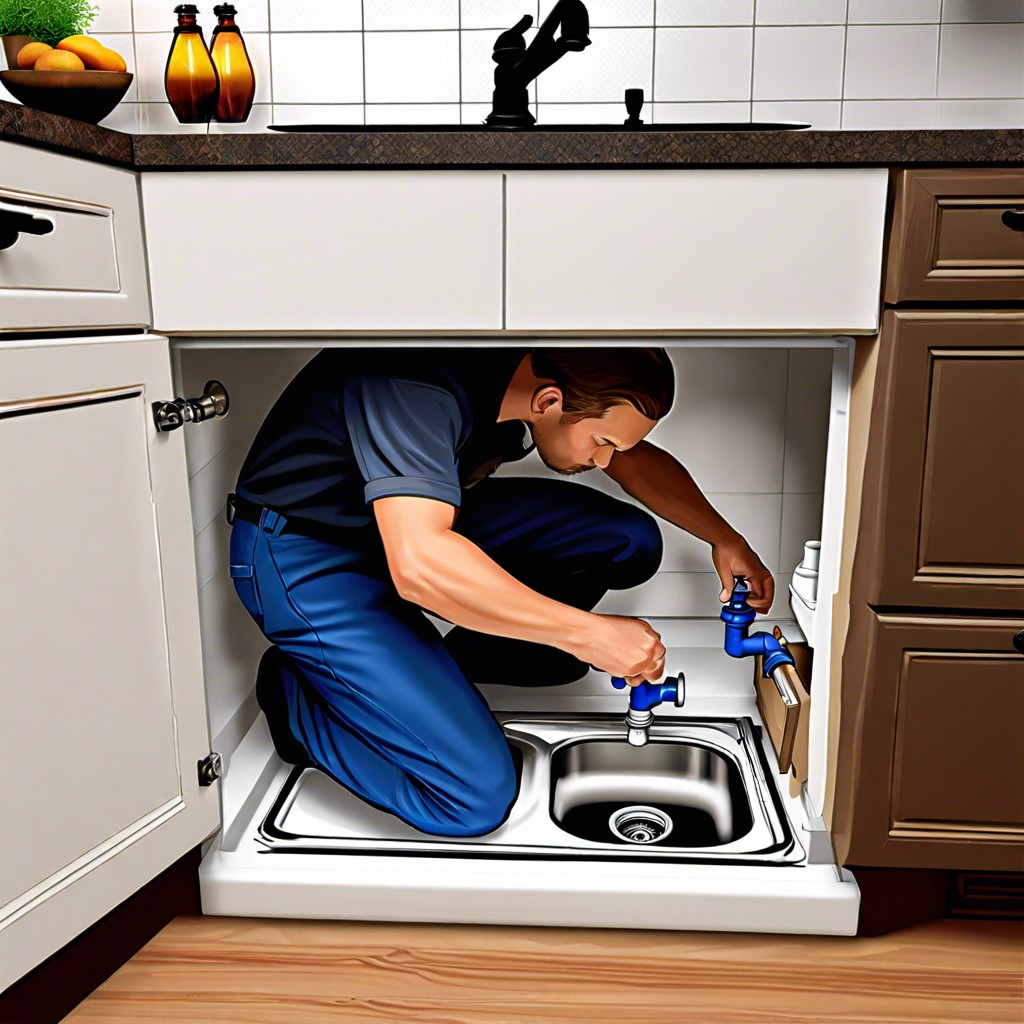
Diving beneath the sink can feel like venturing into a plumber’s domain, but fear not, because finding the water supply valves is a surprisingly straightforward task that doesn’t require a professional’s expertise.
Typically, the valves are located at the back of the cabinet beneath the sink. Look for two knobs or levers—often one for hot water (usually on the left) and one for cold water (on the right). These metal or plastic fixtures are your gates to controlling the flow of water to the faucet above.
In some cases, if your sink sits on a pedestal or against a wall without cabinets, the valves might be exposed and easier to access. Regardless of their position, their function remains constant: turn these, and you’ve effectively paused the water’s journey to your tap. Remember, some sinks also have a valve for a dishwasher or a water filtration system, so be sure to identify the correct ones for the faucet.
Turn the Valves Clockwise to Shut Off Water
After you’ve located the valves, which are typically small knobs made of metal or plastic situated on the pipes coming from the wall, it’s time to turn them. A simple rule of thumb: “righty-tighty, lefty-loosey”.
Turning valves clockwise is the go-to method for shutting off the water because this direction helps to compress the internal washer, sealing the valve and preventing water flow. This turning mechanism is standard, thanks to the universal design of threaded fasteners that close tighter as you turn them to the right.
Ensuring you turn the valve until it stops is crucial, but be gentle. Over-tightening can damage the valve and make it harder to turn the water back on later. Plus, you don’t need Herculean strength—firm and steady does the trick.
Once you’ve turned the valves, give the faucet a quick test. No water should be coming through. If a few drips escape, recheck the tightness of the valves, but remember, gentle! If it still leaks, it might signal that the valves are worn out and require replacement, a job best left to the plumbers.
Keep in mind, valves that haven’t been turned in a while might resist your initial attempts. Don’t force them; instead, apply a penetrating oil and wait a few moments. If they still won’t budge, this is when it’s advisable to loop in a plumber to avoid causing any damage to your plumbing.
Test the Faucet to Ensure Water Is Off
Once the valves are turned clockwise and you believe the water supply is cut off, the next immediate step is to verify that the water is indeed off. This is a crucial checkpoint before proceeding with any plumbing work under the sink.
To confirm, simply open the faucet as you normally would for both hot and cold water. No water should emerge from the faucet. If a few drops dribble out, that’s just residual water in the lines clearing out. However, if the water continues to flow or even trickles steadily, this could indicate the valves aren’t fully closed or might not be functioning properly.
While testing, also listen for the sound of water attempting to pass through the pipes. Any noticeable noise could suggest a need to tighten the valves a bit more or point towards a leak that requires attention.
Verifying that the water is completely off is not just a precautionary step—it prevents potential flooding and water damage that could result from removing plumbing components under the assumption that the water has been turned off when it hasn’t. Always double-check before moving forward.
What to Do If the Valve Is Stuck
Encountering a stuck valve is a common issue, often due to mineral buildup or corrosion. If turning the valve with normal hand pressure doesn’t work, don’t force it as this can cause damage to the pipes or valve itself. Instead, apply penetrating oil to the valve stem, which can break down rust and allow for smoother movement. Give the oil time to work—usually a few minutes should do.
If the valve remains immobile, try using a wrench but proceed with caution. Place the wrench on the valve’s body and turn slowly, ensuring you’re not putting pressure on the connecting pipes. For stubborn valves, heating the area with a hairdryer might expand the metal and make it easier to turn. Never use an open flame, as it’s a safety risk.
In situations where these methods don’t yield results, it might be time to call a professional. Plumbers have specialized tools and experience to handle stuck valves without causing further damage to your plumbing.
When to Call a Professional Plumber
If your attempts to shut off the water are met with resistance or the valve simply won’t budge, it’s time to consult a professional. A plumber can address any underlying issues such as corrosion or a malfunctioning valve that might be preventing you from turning off the water supply.
A persistent drip or leak even after you’ve turned the valve off indicates a more complex problem. This could signal that the valve itself is faulty and requires replacement.
In situations where the valves appear to be damaged or you notice water seeping through them, a plumber’s expertise is necessary. They have the tools and the know-how to repair or replace damaged parts without causing further damage to your plumbing.
Lastly, if you’re uncomfortable with the idea of doing it yourself or you lack the proper tools, don’t hesitate to call in a professional. They can ensure the job is done safely and correctly, saving you from potential water damage and costly future repairs. Remember, it’s always better to err on the side of caution when it comes to plumbing.


