Last updated on
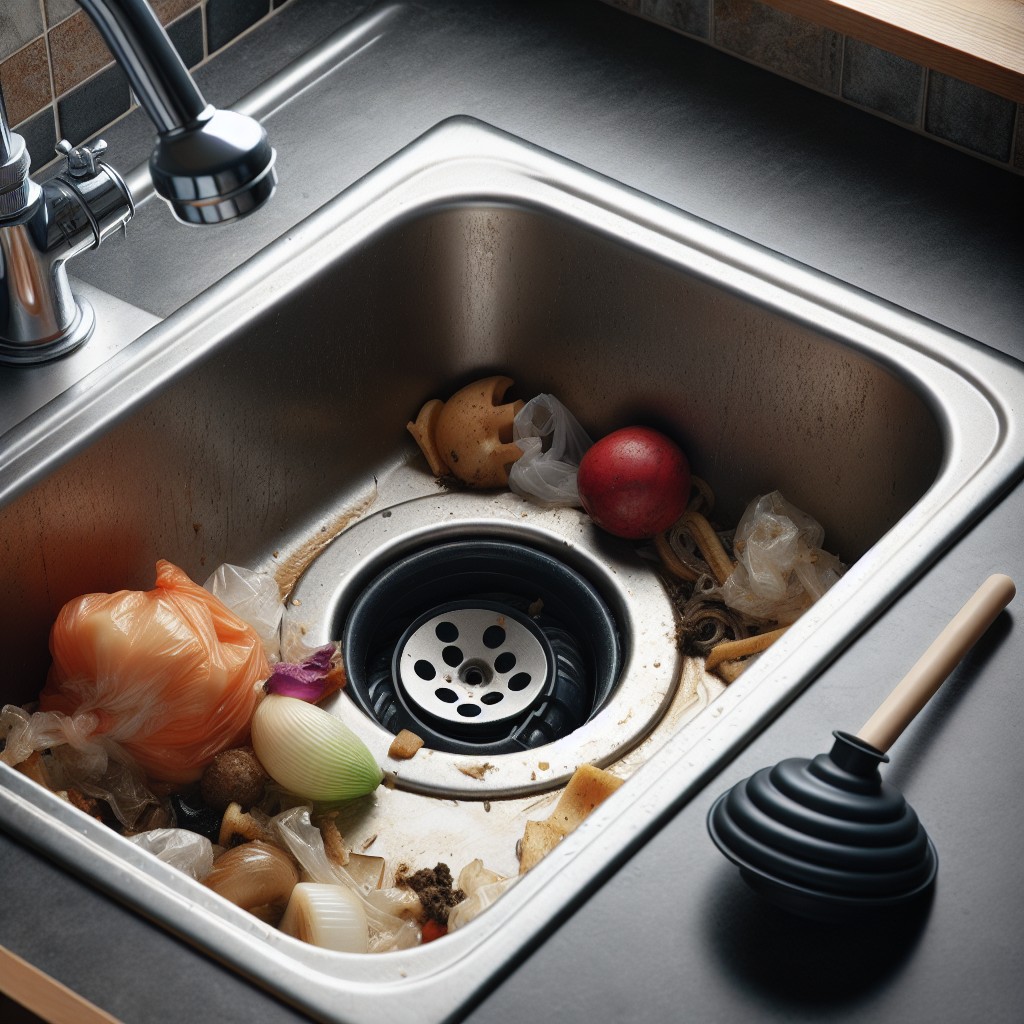
Discover practical steps to effectively unclog your kitchen sink equipped with a garbage disposal, ensuring a smooth and efficient DIY fix.When faced with a clogged kitchen sink that has a garbage disposal, the first measure is to ensure that it’s safe to proceed by turning off the power to the disposal unit. This can typically be done at the circuit breaker or by unplugging the disposal under the sink.Next, press the reset button located on the bottom of the disposal unit; sometimes the disposal just needs a simple reset. If resetting doesn’t work, check for obvious obstructions by using a flashlight to look down the drain. Never place your hand into the disposal. If you see an object, use pliers or tongs to remove it.If no obstruction is visible, try using a sink plunger. Fill the sink partially with water, then use the plunger over the drain while covering the opposite side if it’s a double sink. This could dislodge any material stuck in the disposal.If plunging fails, use an Allen wrench on the bottom of the disposal unit. Most disposals have a manual crank at the bottom that allows you to turn the blades from outside. Insert the wrench into the appropriate slot and turn it back and forth, which can free up whatever is jamming the mechanism.When these methods don’t work, apply a natural cleaning mixture of baking soda and vinegar. Pour a cup of baking soda down the drain, followed by a cup of vinegar. This can help dissolve organic matter. After waiting for several minutes, rinse with hot water to clear any loosened debris.For persistent clogs, a plumber’s snake or drain auger can be inserted into the drain to break up the clog. Carefully feed the tool down the drain and once you feel resistance, crank the handle to dislodge the clog. Always be cautious not to damage the pipes.Finally, routine maintenance can prevent future clogs. Running cold water through the disposal while it grinds food scraps and using citrus peels can help keep the blades sharp and the drain smelling fresh.Unclogging a kitchen sink with a garbage disposal often requires a step-by-step approach, starting with the safest and simplest solutions and progressing to more involved techniques if necessary. Regular upkeep is key to avoiding these issues and ensuring the longevity of your kitchen sink and garbage disposal system.
Key takeaways:
- Turn off power to the garbage disposal before starting.
- Use pliers or tongs to remove any visible obstructions.
- Try resetting the disposal unit or manually turning the blades.
- Use a mixture of baking soda and vinegar to dissolve clogs.
- Consider using a plunger, drain snake, or call a professional for persistent clogs.
What's Inside
Before You Begin
Before diving into the task at hand, ensure that your garbage disposal is switched off. It’s crucial to avoid running the disposal if it’s jammed, as this can damage the motor or cause harm.
Next, clear out any visible debris from the sink to avoid adding to the blockage. Confirm that you have a plunger, baking soda, vinegar, and a flashlight on hand, as one of these may become your best ally in tackling the clog.
Also, keep a bucket nearby to catch any water or waste that may be dislodged during the unclogging process. Remember, patience is key. Rushing may result in overlooking a simple solution or, worse, causing further complications.
Safety Considerations
Disconnect power to the garbage disposal to prevent accidental activation. Always do this at the circuit breaker since the switch might not prevent power from reaching the disposal if there’s an internal electrical issue.
It’s equally important to avoid the temptation of placing your hand or utensils inside the disposal, even when it seems safe. Sharp blades and the potential for unexpected movement mean that doing so could result in serious injury.
Also, ensure the area is well-lit; clear visibility is crucial for safely assessing and addressing clogs. Wear protective gear like gloves to protect your hands from harmful cleaners and potential sharp objects lodged within.
Keep a bottle of white vinegar and baking soda on hand, as these natural cleaners are safe to use and effective for dislodging minor clogs without risking damage to your disposal’s mechanics.
What You’ll Need
Gather these essentials before tackling your clogged kitchen sink:
- Pair of pliers or a wrench: You’ll need these to loosen and detach parts if necessary.
- A bucket or a large bowl: Position this under the pipes to catch any spillage when you disassemble the disposal unit.
- Flashlight: A good light source helps you see what’s causing the blockage.
- Baking soda and vinegar: These natural cleaners can help dissolve organic build-up.
- Boiling water: Hot water can assist in flushing out the loosened clog after treatment.
- Plunger: A plunger can sometimes dislodge the debris causing the clog.
- Allen wrench (hex key): Most garbage disposals have a manual reset that can be turned with an Allen wrench.
- Gloves: Rubber gloves protect your hands from grime and ensure better grip.
Armed with the right tools, you’ll be prepared to clear out the stubborn clog swiftly and efficiently.
Instructions
Turn off power to the disposal unit for safety by either unplugging it or switching off the circuit breaker.
Check for obvious obstructions in the drain. Shine a flashlight into the sink and use tongs or pliers to remove any large items that may have fallen in.
Press the reset button on the disposal unit, often found on the bottom of the unit, which can sometimes clear out jams and get it running again.
Attempt to manually turn the blades by inserting an Allen wrench into the center shaft at the bottom of the disposal. Work it back and forth to loosen any jam.
Pour a mixture of baking soda and vinegar down the drain. Let it fizz for a few minutes, which can help break down material clogging the drain.
Boil a pot of water and carefully pour it down the drain to help flush through any loosened debris.
If the clog persists, use a plunger. Cover the drain fully with the plunger and use a fast, up-and-down motion to create suction and help dislodge the clog.
If the plunger doesn’t resolve the issue, consider using a drain snake or auger. Insert the tool into the drain and gently push it through the pipes until you feel resistance, then twist and pull to remove clogs.
Always reconnect power to the disposal once you’ve checked that the clog is cleared and the sink is draining properly.
Run water and the disposal briefly to ensure the clog is completely removed and that the unit is operating smoothly.
When to Call a Professional
There are times when a plunger or natural remedies just won’t cut it, and knowledge of one’s limitations is crucial for avoiding further damage.
Persistent Clogging: If repeated efforts have been futile and your sink refuses to clear, it’s likely a signal for professional help. Deep-seated blockages often require specialized tools and techniques that are beyond the average DIY repertoire.
Water Backflow: When water starts to back up into other household drains, it indicates a problem with the main line, which is a task for a seasoned plumber with the appropriate equipment to handle systemic issues.
Leaks: If you notice water leaking from the disposal or under the sink, especially after attempting a fix, the expertise of a professional is essential. This could signify a broken seal or pipe, which if not addressed promptly, could lead to water damage and mold growth.
Strange Noises: Unusual noises coming from the garbage disposal after clearing a clog could suggest a mechanical issue. Experts are trained to safely diagnose and repair these complex problems without risking injury or further damage to your system.
Foul Odors: Persistent bad smells after cleaning and unclogging attempts may point to a deeper, more sinister issue within your plumbing system. Professionals have the means to thoroughly clean and deodorize your disposal, ensuring a safe and pleasant kitchen environment.
Never hesitate to call for a professional’s help when the situation feels beyond your comfort zone. It’s better to invest in a properly functioning kitchen sink than to risk the complications of an incorrect or incomplete DIY fix.


