Last updated on
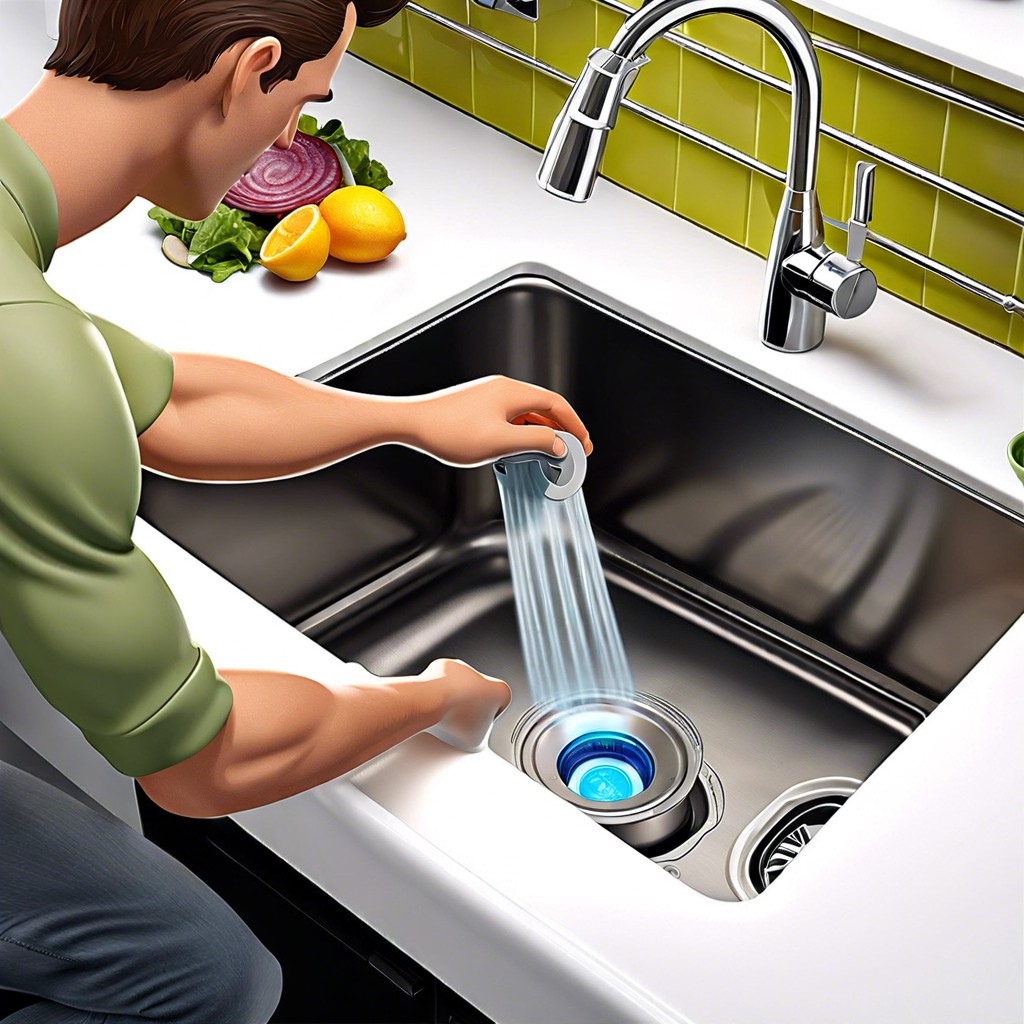
Learn practical steps to unclog your kitchen sink quickly and effectively.
Key takeaways:
- Check the Garbage Disposal
- Plunge Away the Blockage
- Break It Down With Baking Soda and Vinegar
- Try the Plumber’s Snake
- Clean the P-trap
What's Inside
Check the Garbage Disposal

Before diving into more hands-on solutions, let’s focus on the garbage disposal. If your kitchen sink has one, it could be the source of the clogging trouble. Often, simply activating the disposal is enough to dislodge any food waste that’s causing a minor clog. But if you flip the switch and hear just a low humming sound, that’s a sign the disposal itself is jammed.
Don’t let this hiccup throw a wrench in your flow. Instead, cut the power to the disposal to prevent any accidents. You can usually do this from the switch on the wall, or you may need to unplug it from under the sink. Once the power’s off, look for a little reset button on the disposal unit. Press it. If luck’s on your side, this might solve your problem with no muss, no fuss.
But suppose the disposal doesn’t start, or it starts but doesn’t clear the clog. In that case, grab an Allen wrench. Most disposals have a manual hex head opening at the bottom. By inserting the wrench and cranking it back and forth, you can often free up whatever’s stuck in there. After you’ve worked the wrench, hit the reset button one more time and test it out. A smooth-running disposal typically means a clear sink, and it might just be as easy as that.
Plunge Away the Blockage
Dive straight into the action with a sturdy plunger. Got a double sink? First, seal off the second basin with a wet cloth. This focuses the pressure where you need it. Now, fill your clogged side with enough water to submerge the tool’s head. Place the plunger firmly over the drain and pump vigorously—think of it as a mini workout! You’re playing a game of force, using water to dislodge whatever’s causing the jam. Alternating between stout plunges and quick bursts can shake loose the stubborn gunk. Remember to keep a tight seal for the best pressure and have a bit of patience. A few determined plunges might just send that blockage packing.
Break It Down With Baking Soda and Vinegar
Picture this: your sink is as clogged as a busy mall on Black Friday, and you’ve got a cabinet full of cleaning supplies that just won’t do the trick. That’s when you turn to the dynamic duo: baking soda and vinegar. This combination is like the Batman and Robin for DIY drain cleaning.
Here’s the scoop: start with a pot of boiling water down the drain to soften the clog. Follow this with half a cup of baking soda. Let it sit for a few minutes; consider it a timeout for your troublesome clog. Next, pour in a cup of vinegar and watch the fizzy reaction. The science behind it? When baking soda and vinegar mix, they create carbon dioxide bubbles that scour the inside of your pipes, breaking up the gunk like a professional scrub team.
Cap it off with a hot water chaser to flush away the loosened debris. Remember, patience is a virtue; this isn’t a hasty process. Give it time to work its magic, and you might just hear that satisfying whoosh as the blockage waves goodbye.
Try the Plumber’s Snake
If the plunger didn’t work, it’s time to bring out the big guns—or in this case, the plumber’s snake, also known as a drain auger. This trusty tool can dislodge clogs that are causing your sink to back up. Feed the snake down the drain until you feel resistance; that’s your clog. Crank the handle, which spins the coiled-up snake, burrowing its head into whatever’s plugging your pipes. With a bit of elbow grease, you might just break through the blockage.
After a few turns of the handle, pull the snake back out. You’ll likely find the culprit of your clog hitching a ride on the end. It can be a messy affair, so have a bucket and some rags handy. Occasionally, you might have to repeat the process a couple of times to get everything out, but persistence pays off. If the obstruction refuses to budge, it might be time to call in professional reinforcements—but often the snake will clear the way, and water will once again flow freely.
Clean the P-trap
Diving under the sink, you’ll find the P-trap, that curvy pipe connecting your drain to the waste line. Its job? To keep a small amount of water in the pipe, blocking sewer gases from entering your home. Clogs often hang out here, making this the next stop on your unclogging journey.
Before embarking on this mini plumbing adventure, clear out the space below the sink. You’ll need room to maneuver and don’t want to turn your cleaning supplies into casualties of war against the clog. Next, place a bucket underneath the P-trap to catch any water or debris that might fall out.
Loosen the slip nuts at both ends of the P-trap with your hands or pliers. But remember, lefty-loosey, righty-tighty applies to more than just jar lids. Once the P-trap is free, tap out the contents and inspect for clogs. A clog’s no match for a good scrubbing, so arm yourself with a brush or a rag to clear out any stubborn gunk.
With your P-trap now glistening, reassemble everything, tightening the slip nuts by hand. Don’t overdo it; the goal is snug and secure, not to prove your strength. Test your handiwork by running water down the sink. If all’s well, congratulations are in order! Your sink is back to swallowing water like a dream.


