Last updated on
This article will provide you with creative and cost-effective strategies to refresh your aged kitchen cabinets without the need for a total replacement.
Key takeaways:
- Clean and prep cabinets: Remove dirt, sand, and fill imperfections.
- Choose the right paint: Opt for semi-gloss or high-gloss, acrylic latex, or chalk paint.
- Replace old handles and pulls: Measure, consider style and finish, and use a template.
- Use adhesive veneers: Match your style, measure accurately, cut precisely, and follow instructions.
- Patience is key: Take your time for a professional finish.
What's Inside
Clean and Prep Your Cabinets
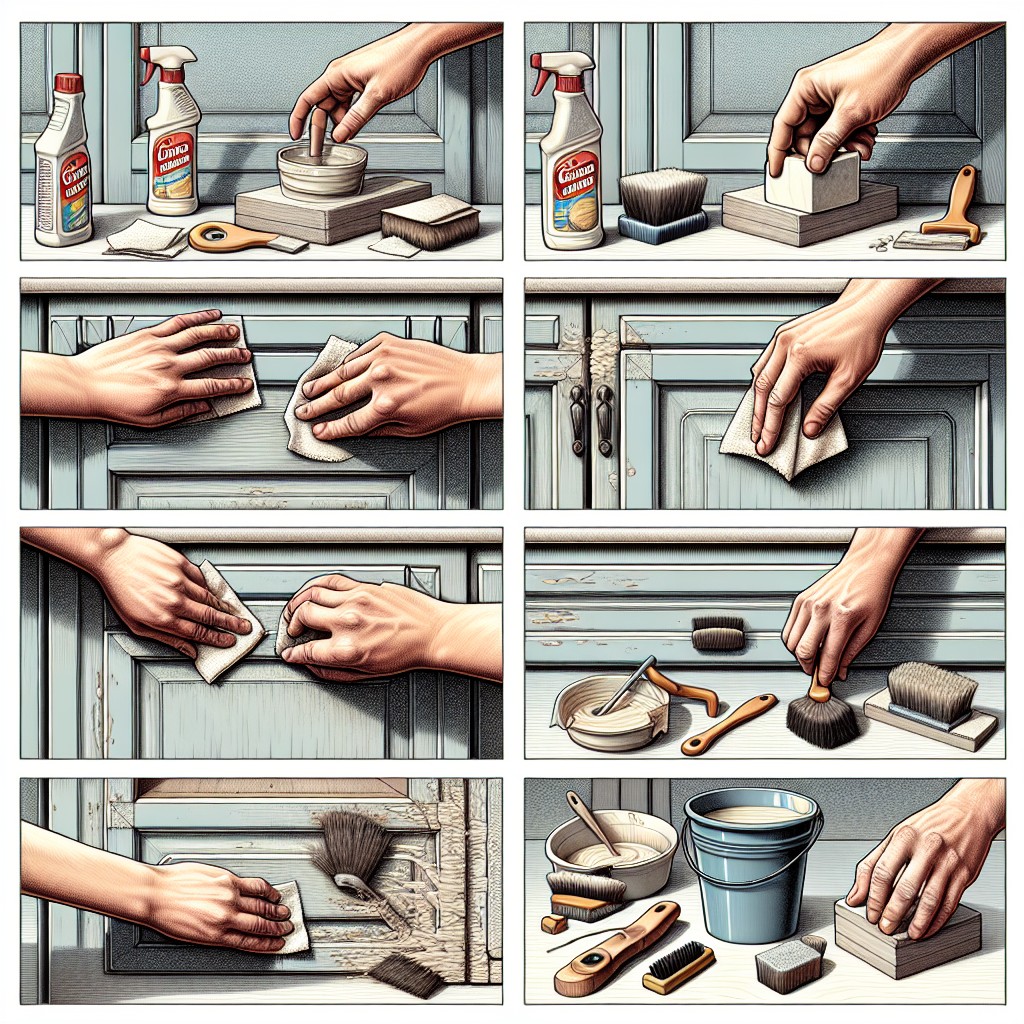
Before diving into the transformative process, ensuring that your cabinets are squeaky clean is a must. Over time, kitchen cabinets accumulate a layer of grease, dust, and dirt that can hinder the adherence of paint or veneers. For an effective clean, mix a solution of warm water and grease-cutting dish soap or a vinegar solution. Use a soft cloth or sponge to gently scrub the surfaces, and don’t forget the nooks and crannies where grime loves to hide.
Once the cabinets are dry, remove any loose paint or coatings with fine-grit sandpaper. This step is crucial for creating a smooth base for your new finish. Sanding not only helps to roughen the surface for better paint adhesion but also eradicates minor imperfections. After sanding, wipe down the surfaces again to remove any residual dust.
Lastly, if you notice any holes or dents, now is the time to fill them with wood filler. Smooth it out and let it dry completely before you move on to sanding it down, ensuring an even and flawless base for whatever new look you’re planning to give your cabinets. This kind of detailed prep work lays the perfect foundation for a stunning and long-lasting update.
Choose the Right Paint
Selecting the ideal paint for your kitchen cabinets is pivotal to ensure durability and a fresh look. Opt for a semi-gloss or high-gloss finish; these choices are not only resilient against moisture – a common kitchen adversary – but also make cleaning a breeze. High-quality acrylic latex paint is a favorite among DIY enthusiasts due to its forgiving nature and long-lasting finish.
To add character, consider chalk paint for a matte, vintage appearance, which can be sealed with wax for protection. Oil-based paints are known for their toughness, but keep in mind the longer drying time and need for good ventilation during application.
Always match your paint with a primer that’s suitable for the cabinet material – whether it’s wood, laminate, or metal – and remember: light colors can brighten a space, while darker tones create a more intimate feel. For a trendy look, two-toned cabinets are currently en vogue; think of pairing soft neutrals with bold shades to add depth and modernity.
Replace Old Handles and Pulls
Swapping out old hardware for modern alternatives is a minor change that makes a major difference. Here’s a concise guide to doing it right:
1. Measure existing hardware: Before purchasing new knobs or pulls, measure the distance between the holes of your current handles and the diameter of the knobs. Ensuring the new hardware matches these dimensions will guarantee a seamless fit without the need for new holes.
2. Consider the cabinet style: Choose hardware that complements the existing style of your cabinets. Sleek, stainless steel handles could modernize traditional cabinets, while antique pulls might enhance a rustic feel.
3. Mind the finish: Brass, chrome, or matte black? The finish of your new pulls and handles can tie your kitchen’s aesthetic together. Think about how the new color will match or contrast with the cabinet color.
4. Tools for the job: A screwdriver is often the only tool required. Unscrew the old hardware, clean any residual grime, then secure the new pieces in place.
5. Alignment is key: For new holes, use a template to ensure alignment. Consistent placement across all cabinets maintains a uniform look.
Remember that hardware acts like the jewelry of kitchen cabinetry – the right selection can elevate the entire space.
Use Adhesive Veneers
Adhesive veneers offer a convenient and cost-effective way to give your kitchen cabinets a facelift. These thin layers of real wood or laminate can adhere to the surface of your cabinets, providing a new look without the hassle of a complete overhaul.
When choosing veneers, keep in mind:
- Match your Style: With a wide array of options, select a finish that complements your kitchen’s decor.
- Measure Twice: Ensure you accurately measure your cabinet surfaces to buy the correct amount of veneer.
- Cut Precisely: Use a sharp utility knife or scissors for clean cuts that align with the dimensions of your cabinet faces.
- Application Technique: Follow the manufacturer’s instructions for best results—clean the cabinet surfaces, peel the backing off, and apply slowly to avoid air bubbles.
- Tools for Success: Consider using a veneer smoothing tool to secure the adhesive and achieve a professional, bubble-free finish.
Remember, patience is key to a successful application. Taking your time can make the difference between a kitchen refresh that looks DIY and one that appears professionally done.


