Last updated on
Learn how to effectively use plumber’s putty on a sink drain to ensure a watertight seal and prevent leaks.
Ah, the sink drain—a valiant warrior in the battlefield of your kitchen. But even warriors need armor, and that’s where plumber’s putty comes into play! If you’ve ever pondered the great mystery of stopping those pesky leaks or questioned if you should be inviting silicone to the party instead, you’re in the right place. From understanding its squishy magic to knowing when it’s time to switch tactics, this guide is your sink’s new best friend. Ready to roll up those sleeves and put leaks to shame? Let’s dive into the wonderful, gooey world of plumber’s putty!
Key takeaways:
- Plumber’s putty prevents leaks with a flexible seal.
- Avoid using putty on plastic and porous surfaces.
- Turn off water before starting any plumbing work.
- Apply putty like a snake around the drain flange.
- Test for leaks after reassembling the drain system.
What's Inside
What Is Plumber’s Putty
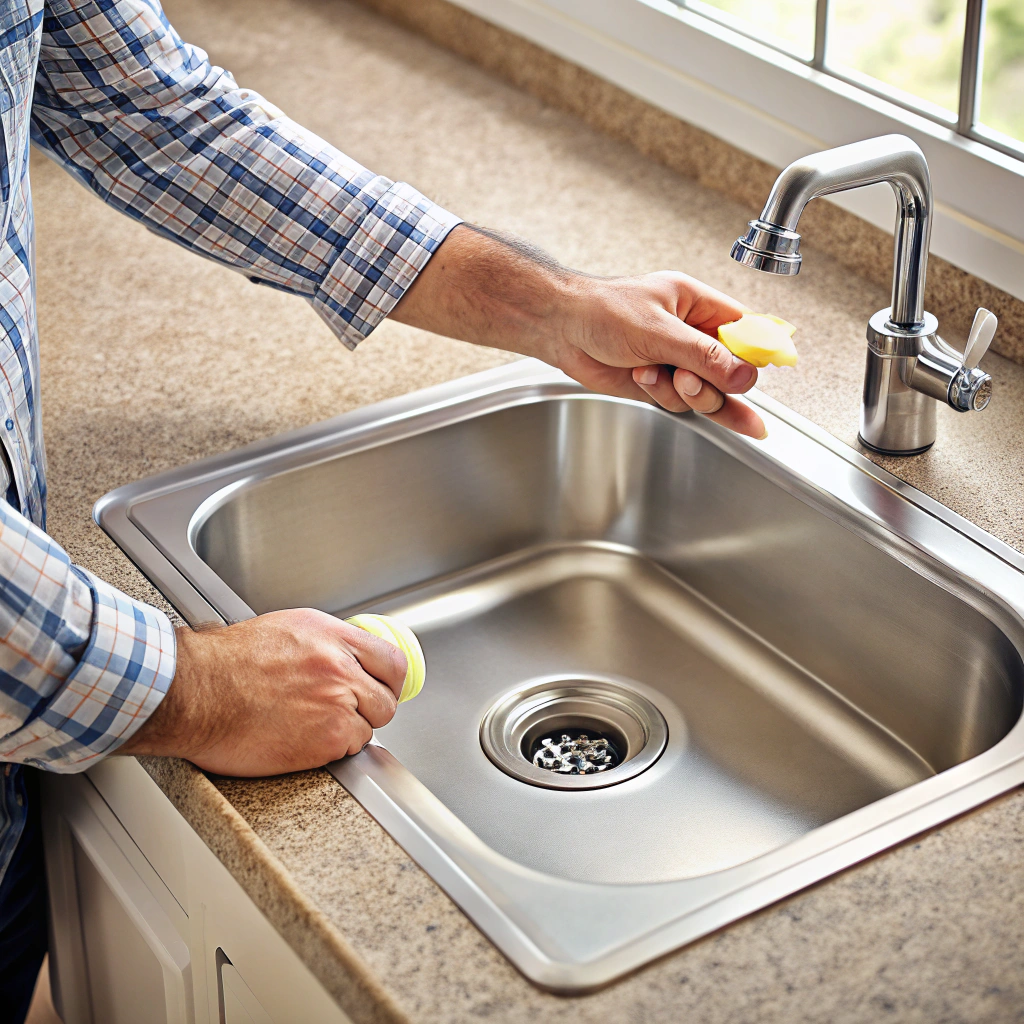
This stuff is a real lifesaver for the kitchen sink. It’s a soft, clay-like sealant made to create watertight seals without any fuss. We’re talking about the stuff that stops tiny drips and leaks that could slowly drive you nuts.
Think of it as the chameleon of the plumbing world. It stays flexible and can handle some pressure. Plus, it’s reworkable, meaning you can adjust it as you go, which is perfect for those of us who are as indecisive as a squirrel trying to cross a road.
- Here’s a quick rundown of its character traits:
- Easy to shape, just like playdough—it practically begs you to squish it.
- Non-hardening, so it’s perfect for areas that might need future adjustments.
- Doesn’t dry out, so it won’t crumble into dust like forgotten leftovers in your fridge.
It’s straightforward to work with, probably easier than assembling flat-pack furniture or navigating a recipe with ambiguous “pinches” of salt.
Where to Use Plumber’s Putty
It’s the multitool of sealants on your kitchen utility belt. Use it anywhere you want to prevent water leaks or create a watertight seal. Think of it as a little barrier.
You might need it when installing a sink or a shower drain. It’s like glue, but without the commitment issues. Also great for holding the base of taps and fixtures where you prefer water not to flow.
Use it on basket strainers too – because nobody wants wet socks while washing dishes. And if you’ve ever wondered about attaching faucet fixtures in the bathroom? Yep, it’s perfect there, too.
But remember, like a cat at a dog show, there are places it just shouldn’t be. Stay tuned for that bit.
Plumber’s Putty Vs. Silicone
Plumber’s putty and silicone are like Batman and Superman—both superheroes but with different strengths. Plumber’s putty is quick and easy, like Bruce Wayne grabbing his Batmobile. It’s malleable and perfect for sealing sink drains, allowing for easy adjustments.
Silicone, on the other hand, is the stronger, more permanent option. Clark Kent style. It forms a watertight seal but requires more drying time—patience of a saint required! Also, once silicone sets, it’s game over, unlike our handy putty, which can be removed and reset with ease.
Each has its place; use putty for non-pressurized areas where adjustments might be needed, and save silicone for tasks demanding durability and a strong grip, like mounting a cape on a superhero! When to leave one in the utility belt and deploy the other is the key to mastering your DIY Gotham.
How Long Does Plumber’s Putty Take to Dry
Patience is key! Plumber’s putty sets quickly, usually within hours, but it’s always a good idea to give it a little extra time before turning into a waterworks impresario. Here’s why:
Drying time can vary depending on the type of putty and how much you apply.
The good news? Unlike waiting for your coffee order, the putty doesn’t need to fully dry to do its job.
Create a seal, let it sit for a few hours, and voila, you’re ready to go.
Always better to err on the safe side whether it’s in the seal department or your latest batch of homemade bread.
Just wait until the putty feels firm to the touch, and you’re set.
When Not to Use Plumber’s Putty
Plumber’s putty is like the avocado of the plumbing world—versatile and loved by many, but certainly not for everything.
Avoid using it on plastic. Putty and plastic are like oil and water. They just don’t mix well. Over time, putty can cause plastic to crack or warp.
Steer clear of porous surfaces. Putty isn’t best buddies with porous materials like stone countertops. It can stain them, much like a toddler with a marker.
For high-pressure areas, putty bows out. Under intense pressure, it can start to look like melted cheese on a pizza—oozing out and failing its purpose.
Hydrophobic surroundings? Putty isn’t your guy. It’s not waterproof, so don’t use it where there’ll be prolonged exposure to water. Silicone offers better aqua-protection for those splash zones.
Relying on strength? Think again. Putty doesn’t provide a strong adhesive bond. It’s more of a gentle hug than a bear squeeze. Use it primarily to seal, not adhere.
Select your tools wisely. In the plumbing game, putty isn’t the hero in all scenarios. Keep it in its lane, and it’ll work wonders where it belongs.
Turn Off the Water Supply
First things first, let’s prevent any impromptu waterworks show.
Find the shut-off valve. They’re usually under the sink, resembling tiny kettlebells that missed gym day. Turn clockwise to shut off the water.
Test the faucet to confirm it’s not the source of a surprise splash zone. A little leftover drip is normal.
Friends don’t let friends forget towels. Keep one handy because Murphy’s Law loves plumbing.
Lastly, if you’ve got a water supply line with a mind of its own, use pliers to tighten any loose joints. They tend to be the Houdinis of leakage.
Pro tip: If you hear gurgling or see bubbles, double-check those valves. They’re sneaky.
Disassemble the Drain System
Ah, the glamorous life of DIY plumbing. It’s time to roll up those sleeves and get a little friendly with the underbelly of your sink.
First, place a bucket beneath the sink to catch any accidental droplets, unless you fancy an impromptu indoor pool (but who doesn’t?).
Next, twist the slip nuts binding the drain pipes with pliers. Thank them for their service and set them aside. They’re more helpful when not rolling around the floor.
Once that’s done, give the drain strainer a good twist from above the sink. Magic! It separates from the underlying drainpipe, and you’ve officially befriended your plumbing system.
As you disassemble, keep a mental note (or a quick sketch if your memory is as reliable as a chocolate teapot) of how everything fits together. Reverse organization is underrated, trust me.
That’s all it takes to break into a sink’s secret society.
Prepare the Plumber’s Putty
Plumber’s putty is a little like playdough that actually does something useful. The correct approach starts with grabbing only a small amount. You don’t need half the tub—unless crafting a tiny, ineffective sculpture is the goal!
Knead it gently in your hands, warming it up. Once it’s pliable, roll it into a slim snake-like rope. It should be about the thickness of a pencil, or as close as you can get without breaking out a ruler. This ensures an even seal and keeps those pesky leaks at bay—like water’s secret ninja army thwarted at every turn.
Make sure your hands are clean before you start, or you’ll find yourself with a putty-monster rather than a trusty sealant. Dust and dirt love to mix into your creation, and nobody wants to give their sink drain a dirty necklace.
Aim for consistency in thickness—no one likes lumpy potatoes, or putty, for that matter. And that’s it! You’re prepped and ready, the putty now eagerly poised to perform its noble duty.
Apply the Putty Around the Sink Drain Flange
Ready to make that sink leak-proof and secure? Your putty deserves its moment of glory. It’s like working with playdough, but with a plumbing twist.
Roll a piece of plumber’s putty into a snake about the thickness of a pencil. This is one of those moments where your childhood play-dough skills come in handy.
Wrap your putty snake around the underside of the sink drain flange. Imagine you’re giving it a warm, snuggly scarf for those cold water nights.
Press the flange into the drain opening. Give it a little wiggle for good luck and a secure fit. The excess putty is your friend, telling you you’ve done it right.
Wipe off the excess putty with a cloth. No need to get your fancy polishing kit out; we’re just going for a casual tidy-up.
Reassemble the drain components. Tighten everything, but remember, this isn’t a weightlifting competition. Keep it snug, not overly aggressive.
Rejoice in your handiwork. Not only have you mastered putty, but you’ve also made your sink a happier place.
Reassemble and Test for Leaks
Congratulations! You’ve molded that plumber’s putty like a pro. Time to reassemble the sink drain system and see if your work rivals that of any plumbing wizard.
First, ensure the drain fits snugly back in place. Don’t over tighten, unless you want your sink to cry out in metal stress.
Reconnect the pipes. Make sure those washers and nuts are tight enough to form a joyous symphony of no leaks.
Turn on the water supply like you’re unveiling a masterpiece. Seriously, crossing fingers here!
Watch and listen. If your sink quietly complies without protesting with drips, you’ve won the leak battle.
If a mini waterfall forms, don’t panic. A little extra tightening or reapplication can save the day. We’re making this fun, right?
