Last updated on
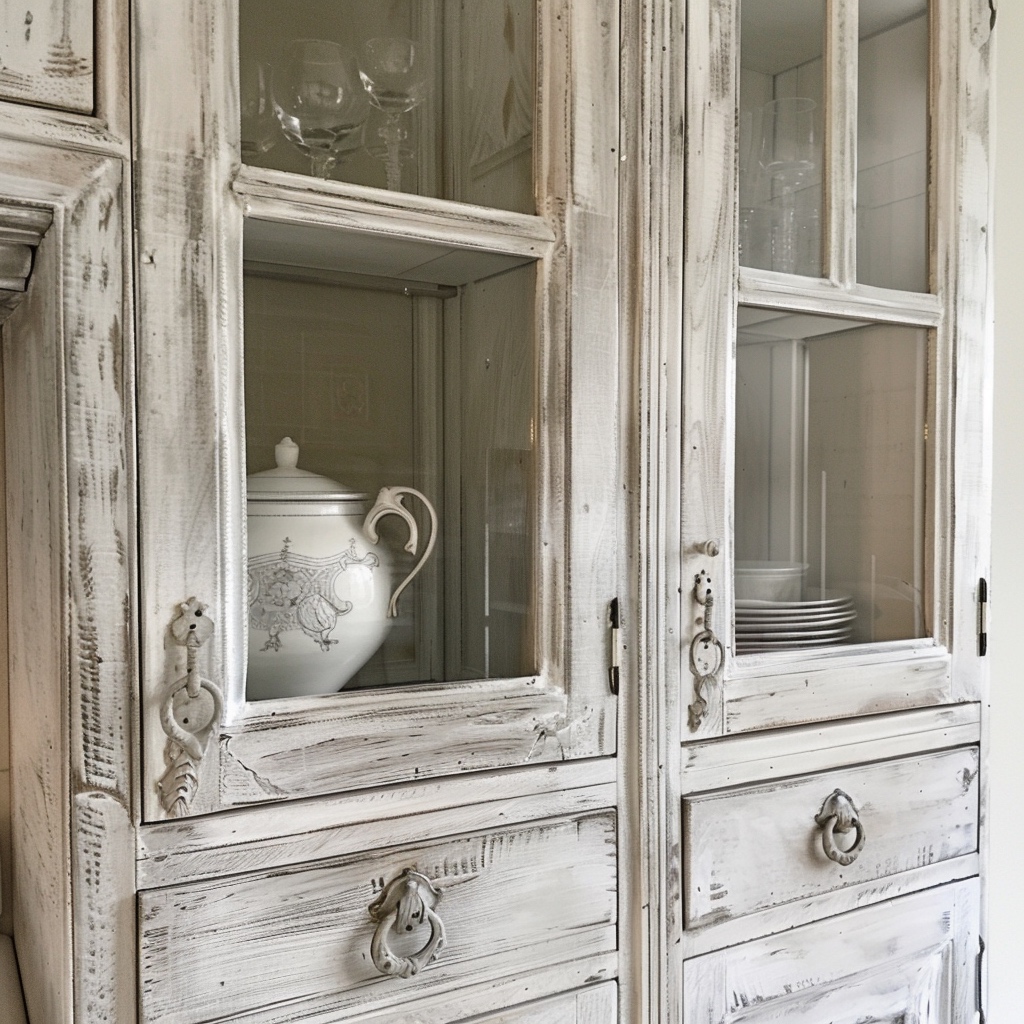
Discover the transformative power of white washing as we guide you through the simple steps to refresh and brighten your kitchen cabinets.
Do the job with whitewash paint:
Are you tired of the same old look in your kitchen? Do you want to give it a fresh and updated feel without breaking the bank? One easy way to achieve this is by white washing your kitchen cabinets. Not only does it brighten up the space, but it also adds a touch of charm and character.
In this article, we will guide you through the steps on how to white wash your kitchen cabinets like a pro. So grab your paintbrushes and let’s get started!
What's Inside
Materials Needed
You don’t want to be halfway through the project and realize that you’re missing something crucial. Here’s a list of what you’ll need:
- White paint or whitewash solution
- Wood conditioner
- Sandpaper (120-grit and 220-grit)
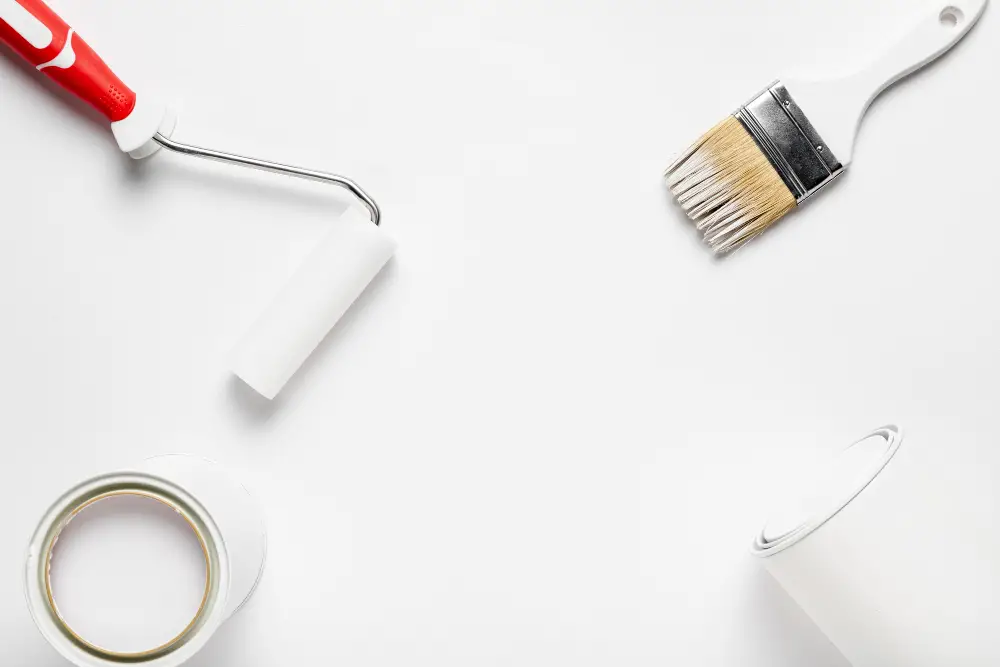
- Paintbrushes (2-inch angled brush for corners, 4-inch flat brush for larger surfaces)
- Clean rags or towels
- Painter’s tape
- Screwdriver
Make sure that all your materials are of good quality as this will ensure a smooth application process and long-lasting results.
Tools Required

Here are some of the essential tools that you should have before starting this project:
1. Paintbrushes: You will need different sizes of paintbrushes for various parts of the cabinet.
2. Sandpaper: To prepare surfaces and remove any rough spots or bumps.
3. Screwdriver: For removing hardware and doors from cabinets.
4. Drop cloths or plastic sheets: To protect floors, countertops, and other surfaces from drips and spills during painting.
5. Wood conditioner: This helps to ensure an even application of whitewash by preventing blotches in porous wood areas such as oak or pine.
6. Painter’s tape: Use painter’s tape around edges where walls meet with cabinetry so that no paint gets onto them while working on your project.
Safety Precautions
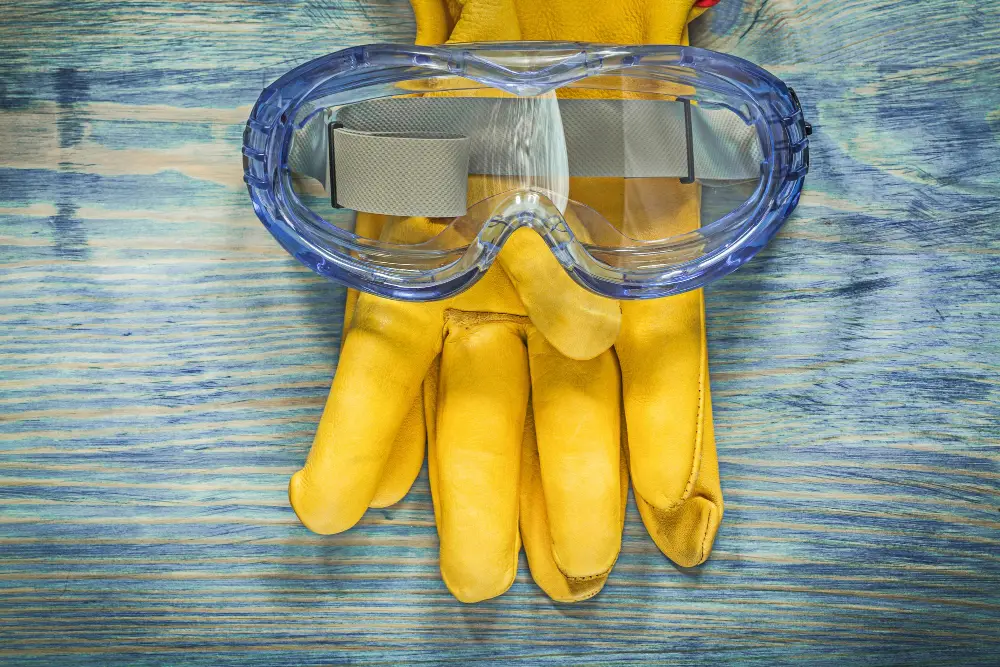
First and foremost, make sure you are working in a well-ventilated area to avoid inhaling fumes from the paint or wood conditioner. Wear protective gloves and goggles to prevent any accidental splatters on your skin or eyes.
If you’re using an electric sander for sanding down the surfaces of your cabinets, be careful not to apply too much pressure as this can cause damage. Always follow manufacturer instructions when using power tools.
Lastly, keep children and pets away from the work area during painting and drying times as they may accidentally touch wet surfaces or ingest harmful chemicals.
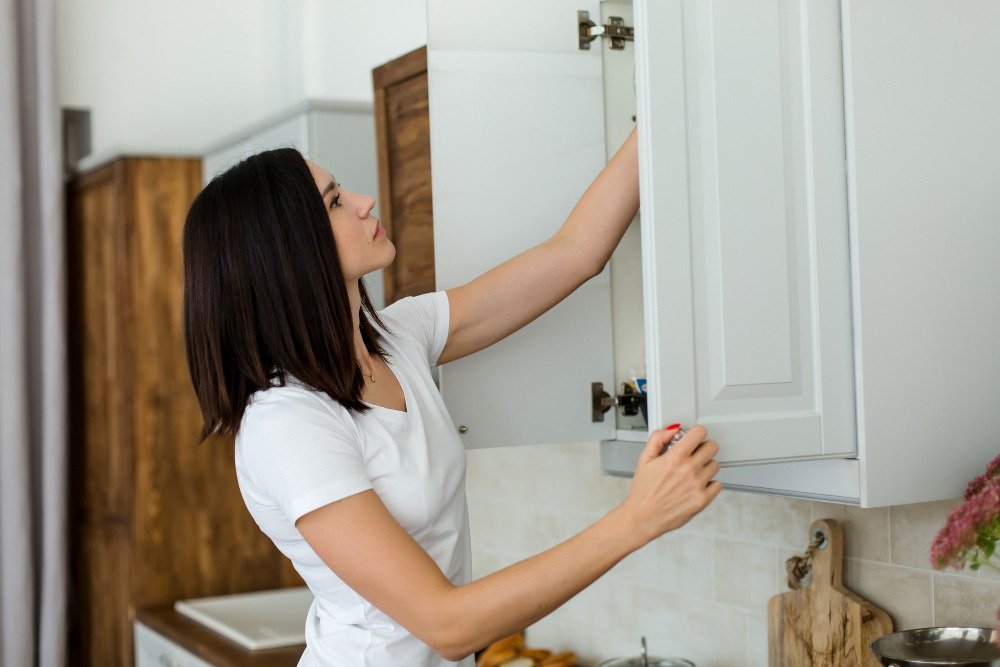
Preparing the Cabinets
This will ensure that the whitewash adheres well and lasts longer. Begin by removing all items from inside the cabinets and drawers.
Next, cover any surfaces or areas around the cabinets with drop cloths or plastic sheets to protect them from paint splatters.
Inspect each cabinet carefully for any damages such as cracks, dents or scratches. If there are any issues found, repair them before proceeding further with white washing.
Remove all hardware including knobs and handles using a screwdriver so that they don’t get in your way while painting.
Once you have removed everything from the surface of your kitchen cabinet doors and frames, clean off dirt buildup using a mild detergent solution mixed with warm water on a sponge or cloth rag until no residue remains.
Cabinet Inspection
Check for any damages such as cracks, dents or scratches that may need repair before painting. If there are any loose hinges or handles, tighten them up to ensure they don’t fall off during the painting process.
It’s also essential to check if your cabinets have a glossy finish because this can make it difficult for paint and whitewash solution to adhere properly. In such cases, sanding will be necessary before applying wood conditioner.
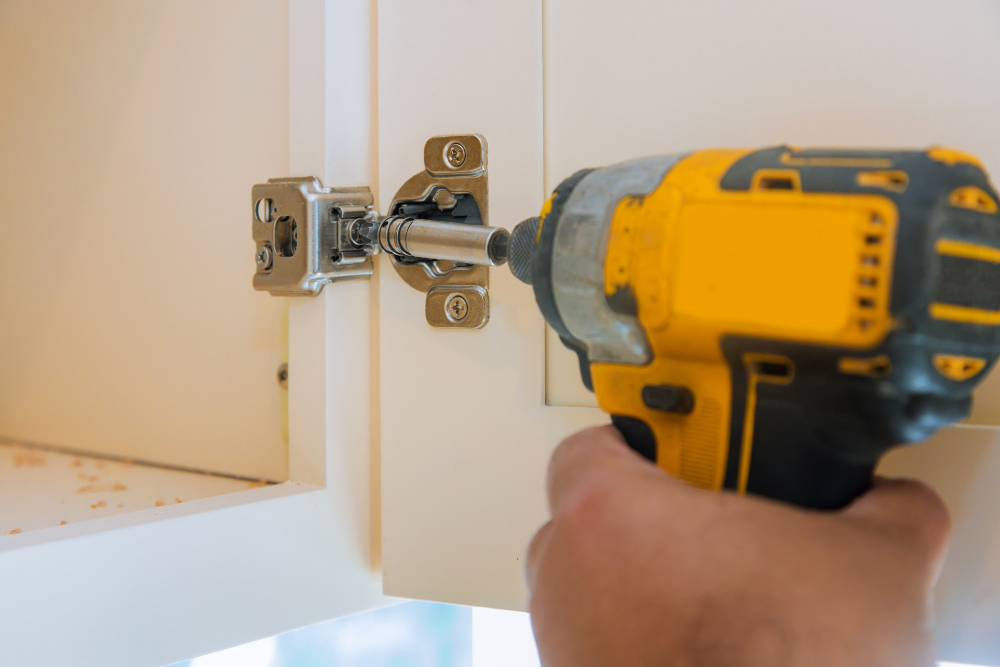
Removing Hardware and Doors

This will make it easier for you to paint every nook and cranny of your cabinets without leaving any spots untouched. Use a screwdriver or drill to remove the hinges, knobs, handles or pulls from each door and drawer front.
Once all hardware has been removed, take off the cabinet doors by unscrewing them from their hinges. Be sure to label each door with its corresponding location so that they can be easily reassembled later on.
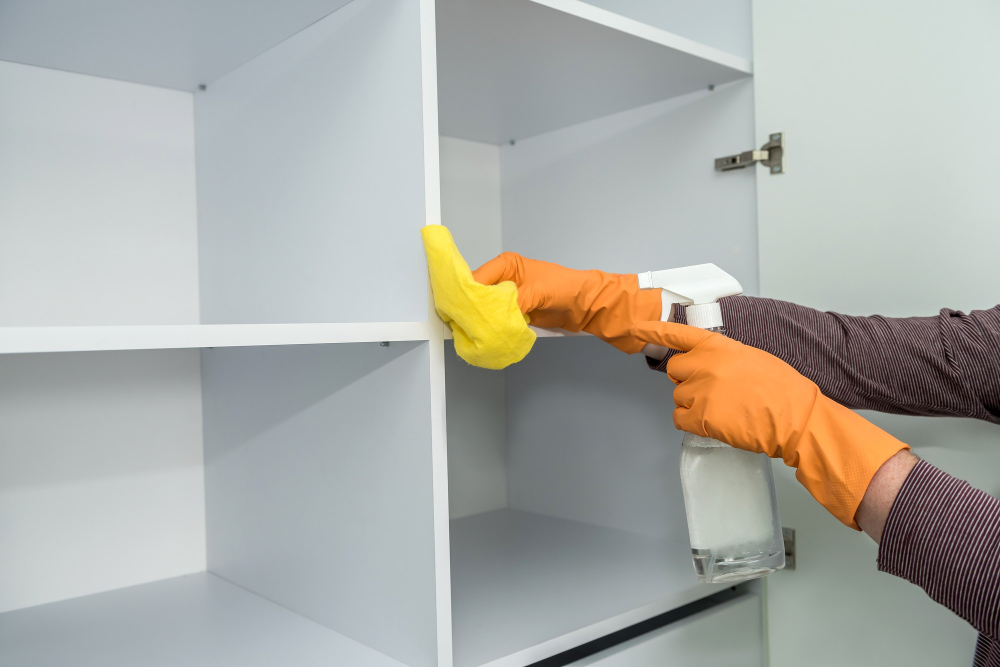
Cleaning and Degreasing
This step ensures that the whitewash solution adheres well to the surface and prevents any dirt or grease from showing through after painting. Begin by removing all hardware such as knobs, handles, hinges, etc., using a screwdriver or drill.
Next, mix warm water with mild dish soap in a bucket until suds form. Dip a sponge into this mixture and use it to wipe down all surfaces of your cabinets thoroughly.
Pay special attention to areas around handles where grease tends to accumulate.
For stubborn stains or grime buildup on cabinet doors and drawers fronts that cannot be removed with soap alone; use an appropriate cleaner like TSP (trisodium phosphate) mixed according to instructions on its packaging label.
Sanding the Surfaces
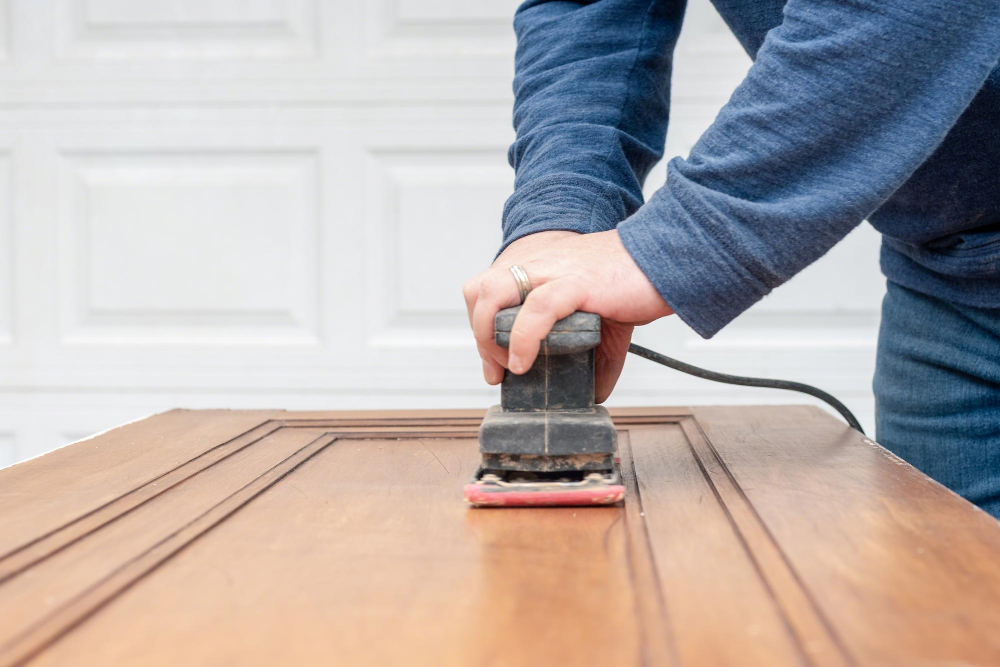
Sanding helps to remove any rough spots or bumps on the surface and creates a smooth base for painting. Start by using a medium-grit sandpaper (around 120 grit) and work your way up to finer grits (220-320).
Be sure to wear protective gear such as gloves, goggles, and a mask while sanding.
Begin by removing any loose paint or varnish with coarse-grit sandpaper. Then use fine-grit paper for smoothing out scratches left from previous steps.
Make sure you pay attention when working around corners or edges so that you don’t accidentally damage them.
Applying Wood Conditioner
Applying a wood conditioner helps to ensure that the whitewash will be absorbed evenly and prevent blotches or streaks. Wood conditioners are available in most hardware stores and come in different types depending on your cabinet’s material.
To apply, use a clean cloth or brush to spread an even coat of conditioner over all surfaces of your cabinets. Allow it to penetrate for about 15 minutes before wiping off any excess with another clean cloth.
Once you have applied the wood conditioner, let it dry completely before moving on to mixing up your whitewash solution.
Choosing the Paint
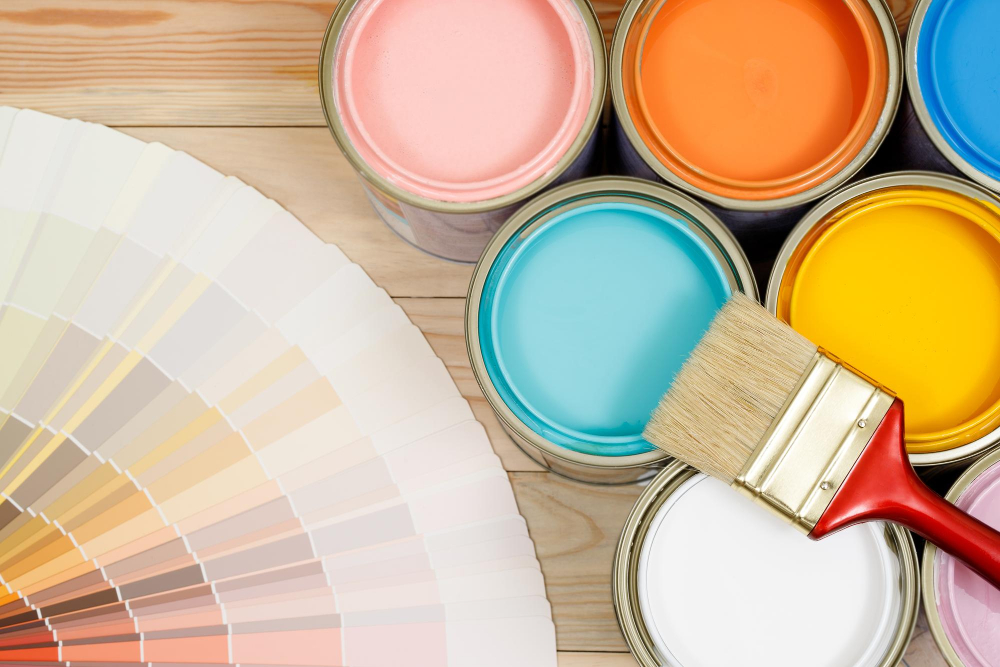
First and foremost, you want to make sure that the paint is suitable for wood surfaces. Look for paints labeled as “wood stain” or “wood conditioner.” These types of paints will help penetrate the wood grain and provide an even finish.
Another factor to consider is color. While white may seem like a straightforward choice, there are many shades of white available on the market.
Some whites have warm undertones while others have cool undertones; some are bright while others are more muted.
It’s important to choose a shade that complements your kitchen decor and lighting conditions. To ensure you get it right, test out different shades on small areas before committing fully.
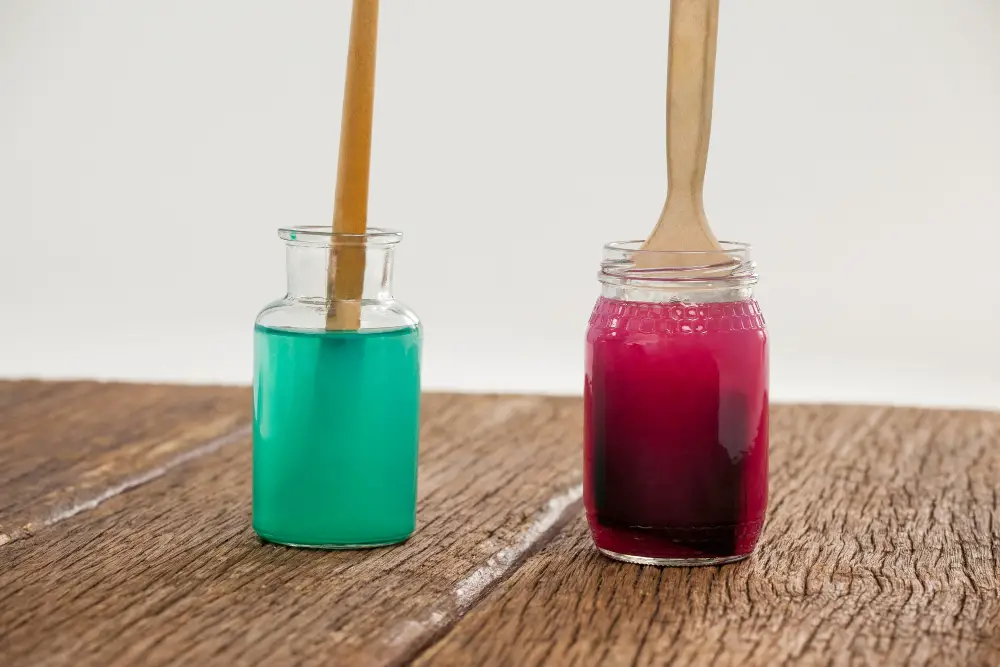
Mixing Whitewash Solution
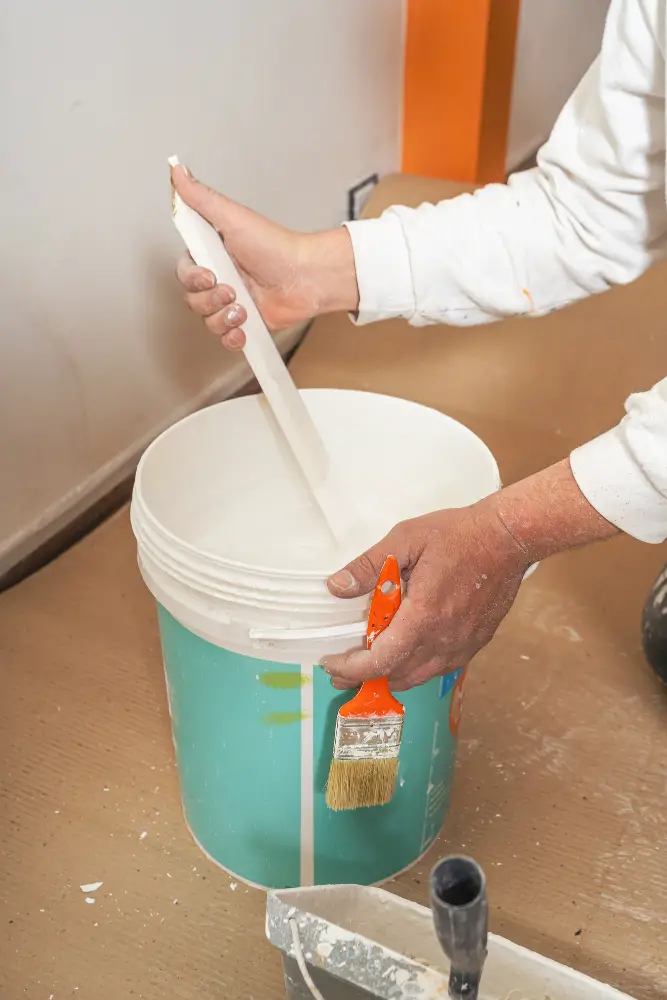
The ratio of water to paint will depend on how opaque or transparent you want your finish to be. For a more translucent look, use a higher ratio of water; for an opaque finish, use less water.
To create your whitewash solution, mix equal parts white latex paint and warm water in a bucket until well combined. Stir thoroughly with a wooden stick or stirrer until there are no lumps left in the mixture.
It is important not to over-dilute the mixture as this can cause drips and uneven coverage when applied onto surfaces. Test out different ratios on scrap wood before applying it onto your cabinets so that you can achieve just the right amount of opacity that suits your taste.
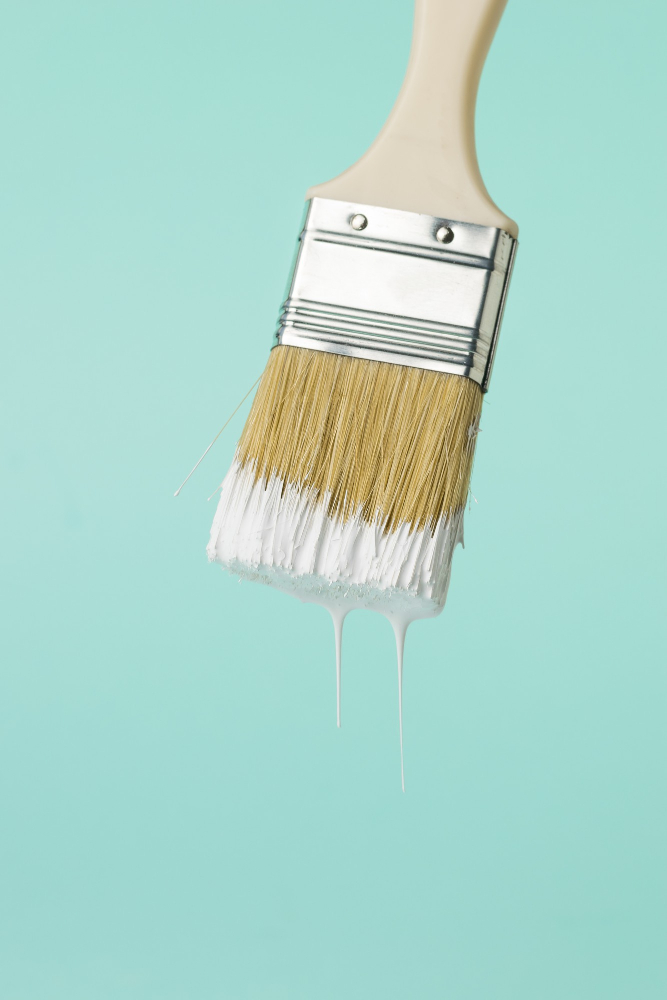
Selecting the Brushes

First and foremost, make sure that the brush is made of natural bristles as synthetic ones can leave streaks on the surface. Choose a brush with long bristles that will allow you to reach into tight corners and crevices easily.
For larger surfaces such as cabinet doors or drawers, use a wider brush with at least 2 inches in width. This will help cover more area quickly while still maintaining an even coat of whitewash.
On the other hand, for smaller areas like trim or edges around panels where precision is key; opt for thinner brushes with shorter bristles.
Testing Whitewash Color
This will give you an idea of how much paint and water you need to mix for your desired shade. You can also experiment with different shades until you find one that suits your taste.
To do this, apply a small amount of the whitewash solution onto an inconspicuous part of the cabinet or door using a brush or cloth. Let it dry completely before deciding if it’s too light or dark for your liking.
Remember that once applied, white wash cannot be easily removed without sanding down all layers and starting over again. So take time in testing out different colors until you achieve what works best for you.
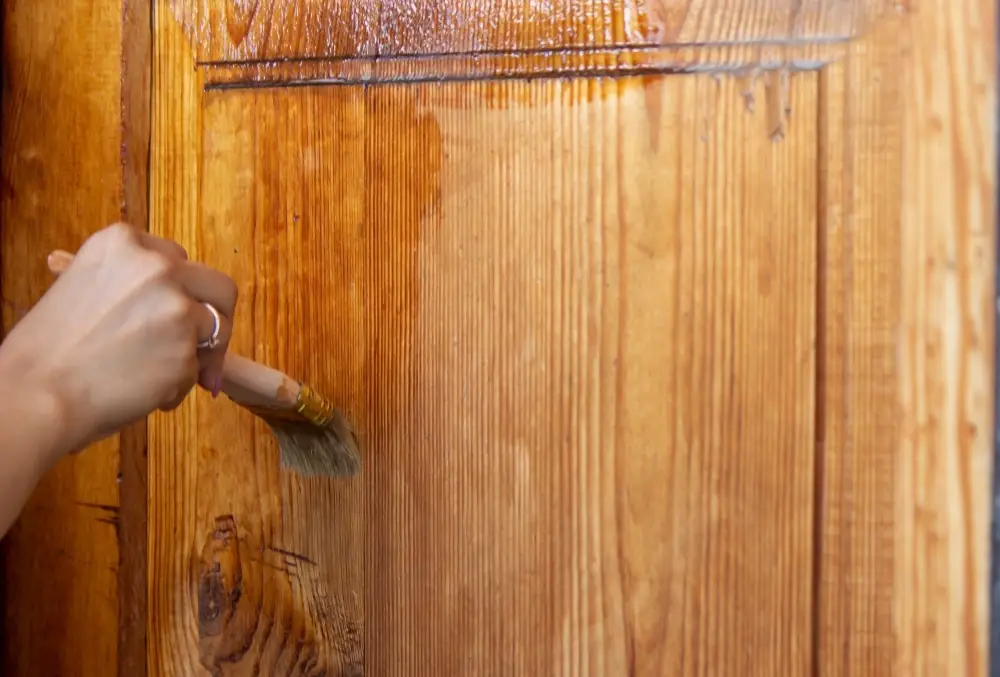
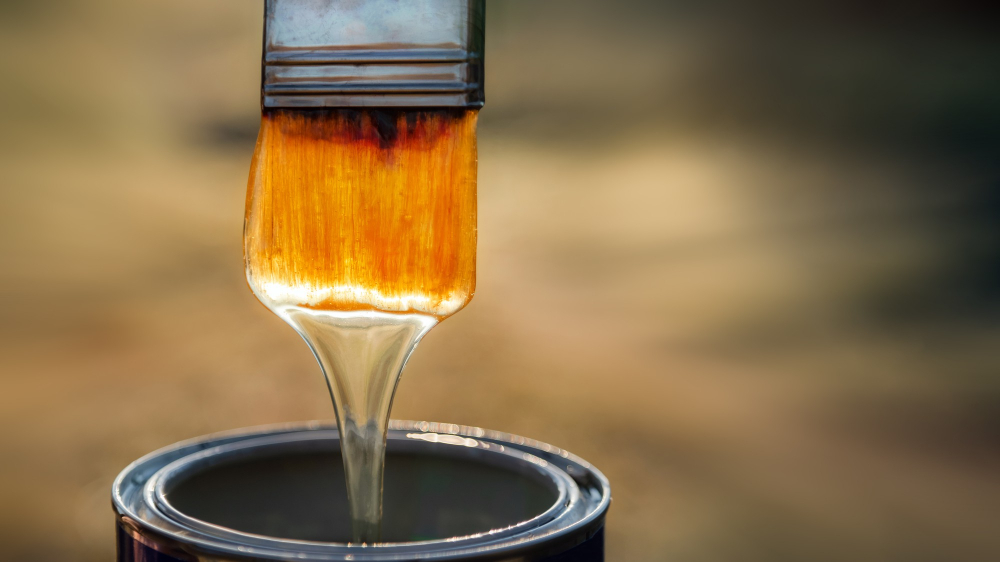
Applying the White Wash
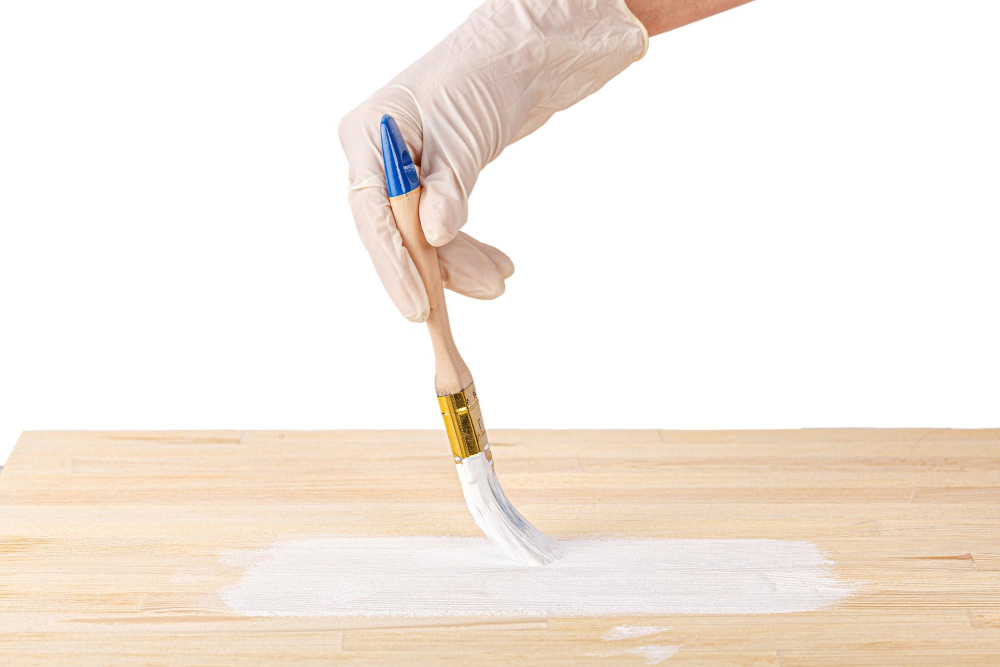
Start by dipping your brush into the mixture and applying a thin coat of white wash onto one section of the cabinet at a time. Work in small sections so that you can wipe off any excess before it dries.
As you work, be sure to keep an eye out for drips or runs in the paint. If you notice any, use a clean cloth or paper towel to wipe them away immediately.
Remember that less is more when applying white wash – too much paint will result in an opaque finish rather than a translucent one. You can always add another layer if needed once everything has dried.
Wiping Off Excess

This step is crucial in achieving a smooth and even finish. Using a clean cloth or rag, gently wipe away any drips or pooling of the whitewash solution on the surface of your cabinets.
Be sure to work quickly and efficiently as you don’t want to leave streaks behind.
It’s important not to apply too much pressure when wiping off excess as this can remove too much paint from certain areas leaving an uneven finish. Take your time with this step and ensure that all surfaces are wiped down evenly.
Drying Time

The drying time will depend on various factors such as humidity and temperature in your area. Typically, it takes around 24 hours for the whitewash solution to dry completely.
It’s essential not to rush this process by touching or handling the cabinets before they are fully dried. Doing so can cause smudging or even remove some of the paint from certain areas.
To ensure that your newly white washed kitchen cabinets look their best, be patient and let them air-dry naturally without any interference until they are entirely dry.
Applying a Sealant
This will protect your cabinets from moisture and other elements that can cause damage over time. There are different types of sealants available in the market, but we recommend using a clear polyurethane finish for best results.
Before applying the sealant, make sure that there is no dust or debris on your cabinets. Use a clean cloth to wipe off any residue left behind by sanding or whitewashing.
Next, use a brush or roller to apply an even coat of polyurethane on all surfaces of your kitchen cabinets. Be careful not to leave any drips as they can dry into bumps and ruin the smooth finish you’ve worked so hard for.
Allow ample drying time between coats as per manufacturer instructions before applying another layer until you achieve desired coverage and protection level.
After completing this step successfully let them dry completely before reassembling hardware and doors back onto their respective places.
Reassembling the Cabinets
Begin by attaching the hardware back onto the doors and drawers. Make sure that all screws are tightened properly and that everything is aligned correctly.
Next, attach the doors back onto their respective cabinets using a screwdriver or drill. Take your time with this step to ensure that each door is level and opens smoothly.
Replace any shelves or other interior components you may have removed during preparation for painting.
Cleaning Up
First, dispose of any leftover paint or whitewash solution properly. You can store unused paint in a cool and dry place for future use.
Next, clean your brushes with warm soapy water until all traces of paint are removed. Rinse them thoroughly under running water and let them air-dry before storing them away.
Wipe down all surfaces with a damp cloth to remove any dust or debris that may have accumulated during the painting process. Once everything is cleaned up and put away, stand back and admire your newly transformed kitchen cabinets!
FAQ
Are white washed cabinets still in style?
Yes, white-washed cabinets are still in style, as they provide the illusion of white kitchen cabinets while showcasing the wood’s natural grain.
What is the difference between whitewashing and pickling?
The difference between whitewashing and pickling is that while both involve applying a transparent white finish on wood, pickling specifically stains the wood to brighten its color and accentuate the grain.
How do you clean white washed kitchen cabinets?
To clean white washed kitchen cabinets, mix 2 cups of warm water, 1 cup of vinegar, and 1 tablespoon of baking soda and use this solution for cleaning.
Can you whitewash over oak cabinets?
Yes, you can whitewash over oak cabinets to achieve a traditional or modern look, transforming your kitchen.
What type of paint is best for achieving a white wash effect on kitchen cabinets?
The best type of paint for achieving a white wash effect on kitchen cabinets is a latex paint that is water-based.
How can you maintain the longevity of white washed kitchen cabinets?
To maintain the longevity of white washed kitchen cabinets, regularly clean them using a soft cloth and gentle cleaner, avoiding harsh chemicals and excessive moisture.
What are some complementary color schemes for a kitchen with white washed cabinets?
Some complementary color schemes for a kitchen with white washed cabinets include soft pastels, earthy neutrals, and pops of bold colors.


