Last updated on
Learn how to install a kitchen sink drain with simple steps and prevent water from become a kitchen waterfall.
Ever feel like your kitchen sink is conspiring against you, leaking secrets you’d rather it kept? Fear not, as banishing those drips from your life is easier than you might think. We’re about to embark on a step-by-step adventure to replace or install your kitchen sink drain successfully. From gathering the tools of the trade to ensuring that not a drop goes astray, this guide has you covered. So, roll up your sleeves, and let’s turn that aquatic trouble into a tale of triumph!
Key takeaways:
- Gather tools like a wrench and plumber’s putty.
- Clear under-sink area before starting the install.
- Ensure proper alignment of all pipes and fittings.
- Tighten connections without overdoing it—easy does it!
- Test for leaks after installation to avoid mishaps.
What's Inside
Tools and Materials Needed
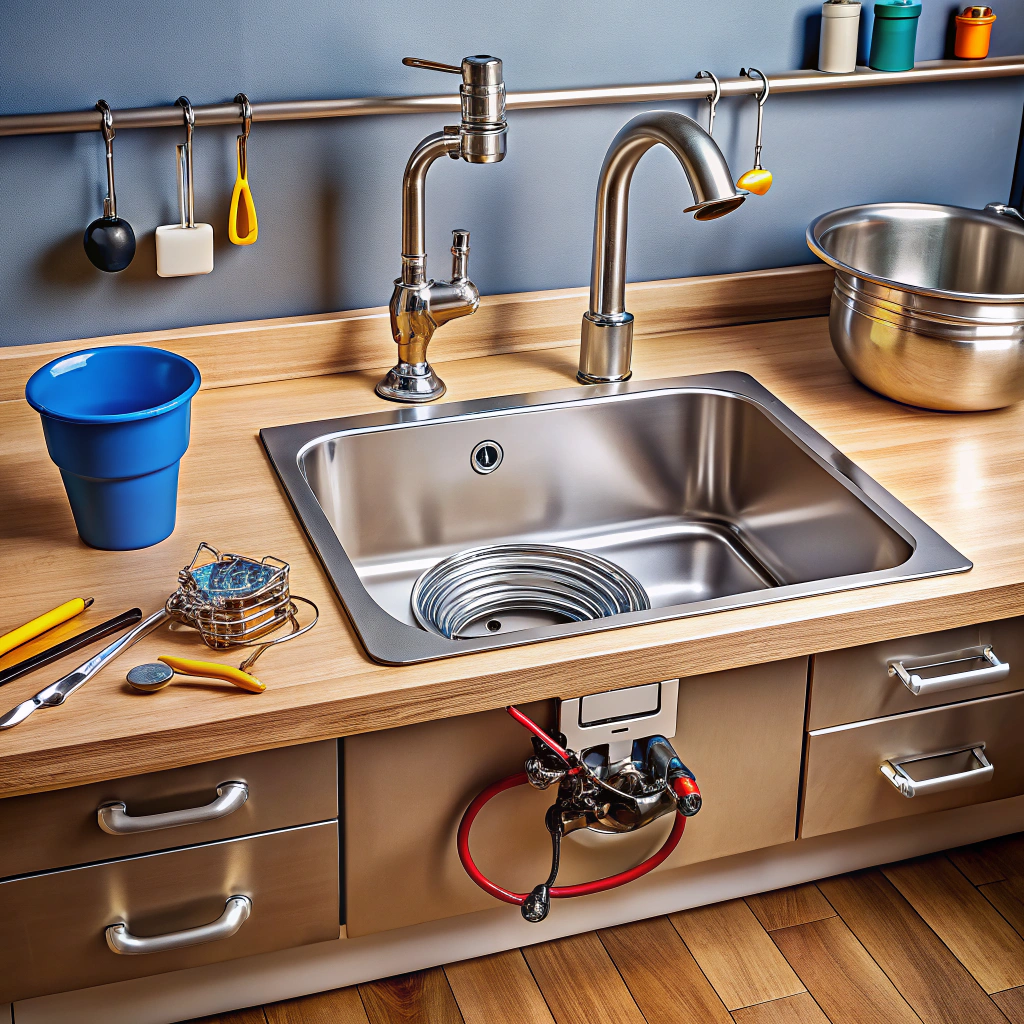
Every DIY project has its toolbox, and this one is no different. Gather these essentials before you dive under the sink!
First, don’t forget your trusty wrench. It’s your best friend in a tangle of pipes. Plumber’s putty is a must-have too. It’s like the magic glue of the plumbing world.
You’ll also need a bucket. Trust me, water has a way of showing up uninvited. A screwdriver (both flathead and Phillips) is necessary for loosening or tightening stubborn screws.
Got a hacksaw lying around? Perfect! It can be your secret weapon against any plastic pipe that won’t cooperate.
Finally, stock up on a little patience. It’s not hardware, but it’s priceless in a plumbing adventure. Happy fitting!
Prepare the Work Area
Roll up your sleeves and get ready for some under-the-sink fun.
First, clear out all items from the cabinet beneath the sink. No one wants to cuddle with half-empty detergent bottles and rogue sponges during a plumbing job.
Next, lay down a towel or a tarp to catch any accidental drips or runaway tools. Trust me, a soggy kitchen floor is not as fun as a slip and slide.
Gather all tools and materials in an easily accessible spot. It’s like setting up your very own plumbing stage. You’ll thank yourself when you’re not sprinting to the garage with wet hands.
Turn off the water supply valves. Watch for trickster drops sneaking up your sleeve. They love a sneak attack.
Get a flashlight handy. Plumbers might have x-ray vision, but us mere mortals need a little help to see clearly in the dark corners. Bonus points if you strike a heroic plumber pose while using it. Just sayin’.
Remove the Old Sink Drain
Now it’s time to roll up those sleeves and get into the nitty-gritty!
First, gently place a bucket or pan under the sink to catch any water or stray words of frustration. A steady hand beats a reckless grip, so take your time. The fun begins with loosening the slip nuts on the P-trap using a wrench. For those nuts that refuse to cooperate, a little WD-40 is your friend—like diplomacy for stubborn plumbing parts.
Once the P-trap is free, let gravity do its work and release the drain’s hold. If it seems like the drain is holding on for dear life, double-check for any remaining fasteners. Cut them loose, and it’s goodbye drain, hello dreams of a clog-free future!
Remember: pat yourself on the back for tackling a task that might just be messier than a toddler with a bowl of spaghetti. Let the outdated drain pipe go like an old mixtape you grew out of. The new adventure is about to begin!
Clean the Sink Area
Time to sparkle up that sink area, channeling your inner cleaning fairy! Here’s how to whisk away grime:
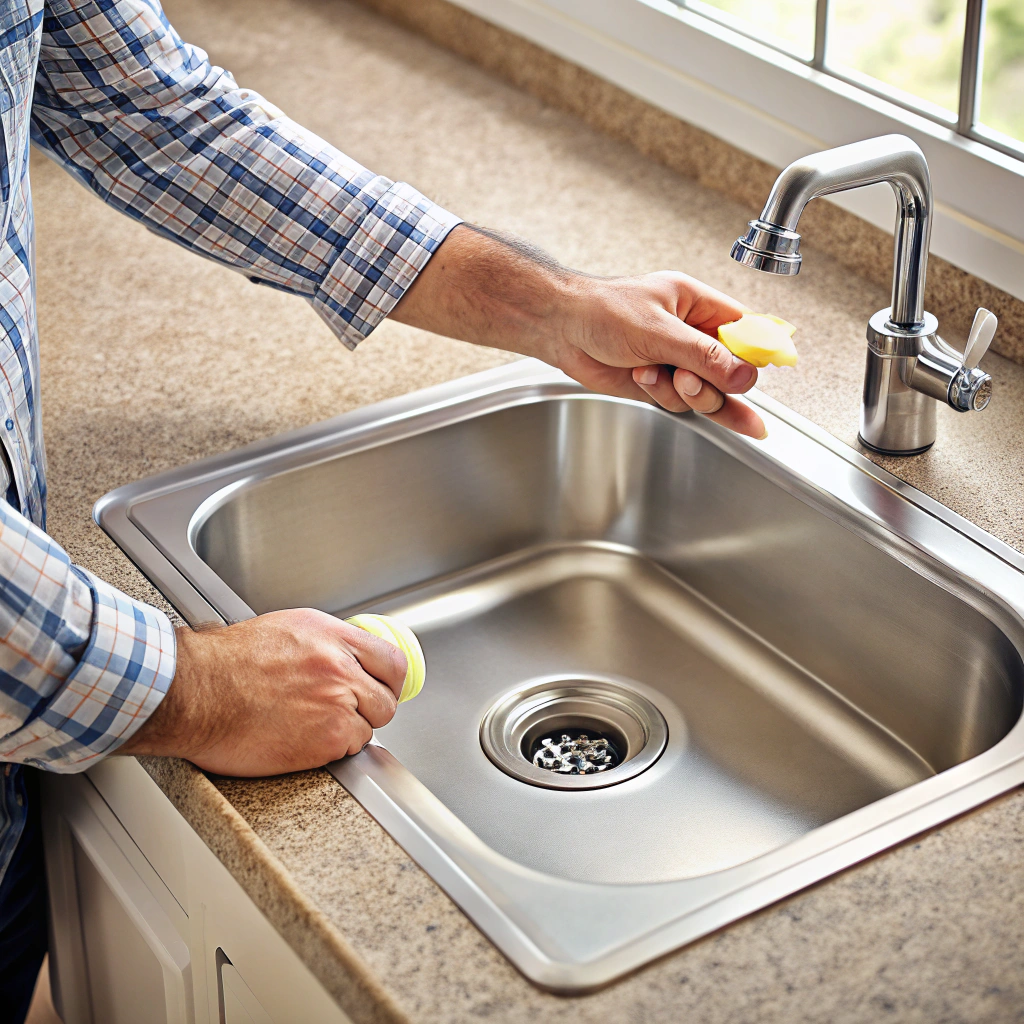
First, bid adieu to any old plumber’s putty or debris. It’s time to say, “Thank you, next!” A putty knife works wonders here. Who knew scraping could feel so liberating?
Next, arm yourself with a sponge and soapy water. Gently scrub the sink’s surface, giving it that bright-eyed, bushy-tailed look back. A happy sink is a clean sink!
Finally, rinse thoroughly and towel dry to ensure no sneaky moisture sticks around. Water’s great for whales, less so for our sink installation.
Now, on to the next part!
Insert the Basket Strainer
Ready to dive into the basket strainer saga? Here goes:
First, ensure the rubber gasket is in place on the underside of the strainer. It’s like the superhero cape that saves the day by preventing leaks.
Gently lower the strainer into the sink drain opening. Wiggle it a little if you must, but go easy! It’s not a dance floor.
Hold the strainer steady from above, then pop beneath the sink to attach the metal washer and locknut. Tighten the locknut, but not with the force of a thousand suns—you’re just securing, not starting a wrestling match.
Double-check the strainer’s alignment. It should sit flush with the sink—like a majestic seal on a mission to keep the kingdom dry.
Voilà, you’ve successfully navigated the basket strainer adventure! Not quite as exciting as a treasure hunt, but flipping awesome for finding leaks before they start!
Apply Plumber’s Putty
Here’s where things get a bit tactile—like Play-Doh for adults.
Roll a small amount of plumber’s putty into a rope between your hands. Picture yourself as a sculptor, molding a weapon against leaks.
Circle it around the underside rim of the basket strainer. This ensures water won’t sneak past where it shouldn’t.
Press the basket strainer firmly into the sink drain opening. Be firm but gentle, like holding a grudge against soggy pasta.
Excess putty will squeeze out—like toothpaste when you’re heavy-handed. Wipe this away for a clean finish.
You’re aiming for a snug, watertight fit, so no slacking on the putty placement. It’s stickier than a toddler with a lollipop, yet equally necessary.
Attach the Drainpipes
Alright, it’s time to embrace your inner plumber! Connecting those drainpipes is like a puzzle, but with a splash of water at stake. Here’s the skinny:
– First, align the tailpiece with the drain assembly. This is the narrow pipe sticking out of the bottom. It’s not a high-fashion statement, but it’s essential.
– Slide the slip nut over the tailpiece, threading it just enough for a snug fit. Give it some love, but not too tight, like hugging a cactus.
– Connect the trap bend and trap arm. Think of these as the dynamic duo of plumbing, fighting grime and water spillage.
– Adjust the trap alignment until it effortlessly sidles up to the wall pipe. Wiggle it until it fits comfortably—like that sweet spot in your favorite armchair.
– Secure the slip nuts to keep everything in place. More snug tension, less arm wrestling.
– Finally, test for leaks as if you’re Sherlock Holmes on the case. Trust me, catching a drip now saves a flood of headaches later.
And ta-da! You’re one step closer to earning that honorary plumbing degree.
Secure the Connections
Alright, time to play plumber and be the hero of your own kitchen! When you connect your drainpipes, make sure everything aligns like puzzle pieces. Wiggle and twist; they’ll fit just right.
Grab those slip nuts. Hand-tighten them firmly, but easy on the Hulk strength—plastic threads aren’t a fan of over-enthusiasm. Feel free to amuse yourself by pretending you’re assembling a small, very specific Lego set.
Use the washers. They aren’t glamorous, but they stop leaks. They’re like the unsung heroes of plumbing. Insert them between fittings so they fulfill their destiny.
Channel your inner detective. Ensure the pipes aren’t sagging, as gravity might just ruin your hard work. If everything lines up and is snug, bask in the glory of a job well done and give yourself a pat on the back! Or maybe do a little victory dance. Your kitchen sink drain will thank you.
Check for Leaks
Get ready for the moment of truth. Turn on the faucet and let the water flow with all its might. It’s like testing the waters in a relationship, except this one involves a lot less emotional investment and hopefully no tears.
First, be the watchful hawk. Look under the sink, examining all the connections for any signs of sneaky drips or rebellious leaks. Pay special attention to the joints where pipes meet; they love making trouble.
Give the basket strainer a gentle inspection while you’re at it. A well-adjusted basket is key, and nobody likes it loose.
Now, if you spot a leak, keep calm. Just give the connections a friendly tighten. But don’t go overboard; remember, pipes are not made for arm-wrestling.
After a close inspection, maybe even squinting a bit for effect, dry everything thoroughly. Repeat the process to ensure your under-sink area is a dry, happy place.
And there you have it. No leaks equals peace of mind and a pristine floor free from unexpected puddles. It’s like the universe rewarding your plumbing prowess with a nice dry hug.
Final Inspection and Cleanup
Congratulations, you’re almost done! But before you crown yourself the plumbing king or queen, let’s make sure everything’s flawless with the finishing touches.
First, run some water to test the flow. Cross your fingers, do a little dance, and hope the water goes where it’s supposed to. While you’re at it, keep an eagle eye out for any ambitious drips that might defy the laws of dry floors.
Check all connections to ensure they’re tight enough. Give them a little twist for good measure, but don’t pop a vein tightening them as if you’re auditioning for the role of The Hulk.
Now, take a moment to admire your work. Once you’ve given yourself an imaginary trophy, clear away any tools, rags, or questionable gooey substances left behind. No one wants their kitchen sink area resembling a war zone.
Finally, wash your hands. You’ve earned it. And perhaps treat yourself to a victory cookie? Install complete—you’re a legend!
