Last updated on
Learn how to install upper cabinets in your kitchen with this straightforward guide.
Key takeaways:
- Mark Up the Wall First
- Position the First Cabinet
- Clamp, Drill and Fasten
- Use Good Cabinet Mounting Screws
- Fasten the Back, Then Shim
What's Inside
Mark Up the Wall First
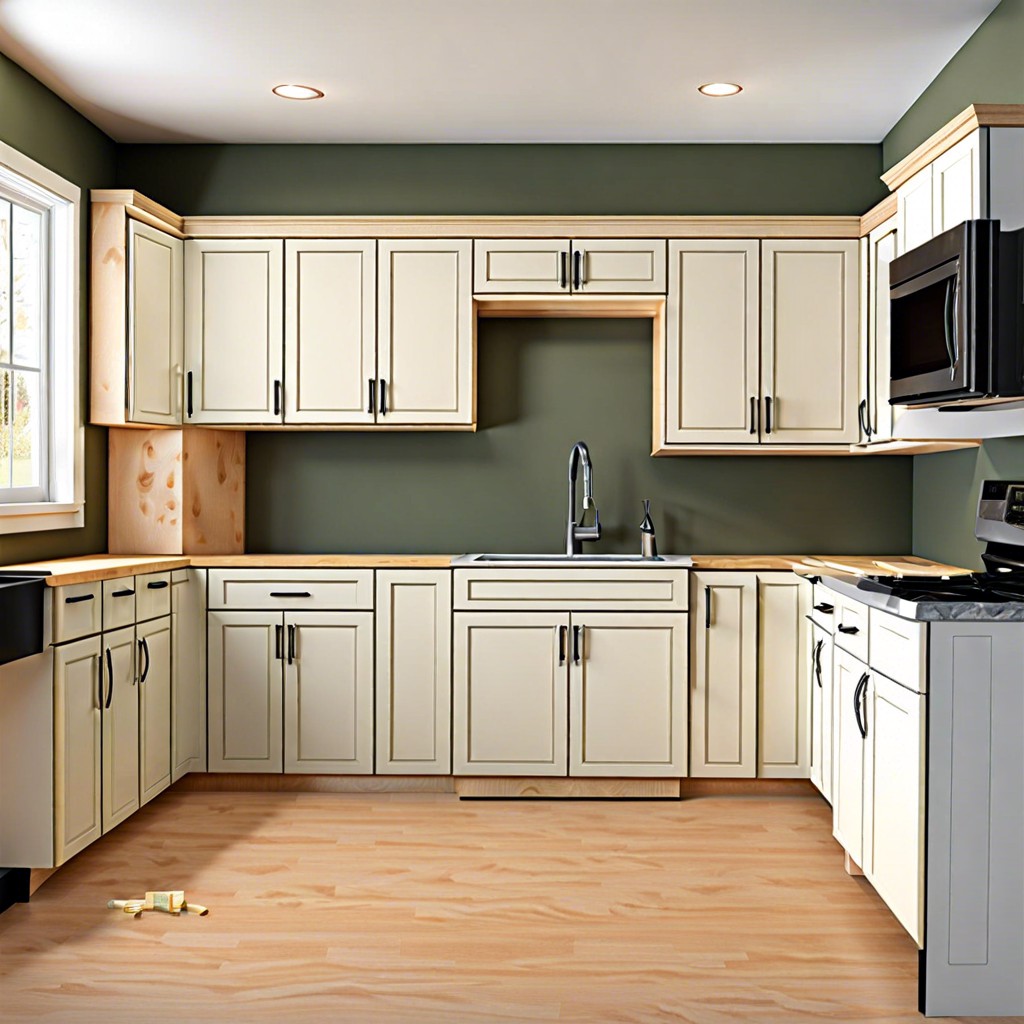
Start by grabbing a pencil and a measuring tape. Measure the height where the bottom of your cabinets will hang. Mark it clearly on the wall. Don’t forget, cabinets are generally 18 inches above the countertop. You don’t want head bumps while making your morning coffee.
Next, mark the studs using a stud finder. These studs are the backbone where your cabinets will securely hang.
Lastly, draw vertical lines where each cabinet will be positioned. A bit of an art project before the real DIY action begins. Feeling like an artist, aren’t you?
Position the First Cabinet
Start at the corner or the edge where you’ll attach the first cabinet. Use a level to draw a vertical line on the wall to ensure it’s perfectly straight. It’s like the cabinet’s never-fail GPS system!
Double-check your measurements to make sure the top and bottom align with your marks on the wall. Nothing worse than a wonky cabinet making your kitchen look like a funhouse.
Use a stud finder to locate wall studs. Anchor the cabinet in place, ensuring it’s secure and not just hanging on for dear life.
Clamp, Drill and Fasten
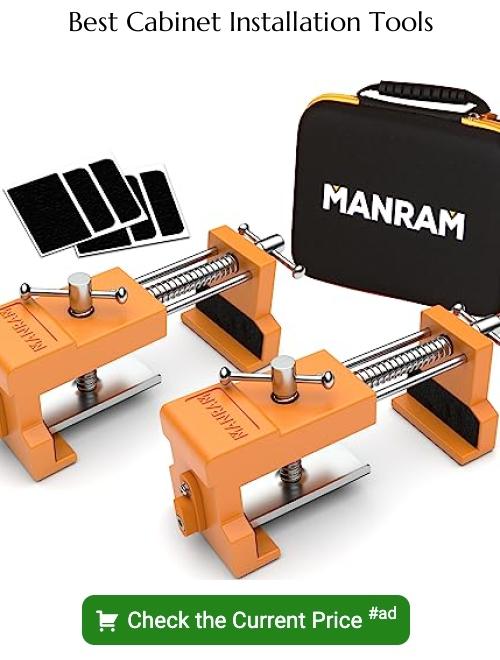
Make sure your cabinets are aligned perfectly by using a level and a good clamp. This keeps the cabinet steady while you work your magic. The more stable your cabinet is, the less chance you’ll end up with a kitchen that looks like a funhouse.
Next, grab your drill and make some pilot holes through the sturdy parts of the cabinet. Think of it as helping your screws find their way home without a struggle. No one likes a lost screw, especially when hanging precious cabinetry.
Once your pilot holes are in place, switch to your driver bit and fasten the cabinet firmly to the wall studs. But remember, Hercules, don’t overtighten. We want secure, not split in two. If you hear cracking sounds, that’s the kitchen version of a red flag.
Lastly, double-check your work. Give the cabinet a gentle nudge; it should feel as solid as your morning coffee. Consider this your victory dance.
Use Good Cabinet Mounting Screws
Using reliable screws is crucial. Think of them as the unsung heroes holding everything together. Go for 2-1/2 inch cabinet screws, specifically made for mounting cabinets. Anything shorter, and you’re risking disaster.
Make sure you’re anchoring into wall studs or solid wood. Drywall alone is about as trustworthy as a chocolate teapot. If you can’t find a stud, use heavy-duty wall anchors instead.
Also, remember to pre-drill pilot holes. It’s like giving your screws a head start. This ensures they go in straight and keeps the wood from splitting, which can really ruin your day.
Last but not least, avoid over-tightening. You want it snug, not on the verge of snapping. Think of it like tightening a jar lid, not trying to Hulk-smash it closed.
There you go: a quick guide to keeping your cabinets up and your sanity intact!
Fasten the Back, Then Shim
Make sure the cabinet is flush against the wall. If it isn’t, don’t panic—shims are your new best friend. These thin pieces of wood can make all the difference in achieving a level fit.
Place the shims between the wall and the back of the cabinet. Think of shims like tiny, invisible superheroes holding everything in place. Use them generously but wisely.
Double-check your work with a level. Cabinets have a tendency to play tricks on your eyes. Trust the level, not your gut.
Screw the cabinet into the studs securely. Once you’re certain everything is level and flush, it’s time for fastening. Drive screws right through the sturdy part of the cabinet into the wall studs.
Use long screws for this task. These need to be substantial to ensure a firm grip. No one wants their dishes on the floor in the middle of the night, right?
Voilà, you’ve just ensured your cabinets are perfectly aligned and won’t budge an inch.
Measure the Gap
Use a measuring tape to gauge the distance between the cabinet side and the adjacent wall or cabinet. This can save a lot of future headaches and maybe even a few gray hairs.
Note the measurement accurately. Precision is your best friend here. A little too much or too little can lead to an uneven job.
It’s also helpful to have shims on standby. These little wedges can help fill any small gaps and ensure that everything is level and snug.
Consider labeling your measurements. A little piece of masking tape with your notes can be a lifesaver, especially if you’re working on a larger kitchen.
Keep in mind that houses aren’t always perfectly square. Don’t stress if your measurements are slightly off from top to bottom. Minor adjustments can be made during installation.
Fit and Install the Filler
Installing filler strips can make your cabinets look seamless. They’ve got to fit in the gaps like they were meant to be there. Here’s how to get that done without losing your mind:
Measure the gap between the cabinet and the wall. Use a measuring tape and double-check. No winging it.
Cut the filler strip to the correct size. A table saw is perfect for this. Smooth out any rough edges with sandpaper to avoid splinters.
Hold the filler strip in place and use clamps to secure it. Make sure it’s flush with the cabinet front.
Drill pilot holes through the cabinet frame into the filler strip. This keeps the wood from splitting. Nobody likes split wood.
Screw the filler piece in place using screws that match your cabinets. Snug, but don’t overdo it, Hercules.
Finishing touches. A bit of caulk can cover any remaining tiny gaps and make it look professional. Like you’ve been doing this for years!
