Last updated on
Learn how to tighten a loose kitchen faucet handle effectively with simple tools and steps to restore your faucet’s functionality and stability.
Key takeaways:
- Use an Allen wrench or screwdriver to tighten the set screw.
- Common causes of a loose kitchen faucet are wear, mineral deposits, and improper installation.
- Tools needed include an adjustable wrench or hex keys, flashlight, plumber’s tape, and a towel.
- Turn off the water supply, identify the faucet type, and tighten the set screw or cap.
- Take care not to over-tighten and check the handle’s functionality.
What's Inside
Easy Way to Tighten Single Handle Faucet
A wobbly handle can often be stabilised with a few twists of a wrench or a screwdriver. Most single-handle faucets have a hidden set screw securing the handle to the base. Here’s what you might typically do:
First, you’ll need to shut off the water supply to the faucet. This is usually done from the valves located under the sink. Turn these clockwise to turn off the water.
Next, locate the set screw, which is often discreetly placed under a decorative cap at the handle’s base. By gently prying the cap off with a flathead screwdriver, you can access the set screw.
Using the appropriate size of Allen wrench or Phillips-head screwdriver, tighten the set screw by turning it clockwise. It’s important not to over-tighten, as this can damage the handle and make it difficult to operate.
Finally, restore the water supply by turning the valves under the sink counterclockwise. Check the faucet handle to ensure it functions smoothly and is no longer loose.
The execution is usually straightforward, but the right technique depends on the type of faucet and its design. Always refer to the manufacturer’s instructions for model-specific guidance before proceeding.
What Causes a Loose Kitchen Faucet
Frequent use and the passage of time can wear out the internal components of a kitchen faucet. As a result, nuts and screws beneath the handle can become loose. Another culprit could be the gradual buildup of mineral deposits from hard water, which can cause components to stick or loosen. In addition, if the faucet wasn’t installed tightly enough, it can begin to wobble or the handle may start to show excessive movement after regular use. Lastly, accidental impacts or forceful handling can also lead to a loose kitchen faucet. Understanding these common reasons can steer you in the right direction to solve the problem with confidence.
Required Tools
Before diving into the tightening process, let’s ensure your toolkit is ready. You’ll need an adjustable wrench or set of hex keys; these are crucial for getting a grip on and adjusting the nuts beneath the sink. A flashlight will be your best friend to illuminate the dark recesses where the faucet resides. It’s also wise to have some plumber’s tape on hand; it’s not just for leaks. When you tighten the nuts, a bit of this tape can help prevent future loosening. And finally, keep a towel or rag nearby to clean up any drips and keep the area dry as you work. These simple items are your allies in transforming a wobbly annoyance into a steadfast feature of your kitchen.
Steps to Fix the Kitchen Faucets
Fixing a loose kitchen faucet handle can transform the frustrating experience of a wobbly fixture into the satisfaction of a job well done — and all within minutes. Here’s how:
Step 1: Turn off the water supply to prevent any accidental splashes or drips. This might seem elementary, but it’s essential for keeping your workspace dry and safe.
Step 2: Identify the type of faucet you have. Is it a set screw design or does it utilize a cap for access? This step is pivotal since it dictates the approach you’ll take next.
Step 3: For a set screw model, look under the handle for a small screw. This is typically held in place with an Allen wrench. A gentle but firm turn clockwise should tighten it up. If your faucet has a cap on top, carefully pop it off to reveal the underlying screw, then use a screwdriver to tighten.
Step 4: Re-assemble any parts you had to take apart, such as the handle or the cap. Make sure everything fits snugly back into place. Double-check your work by gently wiggling the handle to ensure there’s no more play.
Step 5: Turn the water supply back on and test the faucet’s functionality. It should feel secure and behave as though it’s new.
Throughout the process, maintain a gentle touch. Over-tightening can strip screws or damage parts, making the situation worse. With a bit of patience, you’ll find that fixing a loose kitchen faucet handle is a straightforward task that offers immediate gratification.
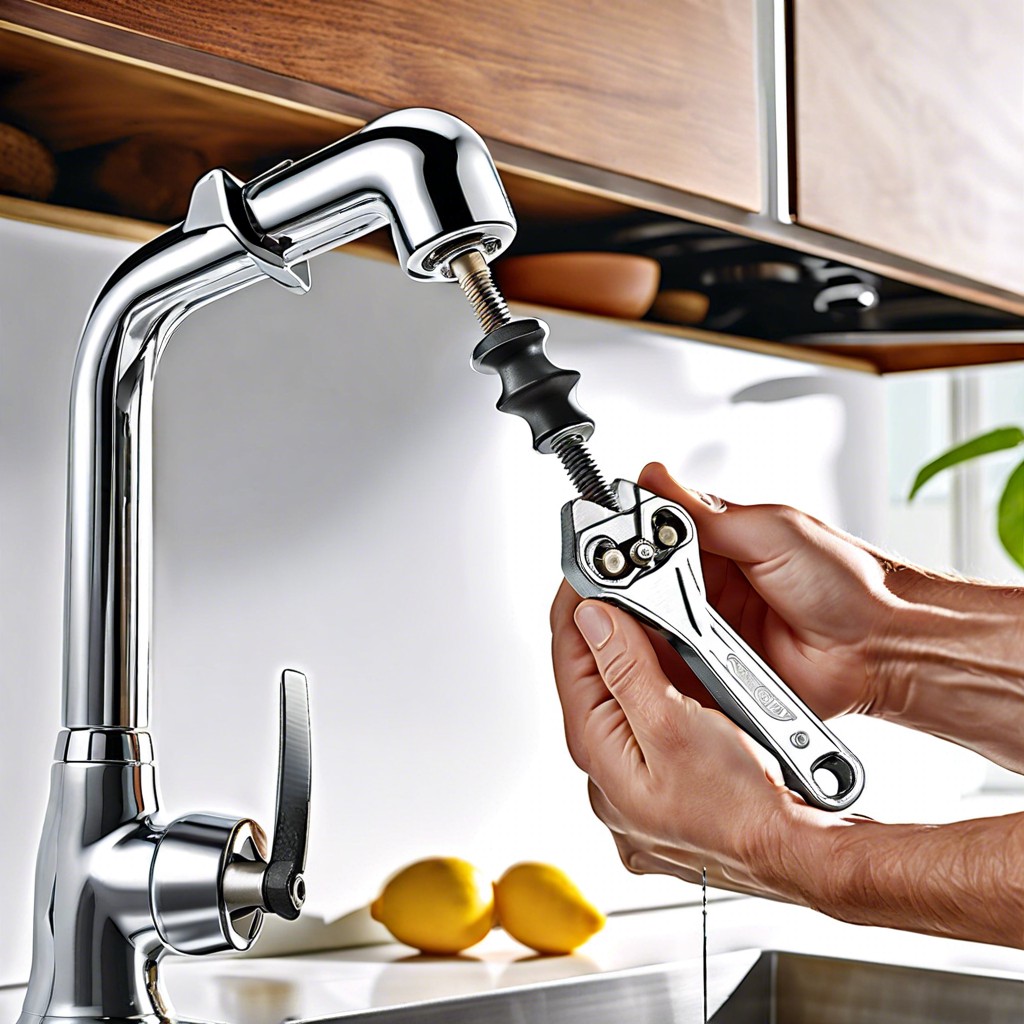
Tighten A Loose Handle On A Single Faucet
The task of tightening a loose handle on a single faucet often involves a straightforward process, but it’s essential to proceed with care to avoid causing any damage. Firstly, you usually have to locate the set screw, which is the tiny screw that secures the handle to the faucet’s stem. This is often discreetly hidden under a decorative cap or at the base of the handle, designed to be unobtrusive.
Once you’ve found the set screw, you’ll need an appropriately-sized Allen wrench or a Phillips-head screwdriver. It’s important to select the correct tool size to prevent stripping the screw head. Gently insert the tool into the set screw and turn it clockwise to tighten. The trick here is to find the sweet spot — tighten firmly, but not so much as to risk damage.
Throughout the process, handle parts with care. Faucet handles and the decorative elements surrounding them can be made from various materials, from metal to plastic, and can be susceptible to scratches or cracks if mishandled. After tightening, check the handle by using it to ensure it’s secure and properly functioning. If the handle no longer wobbles or leaks, you’ve successfully completed the task.


