Last updated on
Learn how to fix common kitchen faucet problems quickly and efficiently with our step-by-step guide.
Is your kitchen faucet giving you the silent treatment, or perhaps it’s throwing a water tantrum? Before you call in a pricey plumber, consider rolling up your sleeves and tackling the repair yourself. From identifying your faucet type to the final test for leaks, this guide walks you through every step in easy-to-follow detail. You’ll not only save money but might just earn that superhero cape hanging in your closet. Ready to dive in? Let’s fix that faucet!
Key takeaways:
- Identify your kitchen faucet type for effective repair.
- Gather tools: wrench, pliers, screwdrivers, plumber’s tape, replacement parts.
- Turn off water supply; locate shut-off valves under the sink.
- Disassemble the faucet carefully, inspect for wear, and replace faulty parts.
- Reassemble the faucet, test for leaks, make adjustments, prevent future issues.
What's Inside
Identifying the Type of Kitchen Faucet
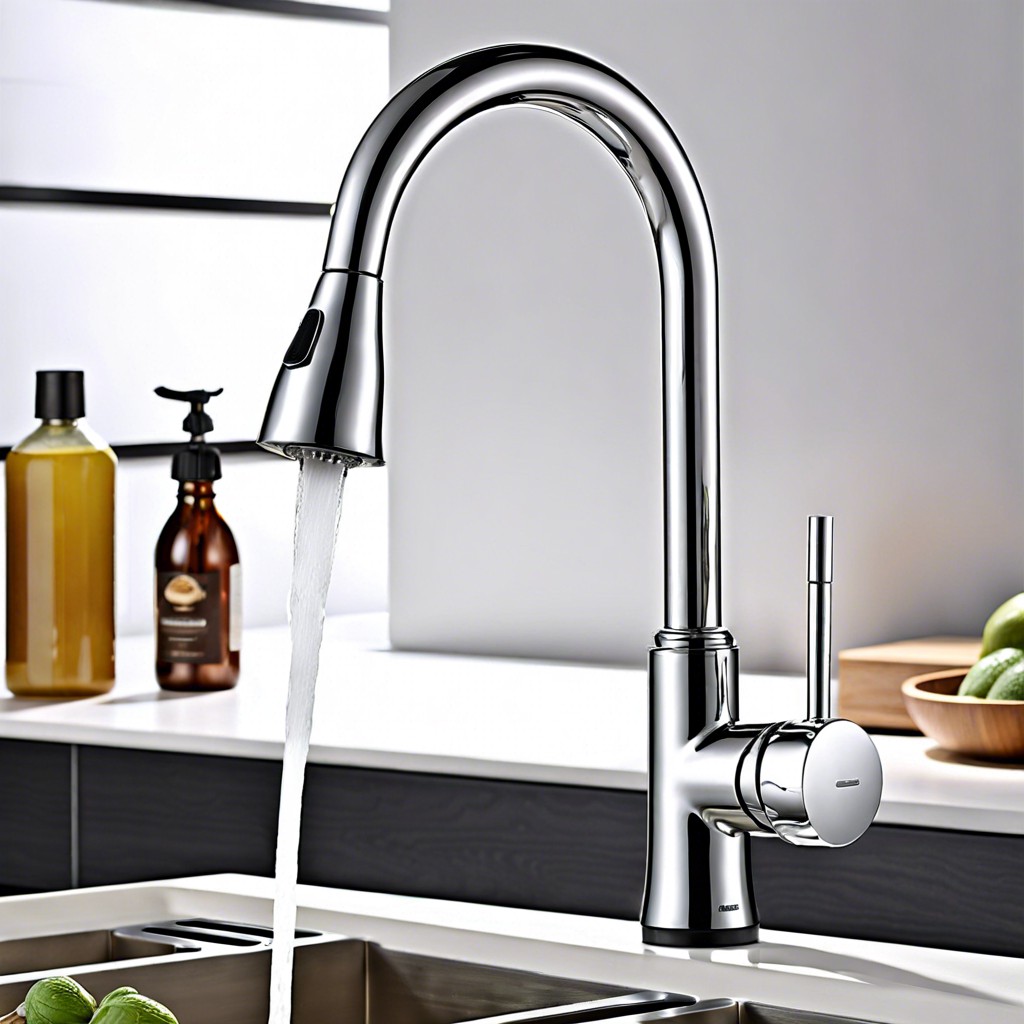
First things first, let’s figure out what kind of critter we’re dealing with here. Faucets come in a variety of species. The most common types are:
- Compression Faucets
- These oldies but goodies have separate hot and cold handles. If your faucet has two handles that you turn to get water flow, you’ve got a compression faucet on your hands. These often act like stubborn toddlers, leaking when a washer wears out.
- Ball Faucets
- A bit more modern and futuristic. These are usually found in kitchens, featuring a single handle that can swivel. The design inside looks like a high-tech sci-fi ball, controlling both the temperature and flow. If your faucet handle feels like it could fly a spaceship, this is probably it.
- Cartridge Faucets
- These can have one or two handles. The telltale sign? The handle moves smoothly in a linear direction (up/down or left/right) rather than in a rotating fashion. Got a faucet whose handle glides like it’s on an ice rink? You’ve likely got a cartridge model.
- Ceramic Disk Faucets
- The luxury cars of the faucet world. They feature a single lever over a wide cylinder body. If you have to push up to get water and can barely hear any sound when turning it on, you’re dealing with a ceramic disk faucet. These are as quiet as a ninja.
Knowing your faucet type helps streamline the repair process, making it easier to track down instructions, parts, and—most importantly—cut down time gazing bewildered at plumbing diagrams. So, grab your magnifying glass and get investigating!
Gathering Necessary Tools and Materials
First things first, let’s get all your gear in order. You don’t want to be halfway through disassembling your faucet only to realize you’re missing a key tool. Trust me, it’s not fun!
- Grab these basics:
- An adjustable wrench. This will be your new best friend while tackling those stubborn bolts.
- A pair of pliers. Because sometimes, those small parts need an extra nudge.
- Screwdrivers. Both flathead and Phillips. Different faucets, different screws. Better safe than sorry.
- Plumber’s tape. Helps prevent leaks when you’re reassembling everything.
- Replacement parts. O-rings, washers, or cartridges. Check what your specific faucet needs.
Having a towel or small bucket nearby is smart. Water has a funny way of showing up when you least expect it. Happy fixing!
Turning Off the Water Supply
First, locate the water shut-off valves. These are usually found under the sink. They look like little knobs or levers. If you can’t find them, you might need to shut off the main water supply to your home.
Turn the valves clockwise to cut the water supply. Think of it as tightening a jar—you want to make sure it’s nice and snug. If the valve is stubborn, use a cloth or wrench for extra grip. Be careful not to force it too hard; you don’t want to break anything and have another problem on your hands.
Finally, turn on the faucet to let any remaining water drain out. It’s like opening a gift; you never know what’s left until you look inside. This step ensures no surprises (or geysers) when you start disassembling the faucet.
Disassembling the Faucet
Think of your faucet as a complex toy that needs a bit of a shuffle. First, plug the sink drain to catch any rogue screws or parts. Never underestimate the sneakiness of these tiny components; they’re like the ninjas of the kitchen world.
Next, grab a towel and lay it out nearby to place the parts on. This keeps everything in one spot and makes you feel like a surgeon – without the medical degree.
Start by removing the handle. Depending on your faucet type, you might need an Allen wrench or a screwdriver. Got those? Great. Now, gently lift off the handle. Be careful, no need to Hulk it off; finesse is key.
After the handle, focus on the cap and collar – they’re usually beneath the handle. Twist or unscrew these parts and set them aside. If they’re stubborn, a pair of slip-joint pliers wrapped in tape (to avoid scratching) can help you win the battle.
Then, remove the cartridge, ball, or disk inside. This part can be tricky, but remember you have it in you. Just pop it out carefully, making mental notes (or actual notes) of how things fit together. This will be helpful when it’s time to reassemble.
If the model uses springs and seals, those come next. Use a small tool or tweezers to lift them out gently. They love to play hide and seek, so keep your eyes sharp.
Once it’s all apart, give yourself a pat on the back. If this were a movie, you just nailed the disassembly montage. Now you’re ready for the inspection.
Inspecting for Wear and Damage
Once you’ve got the faucet in pieces before you, it’s time to play detective. Look closely at each component.
First, check the O-rings. Those little rubber circles are often the culprits behind leaks. If they look cracked or brittle, they need to go.
Next, examine the valve seat. If it’s got mineral deposits or looks corroded, it’s probably been leaking for a while. A quick clean or replacement could do wonders.
Then, look at the cartridge. If it’s gummed up or the seals are worn out, it’s no wonder your faucet’s been misbehaving. Swap it out if needed.
Don’t forget the washers. Flat and snug should be their game. If they’ve gone misshapen or stiff, it’s time for new ones.
Lastly, scrutinize the handle itself. Any wobbling or damage there means trouble down the line. Tighten or replace as necessary.
Think of it as giving your faucet a mini-spa treatment. Treat it well and it’ll pour smoothly again!
Replacing Faulty Parts
Alright, it’s time to play faucet detective. You’ve found the villains causing the drip-drip-drip and now they must be replaced!
First, identify the culprits. Common ones include old washers, corroded valves, and worn-out O-rings.
Got your new, shiny parts ready? Good. Before you go full superhero, match the old parts with the new ones to ensure they are identical. No one needs a case of mismatched parts mid-repair.
To replace washers, simply unscrew the holding screw, swap the old washer for the new one, and screw it back in place. Checkmate, drippy washer.
For O-rings, slide the old ring off and clean the area. Slip on the new O-ring, ensuring it sits snugly in place.
Lastly, if it’s the valve causing trouble, remove the old one carefully, insert the new valve, and ensure it’s tightened properly.
Voilà, the villains have been replaced.
Reassembling the Faucet
Let’s get that faucet back together! Think of it as a puzzle, but with fewer pieces and less frustration.
First, align the components just as you found them. Remember that photo you took or that mental snapshot you stored? It will be your best friend now.
Start by placing the O-rings and washers in their respected slots. These little guys are crucial for a snug fit and keeping leaks at bay.
Next, follow up with the cartridge or ball assembly. Gently slide it in place, ensuring it sits correctly. If it resists, do not force it; a crooked cartridge is a recipe for disaster.
Secure the retaining nut or clip back onto the faucet body. Again, ensure it is tight but do not go Hercules on it; over-tightening can cause breakage.
Install any handles or knobs as the final touch. Screw them on securely but remember, gentle torque does the trick.
Lastly, double-check everything. A quick once-over can save you from unexpected surprises when you turn the water back on.
Testing the Faucet for Leaks
Turn the water back on slowly. If you don’t, you might get a surprise shower or a mini flood. Once the water is on, observe the faucet closely.
Watch for any drips or leaks. If you see any, they’re usually from connections or seals. Tighten any connections that might be causing trouble.
Test both hot and cold water. Sometimes, everything looks good with cold water, but hot water reveals hidden issues. Check under the sink, too. Make sure there is no water pooling or leaking around the base of pipes.
Run the water for a minute or two. This ensures everything is truly leak-free. If all is dry and dribble-free, congratulations, you’ve nailed it!
Adjustments and Final Touches
Time to spice things up with some adjustments and final touches. Like seasoning at the end of a recipe, this step is crucial.
First, make sure everything is snug but not too tight. Over-tightening can lead to damage, and you’ll end up back at square one. A good rule of thumb is “firm but fair.” Channel your inner Goldilocks: not too tight, not too loose – just right.
Next, align the handle. If it’s off-kilter, it could drive anyone mad. Twist it to the correct position until it feels natural. If you’ve installed a new cartridge, double-check that the handle moves smoothly from hot to cold.
Turn the faucet on slowly to avoid sudden pressure changes. Look under the sink while you do this. A quick peek to ensure nothing is dripping or spraying in wild directions can save a mop-up later.
Clean the aerator. It’s the little mesh screen at the end of the faucet. Unscrew it, rinse out any debris – maybe a rogue bit of teflon tape snuck in there – and screw it back on.
Finally, polish up the faucet. Give it a good wipe with a dry cloth and step back to admire your handiwork. You’ve earned the right to show off a bit.
Tips for Preventing Future Issues
Regular maintenance goes a long way in keeping your kitchen faucet in top shape. First, periodically check for leaks by running the faucet and inspecting underneath the sink. If you spot a drip, address it early before it turns into a bigger issue.
Clean the aerator frequently. Mineral deposits can build up, reducing water flow. Unscrew it, soak in vinegar overnight, and rinse thoroughly. Just be sure not to lose any small parts down the drain!
Avoid using abrasive cleaners on the faucet. A gentle cleaning solution and soft cloth will preserve its shine without damaging the finish.
Consider using a water softener if you live in an area with hard water. It reduces mineral buildup, giving your faucet a longer, happier life.
Lastly, teach everyone in the household proper faucet etiquette. Remind them not to swing the spout too aggressively or crank the handles too hard.
Happy faucet, happy life!
