Last updated on
Learn how to replace your kitchen sink pipe step-by-step to keep your kitchen clean and leak-free.
Ah, the kitchen sink! Where dirty dishes and splatters go to mingle with leftover spaghetti. If your kitchen sink pipe is nearing its retirement—or currently auditioning for a role as a leaky waterfall—fear not! This guide will steer you through the twisty-turny world of sink pipe replacement in a way that may even be fun (and possibly less soggy). From deconstructing your old conglomeration of pipes to sealing the deal on your leak-free masterpiece, everything you need to know is right here. Grab your wrench and maybe a raincoat, and let’s get started!
Key takeaways:
- Gather tools: adjustable wrench, pliers, plumber’s putty.
- Clear under sink for easy access and safety.
- Follow pipe arrangement or take a reference photo.
- Hand-tighten connections; avoid over-tightening risks.
- Test for leaks before finalizing; listen for drips.
What's Inside
Tools Needed for Kitchen Sink Pipes Repair
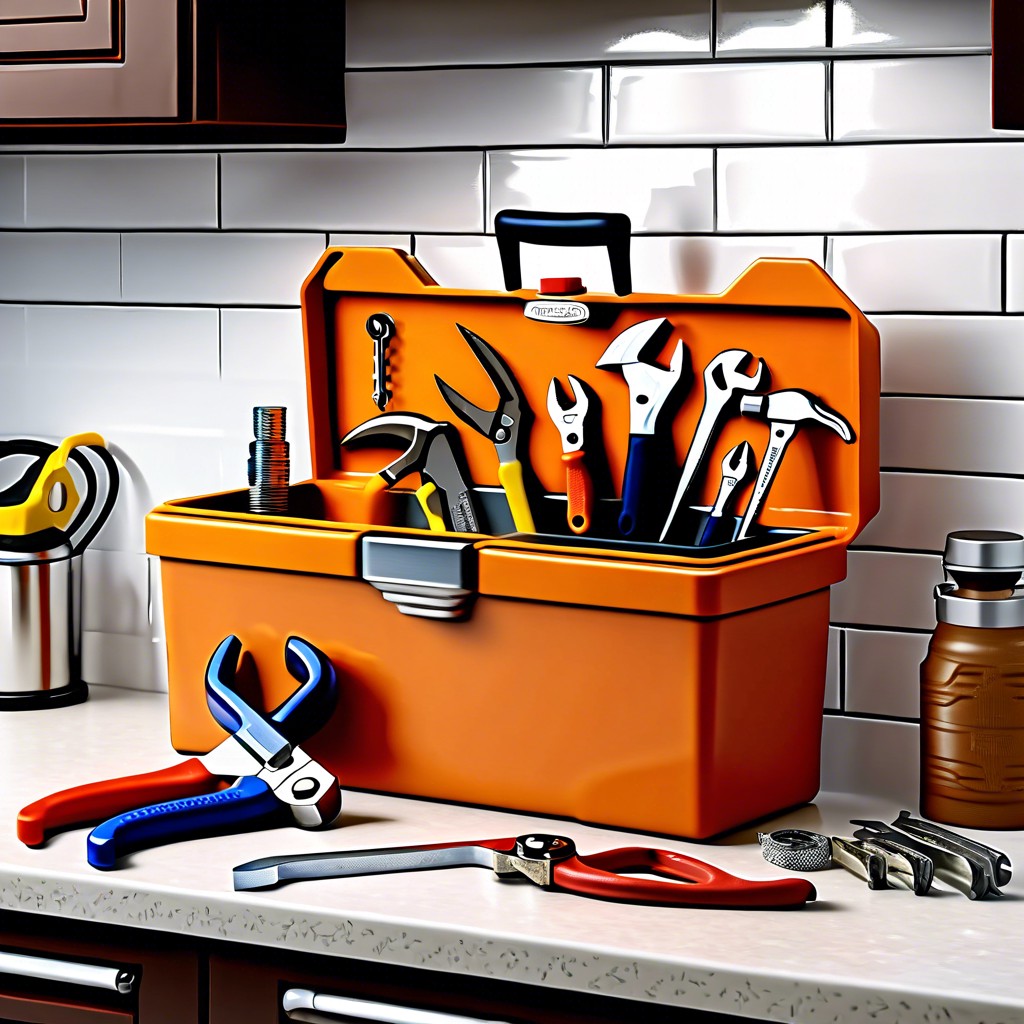
When tackling this project, gather your tools like a plumbing Jedi. First up, the trusty adjustable wrench. It’s your lightsaber for wrestling loose those old, stubborn nuts. Next, grab channel-lock pliers, ideal for giving you extra grip when hand strength alone is about as useful as a chocolate teapot.
Don’t forget the plumber’s putty. This gooey sidekick helps create a watertight seal like a superhero cape for your connections. A bucket is also essential. It’s where the water takes a break after you unintentionally give it a shower audition. Finally, have a flashlight handy. Kitchens are notorious for their dark crevices, where dreams—and sometimes loose change—go to hide.
Armed with these, you’re set to tackle your pipe replacement mission. Happy plumbing and may your leaks be few and your satisfaction great!
Step One – Take the Old Drain Apart
Alright, time to get things dismantled! Imagine you’re on a treasure hunt, but instead of jewels, you’re seeking that old leaky pipe. Brace yourself for a watery adventure.
First, you’ll want to clear out everything under your sink. It’s amazing how much stuff fits in there, right? As a bonus, consider it a de-cluttering mission.
Turn off the water valves to avoid an impromptu Slip ‘n Slide. Seriously, water spraying everywhere might be fun, but it’s not ideal indoors.
Grab a trusty wrench or pliers and loosen those nuts holding the pipes in place. Lefty loosey is the name of the game.
As you dismantle each piece, have a bucket or a bowl ready. You’re dismantling a potential water feature—catch those drips!
While you’re at it, make a silly face in the reflection of the shiny pipes. They don’t mind, and it makes work feel like play. Keep it fun, after all!
Finally, make note of the pipe arrangement. Consider snapping a quick photo if you’ve got the memory of a goldfish. Replacement is much easier when everything’s in the right order.
Step Two – The Basket Strainer Assembly
First things first: lay your eyes on that new, shiny basket strainer. Imagine it’s the crown jewel of your sink’s underbelly kingdom. Desperate not to leak, it demands your attention and respect.
Make sure the rubber gasket and strainer go together like peanut butter and jelly. Place the gasket beneath the sink opening and the strainer on top. Channel your inner sandwich artisan.
A bead of plumber’s putty around the top rim of the strainer is a dastardly clever trick. It ensures a watertight seal and keeps the leak monster at bay. Apply with the enthusiasm of Picasso, but maybe not as abstract.
Tighten the locknut under the sink to secure the strainer, like you’re keeping a cramped lid on Pandora’s box—but not too tight, or you’ll twist everything sideways and unleash chaos. Balance is key.
And remember, a little patience goes a long way, kind of like squeezing out the last bit of toothpaste.
Step Three – Connect the Drain Pipe Assembly Tailpiece to the Strainer
Hooking up the tailpiece can feel a bit like assembling a puzzle with too many identical pieces. Rest assured, they’re all meant to fit! Here’s the lowdown:
Ensure a secure fit: Slip the rubber gasket onto the tailpiece, and press it against the bottom of the strainer. It’s like giving your strainer a hug. Just a firm, watertight embrace.
Align perfectly: Connect the tailpiece to your drainpipe. Tighten it just enough to prevent leaks but not so much you need a winch to undo it later. Think Goldilocks—just right.
Check your angles: Make sure everything lines up without a tilt. A crooked tailpiece is a recipe for laughter at plumbing parties, but not for a dry kitchen floor.
Be the hand-tightening hero: Hand-tighten the slip nuts, folks. Overdoing it with a wrench can lead to cracks or worse, emergency room visits for unsightly knuckle injuries.
The glamorous world of plumbing connections is calling. Go forth and conquer that tailpiece with confidence!
The Hardest Part
Getting everything to line up perfectly is like persuading a cat to take a bath—tricky at best.
First, make sure your pipes are the right length. Cut them if necessary, but measure thrice, cut once. No one needs a waterfall under their sink.
Gentle persuasion with wrenches and fittings can turn stubborn pipe dreams into reality. But remember, if you’re using force that would frighten a sumo wrestler, you’re probably doing it wrong.
Be prepared to adjust the angle of the tailpiece slightly. It’s a dance between precision and compromise. A touch here, a twist there.
Lastly, patience is key. Every plumbing job takes longer than you think it will. Consider it quality zen time for pipe fitting mindfulness. Relax, breathe, and try not to drop the pipe on your toe!
When in Doubt
Sometimes the plumbing gods frown upon us, and uncertainty creeps in. Fear not! Here’s a lifeline to keep you afloat.
First, consult the oracle of YouTube. Yes, watching a video can illuminate the path like a lighthouse in a stormy sea.
Second, if the instructions seem to be in ancient alien code, consider phoning a friend who knows what’s what.
Third, deciphering the Art of Rubber Washer Placement can be tricky. Remember, they mark the line between water freedom and chaos.
And last but not least, the great plumber’s maxim: “Righty tighty, lefty loosey.” This simple mantra can save both time and a lot of why-won’t-it-work moments.
Installation
Gently fit the new pipe assembly into place. Ensure the washers are properly seated; think of them as the unsung heroes preventing leaks. Hand-tighten the nuts onto the threaded sections; over-tightening is an invitation to break the plastic.
Double-check that all connections line up snugly with no awkward tilts. Avoid pretzel positions—pipes are not yoga practitioners. Secure each connection while keeping an eye on alignment. Remember, pipes misaligned faster than kids dodging vegetables.
Finally, double-check every connection. Make the final adjustments, and you’re ready to test it. Keep your fingers crossed—tightened in a wink, leak-free in a blink.
Step Four – Test the New Assembly for Leaks
Now that your pipes aren’t a jigsaw puzzle left by an over-enthusiastic child, let’s make sure they’re not playing hide-and-seek with leaks. Here’s what to do:
First, run water through the tap, just like you’re trying to surprise your roommate with an early morning cold shower.
Check the pipes beneath the sink for any telltale drips or sprays. If you see water, don’t panic. Just tighten the connections. Your pipes might just be trying to play hard to get.
Grab a dry cloth and run it along the joints. If it emerges wet, you’ve got more than an overly friendly kitchen ghost to deal with.
Listen closely. If you hear any dripping noises, it might be time to channel your inner plumber again.
For added peace of mind, pop a bucket under the pipes and let the water run for a while. Nothing says “no leaks” like a dry bucket after a watery marathon.
With these checks in hand, your pipes will be as tight-lipped as your best friend’s embarrassing stories.

