Last updated on
Learn how to fix your kitchen sink with simple steps and practical tips for common issues.
Key takeaways:
- Identify common sink repair issues to address them early.
- Gather essential tools and materials for successful sink repairs.
- Shut off the water supply before starting any repair work.
- Follow step-by-step instructions for dismantling the faucet, fixing a leaky faucet valve seat, replacing worn-out washers, handling a leaky sink basket strainer, and clearing minor clogged drains.
- Take preventative measures and keep towels handy to manage unexpected water flow.
What's Inside
Identifying Common Sink Repair Issues

Before you dive into repairs, spotting the issue with precision can save you time and a whole lot of hassle. Let’s cut to the chase: dripping sounds at night are signs of a leaky faucet, a classic nuisance. A decrease in water pressure might mean a clogged aerator is playing the culprit, and it’s as common as finding forks in your cutlery drawer. If water pools under your sink, don’t turn a blind eye; this could indicate a problem with your sink’s P-trap or drain gasket. Lastly, if turning the knob feels like an arm-wrestling match, stiff valves are likely at fault. Paying attention to these symptoms isn’t just smart; it’s practical vigilance. Addressing them early prevents a mountain out of a molehill situation with your kitchen sink.
Tools and Materials Needed for Sink Repair
Diving right into the essentials, envision your toolbox as a surgeon’s kit—it should contain everything you need for a successful operation. For starters, adjustable wrenches are a must-have; they’re the surgeons of the tool world, adapting to nuts and bolts of different sizes with a simple twist. A basin wrench could be your secret weapon for those hard-to-reach spots under the sink, where standard wrenches may wave the white flag.
Then, channel locks, also referred to as slip-joint pliers, play a critical role. Grasping and turning, they’re the all-purpose forceps in our sink repair surgery. Don’t forget plumber’s putty and Teflon tape—akin to sutures and bandages, these sealants prevent leaks at the joints, ensuring everything stays watertight.
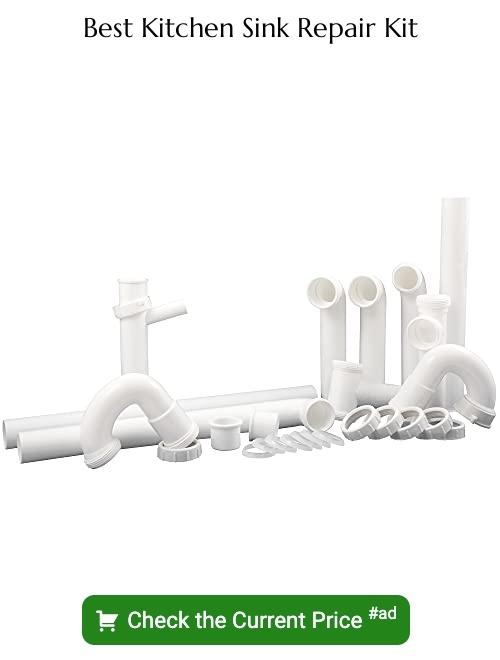
A good old-fashioned plunger should be at hand for unclogging duties, while a plumber’s snake, or auger, delves deeper into drains to dislodge stubborn blockages. For those pesky worn-out washers and O-rings, a replacement kit is necessary, acting like a transplant organ ready to restore your sink to full health. Lastly, a flashlight will be your guiding light in the dim under-sink cabinet where shadows often conceal the culprit of the leak. With these tools and materials at your disposal, you’re prepped for battle against leaky faucets, loose fittings, and clogged drains.
Shutting Off Water Supply Before Sink Repair
Turning off the water supply is an essential first step, akin to buckling your seatbelt before driving. Dive under the sink and you’ll usually find two valves—one for hot and the other for cold water. Twist these clockwise and you’ve essentially drawn the bridge up, stopping potential water invaders in their tracks.
No valves under the sink? No sweat. Your main water line, often located in a basement or utility space, is eager to assist. Just locate the valve—a trusty lever or wheel—and give it a hearty turn to the right.
A pro tip: After shutting off the valves, turn on the faucet to release any water and pressure still lounging in the pipes. It’s like letting out a sigh of relief before getting down to business.
Remember, water has a nasty habit of flowing where it’s not wanted, and by sealing off its path, you transform a potential flood into a manageable drip. Keep towels handy; even the most seasoned repair aficionado might face a surprise splash or two.
Steps for Common Repairs (e.g., Dismantling the Faucet, Fixing a Leaky Faucet Valve Seat, Replacing Worn Out Washers, Handling a Leaky Sink Basket Strainer, Clearing Minor Clogged Drains)
Dismantling a faucet might sound like a puzzle, but it’s all about gentle twists and turns. Grab a wrench and loosen the nuts holding the faucet together. Keep parts organized as you go—no one likes a jigsaw puzzle with missing pieces.
A leaky faucet often comes down to a faulty valve seat—think of it as a tiny bathtub for the washer to relax in. If this ‘tub’ gets grimy, water escapes like mischievous kids playing outside. Clear the grime, and you’ll have a leak-free faucet again.
Worn-out washers are like expired milk—nobody wants them. They cause drips, wasting water that could have been a refreshing glass on a hot day. Replace the washer, and you’ll stop the water’s unwanted escape route.
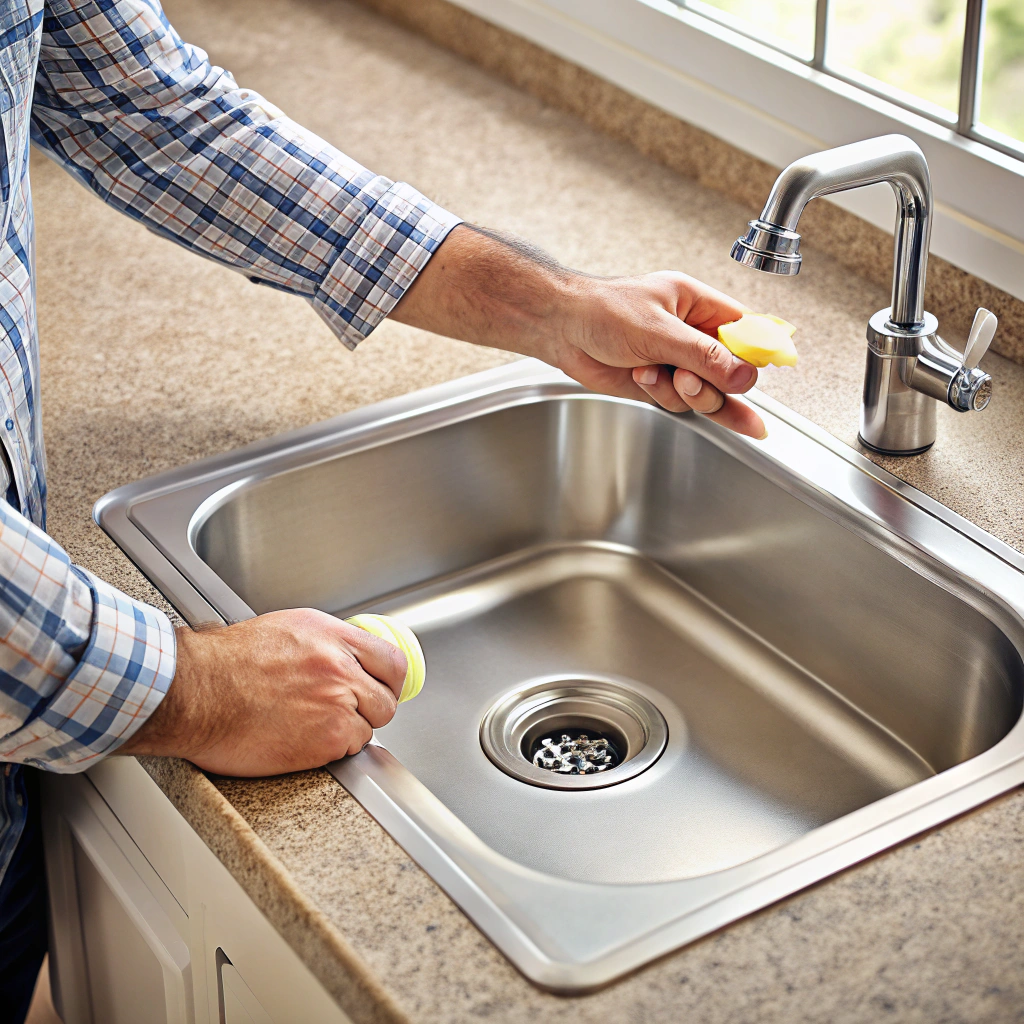
Leaky sink basket strainers can create indoor pools you never asked for. Reseal the strainer from below using plumber’s putty for a watertight seal. It’s like fixing a hole in your pool floatie; no one wants to sink mid-float.
Minor clogged drains are the slow traffic of the plumbing world. Boil some water, squeeze in a good dash of dish soap, and send it down the drain. It’s like a spa day for your pipes—soothing and unclogging at the same time.


