Last updated on
Transforming your kitchen or bathroom with a fresh coat of paint on your cabinets is easier than you might think, and this step-by-step guide will equip you with all the essential know-how to get started.
Key takeaways:
- Painting cabinets can breathe new life into your kitchen.
- Water-based latex paints are eco-friendly and easy to work with.
- Enamel paint provides a durable and glossy finish.
- Proper preparation is crucial for a professional-looking finish.
- Clean and prime cabinets before painting for best results.
What's Inside
Why Should I Consider Painting My Kitchen Cabinets?
Revamping your kitchen cabinets with a fresh coat of paint offers a cost-effective solution to breathe new life into an outdated or dull kitchen. It’s a transformative project that can significantly alter the ambiance of the space.
Furthermore, if you’re faced with the solid construction of old cabinetry, painting them can provide modern appeal without the hefty price tag of a full replacement. Opting for paint also opens up a spectrum of color choices, allowing for personalization to match your unique style or the latest trend.
Additionally, painting can help protect the surface of cabinets from the wear and tear of kitchen use, adding longevity to your cabinetry. Whether you’re aiming to boost your home’s value or simply looking for a change, painting your cabinets is an efficient and creative approach to kitchen design.
What Kind of Paint Do You Use On Kitchen Cabinets?
Selecting the right type of paint is critical for a durable and visually appealing finish on your kitchen cabinets. Oil-based paints used to be the standard due to their resilience and smooth finish. However, they have fallen out of favor, mainly because they are not as environmentally friendly, have a strong odor, and require more complicated cleanup.
On the other side, water-based latex paints are more eco-friendly and easy to work with. Among latex paints, 100% acrylic formulas provide superior durability and coverage. They are less likely to yellow over time, dry faster, and exude fewer fumes. For a compromise between the two, consider alkyd-modified latex paints. They offer the ease of water cleanup but with characteristics closer to oil-based paints.
For a flawless finish, enamel paint is highly recommended. It dries to a hard and glossy finish, making it perfect for cabinets that end up taking a lot of wear and tear in the kitchen environment. Satin, semi-gloss, or gloss finishes are best for cabinets because they are easier to clean and more resistant to the humidity, grease, and dirt commonly found in kitchens.
Lastly, don’t overlook the importance of a quality primer. It ensures better adhesion of paint to the surface, increases paint durability, and provides additional protection for the material being painted. A good primer will make the paint job last longer and look more professional.
Steps for Painting Cabinets
Embarking on a cabinet painting project requires meticulous attention to detail and a systematic approach. Here are the points to guide you through the process:
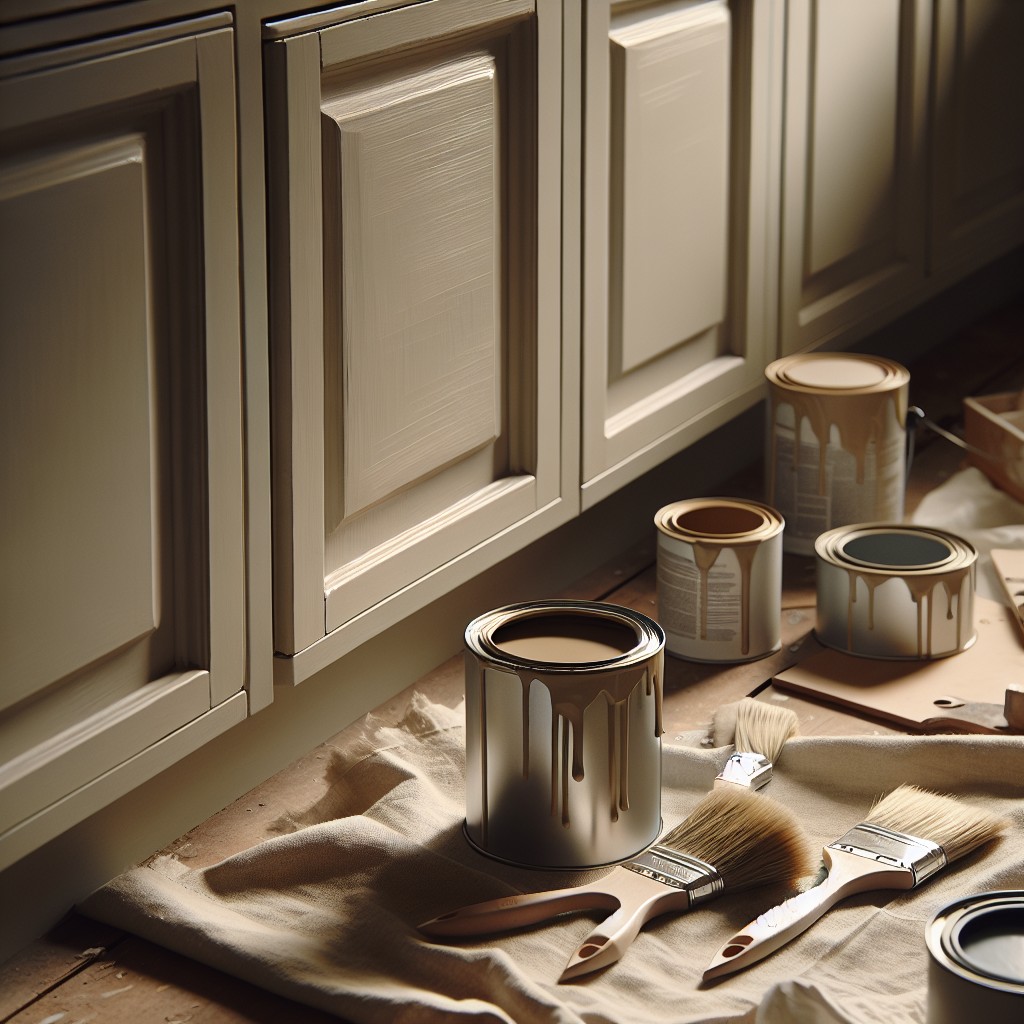
1. Prep the Room and Remove Cabinet Parts: Protect your countertops, appliances, and floors with drop cloths or plastic sheeting. Unscrew hinges, remove doors and drawers, and label each component with painter’s tape to ensure everything returns to its rightful place.
2. Clean and Prime Cabinets: Years of cooking can leave cabinets coated with grease and grime. Use a degreasing agent to ensure a clean surface. Once dry, apply a primer to help the paint adhere and to hide any discolorations for a smoother final appearance.
3. Paint and Reassemble the Cabinets: Use a brush or roller specifically designed for smooth surfaces to apply paint to the frame and sides. For doors and drawers, consider spray painting to avoid brush strokes. Begin with the back, let it dry, then paint the front. Apply thin, even coats and sand lightly between coats to remove any imperfections. Once everything is dry, reassemble the cabinets carefully.
These steps, followed diligently, yield a professional-looking finish that rejuvenates your space.
Prep the Room and Remove the Cabinet Parts
Preparation is key for a smooth painting process. Begin by clearing all countertops and covering appliances and floors with drop cloths to protect them from paint splatters.
Next, label each cabinet door and drawer with a corresponding number to ensure they return to their original position after painting. This can be done using small pieces of painter’s tape and a marker.
Remember to also remove all hardware such as handles and knobs.
Once everything is labeled, unhinge the doors with a screwdriver, set the hardware aside if you plan to reuse them, and remove drawers. It’s important to work systematically here to keep track of all pieces. The meticulous organization will streamline reassembly later on.
Once all parts are removed, place them on a flat surface, ideally lined with drop cloths or plastic sheeting, to prepare for cleaning and priming. This step ensures that when it’s time to paint, the surface is clean and clear, providing the best possible canvas for a transformative coat of paint.
Clean and Prime the Cabinets
To ensure that your new paint adheres flawlessly, a thorough clean is essential. Grease, dust, and bits of food can disrupt paint application, so take the time to give your cabinets a good scrub with a degreaser. Once they’re dry, move on to sanding. A light sanding creates the perfect canvas, smoothing out any imperfections and providing the grip that primer needs.
When choosing a primer, pick one that’s designed for cabinets, ideally blocking stains and tannins if you’re working with wood cabinets. Apply a thin, even coat with a brush or roller designed for smooth finishes. Patience is key—allow proper drying time before painting. Skipping or rushing this step could result in a less-than-ideal finish that might peel or chip prematurely.
Remember, a successful paint job is all in the preparation. Taking the time to clean and prime properly means when you’re ready to paint, you’re ensuring a finish that is both beautiful and long-lasting.
Read More
 How to Choose Kitchen Cabinets: Your Ultimate Buying Guide
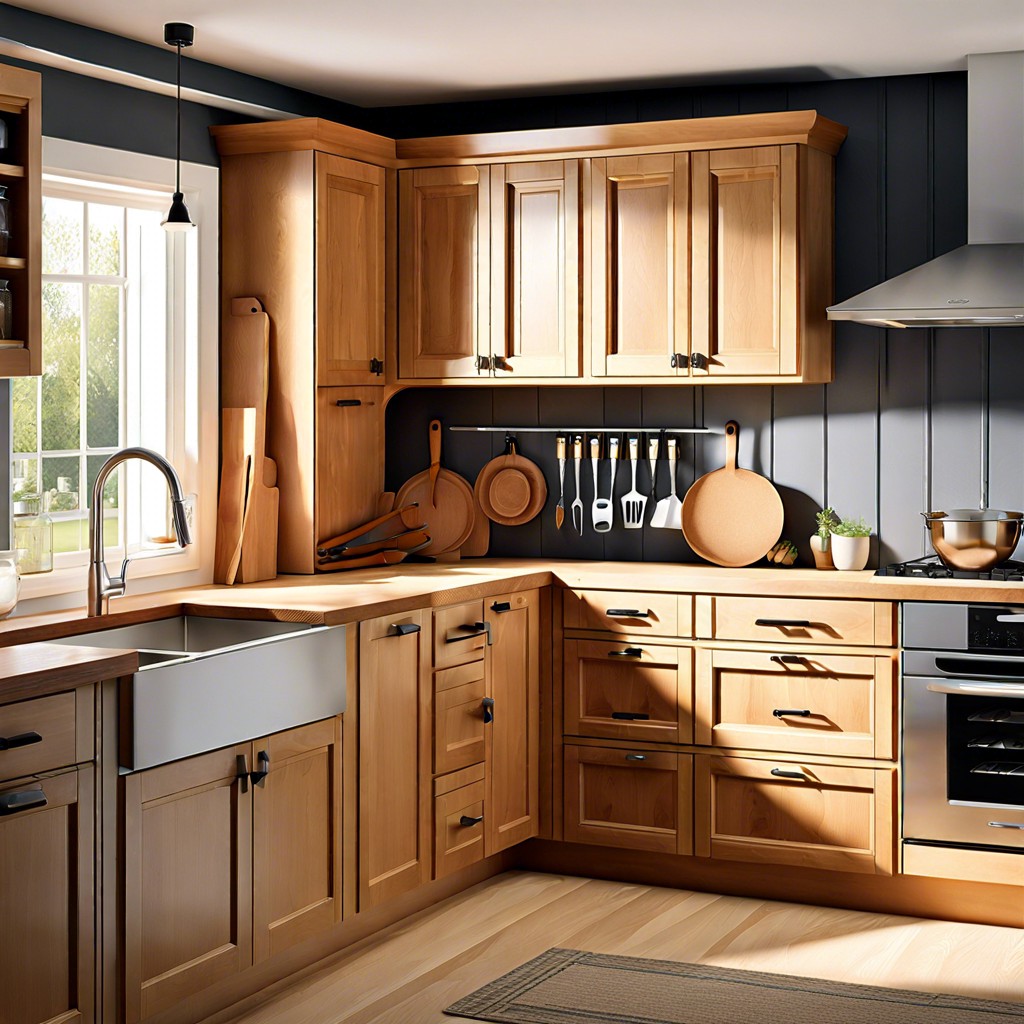 Staining Cabinets: A Step-by-Step Guide to a Fresh Look
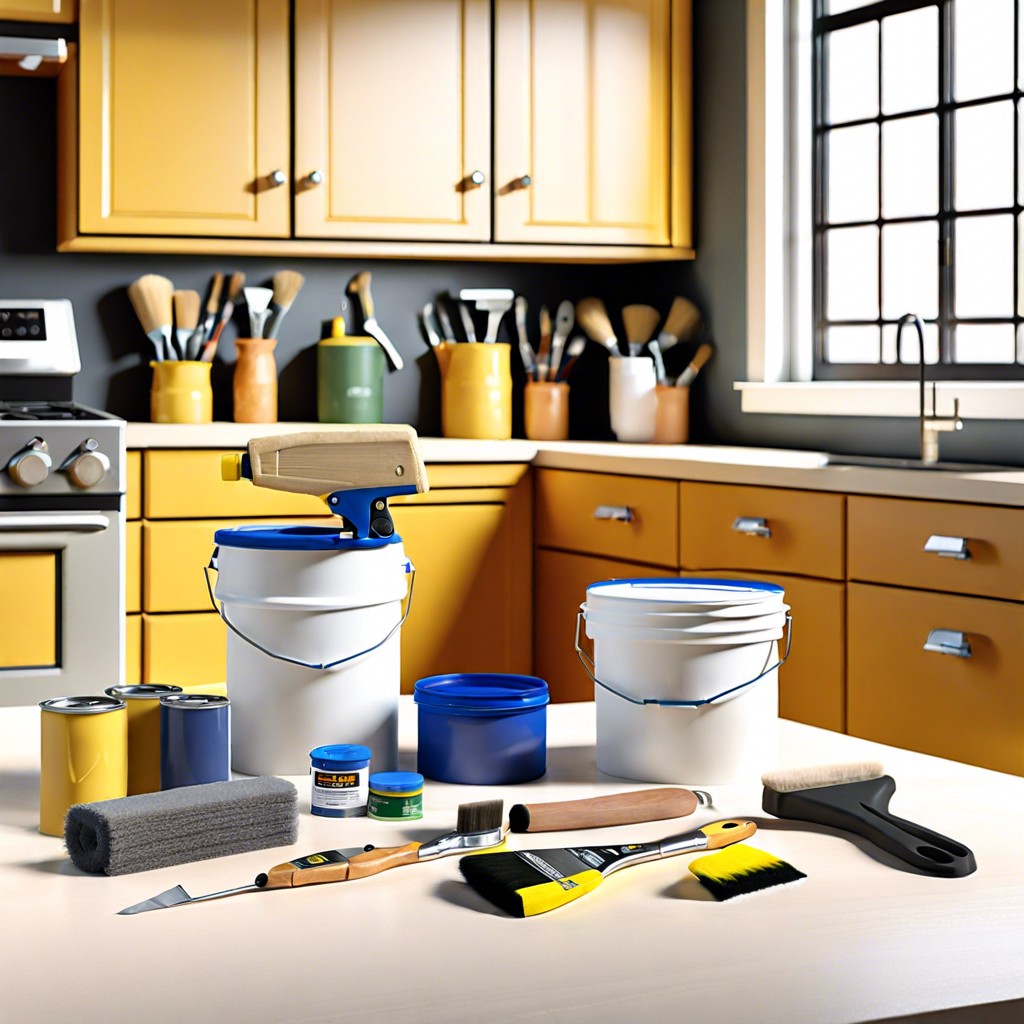 How Long Does It Take to Paint Kitchen Cabinets: A Time-Saving Guide
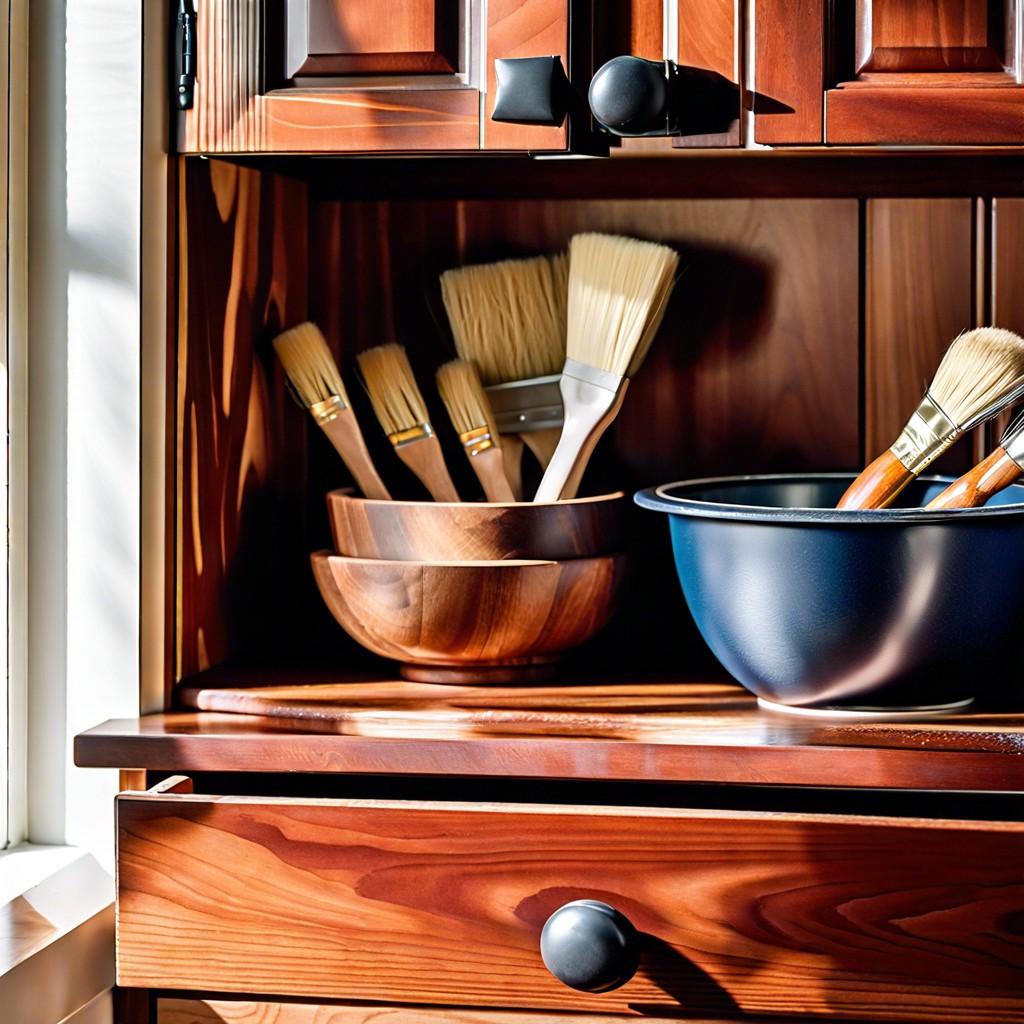 Cost to Refinish Cabinets: A Cheaper Revival
 How to Install Upper Cabinets: Tips for a Perfect Kitchen Makeover