Last updated on
Discover the steps to give your dining room table a fresh, vibrant look with a new coat of paint.

Key takeaways:
- Choose the right paint color and finish for your table.
- Use primer to enhance paint adhesion and durability.
- Prep surfaces with sandpaper for even paint application.
- Clean grimy surfaces with TSP soap before painting.
- Let each coat of paint and topcoat dry fully before use.
What's Inside
Materials and Supplies Checklist: Paint, Primer, Sandpaper, TSP Soap
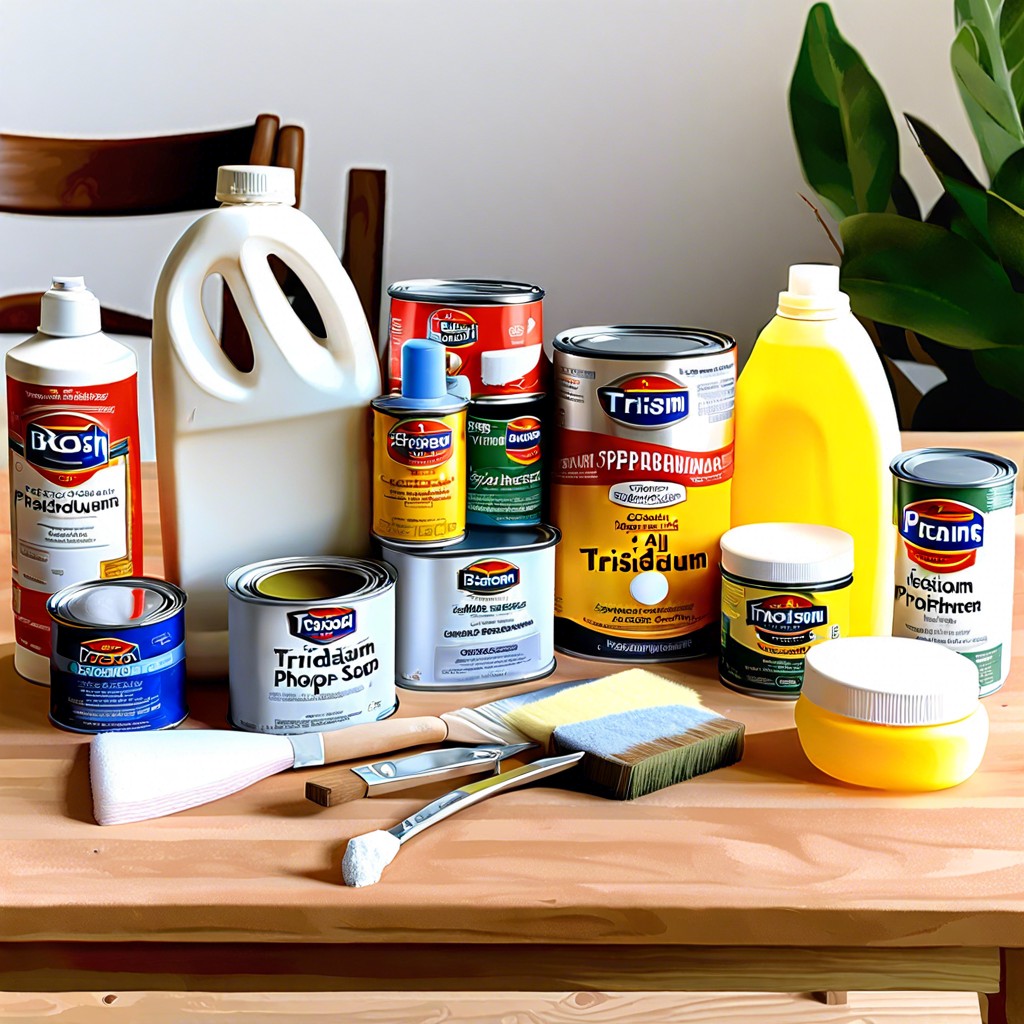
Before you embark on your painting project, it’s essential to have all the right materials and supplies at hand to ensure a smooth and successful application. Here’s a quick checklist of items you’ll need:
- Paint: ** Choose the right paint color and finish that suits your style and room’s ambiance. Remember to consider the lighting, as it can vastly affect how the color appears on your surfaces.
- Primer: ** This is a crucial foundation that ensures better paint adhesion and increases durability. It also helps to block stains and dark colors from bleeding through the new coat of paint.
- Sandpaper: ** This tool is vital for prepping surfaces before painting. It smooths out rough areas, creating an even base for the primer and paint to adhere properly.
- TSP (Trisodium Phosphate) Soap: ** If you’re dealing with especially grimy or greasy surfaces, TSP soap acts as an all-purpose cleaner to remove residue. Ensure you rinse the surfaces well after cleaning to avoid interfering with paint adhesion.
Remember to let the paint cure fully before using the painted item, as this ensures the durability of your finish. A well-prepped surface and patience with the drying process will reward you with a flawless and long-lasting result for your dining table makeover.
Step-by-Step Guide to Painting a Dining Room Table
Begin by thoroughly cleaning your table with TSP (trisodium phosphate) or a similar degreasing cleaner to ensure the surface is free of any residues or oils. Next, the crucial step of sanding comes in. Use a medium-grit sandpaper to lightly sand the entire surface, which will help the primer and paint adhere better to the table. After sanding, wipe down the table with a damp cloth to remove all dust.
Now, it’s time to lay the foundation with a good-quality primer. This step is essential for achieving even coverage and enhancing the durability of the paint. Let the primer dry as per the instructions on the product label.
After the primer is dry, you can proceed with painting. Apply the furniture paint using a brush or roller, working in the direction of the grain for a smooth finish. Depending on the paint type and color, you may need multiple coats—the key is to let each coat dry thoroughly before applying the next.
Lastly, protect your work with a clear topcoat that will help shield your table from scratches and wear. This sealer can be either matte or glossy, depending on your preference. Allow the topcoat to dry and cure fully, often taking a few days, before using the table to ensure the best possible finish.
Preparation: Clean, Sand, and Prime the Table
Embarking on the process of renewing your dining room table begins with the foundational trio of cleaning, sanding, and priming. These steps cannot be overstated in their importance – they’re the groundwork that ensures a sophisticated and long-lasting finish.
Begin by giving your table a thorough cleaning using Trisodium Phosphate (TSP) or a similar degreasing cleaner. This removes any oils or residues that could prevent paint from adhering properly. After the table is clean and dry, it’s on to sanding. A medium-grit sandpaper, such as 120-grit, is ideal for removing the glossy finish and giving the paint something to grip onto. Always sand in the direction of the wood grain and take your time to create a smooth, even surface. Once dust-free, a coat of high-quality primer sets the stage for the paint. Opt for a primer designed for the paint type you’ll use. If using a water-based paint, go for a water-based primer, and the same goes for oil-based products. This step provides a unified base that not only boosts paint adhesion but also evenness in your final color.
Remember, patience in preparation pays dividends in durability and aesthetic appeal. Take your time to get these steps right, and your table will stand as a testament to a job well done!
Painting: Apply Furniture Paint and Seal With a Durable Topcoat
Once your table is prepped and primed, it’s time for the main event: painting. Opt for a furniture paint that’s designed to hold up to wear and tear, such as an acrylic latex-based paint, which offers a balance of durability and a pleasant finish. Start with thin, even coats. You’ll likely need multiple coats for full coverage, ensuring each layer is fully dry before applying the next. This patience pays off, leading to a sleek, brush-stroke free surface.
Applying a topcoat is the final, vital step that will protect your table from scratches, stains, and chips. A water-based polyurethane provides strong protection without yellowing over time. Brush or spray on evenly, and allow each coat to dry completely. While it might be tempting to rush furniture back into use, giving the sealant ample time to cure forms a stronger defense, keeping your dining table looking great for years.
During this process, consider ventilation to be your best friend. Work in a well-ventilated space or even outdoors if possible. Good airflow helps the paint and sealer cure better and also safeguards your health by dispersing fumes. With these practices, you’ll ensure a smooth, lasting finish for your dining space centerpiece.
How to Choose the Right Paint Color and Finish for Your Table
Selecting the perfect paint color and finish for your dining room table transforms not just the furniture but the entire ambiance of the room. Consider the current color scheme of your dining room. A contrasting shade can create a focal point, while a complementary color ensures a harmonious look. A neutral palette is timeless and versatile, allowing your table to seamlessly blend with future decor changes.
The finish of the paint plays a significant role in both aesthetics and functionality. A glossy finish reflects light beautifully and is easy to clean, making it ideal for a table surface that sees frequent use. However, it can show fingerprints and scratches more easily than its counterparts. A matte finish delivers a more contemporary look and conceals imperfections well, but might require more effort to clean.
For a balance between the two, consider a satin or semi-gloss finish. These provide a moderate sheen, are easier to clean than matte finishes, and don’t highlight imperfections as much as glossy finishes do.
When contemplating color longevity, remember that very trendy colors might feel outdated quickly. Classics like navy, gray, or rich wood hues have staying power and adapt readily to changing styles. For a personal touch, think about a color that brings you joy or one that reflects the character of your home’s design. Take home multiple paint swatches, and observe how different lighting conditions in your dining room affect their appearance throughout the day. Selecting the right shade is crucial, as the table is often the centerpiece and sets the mood for family gatherings and shared meals.


