Last updated on
Revitalize your old cabinets with Rustoleum spray paint because its versatility and ease of use open up a world of creative possibilities.
These are my unique design concepts made using design tools. I hope you find them inspiring!
Transforming cabinets with Rustoleum spray paint isn’t a new idea, but adding a fresh spin certainly is. Known for its durability and rich finish, this versatile product offers endless design possibilities.
While reimagining its potential, it’s vital not to overlook tried-and-true methods. Hence, links to the most popular techniques can be found at the end of this article.
However, today’s focus is on carving innovative and artistic paths. Let’s delve into presenting unique opportunities to significantly enhance your cabinets using Rustoleum spray paint.
Prepare to be inspired by these refreshing ideas.
What's Inside
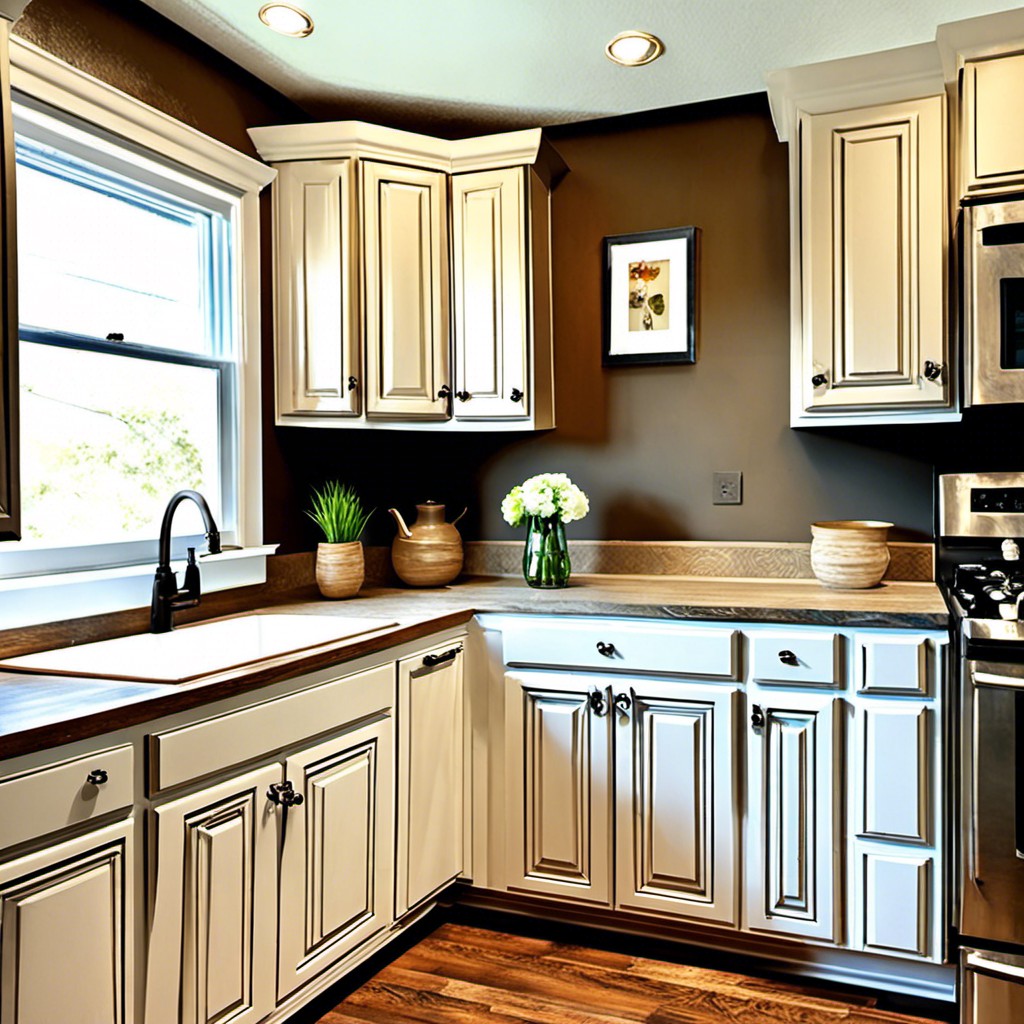
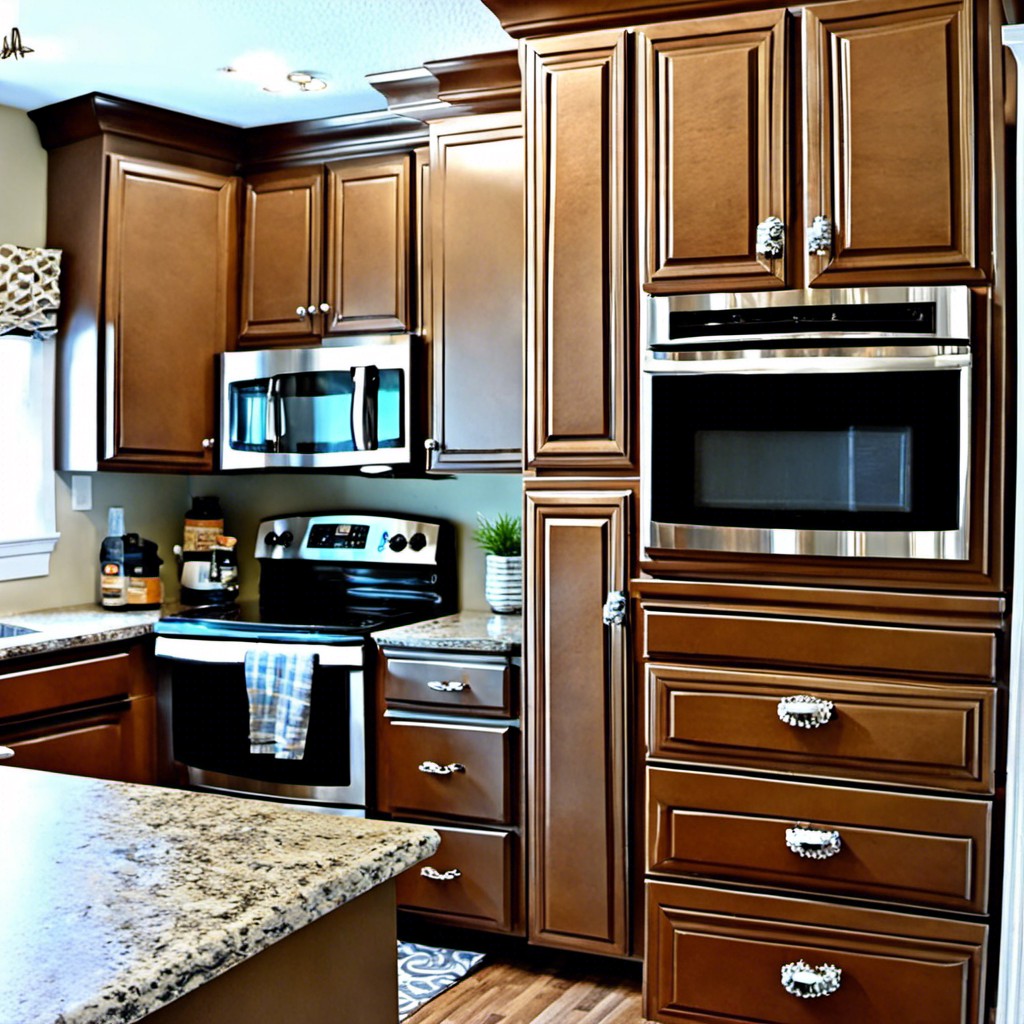
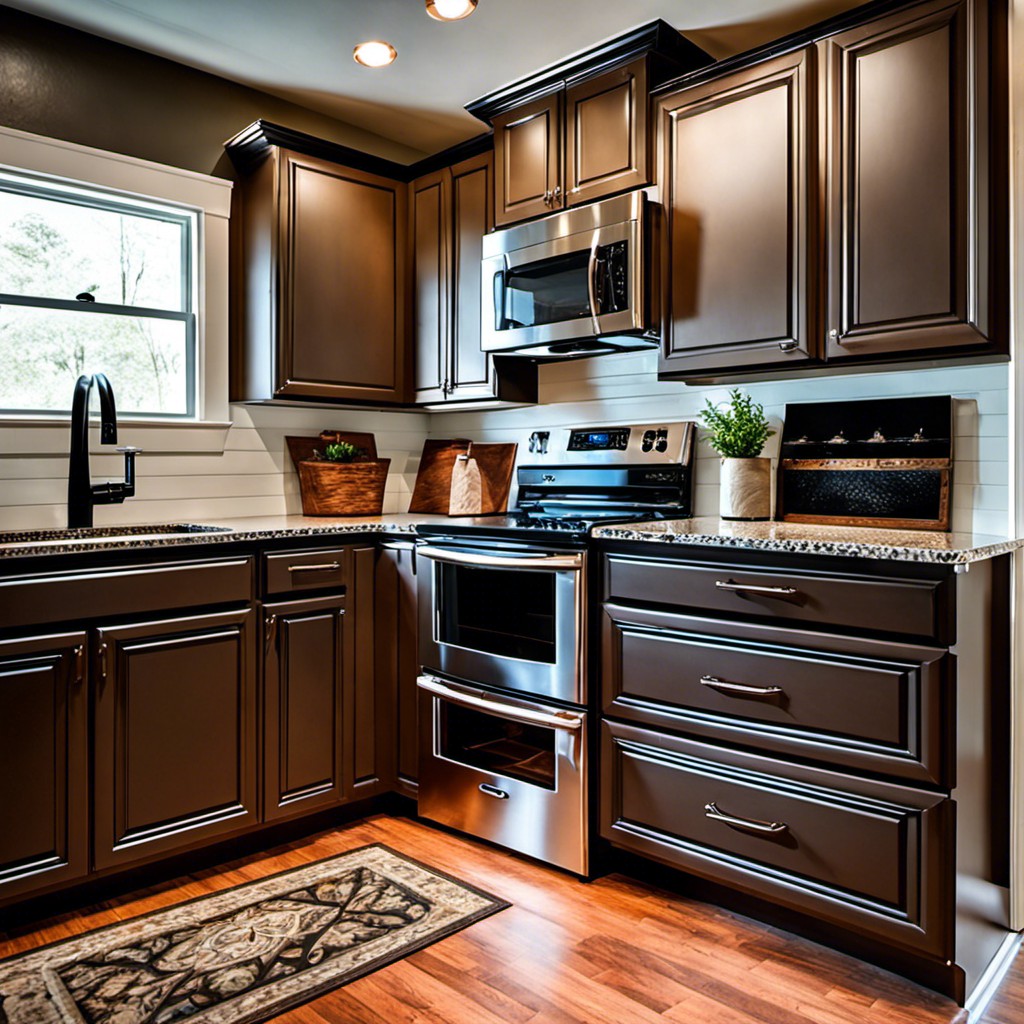
Rust-Oleum Cabinet Transformations for Vintage Kitchen
A charming nod to days past, vintage style kitchens capture a sense of nostalgia and comfort. You can easily attain this inviting vibe using Rust-Oleum Cabinet Transformations. Its Light color kit creates a soft, ageless finish that pairs splendidly with natural materials and antiqued styling. With the correct preparation, it will provide an enduring finish, preserving the early-century charm you aim to achieve.
Here are key points to consider:
- Start by removing the cabinet doors and lightly sanding the wooden surfaces. Remove all dirt and grease to ensure a clean surface.
- Apply the bond coat evenly, following the grain of the wood. Allow to dry.
- The decorative glaze step is where the vintage magic happens. Depending on application, it can darken corners and highlight carved details, adding depth.
- End with the protective topcoat to seal the glaze and safeguard longevity.
- For an added touch of authenticity, consider replacing modern handles with antique ones, further enhancing the vintage aesthetic.
Embracing a Rust-Oleum transformation can give your kitchen a beautifully vintage feel, updating its functionality without sacrificing style.
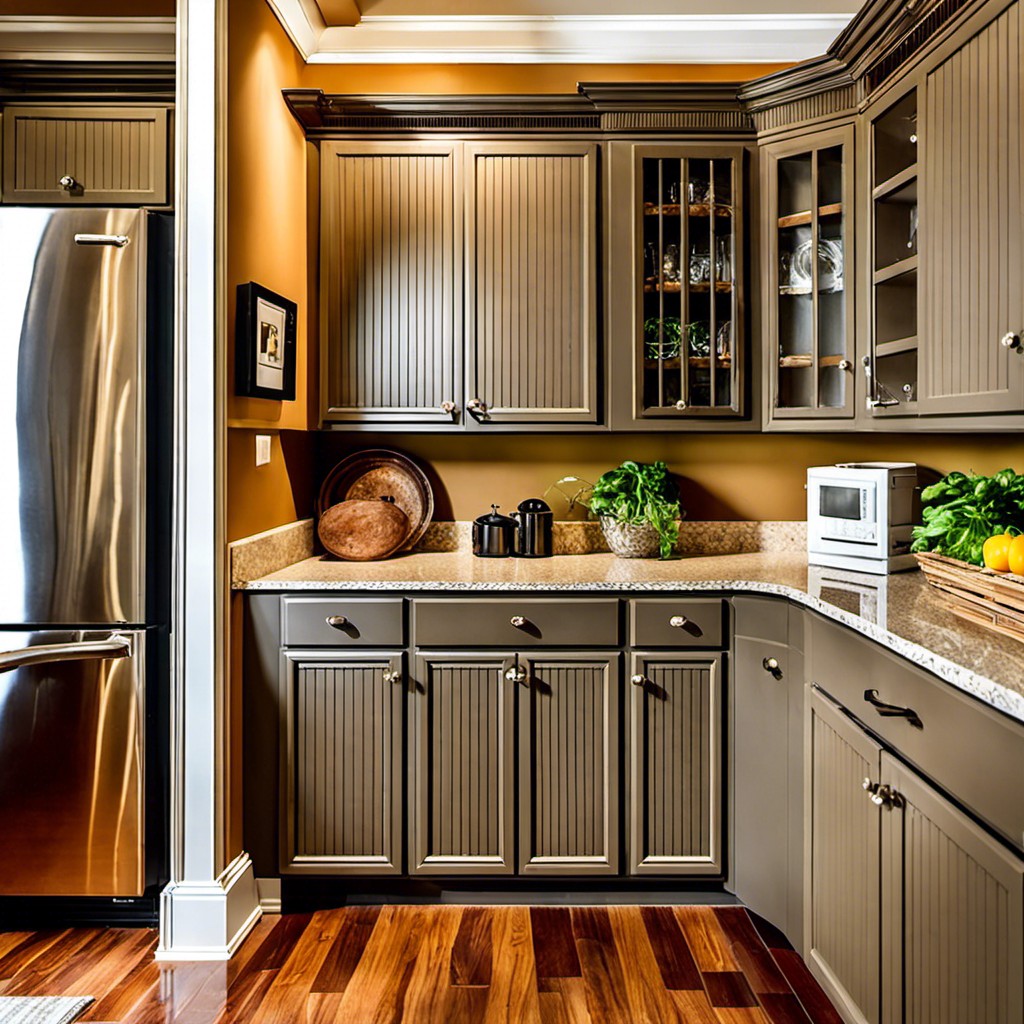
Metallic Rust-Oleum Techniques On Bathroom Cabinets

With Metallic Rust-Oleum, it’s easy to give bathroom cabinets a touch of elegance and luxury. The technique revolves around three main steps: preparation, application, and finishing. Start by cleaning and lightly sanding the cabinet surface to ensure adhesion. Avoid high-grit sandpaper to prevent unwanted scratches.
When it comes to applying the Rust-Oleum, choose a well-lit, well-ventilated area. Use several thin coats rather than one thick layer, letting each coat dry completely before moving to the next. Remember, a light, even stroke gives the best metallic finish.
For the finishing touch, once the final coat of Rust-Oleum has fully dried, sealing the surface with a clear coat can increase the paint’s longevity and maintain the luster of your metallic finish. To create an antiquated look, consider using a darker glaze before applying the clear coat. Especially in bathrooms, where moisture is often present, this step will help protect your work.
Here are some valuable tips for the process:
- Always test spray on a scrap piece to get familiar with the spray pattern and output.
- Shake the can vigorously for at least one minute before beginning to ensure the paint is thoroughly mixed.
- Place masking tape and plastic sheeting around areas that you want to protect from overspray.
- Resist the urge to touch the paint until it’s fully dry to avoid leaving fingerprints or smudges.
By following these simple steps and tips, your bathroom cabinets can become a striking focal point with a high-end metallic finish.
DIY Rust-Oleum Farmhouse Style Kitchen Cabinets
To achieve the farmhouse style using Rust-Oleum, begin with selecting a muted color palette; popular choices include white, off-white, pale green or light gray. The key is subtlety, so steer clear of overly vibrant colors to maintain the rustic charm.
The next step involves surface preparation which is fundamental for a flawless finish. Start by cleaning the cabinets thoroughly, removing dust, grease, or old paint. Sanding gently will ensure optimal adhesion, followed by applying a primer if the surface is dark or stained.
Now comes the application of Rust-Oleum – generally, two light coats are ideal, with a brief drying interval in between. For a distressed look, after the paint dries, use sandpaper lightly on the areas where natural wear would occur, like corners and raised edges.
Lastly, using Rust-Oleum’s protective topcoat is crucial – it provides durability and improves the overall look and feel, adding to the timeless appeal of a farmhouse style kitchen.
Rust-Oleum Chalk Paint for Cabinet Redos
Emphasizing its versatility, Rust-Oleum Chalk Paint is ideal for revamping your cabinets. It sticks to most surfaces without needing a primer. Less preparation time and easy application make it a top pick for many DIY enthusiasts.
1. Preparation: Simply clean the cabinets and let them dry. No sanding or priming is necessary!
2. Selection: Choose from a plethora of colors to match your room’s atmosphere.
3. Application: With a brush or roller, apply the paint in light, even strokes. Typically, two coats are recommended for an even finish.
4. Sealing: Once dry, protect your masterpiece with a layer of clear sealing wax. This provides durability and protects the paint from chipping.
5. Maintenance: With the wax layer, your cabinets can be easily cleaned using a gentle soap solution.
Rust-Oleum Chalk Paint can truly breathe new life into your old cabinets while adding a charming, vintage touch.
Don’t forget: always follow the manufacturer’s instructions for best results. Practice on a piece of scrap wood before diving into your project to make sure you’ve chosen the right color and technique. Happy painting!
Glossy Finish With Rust-Oleum Cabinet Kit
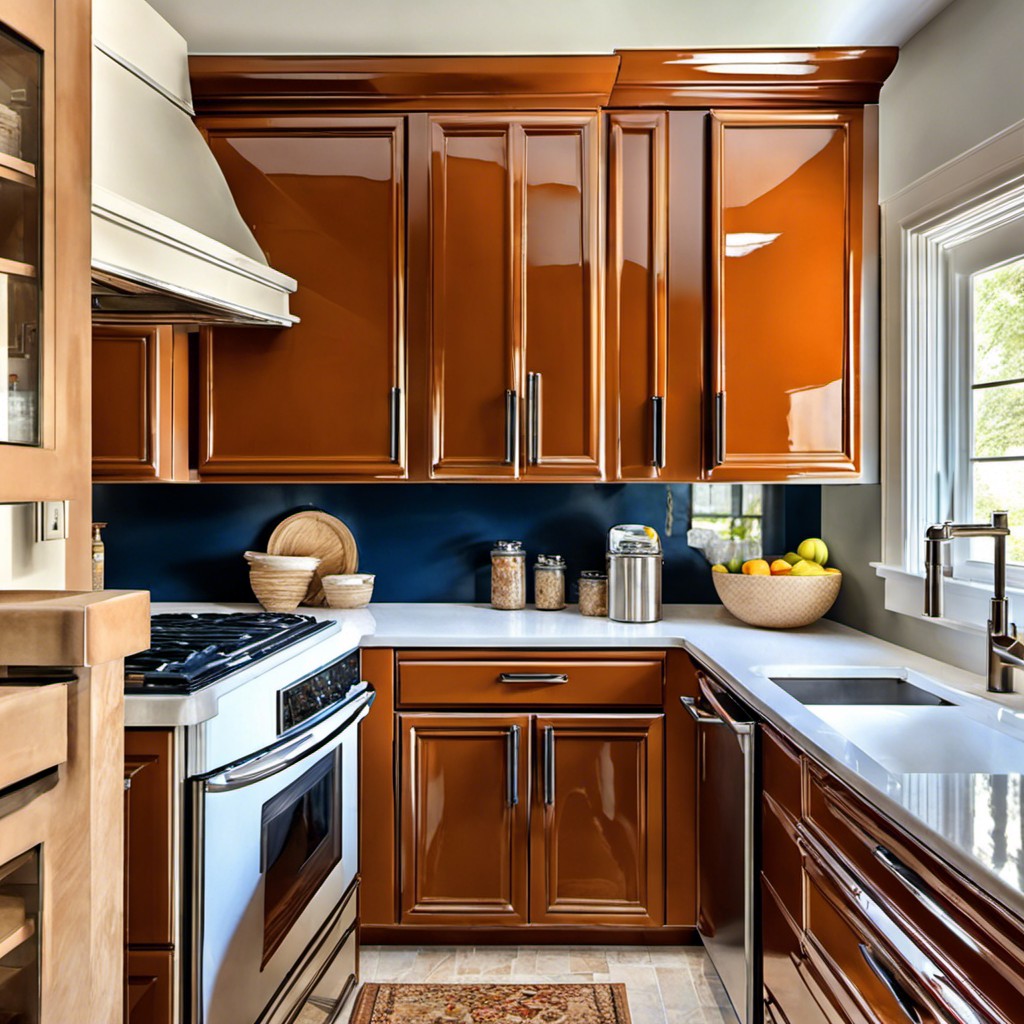
Using the Rust-Oleum Cabinet Kit for creating a glossy finish is an exquisite way to revamp your space.
The process is quite simple:
- First, ensure your cabinets are clean and devoid of any dust or grease.
- This kit includes both the paint and the glossy topcoat.
- The paint can be applied using a brush or roller, depending on your preference.
- Once the paint is dry, it’s time for the topcoat.
- The topcoat is what provides the high-gloss finish.
- Apply it evenly to avoid streaks or drips.
- Allow to dry completely; this could take up to 24 hours so patience is key.
The result will be beautifully glossy cabinets that feel brand new.
This kit is a popular choice for those seeking a sleek, modern aesthetic.
Revitalizing Old Cabinets With Rust-Oleum Spray Paint
Give old cabinets a fresh, new lease on life with Rust-Oleum Spray Paint. Start by thoroughly cleaning the cabinets, removing any grime or grease. Sand the surface lightly to create a smooth canvas for the paint. Apply a high-quality primer before painting to ensure a flawless finish.
Choose the right Rust-Oleum color, one that complements your interiors. Rust-Oleum Spray Paint comes in an array of gloss, matte, or metallic finishes, providing a wide range of aesthetic options.
When spray painting, maintain a steady hand and use even strokes for a uniform coat. Let each coat dry completely before applying the next one. In most cases, two coats of Rust-Oleum are enough for a complete transformation.
Finally, finish off with Rust-Oleum clear varnish to guard against chipping and to enhance durability. This route is an economical, yet stylish way to refinish your cabinets. Transform those old faded cabinets into a spectacular centerpiece of your kitchen or bathroom.
Transforming Garage Cabinets Using Rust-Oleum
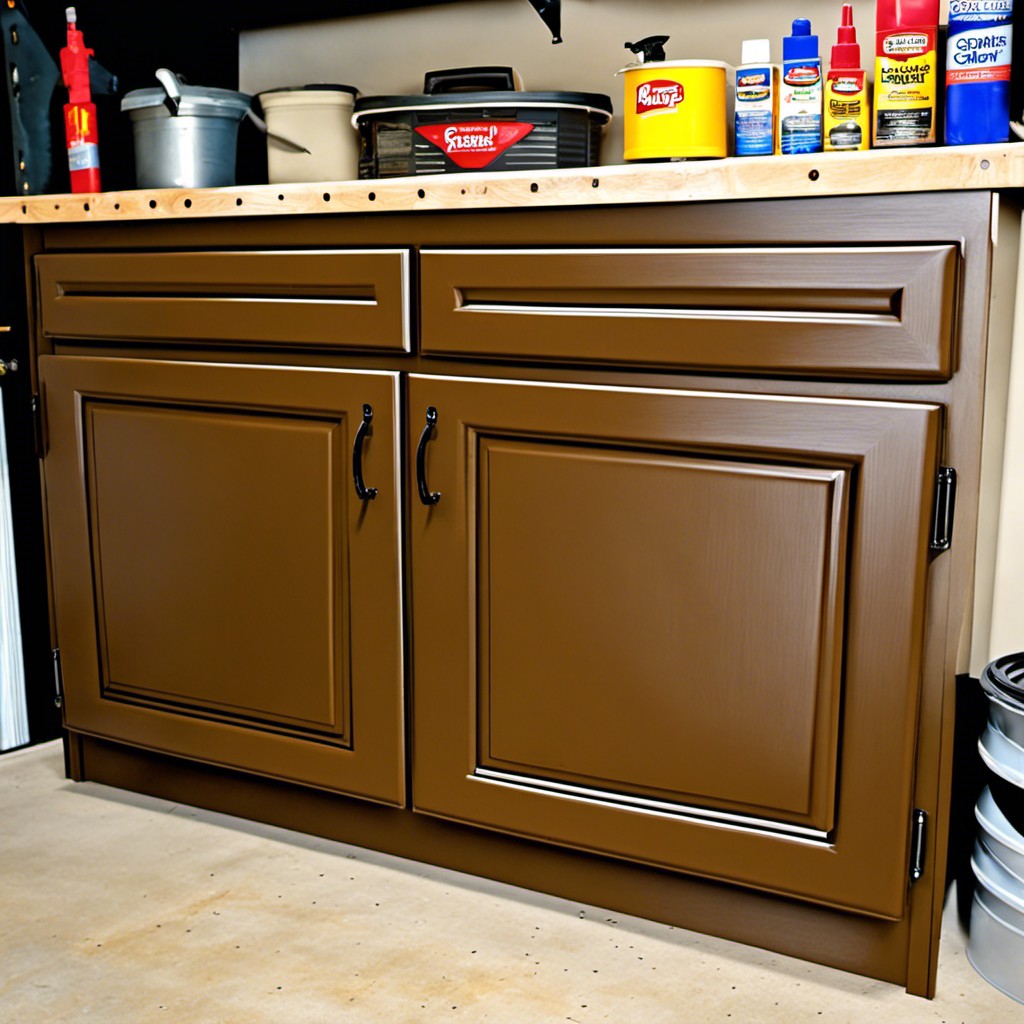
For an instant, economical, and substantial impact, consider using Rust-Oleum on your garage cabinets.
1. Choose Your Finish: Rust-Oleum offers a diverse spectrum of finishes – from glossy to matte – catering to your preference.
2. Preparation: Clean cabinets to remove oil or grime. Roughen the surface with grit sandpaper for better paint adherence.
3. Application: When applying the paint, smooth even strokes are the key. Prevent drips by avoiding overspray.
4. Drying Time: Allow ample time for drying, typically a few hours, before applying additional coats or handling the newly painted cabinets.
5. Protective Coat: For garages particularly, a protective clear coat is advantageous. This final layer defends against the wear and tear often associated with garage storage.
Incorporating these steps ensures your garage cabinets attain a professional, durable finish with the leveraging power of Rust-Oleum spray paint.
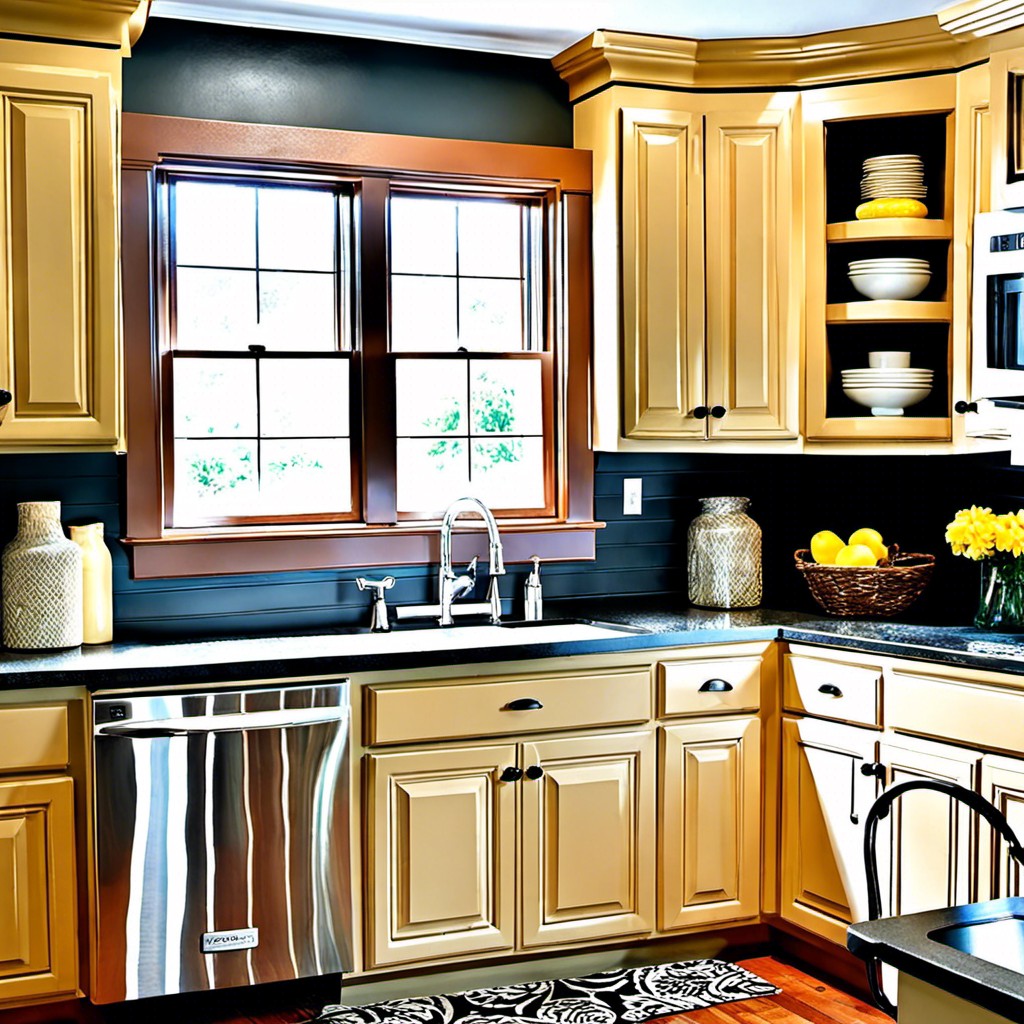
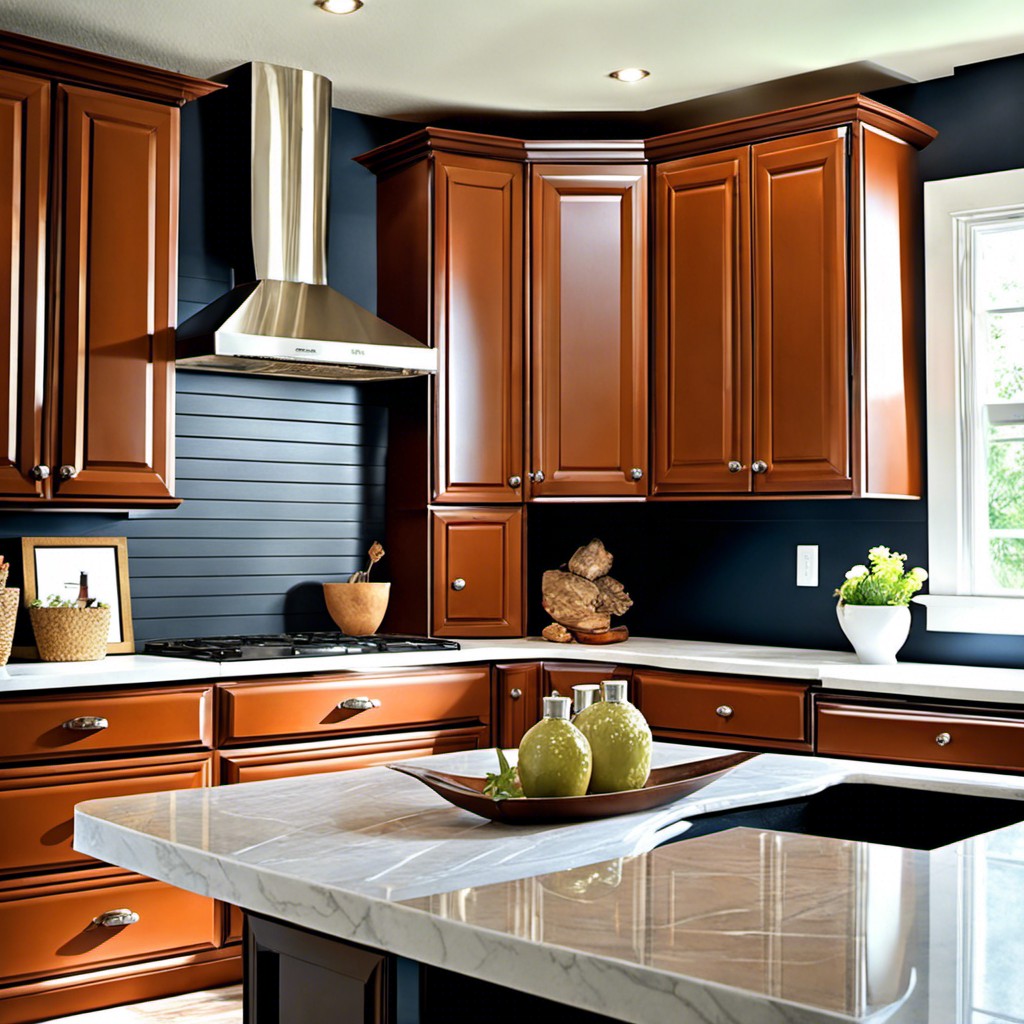
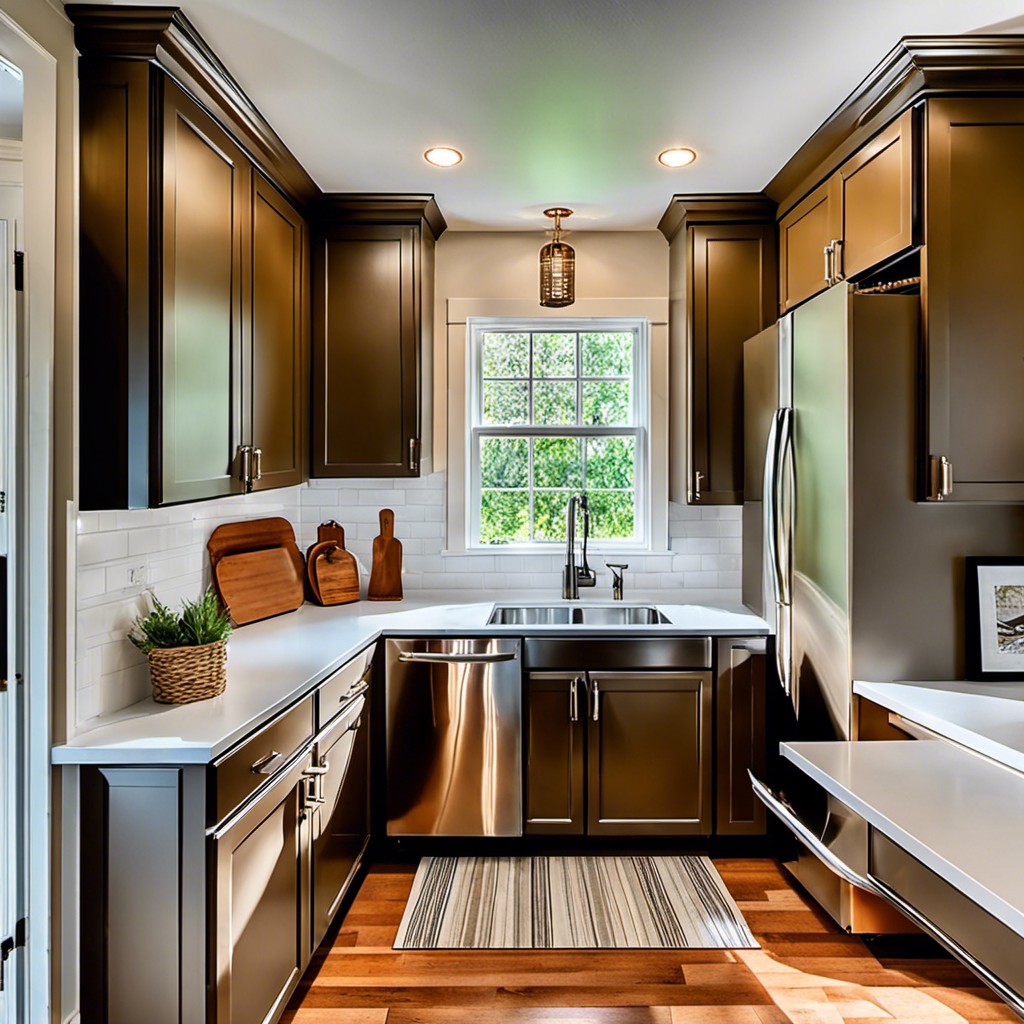
Color Trends With Rust-Oleum for Kitchen Cabinets
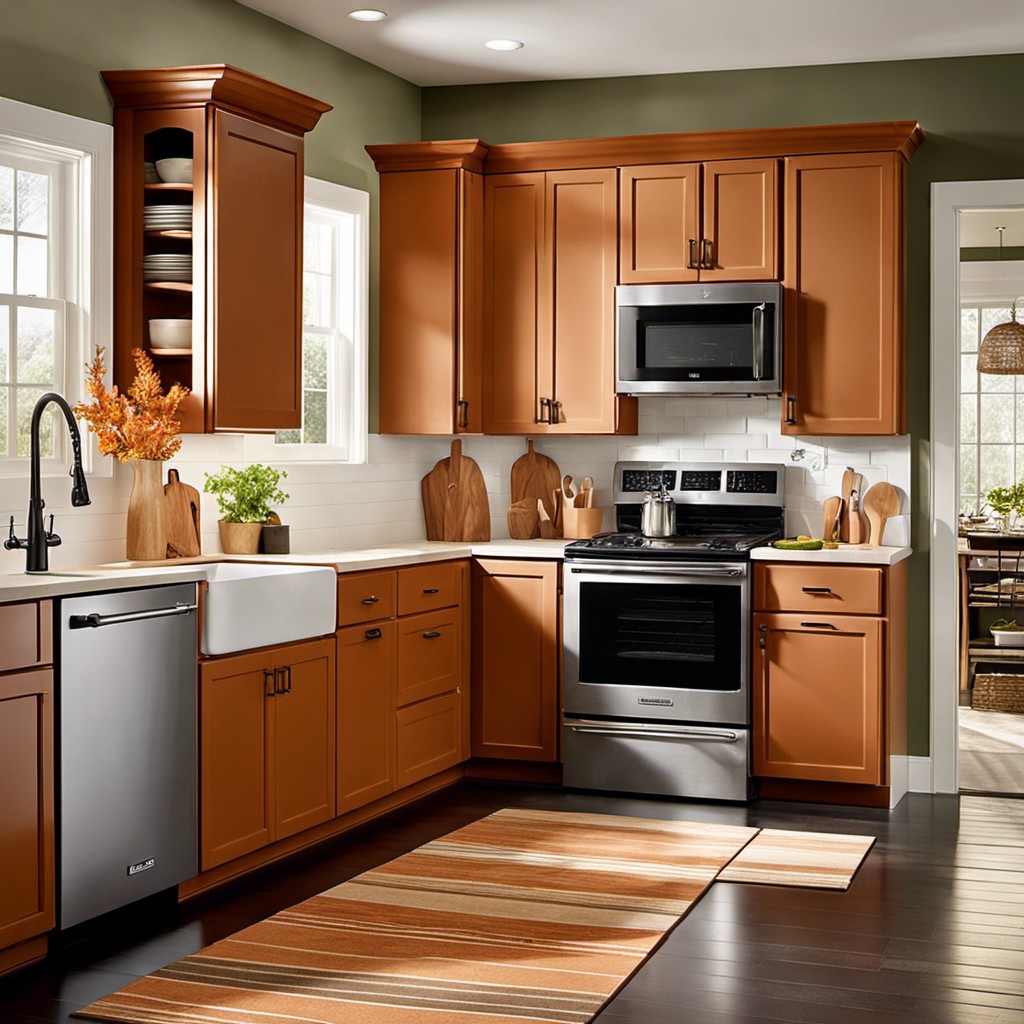
In the domain of kitchen renovations, color trends keep revamping. However, some shades remain evergreen, owing to Rust-Oleum’s versatile palette.
1. Light Tones: Light tones such as ivory and alabaster add a contemporary touch. These shades are ideal for smaller kitchens as they reflect light and give a spacious feel.
2. Monochromatic Hues: Monochromatic shades like black, dark gray or navy blue lean towards the modern minimalist trend. They are perfect for adding a classy and sophisticated ambiance.
3. Pastel Colors: Mint green, powder pink, and soft yellow are beautiful pastel shades making a significant impact. They add a calm, fresh, and vibrant vibe to the space.
4. Bold Brights: For those unafraid to experiment, try vibrant hues like red, orange, or emerald green. These bold colors can act as a fantastic focal point in your kitchen.
5. Warm Neutrals: Warm neutrals, including shades of taupe and beige, maintain a timeless appeal. They pair well with almost any decor, providing a rich and inviting look.
Remember to take into account the size of the kitchen, the amount of light ingress, and the overall decor style when selecting your colors. Also, trial swatches are a great way to see how the color changes in various lighting conditions throughout the day.
Rust-Oleum Satin Finish Spray for Cabinets
When you’re aiming for a classy, subtly glossy look for your cabinets, Satin Finish Spray from Rust-Oleum is your go-to product. Unlike the high-gloss variants, it won’t leave your cabinets looking overly polished, but rather it gives them a rich, sophisticated sheen.
1. Preparation is Key: Prior to applying the spray paint, ensure the cabinets are thoroughly cleaned and stripped of old paint. This provides an even canvas for the Satin Finish Spray.
2. Even Application: Be sure to apply the spray in even strokes to avoid any blotchy or patchy appearances. It might take several thin coats to achieve the desired look.
3. Drying Time: Leave ample time for the paint to dry, typically 24 hours. This ensures a solid, durable finish.
4. Ventilation: Beyond aesthetics, also consider your safety. Always spray in a ventilated area to avoid inhaling paint fumes.
Remember, the whole purpose of using Satin Finish Spray is to achieve an understated elegance. With these tips in mind, you’ll be ready to transform your cabinets into beautiful features of your home.
Step By Step Guide to Cabinet Painting With Rust-Oleum
In order to start your transformation, first ensure that your cabinets are clean of any dirt or oil stains. This can be achieved with a simple soap and water mix. Once your cabinets are clean, it’s important to remove all hardware such as knobs and handles. This prevents the paint from sticking to these elements, promoting a more professional end result.
Following preparation, your cabinets are now ready for a coat of Rust-Oleum. For even application, shake your spray can well before starting. Begin by applying from the top of the cabinet, moving horizontally from left to right. Maintain a consistent distance from the surface to eliminate drips and ensure uniform coverage.
Let the first coat dry for a minimum of 20 minutes before applying the next layer. Repeat the process, ensuring each coat is dry before beginning the next one. For optimum results, aim for at least three layers of paint.
Remember, Rust-Oleum dries to the touch in 20 minutes, but to fully cure, you’ll need to wait up to 24 hours. It’s important to allow this drying time to ensure the longevity and durability of your paint job.
Once your paint is fully dry, reinstall your hardware. And voila, you’ve successfully updated your cabinets with this tried and tested DIY method.
While painting with Rust-Oleum, strive for patience and consistency. It might be tempting to rush through the process, but good things take time – plus, your newly transformed cabinets will be worth it!
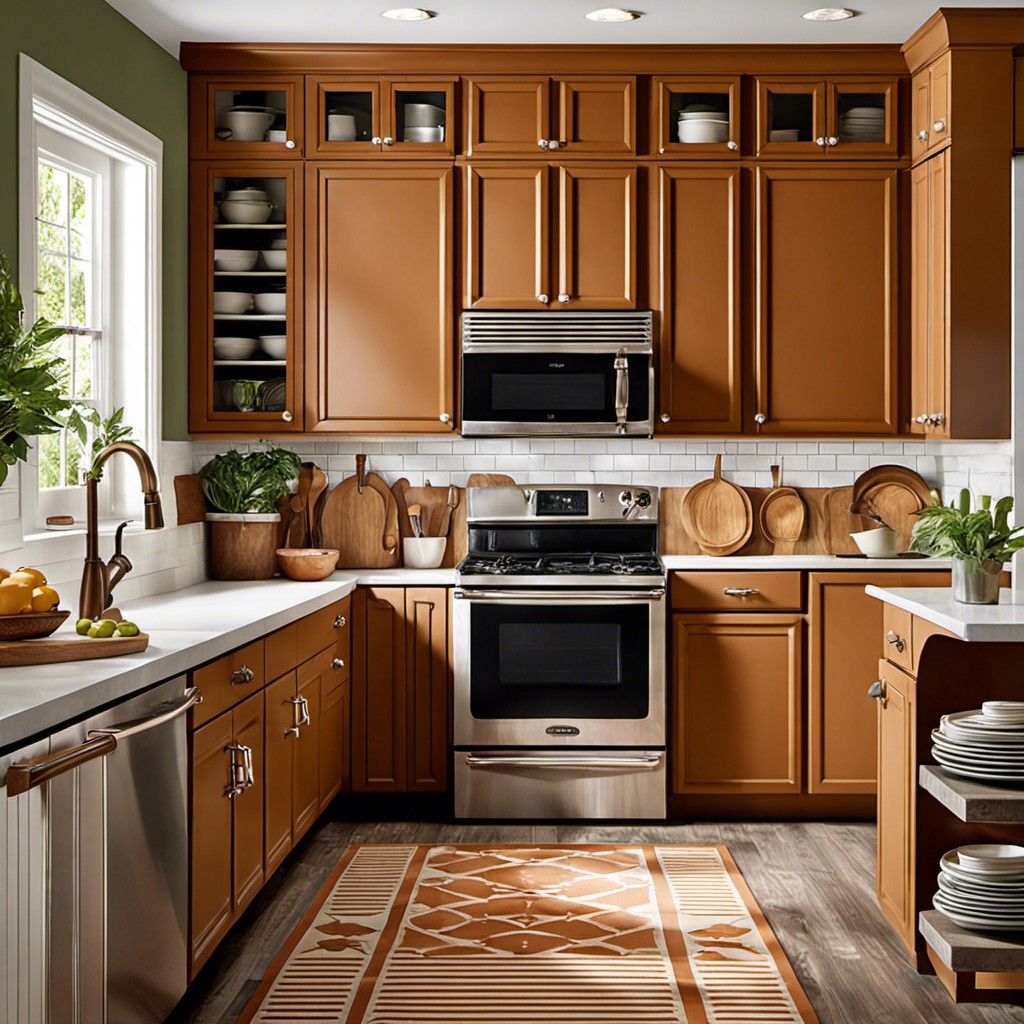
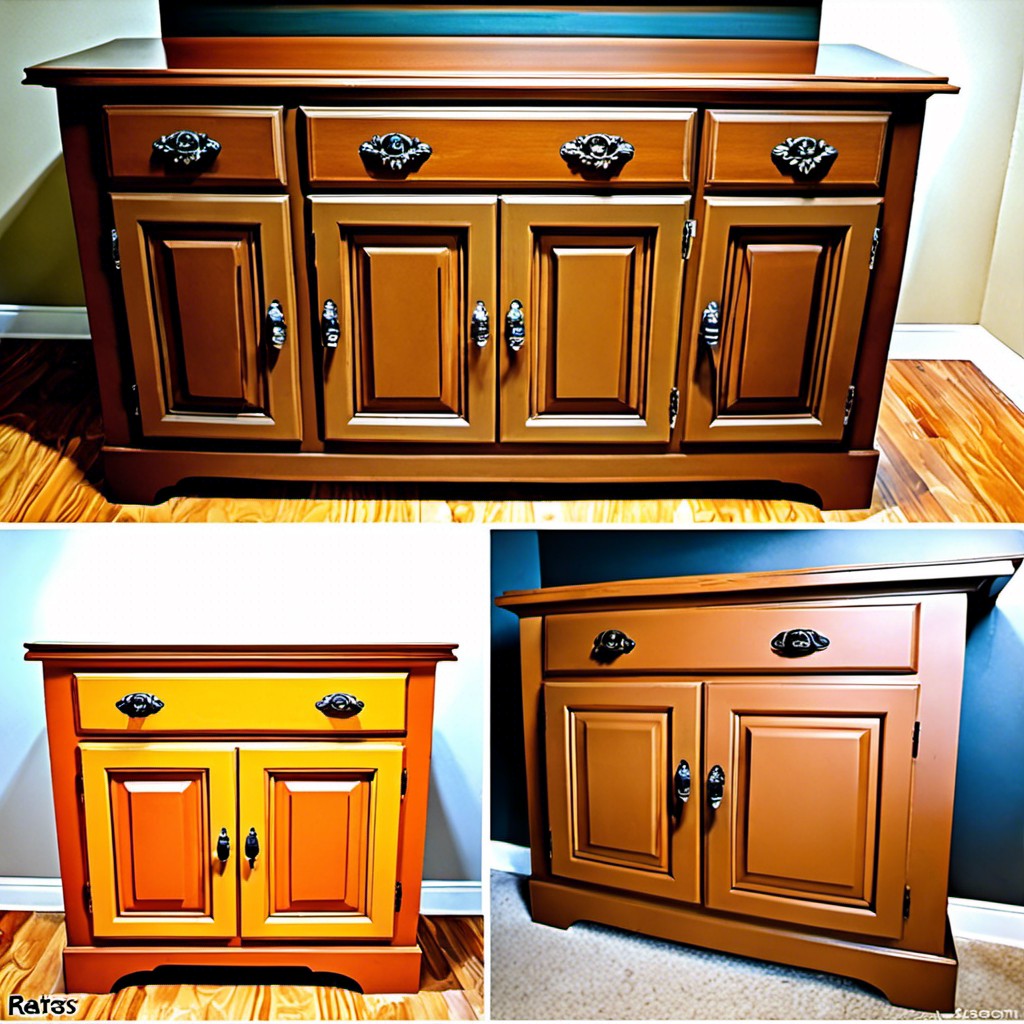
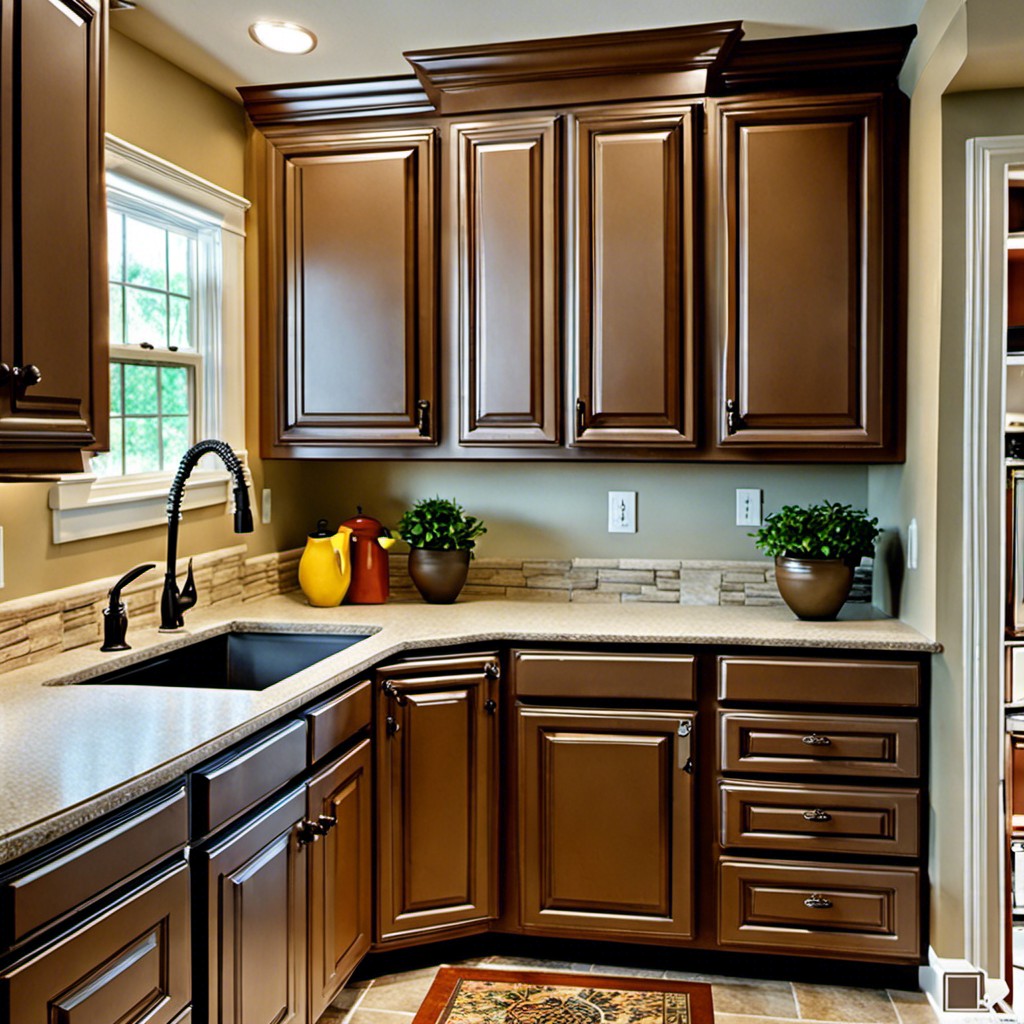
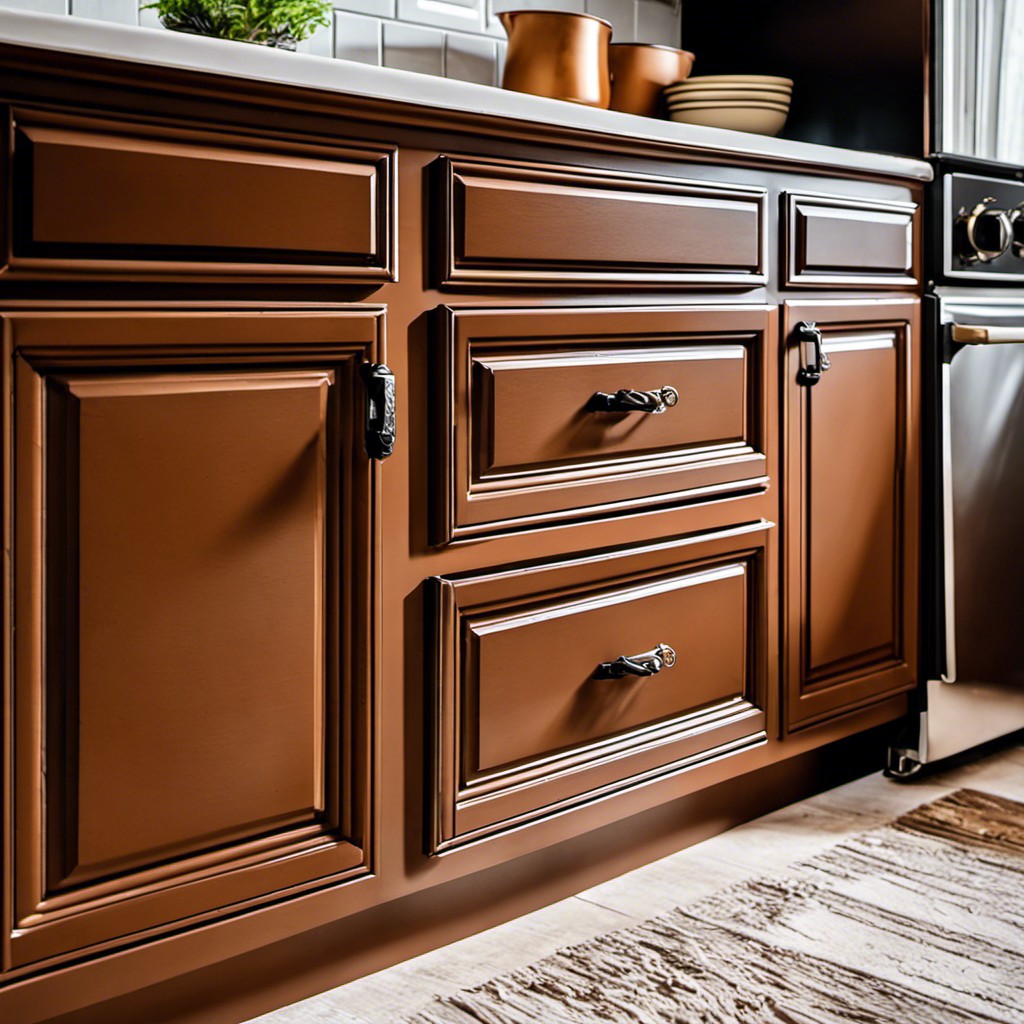
How to Give Your Cabinets a Rustic Look With Rust-Oleum
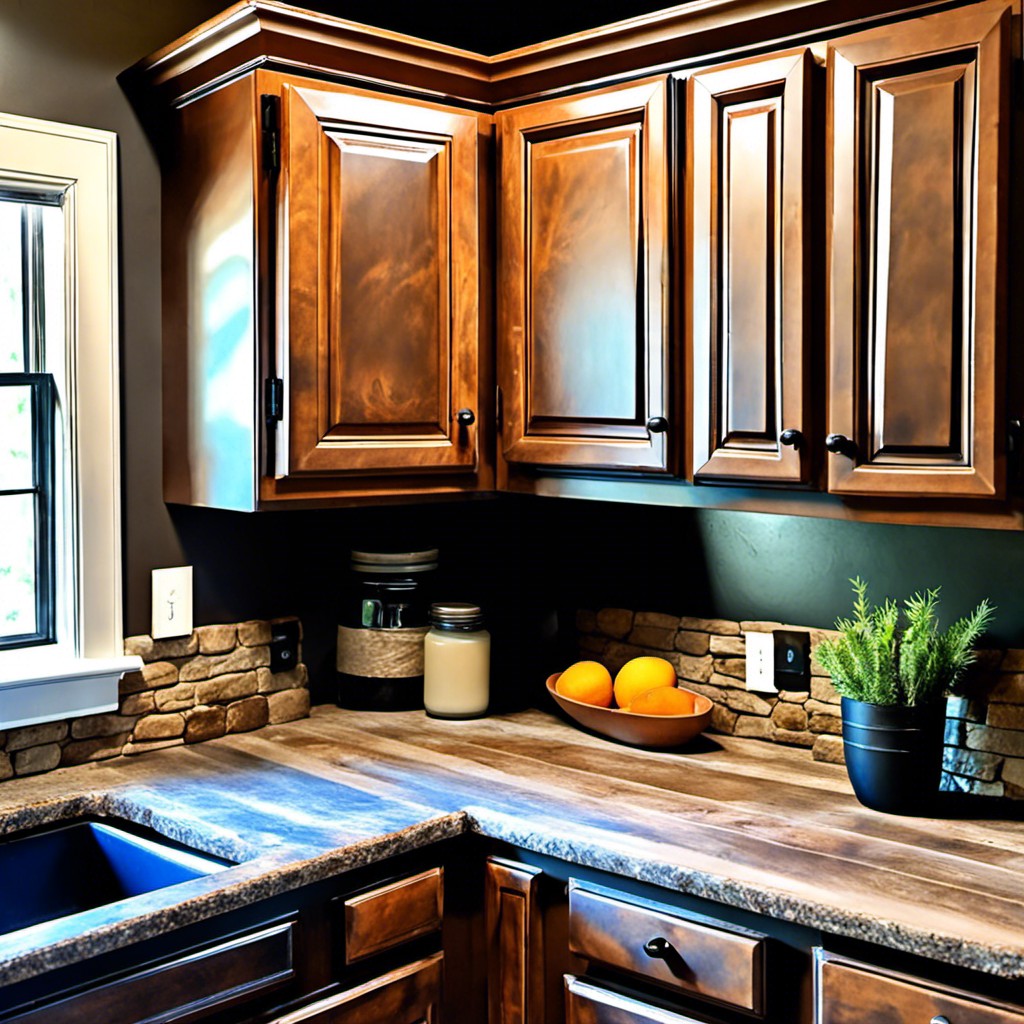
To begin, you’ll need the right color palette. Dark earth tones are excellent for achieving the rustic look. Consider warm hues such as Rust-Oleum’s Claret Wine or Canyon Black to add depth and richness to your cabinets.
Preparation is key. Start by thoroughly cleaning the cabinets and sanding down any rough spots. This will ensure that the paint sticks to the surface properly. To add a hint of vintage charm, lightly distress the cabinets by sanding around the edges.
When applying the Rust-Oleum paint, use a spray format for a smooth, even finish. Unlike brush strokes, spraying creates a more natural look, enhancing the rustic vibe.
Remember, perfection is not the goal here. Let small drips and slight unevenness in the paint layer become part of the overall rustic character.
Finally, consider a distressed top coat. This adds a patina that suggests age and wear, perfect for the rustic aesthetic. Rust-Oleum’s own Decorative Glaze in Java Brown is ideal for this step—simply brush it on and then wipe away the excess.
Quick Makeover: Spray Paint Cabinets With Rust-Oleum
Follow these simple steps for a hassle-free experience.
- Choose a well-ventilated area to work, dust-free if possible.
- Remove the cabinet door. If there are any knobs or pulls, remove those as well.
- Using a degreasing cleaner ensures a clean surface for better paint adherence.
- Protect hardware or any other areas not to be painted with painter’s tape.
- Before spray painting, shake the Rust-Oleum can vigorously for the best possible consistency.
- From about 12 inches away, spray an even, light coat on the surface, sweeping in a side-to-side motion.
- Allow each coat to dry for 20 to 30 minutes before applying another.
- Two to three light coats will yield the best finish.
- Ensure to let the final coat dry fully before reassembling the cabinet.
Remember, patience between coats can make or break your final result. Happy painting!
Rust-Oleum Vs Traditional Paint: What to Choose for Cabinets
When thinking about updating your cabinets, deciding between Rust-Oleum and traditional paint can be challenging. Consider three key aspects:
1. Application: Rust-Oleum often requires fewer coats, plus primer is included, eliminating an extra step. Traditional paint, however, might necessitate additional preparation including a separate primer and multiple layers for full coverage.
2. Finish: Rust-Oleum offers a variety of finishes from glossy to satin. Traditional paint also presents several options, but its sheen might evolve over time.
3. Durability: Rust-Oleum is designed to be hard-wearing, resisting both chipping and stains, making it excellent for high-traffic areas such as kitchens. Traditional paint can also be long-lasting, but often needs added sealants for similar longevity.
Every project is unique, so while Rust-Oleum might be preferred for its all-in-one application and toughness, traditional paint shouldn’t be overlooked, especially if you enjoy more hands-on time working on your project.
Pro Tips for Using Rust-Oleum On Wooden Cabinets
Advancing your wooden cabinet makeover, here are important pointers to take note:
1. Preparation is Key: Start by removing the hardware and cleaning your wooden cabinets thoroughly. Any grease or grime can prevent the Rust-Oleum spray from adhering properly.
2. Sanding: After cleaning, lightly sand your cabinets. This gives the wood a textured surface for the paint to grip.
3. Primer is Essential: Invest in a good primer. Applying a primer layer before the Rust-Oleum ensures optimal color vibrancy and durability.
4. Proper Technique: Hold the spray can about 10-12 inches away from the surface and apply the Rust-Oleum in a steady back-and-forth motion.
5. Multiple Thin Layers: It might be tempting to coat the cabinets heavily in one go. However, thin, evenly distributed layers prevent drips and ensure a smoother finish.
6. Don’t Rush: Patience is crucial. Leave adequate drying time between layers to prevent the paint from peeling or chipping later.
7. Safety Measures: Last but not least, always spray in a well-ventilated area and remember to wear a mask for safety.
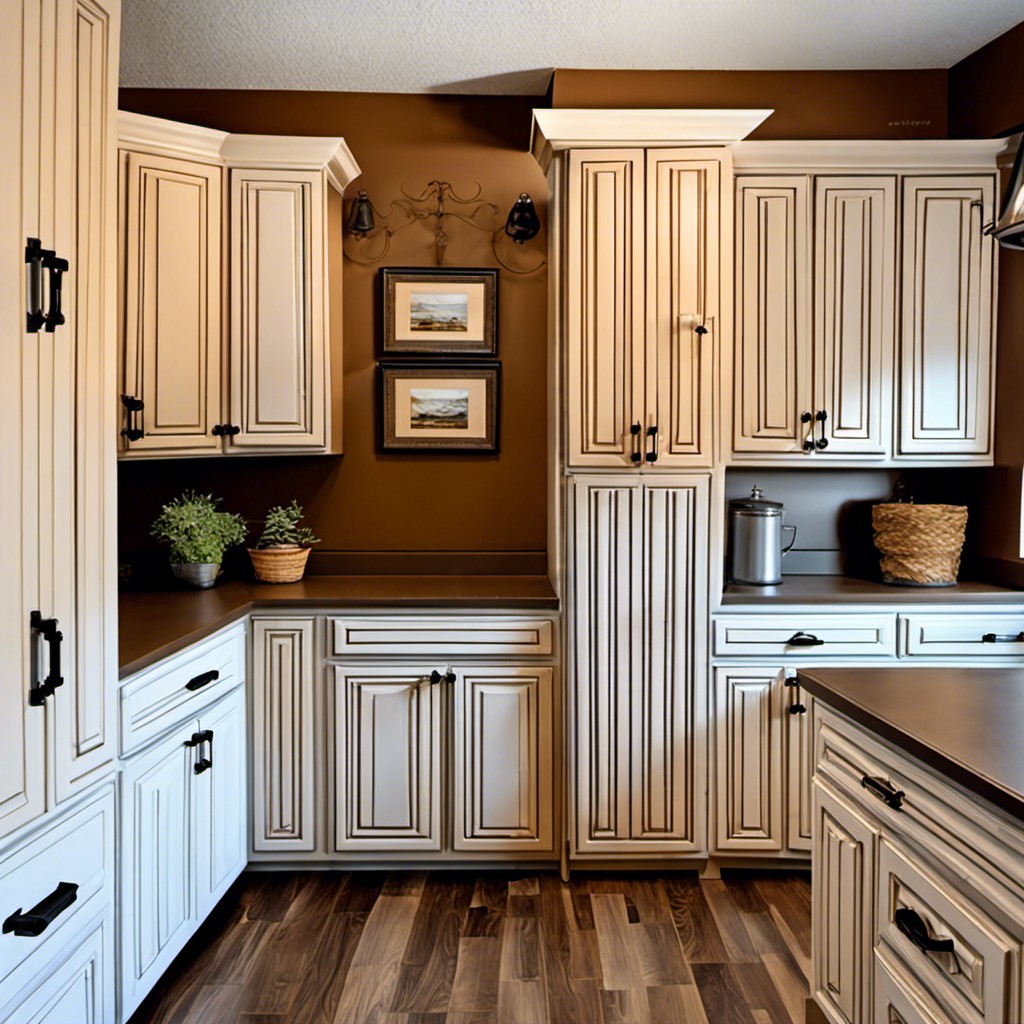
Rust-Oleum Cabinet Refinishing: Before and After
This straightforward process yields major transformation. The initial state of your cabinets will vary. Some may be worn out from years of use, faded by sunlight, or simply drab from an outdated color scheme. Don’t fret. Apply a de-glosser to clean and prepare the cabinets for painting. A fine layer of bonding coat will follow. A vast array of colors is available; from bright whites to muted greys or rich blacks. Be patient, let it dry completely before continuing.
Next, apply the decorative glaze. This step is optional, but if executed properly, it adds depth and highlights the intricate details of your cabinets. Again, ensure it’s dry before proceeding. Finally, the protective top coat seals the deal. It leaves your cabinets with a beautiful, durable finish that will stand up to daily wear.
The result is like day and night. Your worn, tired cabinets become vibrant and new. They can transform the whole room, leaving it looking polished and fresh. The satisfaction of this DIY project goes beyond the visual. It’s the pride in craftsmanship that can’t be bought in a store. Enjoy the process, enjoy the transformation!
Creative Techniques for Spraying Cabinets With Rust-Oleum
Effortlessly transform your cabinets into masterpieces employing a myriad of creative techniques:
1. Stenciling: Apply basic spray techniques to achieve a variety of aesthetic patterns. Attach your chosen stencil design over the cabinet surface, then evenly apply Rust-Oleum paint. Make certain to remove the stencil before the paint dries thoroughly.
2. Layering: This technique involves applying two different hues to bring depth and interest to your cabinets. Start with a base color, let it dry, then lightly spray a second contrasting or complementary color.
3. Distressed Look: Create a charming, timeworn appearance by strategically applying Rust-Oleum to areas of the cabinet that would naturally wear over time. Follow up with a light hand-sanding to expose the under color and wood grain, enhancing the overall distressed effect.
4. Strie Technique: Strie, which means ‘streak’ in French, involves spraying a light layer of Rust-Oleum over an existing paint color and then pulling a stiff bristle brush through the wet painted surface creating streaks that mimic natural wood grain.
Every technique has its unique effect, but remember, the key to success with any spray paint project is to ensure a clean, primed surface and to apply thin, even coats of paint, gradually building up to the desired look.
Maximizing Durability of Cabinets Using Rust-Oleum Paint
While Rust-Oleum is known for its lasting finish on cabinets, certain techniques can significantly improve durability.
First, always prepare your cabinets thoroughly. Clean the surface from dust and grease, then lightly sand the surfaces. This will allow the paint to adhere firmly, reducing the chances of peeling or chipping.
Secondly, as tempting as it may be to apply one thick coat for coverage, opt for multiple light coats instead. This allows the paint to dry fully between applications, establishing a stronger bond with the cabinet surface.
Lastly, consider sealing the paint with a durable top coat. Rust-Oleum offers protective top coats designed to shield the paint from scratches and stains, further enhancing the durability.
Remember, patience is key. Allow adequate dry time between each step to achieve a resilient, long-lasting cabinet finish.
Budget Cabinet Makeover With Rust-Oleum Spray Paint
Taking on a home improvement project can often be a drain on your purse. However, a cabinet makeover need not break the bank.
1. Select the Right Spray Paint: Rust-Oleum spray paints are an affordable option. The brand offers a variety of finishes and colors to suit your style and the existing décor.
2. Preparation is Key: Save on labor cost by doing the prep work yourself. Remove all hardware and clean the cabinet surfaces thoroughly. Lightly sanding the cabinets will ensure the paint adheres better and lasts longer.
3. Spray Painting: In comparison to traditional paint brushes and rollers, spray paint gives a smoother, more professional finish. For a budget makeover project, Rust-Oleum spray paint offers not just cost efficiency but also ease of application.
4. Seal with Top Coat: Ensure the durability and longevity of your newly painted cabinets by using a Rust-Oleum top coat or sealer. This small investment can prevent future chipping and protect against general wear and tear.
Remember, when it comes to a budget-friendly makeover, it’s about thoughtful and smart investments. It’s amazing what a can or two of Rust-Oleum spray paint can do to refresh and revitalize your cabinets.
Paint Your Laminate Cabinets With Rust-Oleum
When tackling laminate cabinets, thorough preparation is integral to ensure that Rust-Oleum paint will adhere properly.
1. Cleaning: Begin with a thorough clean of the surfaces to remove grease or grime using a degreaser or warm soapy water.
2. Sanding: Follow this with light sanding to create a rough surface for the paint to grip on to. An 80-grit sandpaper does the job flawlessly.
3. Priming: A good quality primer that is designed for glossy surfaces can further boost paint adhesion. Rust-Oleum’s bonding primer is a great pick.
4. Painting: Now you’re set to paint. Follow the instructions on the Rust-Oleum’s can. It’s usually better to go for at least two light coats rather than one heavy one.
5. Drying: Allow ample time for the paint to dry before reattaching any hardware. Patience here rewards you with a finished product that is more durable and pleasing to the eye.
Remember, working with laminate may seem challenging, but with the correct techniques, your cabinets will get a new lease on life.
Eco Friendly Cabinet Renovation With Rust-Oleum Spray Paint
Rust-Oleum offers a range of paint options featuring eco-friendly, low volatile organic compounds (VOC) products. These products are a perfect choice for those looking to reduce harmful environmental impacts.
Choosing their Cabinet Enamel Spray Paint provides a factory-like, hard satin finish that’s both durable and resistant to daily wear and tear. It’s designed for easy application, and more importantly, it is formulated using water-based acrylic technology instead of harsh chemical compounds, making it less destructive to the environment.
To apply, start with a clean, dry cabinet surface. Lightly sand the surface if it’s previously painted. Don’t forget to protect the surrounding area from over-spray with a cloth or plastic sheet. Always spray in a well-ventilated area and maintain a consistent distance for the perfect finish.
Involving in eco-friendly home renovations not only helps preserve the environment but also provides healthier living conditions by reducing exposure to airborne toxins. Although attention to detail can make the process little longer, the end result, an environmentally friendly and beautifully renovated cabinet is worth the effort.
Ideas Elsewhere
- Cabinet Refresh with Spray Paint
- Rust-Oleum | How-To Project Inspiration Gallery
- Cabinet Paint | Rust-Oleum Transformations
Read More
 How to Choose Kitchen Cabinets: Your Ultimate Buying Guide
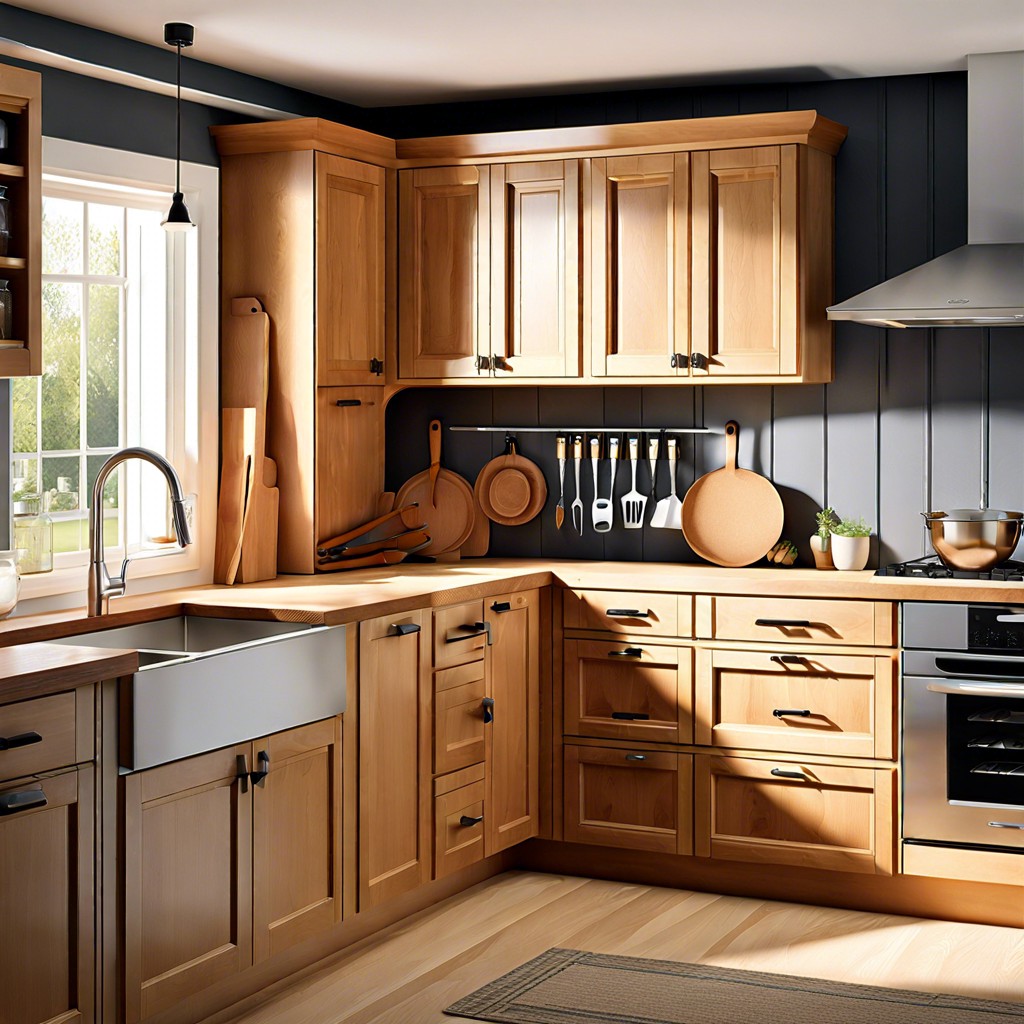 Staining Cabinets: A Step-by-Step Guide to a Fresh Look
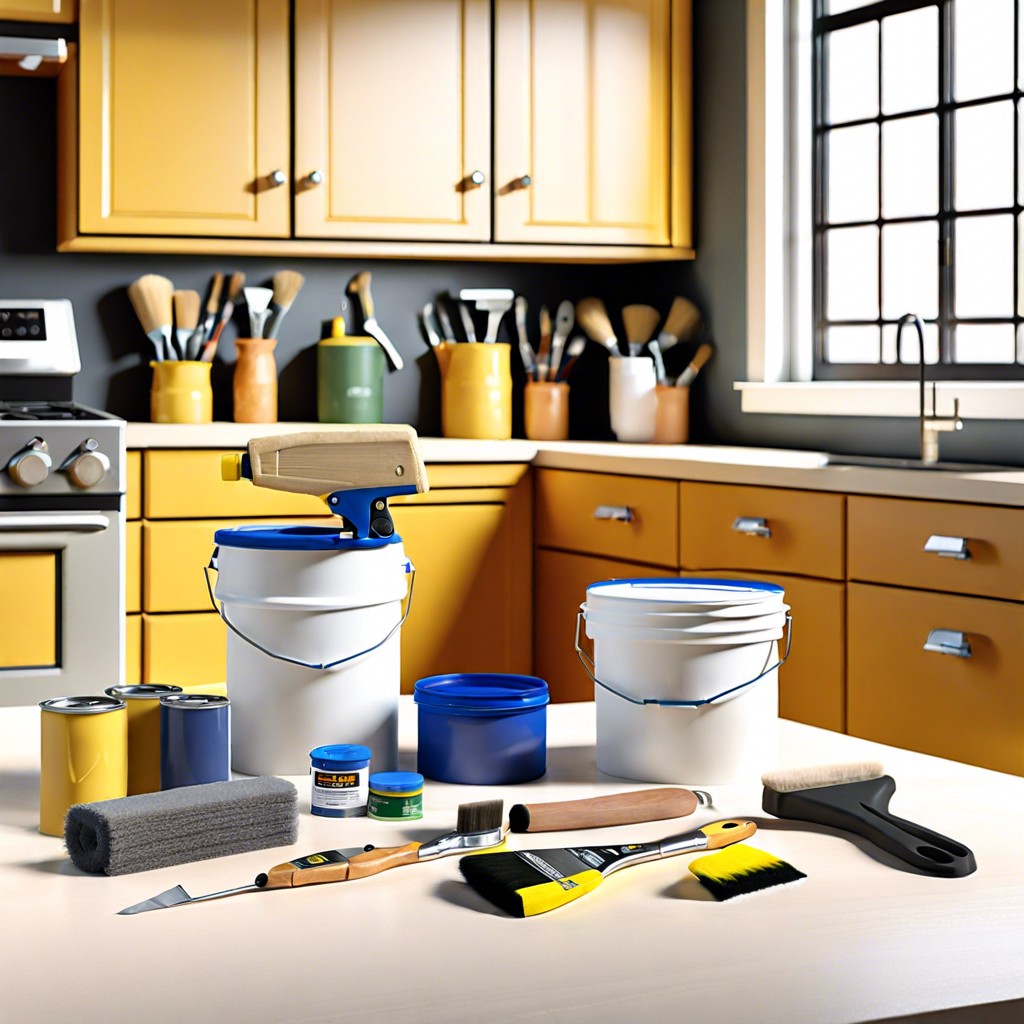 How Long Does It Take to Paint Kitchen Cabinets: A Time-Saving Guide
 Cost to Refinish Cabinets: A Cheaper Revival
 How to Install Upper Cabinets: Tips for a Perfect Kitchen Makeover