Last updated on
Replacing your kitchen sink doesn’t have to be a daunting task; this guide will show you step-by-step how to do it efficiently and effectively.
Key takeaways:
- Replace rusty old pipe with modern plastic pipes
- Measure tailpiece length carefully before installation
- Use caulk instead of putty for a flexible and waterproof seal
- Ensure the faucet matches the sink’s openings and spacing
- Test shutoff valves for any leaks before starting the replacement
What's Inside
Replace Rusty Old Pipe With Plastic
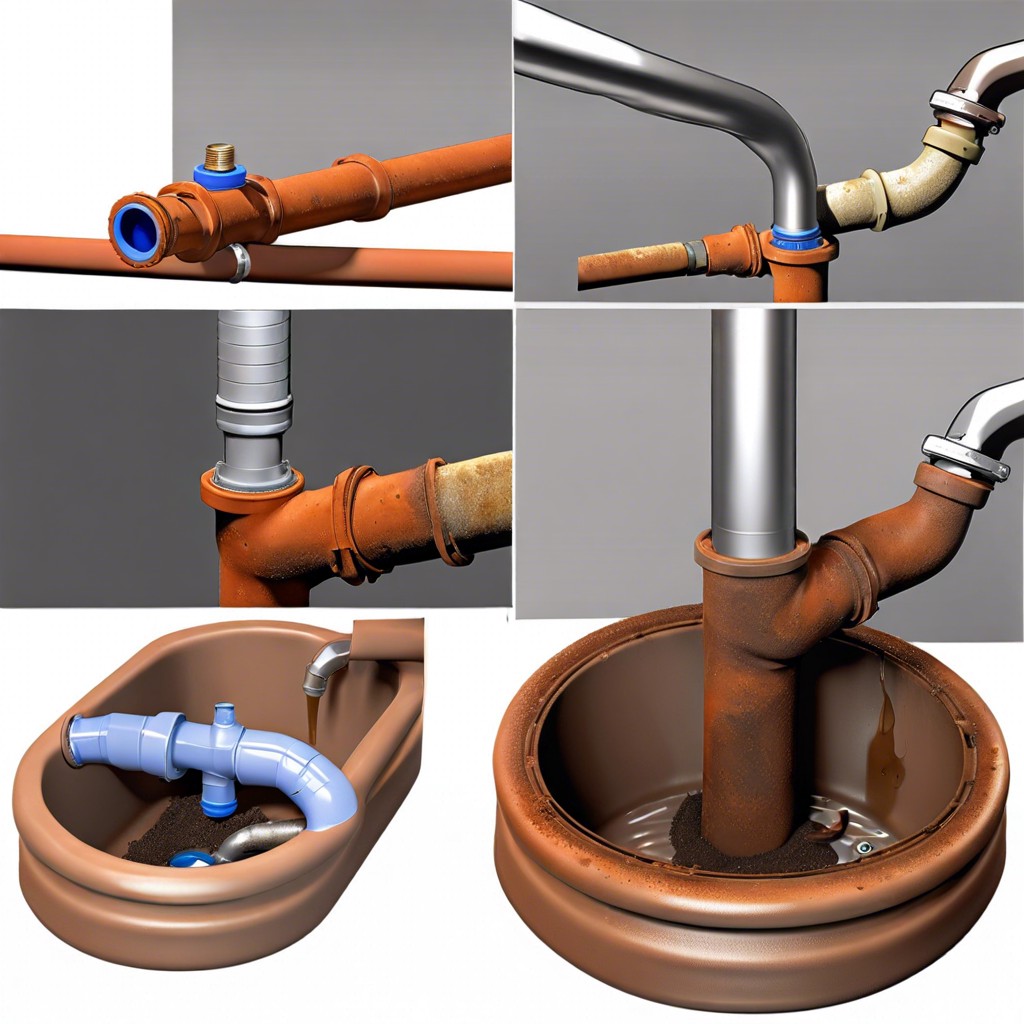
Copper and steel pipes had their glory days, but let’s be real, they are like the flip phones of plumbing—outdated and prone to problems. Modern plastic pipes, like PVC and PEX, are the sleek smartphones of the plumbing world. They’re lighter, easier to install, and don’t corrode.
First off, gather your materials: plastic pipe, a pipe cutter, and appropriate fittings. Simple, right?
Next, be sure your new pipe is compatible with your existing plumbing. Most hardware stores have friendly folks who can help you match sizes, but make sure you do a dry fit before gluing anything.
Don’t skip on the primer and solvent cement. These create a super-strong bond. Trust me, you don’t want a weak connection unless you’re trying to turn your kitchen into an indoor water park.
And hey, don’t forget the hangers and strap supports. Plastic pipes may be lighter, but they still need to be secured well, or the whole setup could sag, leading to leaks. I’m not sure about you, but a saggy sink setup doesn’t sound appealing at all.
Measure the Tailpiece First
Measure twice, install once. Before you do anything else, grab your measuring tape and get the exact length of the tailpiece.
Here’s why it matters:
If the tailpiece is too long, it won’t fit properly, and you’ll have a mess on your hands. Too short, and you’ll be scrambling for extensions. Goldilocks was right; you need it just right.
Take the old one out and measure from the bottom of the sink to the trap. Keep a note of any washers or couplings you might need to fit everything snugly.
Remember, different sinks have different depths. Don’t just eyeball it—precision is essential unless you want an extra trip to the hardware store.
Measuring might sound boring, but it’s the secret sauce to a smooth installation. And who doesn’t love smooth?
Seal With Caulk, Not Putty
Caulk provides a modern, flexible seal that adapts to temperature changes and slight sink movements. Putty, on the other hand, can dry out and crack over time, leading to leaks.
Opt for silicone caulk, as it is waterproof and mildew-resistant. It’s perfect for those splashy dishwashing sessions.
When you apply caulk, remember to use a caulking gun for an even bead. Practice on a piece of cardboard if you need to; no one’s born a caulk pro. Smooth it out with a damp finger or caulking tool for a neat finish.
Always clean the rim and surfaces thoroughly before applying caulk to ensure it bonds well. This is your sink’s defense line against water damage.
Forget the putty. It’s out, caulk is in.
Match the Faucet to Sink Openings
So, you’ve picked out a fancy new faucet that’s going to make your kitchen look like something out of a glossy magazine. But wait! Make sure it actually fits your sink’s openings.
- Count the Holes: Most sinks have one to four holes. Your faucet choice needs to match these precisely. A sleek, single-hole faucet won’t work unless your sink has only one hole or you use a deck plate to cover extras.
- Check the Spacing: Some faucets—particularly those with separate handles for hot and cold—need specific spacing between the holes. Measure the distance to make sure it matches your new faucet.
- Consider Additional Accessories: If you’ve got a soap dispenser or a side sprayer in mind, count those extra holes, too. Plan your sink layout accordingly so everything fits snugly and looks intentional.
Following these pointers is like doing a kitchen puzzle—when all the pieces fit, it’s pure satisfaction. Miss a step, and it’s like trying to fit a square peg into a round hole, only messier and probably with more water.
Test the Shutoff Valves First
Before diving into the nitty-gritty, make sure those shutoff valves are ready for action! You wouldn’t want a surprise water park in your kitchen.
First, give ’em a twist. If they don’t budge, they probably need a little love—WD-40 style.
Turn on the faucet and the shutoff valve. If water keeps gushing out, Houston, we have a problem. The valve might need replacing.
Check for leaks. A little drip can turn into a big mess. Tighten if needed.
Remember, a solid shutoff valve saves you from accidental flooding. It’s a small step that makes a huge difference.
Remove ALL Old Caulk
You’ve got your scraper in hand and your elbows ready for action. Time to tackle that old caulk. Here’s what to keep in mind:
Firstly, be thorough. Old caulk clings like a bad relationship. Scrape it all off. Don’t skimp, even if you’re tempted. Leaving any behind can prevent the new caulk from adhering properly, causing leaks and headaches later on.
Use a good caulk remover. These magic potions can soften the caulk, making it easier to peel away. Just don’t drink it. Caulk remover isn’t a cocktail, despite what the label might suggest.
Work smarter, not harder. A plastic scraper is less likely to damage your sink or countertop than a metal one. It may take a bit longer, but it’s worth it.
Lastly, clean the area with rubbing alcohol. This removes any residue and ensures a perfect new seal. Plus, it gives your sink that fresh, ready-for-a-new-start sparkle.
Now, you’re ready to lay down the new caulk like a pro, without any old stuff mucking things up. Marvel at your clean slate and get ready for the next step.
Ensure the New Sink Covers the Old Countertop Opening
You’ve picked out a shiny new sink and you’re ready to make the swap. But before you go full steam ahead, double-check that your new sink doesn’t leave any gaps around the old countertop opening.
Measure twice, cut once, as the saying goes. You don’t want beverages (or worse) finding a way under the sink because of a size mismatch. If the opening is too big, you’ll be playing whack-a-mole with leaks.
Remember to check the shape, too. Some newer sinks have fancy curves or odd shapes that may not fit your classic rectangular cutout. A trip to the hardware store might save you from a headache.
Take a piece of cardboard and cut it to the dimensions of your new sink. Place it over the countertop opening to see how well it fits. It’s cheaper than testing with the actual sink and a lot easier to handle.
If your new sink is slightly bigger, congratulations! This is a great way to hide any wear and tear from the old sink without needing a whole new countertop. Think of it like a facelift, but for your kitchen.
Always keep some extra caulk or sealant handy, just in case you need to fill in any tiny gaps. Better safe than sorry.


