Last updated on
Delve into the art of tile to wood floor transition because every home can achieve a seamless transition with the perfect balance of creativity and practical haven of this how-to guide.
It’s easier than you think:
Key takeaways:
- Use a reducer strip to create a smooth incline between surfaces
- Choose a transition strip material that complements both tile and wood
- Consider the direction of the transition to follow natural flow
- Custom thresholds can be crafted for precise height differences
- Creative ideas include chevron patterns and mixed-media transitions
What's Inside
Understanding Tile to Wood Floor Transition
Navigating the change from tile to wood flooring requires attention to detail to ensure structural integrity and a seamless aesthetic. As these materials expand and contract at different rates, it’s crucial to allow for this in the transition. The variation in thickness between tile and wood also needs consideration, often resolved using a transition strip to achieve a level surface and prevent tripping hazards.
Moreover, whether the transition is abrupt or gradual can significantly impact the space’s flow and feel. An abrupt transition might be more distinct and pronounced, creating a clear delineation between areas, while a more gradual transition offers a subtle blend, which can be more pleasing in open-concept layouts. It’s not merely about practicality; it’s about crafting a harmonious environment where flooring materials coexist beautifully.
Handling Wood to Tile Transitions
Transitions between wood and tile floors ensure cohesive room design and safe foot traffic. When managing these transitions, several factors come into play:
1. Level Difference: Wood and tile often have different thicknesses. Use a reducer strip to create a smooth incline between surfaces, minimizing tripping hazards.
2. Expansion Gap: Wood expands and contracts with humidity changes. Leave an appropriate expansion gap, covered by the transition piece, to prevent buckling.
3. Direction of Transition: The transition should follow the room’s natural traffic flow. Consider the direction in which doors open and people walk.
4. Material of Transition Strip: Choose a material that complements both the tile and wood while providing durability. Options include wood, metal, rubber, or vinyl.
5. Method of Fixing: Decide whether the transition strip will be nailed, screwed, or glued down. The method can depend on the flooring types and the transition piece material.
Remember, the right transition is not just a practical necessity, it’s also an opportunity to add a design element to your space.
Aesthetic Considerations in Choosing Transition Methods
Selecting the right transition method is as much about function as it is about form. Here are key points to enhance the visual flow between tile and wood flooring:
1. Color Coordination: Aim for contrast or complement between the tile and wood. Choosing opposing colors makes a bold statement, while similar hues ensure a seamless blend.
2. Grain Pattern and Texture: Align the textures of both materials for a consistent feel underfoot. This also helps to create a cohesive room aesthetic.
3. Transition Strip Design: Opt for a strip that either stands out as a feature or one that recedes visually, depending on the desired effect. Metallic, wood or rubber strips each offer different stylistic appeals.
4. Direction of Materials: Consider the laying pattern of tile and wood. For example, having wood run parallel to the longest wall can make a space appear larger.
5. Space Functionality: Use the transition to define different areas within the space, subtly separating or merging living areas without the need for walls.
By minding these factors, you can ensure the transition not only serves a practical purpose but also enhances the overall look and feel of the space.
Planning for Floor Height Differences
Before diving into the installation of a floor transition, it’s crucial to assess the height difference between your tile and wood floors. Uneven surfaces can create trip hazards and impede the flow of your space. Here are key considerations when planning for height disparities:
1. Measure Accurately: Use a straight edge or laser level to determine the height difference. Precise measurements guide you in selecting the appropriate transition method.
2. Underlayment Options: If the wood floor is lower, consider an underlayment to raise it. Options include plywood, cork, or foam layers. Ensure the chosen material is compatible with the flooring for long-term durability.
3. Tapered Transitions: For slight height variances, a tapered transition strip can bridge the gap smoothly. It slopes gradually, minimizing the height difference.
4. Subfloor Adjustments: Sometimes, it’s necessary to alter the subfloor height. This may involve sanding down high spots or using a self-leveling compound for low areas. Always follow floor manufacturer guidelines to ensure warranty and performance.
5. Custom Thresholds: Custom-milled wood thresholds can be crafted to fit the precise height and shape needed for your particular transition.
By tackling the height issue upfront, you ensure a safer, more visually appealing transition that will endure the everyday traffic of your home.
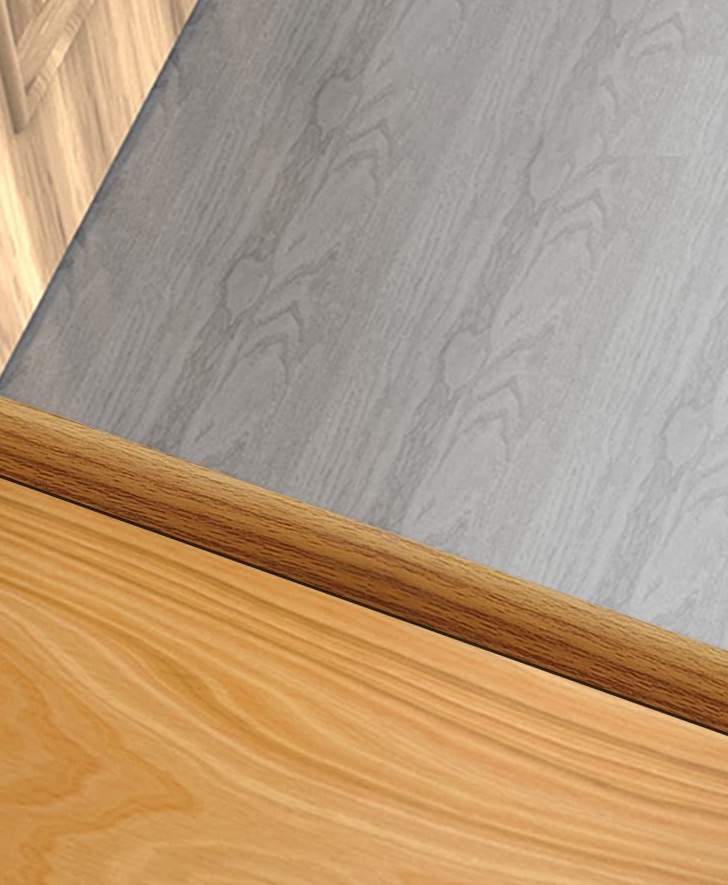
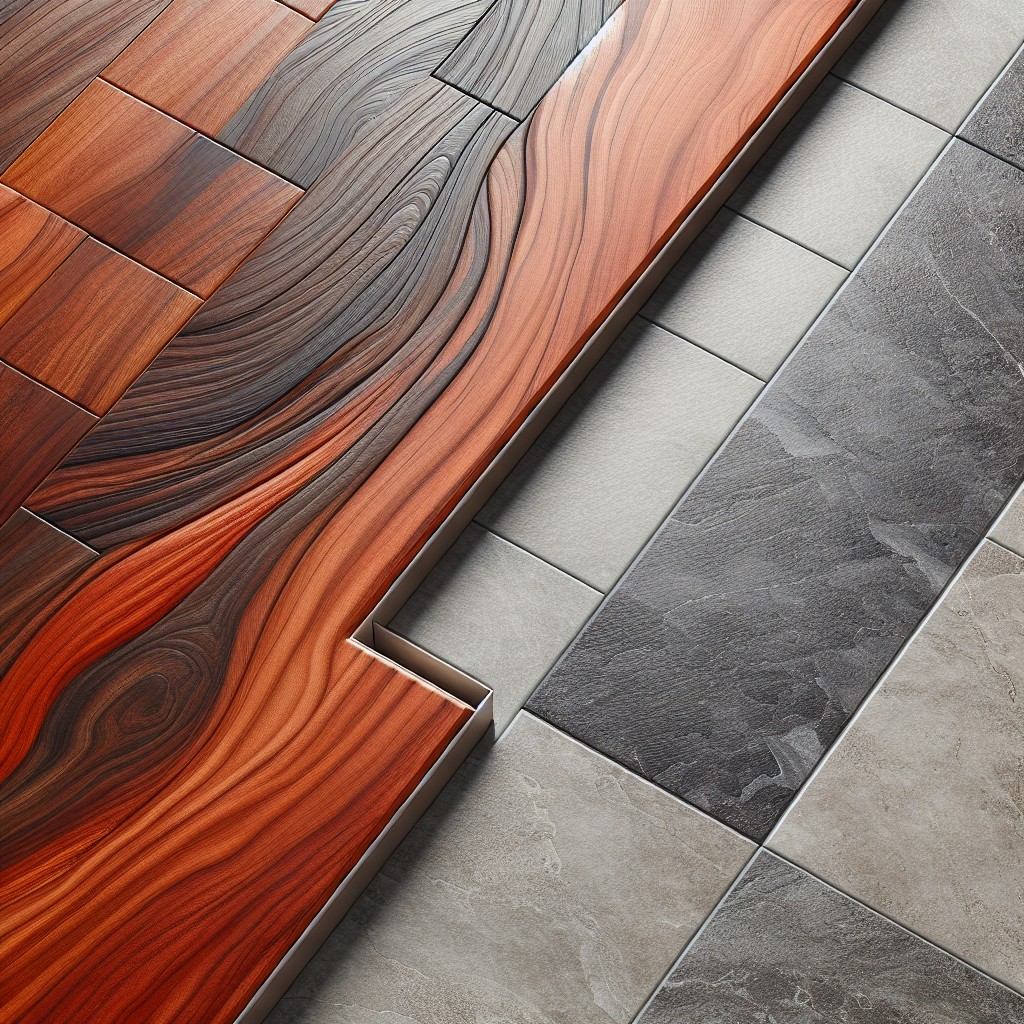
Transition Strip Options
Transition strips are essential for bridging the gap between tile and wood floors, not only to enhance the appearance but also for safety. There are several types of strips to consider:
- T-Molding: This option works well when the tile and wood are at the same height. Shaped like the letter ‘T’, it fits snugly between the flooring types to provide a smooth transition.
- Reducer Strip: Ideal for scenarios where the wood floor is higher than the tile. Its tapered structure eases the level difference, preventing tripping hazards and giving a smooth slope from one material to the other.
- Flush Reducer: For a seamless connection, a flush reducer is used when the wood flooring is slightly higher than the tile. It creates a smooth, almost invisible transition.
- Threshold Transition: This strip is often taller and wider, acting as a definitive border between tile and wood. It’s perfect for areas where the flooring materials meet at a doorframe.
- Metal Transitions: Durable and versatile, metal strips can accommodate varying heights and are available in different finishes to complement both wood and tile floors.
Selecting the right transition strip depends on the height difference between the floors and the desired aesthetic. Thoughtful selection contributes to both the functionality and visual flow of your space.
Installing Transition Strips for Different Heights
When installing transition strips to accommodate height differences between tile and wood floors, precision is key. Begin by measuring the height difference; this determines the type of strip needed. For minor variations, a ‘T’-shaped reducer strip can bridge the gap seamlessly. For more significant height differences, use a reducer transition strip that slopes down to the lower surface.
Once you’ve chosen the appropriate strip, position it over the height difference and mark drill holes, ensuring they align with the subfloor, not the floating floor. Drill and secure the strip with screws, taking care not to drive screws into a floating wood floor. An alternative is to use a construction adhesive for a drill-free installation, especially on concrete subfloors where drilling could be more complex.
Be mindful of placement; transitions should be under the door so they’re less noticeable when the door is closed. Finally, check the manufacturer’s instructions for specific installation guidance tailored to the product you’ve selected.
Creative Tile to Wood Transition Ideas
Harness your inner designer by considering some of these unique transition techniques for melding tile and wood floors together:
- Flush Transition: Ensure a seamless flow between the two materials by keeping them at the same height, using a tongue-and-groove method to lock them together.
- Chevron or Herringbone Patterns: Introduce either pattern at the threshold, creating a natural but decorative border that gently transitions between the two flooring types.
- Mosaic Borders: Create a strip of intricate mosaic that acts as a “river” between the two, providing not just a transition but also a focal point.
- Mixed-Media Transition: Use both tile and wood within a single transition piece to bridge the gap intriguingly and inventively.
- Curved Transition Lines: Soften the transition by implementing a curve instead of a straight line, this can make a space feel more fluid and organic.
- Color Gradient: Fade from wood to tile by using gradual changes in shade or tone, mimicking a natural progression of color that eases the eye from one space to another.
Incorporating these ideas requires precision and a keen eye for detail but can elevate the uniqueness of your living space dramatically.
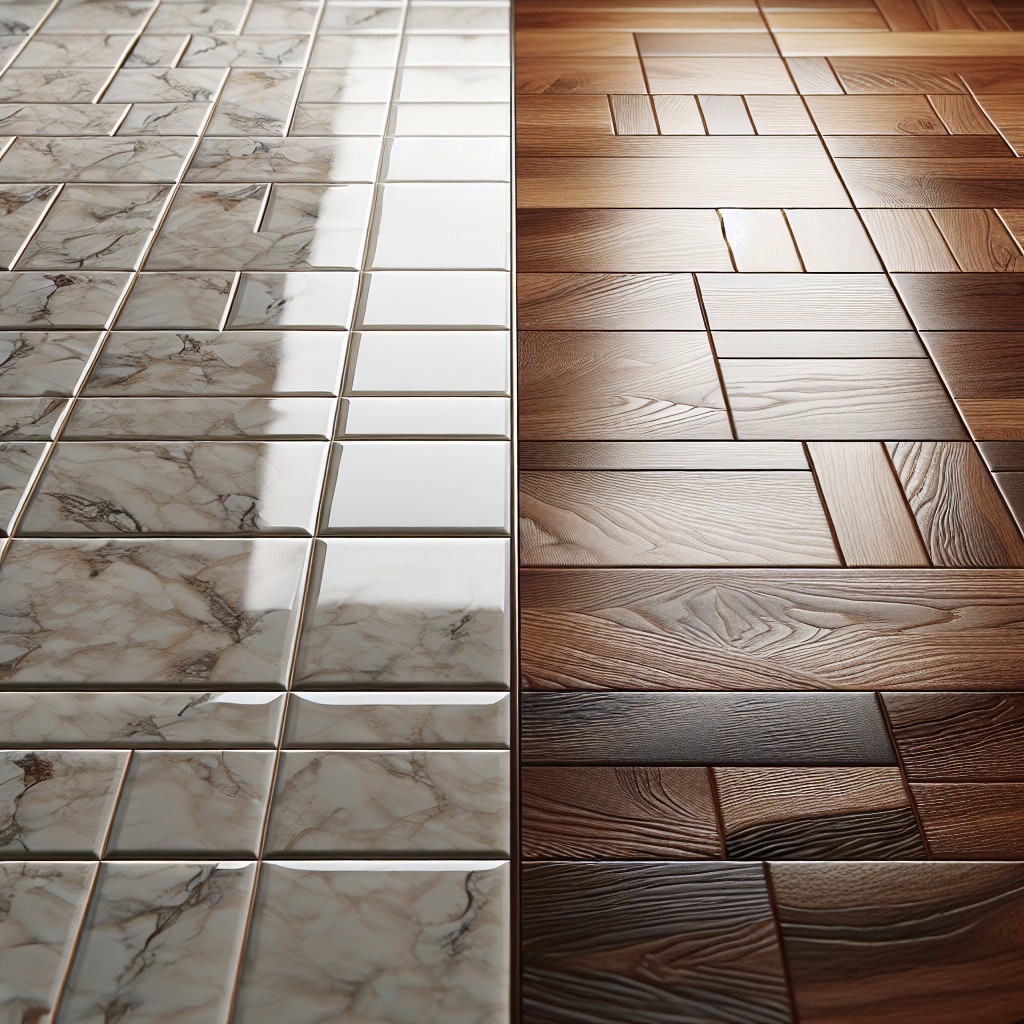
Choosing Complementary Tile and Wood Flooring
Selecting the right materials is crucial for a seamless transition between tile and wood flooring. Aim for a cohesive look by considering color, texture, and pattern. Light wood pairs well with cooler-toned tiles, while rich, dark wood beautifully contrasts with warmer, earthy tiles.
Keep in mind the grain of the wood; subtle grains complement patterned tiles, whereas bold grains work best with solid-colored tiles. Also, think about the finish – a glossy tile can add a touch of elegance next to matte-finished wood. Don’t shy away from mixing materials; combining wood and stone, for example, can create a natural, organic transition. Remember, the goal is harmony and a sense of continuity throughout your space.
Maintenance Tips for Transition Areas
Caring for the junction between tile and wood flooring is essential to ensure durability and visual appeal. Sweep or vacuum regularly to prevent grit and debris from scratching surfaces. When mopping, use a damp mop rather than soaking wet to prevent water from seeping into wood flooring, which can cause warping or damage. Choose cleaning products designed specifically for each material to avoid discoloration or deterioration—avoid harsh chemicals near the transition area.
If you notice a loose transition strip, promptly secure it back in place to prevent tripping hazards or further detachment. In case of scratches or dents on the wood adjacent to the tile, use a matching wood repair kit to fill in and seal these imperfections, maintaining a seamless transition. For tiles, promptly repair any cracks or chips with the appropriate color-matched tile filler to keep the area looking pristine.
Monitor for any signs of moisture build-up around the transition, especially in areas prone to water exposure like kitchens or bathrooms. Address leaks or spills immediately by thoroughly drying the area, and consider adding sealant along the edge of the transition strip if necessary.
Regular inspection of the transition area can preemptively identify issues such as wood expansion or tile shifting, allowing for timely adjustments before larger problems arise. Attention to these details will preserve the function and beauty of your flooring transition for years to come.
Final Thoughts On Transition Options
Choosing the right transition between tile and wood flooring is an important design and functional aspect of your home. Here are some key takeaways:
- Transition strips should seamlessly connect the two materials while accommodating height differences and movement.
- Aesthetic harmony is crucial; select a transition that complements both flooring types.
- Plan transitions early in the installation process to ensure a cohesive look and avoid last-minute adjustments.
- Keep in mind the long-term maintenance of your transition area to preserve the integrity and appearance of your floors.
Remember, the transition is not just a necessary detail but an opportunity to add a touch of style to your space.
FAQ
How do you transition from tile to wood flooring?
To achieve a seamless transition from tile to wood flooring, initiate a gradual transition which involves subtly fading the tile into the wood floor, ensuring a smooth, cohesive look, mitigating abrupt changes.
What can I put between tile and wood floor?
To bridge the gap between tile and wood floor, one can either employ a sanded caulk for a subtle look or, if more flexibility is needed, opt for silicone, although it may not provide as pleasing an aesthetic.
How do you fill a gap between tile and wood flooring?
To bridge the gap between tile and wood flooring, utilize a 100% silicone sealant, conforming to the grout’s color, typically covering a 1/8 inch of space for appropriate movement.
What are the best materials to use for a tile to wood floor transition?
The best materials to use for a tile to wood floor transition are typically hardwood, stone, metal strips, or T-moldings.
How can I ensure a smooth transition from a higher tile floor to a lower wood floor?
To ensure a smooth transition from a higher tile floor to a lower wood floor, install a transition strip suitable for the height difference between the two floor types.
What are some design ideas for a seamless tile to wood floor transition?
Design ideas for a seamless tile to wood floor transition include installing a T-bar, creating a threshold, using a grout line as a transition, introducing a tile inset in the wood, going for a gradual transition using transition strips, or opting for a ‘frames’ transition to differentiate space.
Read More
 How to Clean Linoleum Floors: Expert Tips for a Sparkling Shine
 How to Clean Ceramic Tile: Expert Tips for a Spotless Floor
 15 Floor Tile Pattern Ideas: A Comprehensive Guide
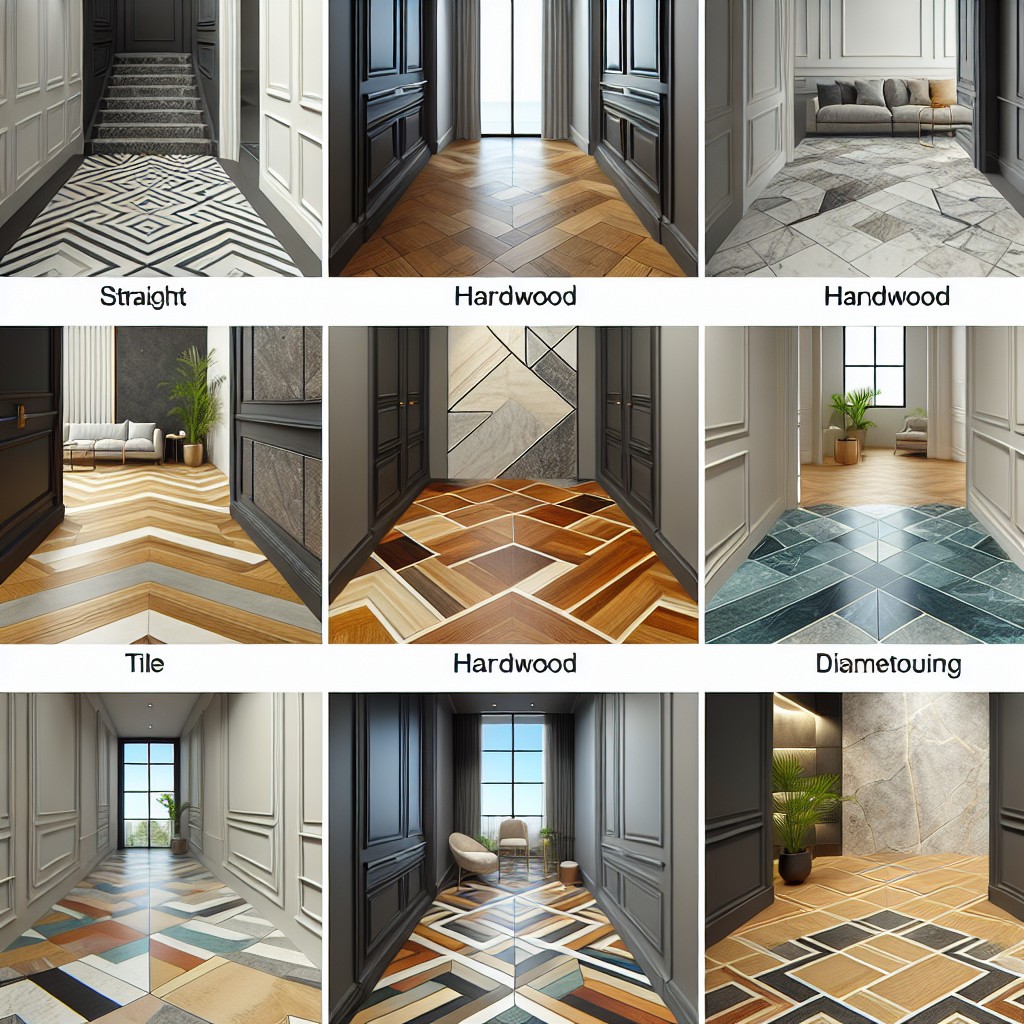 10 Flooring Transition Ideas: The Comprehensive Guide
 Can You Wash a Ruggable Pad? – A How-to Guide on Proper Cleaning and Care