Last updated on
Here’s what you need to know about the ball valve installation in your drinking water system. Read on!
When it comes to drinking water, the valves that are most commonly used are ball valves. They are used for both commercial as well as residential use.
As a residential property owner, it is important to note that when it comes to the distribution of domestic water, the whole system is the sole responsibility of the property owner.
On that note, it is important that you understand how to properly install a ball valve. An incorrectly installed ball valve can cause leakage or maybe even some serious water damage to your property.
In this article, we will go over how to install a ball valve correctly. To be more specific, we will talk about 2-way manual ball valves.
That being said, the installation process also applies to other types of ball valves.
What's Inside
Drinking Water Valve Requirements
For drinking water applications, it is important to verify your valve meets the required drinking water requirements.
Since drinking water distribution systems are typically permanently installed, over time, they can become contaminated or have microbial growth.
Therefore, ensuring the valve installed meets your country’s certifications and regulations is important.
The Installation
Ball valves used for drinking water have the purpose to connect applications, for example, sinks or toilets, to the water supply. If there happens to be a leak in the mainline, a ball valve can be used to shut off the water supply so the part that has the leak can be drained and repaired.
A ball valve can be connected to the pipe with different methods such as threads, solder, compression fittings, or push-to-connect fittings.
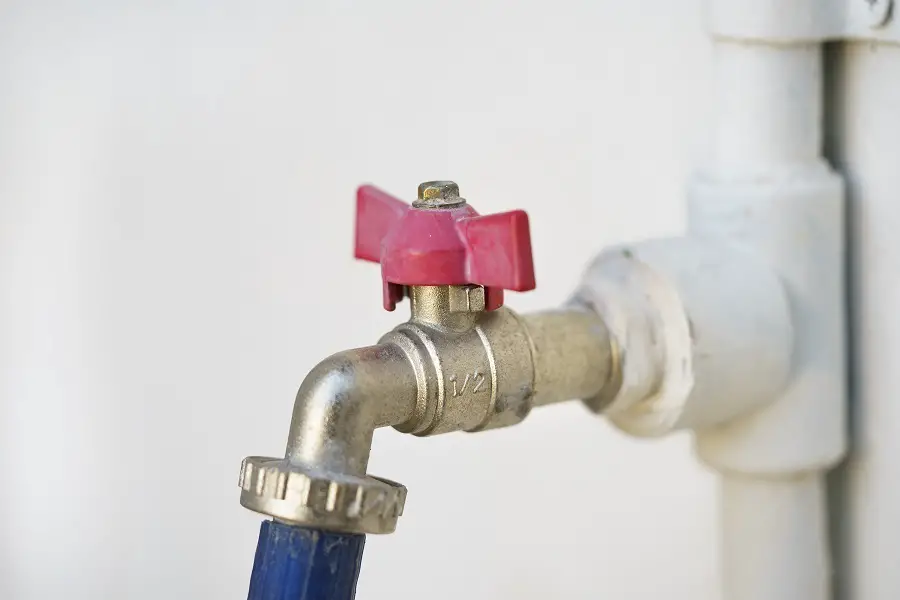
Orientation
When it comes to the 2-way ball valves, they are as you can guess bidirectional. This means that the flow direction is not that important as they can be installed both on vertical pipes as well as horizontal ones.
However, there is a preferred method of installation. The best way to do it is to make sure that the handle is pointing in the direction of the flow.
This way you can eliminate any unnecessary confusion that might occur in the future. Additionally, setting it up vertically is not required, but for optimal as well as easier use it is preferred.
Also, be careful not to install it upside down as this can contribute to the buildup of dirt or other debris. If it is possible to install it with the stem facing upwards, then you should.
Preparing the Pipe
With the main water supply going through the pipe, an inlet port from the valve needs to connect to the pipe. It is important that the pipe is prepared before the installation of the ball valve.
Skipping this step can result in the accumulation of dirt in the valve while it is being used. In some cases, there will be a need to cut the pipe in order to prepare it correctly.
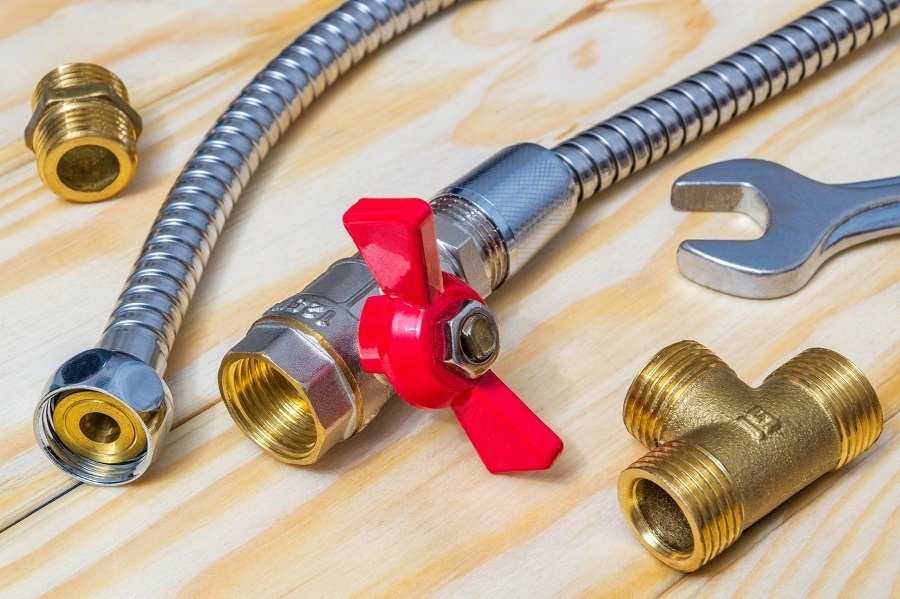
Different Fittings
As we mentioned before, there are different methods you can use to connect the valve to the pipe. First, there is a push-to-connect type.
Here you will have to use a sand cloth to clean the pipe making sure that it is ready for the installation of the valve. The second method is with the compression-type valve. Here you will have to place the compression nut over the pipe as far as it can go.
After that, you will have to place the compression ring on the end of the pipe. Make sure that the compression ring is placed correctly and that it covers the entire end of the pipe.
Lastly, there are thread-type valves. Here you will first have to remove any thread seal tape that might still be on the pipe. After that, make sure to clean the pipe really well with the wire brush.
It is crucial that there are no foreign materials on the pipe before the threaded valve is installed. Finally, the valve’s threads need to be wrapped. This can be done either with pipe thread compound or with thread seal tape.
Testing
When you finish installing the ball valves on a pipe, the next thing you need to do is to connect the output port of a valve using copper pipes to the necessary equipment.
When everything is connected, turn on the water and check if there are any problems. The main thing that you should look for is leaks.
Open the valve by turning the handle carefully 90 degrees. To tell if the valve is closed, just look at the handle. If it is perpendicular to the pipe, then it is closed.
If you notice any leaks, close the valve immediately and correct the problems.
Maintenance
It goes without saying that regular maintenance is important. Well-maintained valves will last for a very long time. Make sure to check the valves regularly.
Most importantly, for the first year of the system being operational, you need to do inspections every three months. There should be no leaks at all.
If there are, make sure to correct the problem. Leaks can cause some serious problems such as corrosion and the formation of scales. These are deposits that appear and grow on the pipelines and valves. They can really damage the equipment if left unattended.