Last updated on
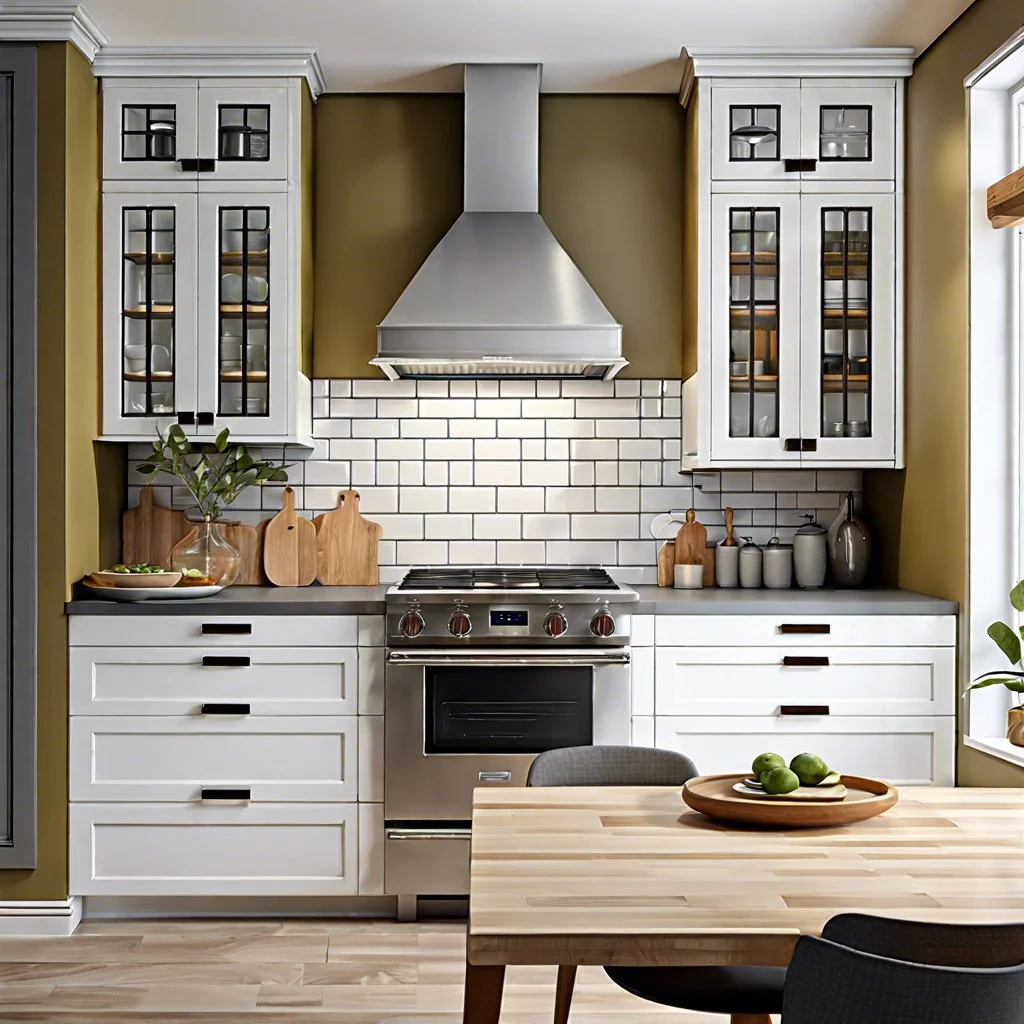
A backsplash is a vertical extension to a kitchen or bathroom counter, often made of tile, designed to protect the walls from splashes and spills.
Key takeaways:
- A backsplash is a protective barrier in kitchens and bathrooms.
- Materials include ceramic, glass, stainless steel, stone, and vinyl.
- Benefits include functionality, aesthetics, and value increase in homes.
- Installation requires preparation, measurement, adhesive, tiles, and grouting.
- Consider style, maintenance, budget, and installation process when choosing.
What's Inside
What a Backsplash Is

A backsplash serves as a protective barrier, covering the wall between a kitchen countertop and the upper cabinets. Primarily, it guards against splashes from cooking activities—think splotches from sauce or grease—which can stain walls. These functional surfaces also double as a design element, offering an opportunity to inject personality into the space. They come in a variety of materials, including tiles, glass, and stainless steel, each capable of creating a different aesthetic. Essentially, the backsplash merges practicality with style, keeping your kitchen walls pristine and adding a visual focal point.
Types of Backsplash Materials
Ceramic tiles are popular for their durability and range of colors and designs. They can easily be cleaned and hold up well under the splatters and spills of kitchen life.
Glass tiles give a sleek, modern look and can reflect light to make kitchens appear larger. They are stain resistant and also simple to maintain.
Stainless steel backsplashes offer a contemporary vibe and are a cinch to clean. They’re particularly favored in professional kitchen setups for their heat-resistant qualities.
Stone options like marble or granite provide a natural, elegant touch, though they require more maintenance to prevent stains and might need periodic sealing.
Vinyl wallpaper offers an affordable and versatile choice, with countless patterns available. It’s less durable than tile or metal but perfect for a quick style update or a low-traffic kitchen.
Each material carries its own charm and challenges, so consider your kitchen’s needs and your personal style when choosing the best fit.
Benefits of Installing a Kitchen Tile Backsplash
Installing a tile backsplash substantially boosts the functionality and aesthetics of your kitchen. Tiles are known for their resistance to heat and moisture, key attributes for the kitchen environment where steam and heat are constants. This makes cleaning splatters from cooking a breeze, maintaining the pristine appearance of your kitchen walls.
Beyond practicality, the variety of tiles in terms of colors, materials, and patterns allows personalization of your kitchen space. Whether you favor a modern minimalist look or a vibrant, patterned design, there’s a tile to fit every style. This can play a big part in increasing the overall value of your home, appealing to potential buyers with its visual and functional appeal.
Additionally, tiles are durable. Once installed, a good quality tile can last for decades with minimal maintenance, barring any harsh impacts. This longevity makes it a cost-effective solution over wallpapers or paint which might need more frequent refreshes.
How a Backsplash Is Installed
Installing a backsplash might sound like a weekend DIY project, but it involves a bit more elbow grease and precision than one might expect. First, you’ll need to ensure the wall is smooth and clean. Any cracks or bumps can make the tiles sit unevenly.
Next, measure your space. Knowing the exact area helps in buying the correct amount of tiles. Too few tiles can halt your project, whereas too many could be a wasteful expense.
Once the surface prep is done, apply tile adhesive on the wall. You can use a notched trowel for this to get an even spread. Start from the center and work your way outwards to avoid any oddly cut tiles in highly visible areas.
Place your tiles gently onto the adhesive, using spacers to keep your lines even. These little helpers ensure your tiles don’t slip into each other as the adhesive dries.
The final step involves grouting. Fill the gaps between the tiles after the adhesive has fully dried. Wipe away the excess grout with a damp sponge. The sponge should be just wet enough to clean without diluting the grout in the joints.
Voila, your backsplash is set to fend off splashes and spills!
Buying Considerations for Backsplash Material
When choosing materials for your backsplash, consider the overall style of your kitchen. Is it modern, rustic, or perhaps industrial? Make sure the material you select compliments this style. Also, think about the maintenance involved. Some materials like subway tiles are easy to clean while textured tiles might require more upkeep.
Budget also plays a big role. Ceramic tiles can be budget-friendly, whereas high-end materials like marble might stretch your wallet. Always weigh the cost against the durability and appearance you desire.
Lastly, reflect on the installation process. Some materials might be simple enough for a DIY project, which can save money. However, complex designs or heavier materials might necessitate professional installation. This not only ensures a seamless look but also avoids potential damage from incorrect handling.


