Last updated on
Discover the essential steps and expert tips for painting kitchen cabinets, including whether or not to paint the insides for a stunning transformation.
Are you planning to give your kitchen a facelift? Painting your cabinets is an excellent way to breathe new life into your space without breaking the bank. But when it comes to painting kitchen cabinets, many homeowners are left wondering whether or not they should paint the inside of their cabinets.
After all, it’s not like anyone will see them, right? In this article, we’ll explore the pros and cons of painting the inside of your kitchen cabinets so that you can make an informed decision and achieve a professional-looking finish that will last for years to come.
What's Inside
Preparing the Cabinets
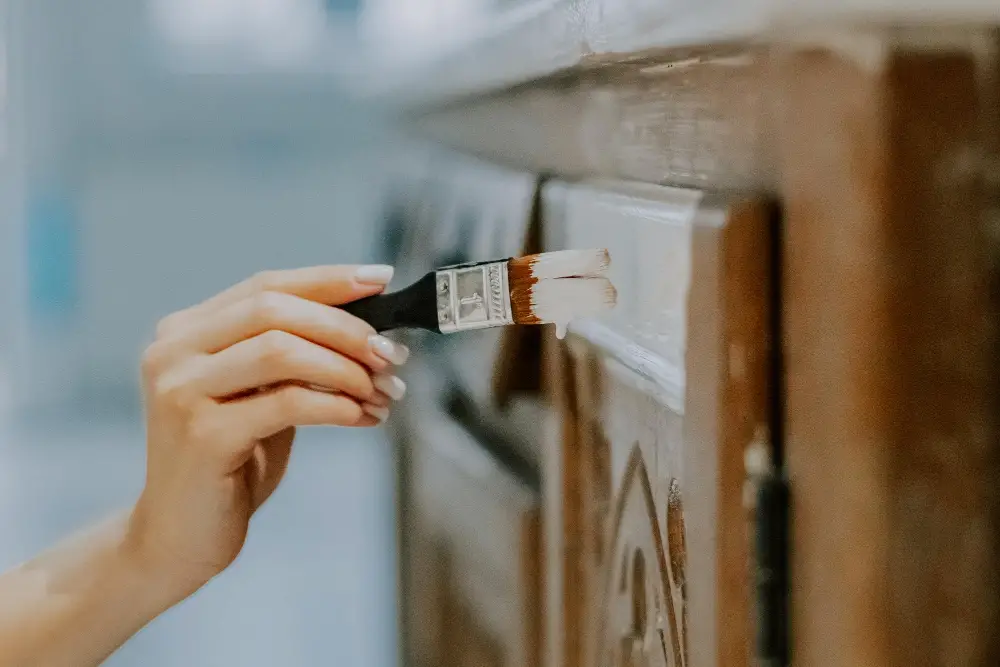
Before you start painting your kitchen cabinets, it’s essential to prepare them properly. This step is crucial for achieving a smooth and long-lasting finish that will withstand daily wear and tear.
First, remove all the cabinet doors and hardware such as handles or knobs using a screwdriver or drill. Next, clean the surfaces thoroughly with warm soapy water to remove any dirt, grease or grime buildup that may have accumulated over time.
Once cleaned, sand down the surface of each cabinet door lightly using fine-grit sandpaper (220 grit) until it feels smooth to touch. Sanding helps create an even surface for paint application by removing any bumps or rough spots on the wood.
After sanding comes priming; this step is optional but highly recommended as it helps seal porous wood surfaces like oak which can absorb more paint than necessary leading to uneven finishes later on when applying topcoats of color onto them.
Wipe down all sanded areas with a tack cloth before applying primer coat(s).
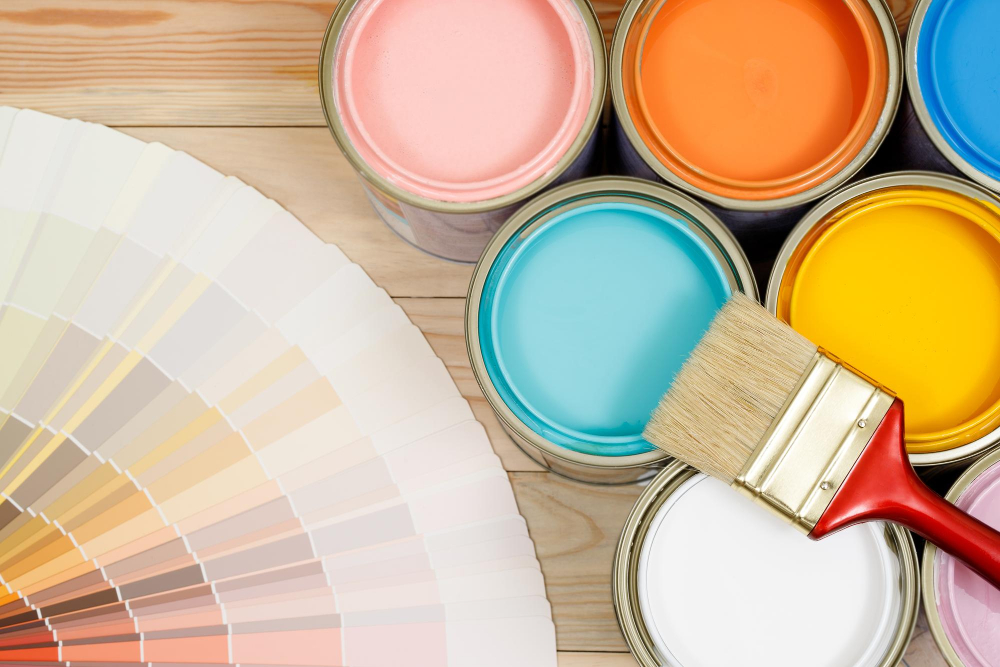
Choosing the Right Paint
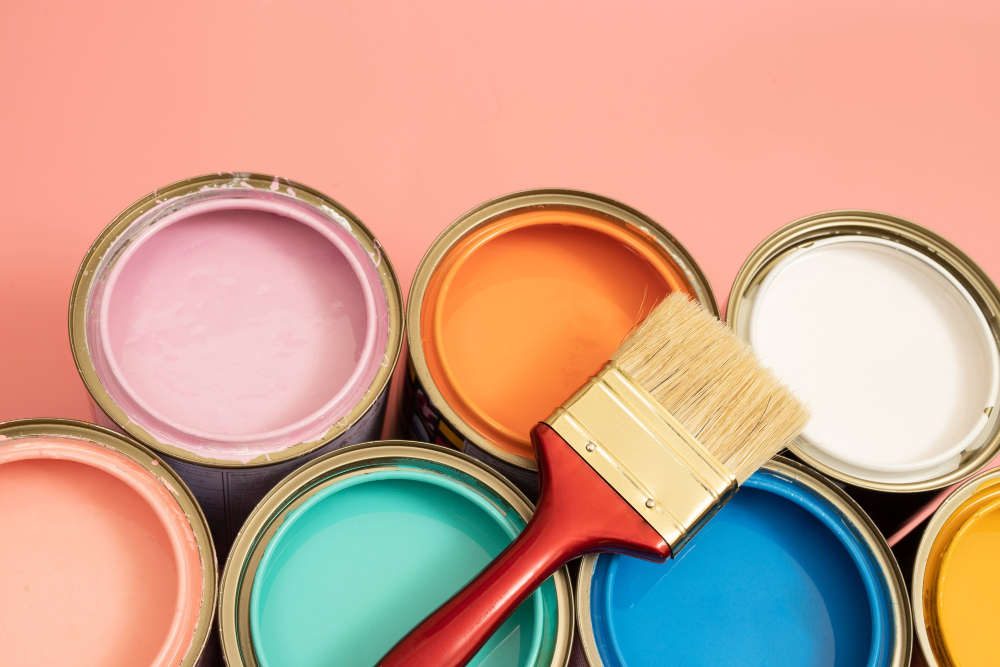
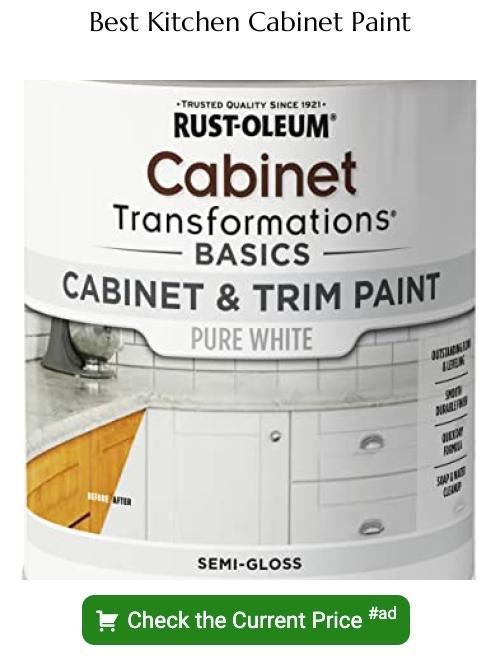
When it comes to painting kitchen cabinets, you’ll want to choose a high-quality paint that’s durable and easy to clean. Look for paints labeled as “cabinet-grade” or “furniture-grade,” which are specifically designed for use on wood surfaces.
Another important factor when choosing your paint is the sheen level. A higher sheen level, such as semi-gloss or gloss, will provide more durability and make cleaning easier but may also highlight imperfections in your cabinets’ surface.
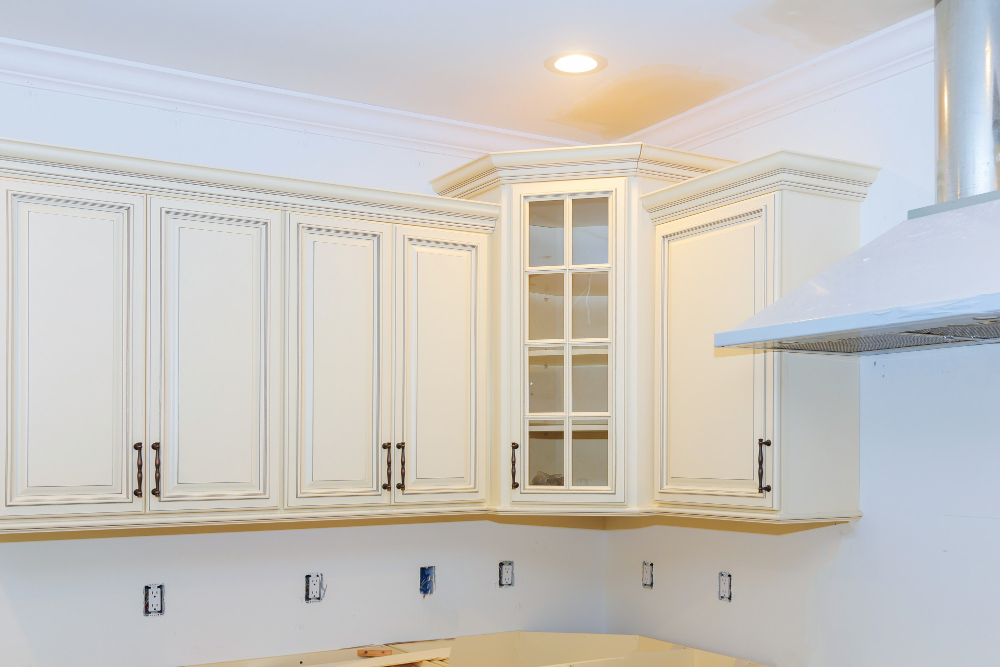
It’s also essential to consider color when selecting your cabinet paint. White and off-white shades are popular choices because they create a bright and airy feel in the kitchen while making it look larger than it actually is.
However, if you’re feeling bold, don’t be afraid of experimenting with bolder colors like navy blue or forest green.
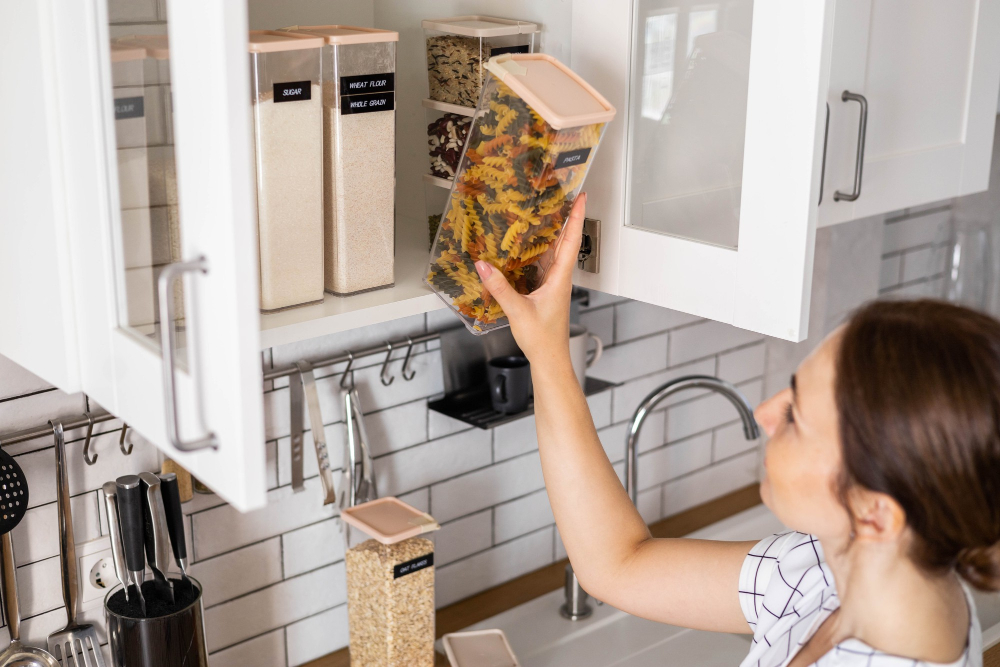
Do You Paint the Inside of Kitchen Cabinets?
The answer depends on your personal preference and how much time and effort you’re willing to invest in the project.
If your cabinets have glass doors or open shelving, then painting the inside can add a pop of color or create a cohesive look with your overall design scheme. However, if your cabinets are solid wood with closed doors, then there’s no real need to paint them unless you want everything to match perfectly.
Another factor that may influence whether or not you decide to paint the inside of your kitchen cabinets is their condition. If they’re old and worn out, painting them can help freshen up their appearance and make them look new again from both outside as well as from within.
Options for Cabinet Interiors
The first option is to leave them as they are and only paint the exterior of your cabinets. This approach can save time and money, but it may not give you the cohesive look that you’re after.
Another option is to paint both the interior and exterior of your cabinets with a single color for a seamless finish. This method works well if you want a clean, modern look or if your cabinet interiors are visible from outside.
If you prefer something more daring, consider using contrasting colors on the inside and outside of your cabinets for an eye-catching effect. For example, pairing white exteriors with navy blue interiors can create an elegant yet unexpected contrast that will make any kitchen stand out.
Some homeowners choose to line their cabinet interiors with wallpaper or contact paper instead of painting them directly. This approach allows for endless design possibilities while protecting shelves from scratches and stains.
Pros of Painting Inside
For starters, it can help to brighten up the interior and make it easier to see what’s inside. This is especially useful if you have deep or dark cabinets that tend to swallow up items.
Painting the insides of your cabinets also provides a more finished look overall. When you open a cabinet door and see unfinished wood or old paint peeling away, it detracts from the overall aesthetic appeal of your kitchen.
Another advantage is that painting both sides helps protect against moisture damage and warping over time. Moisture buildup in closed spaces such as cupboards can lead to mold growth which could be harmful for health reasons.
Cons of Painting Inside
First and foremost, it can be time-consuming and tedious work. Depending on the size of your kitchen and how many cabinets you have, it could take several days or even weeks to complete the project.
Another downside is that painting the inside of your cabinets will use more paint than just painting the exterior surfaces. This means that you’ll need to purchase more paint than if you were only doing an exterior job.
If you’re not careful when applying paint to cabinet interiors, drips or runs can occur which will ruin a smooth finish. It’s also important not to overload shelves with heavy items immediately after finishing as this could cause damage before they’ve had time for proper curing.
Finally yet importantly is that painted cabinet interiors tend show wear-and-tear faster compared with natural wood finishes because they are exposed daily handling such as dishes being placed in them repeatedly over time causing scratches etcetera.
What Color Should Inside of a Cabinet Be?
While white is a popular choice for cabinet interiors, there are other options that can add depth and character to your space.
If you have light-colored dishes or glassware, consider painting the interior of your cabinets a soft gray or blue hue for an elegant touch. Alternatively, if you want to make a bold statement with your cabinetry design, try using wallpaper on the inside of open shelves or glass-fronted doors.
Ultimately, the color you choose will depend on personal preference and how it complements the overall look and feel of your kitchen. Just remember that darker colors may make it harder to see items stored in lower cabinets without adequate lighting.
Step-by-Step Guide
Here is a step-by-step guide that will help you achieve professional-looking results:
- Remove all items from inside the cabinets and drawers.
- Clean the interior surfaces with warm soapy water and let them dry completely.
- Sand any rough spots or areas where there are drips or bumps using fine-grit sandpaper.
- Wipe away any dust with a clean cloth before painting begins
- Apply painter’s tape around the edges of each cabinet opening to protect walls, floors, and other surfaces from paint splatters
- Prime all interior surfaces using an oil-based primer for better adhesion (or use shellac-based primer if your cabinets have knots in their wood).
- Apply two coats of high-quality latex paint in your desired color on top of primed surface allowing enough drying time between coats as per manufacturer instructions.
Tools and Materials

Here are some of the things you’ll need:
1. Screwdriver: You’ll need a screwdriver to remove cabinet doors and hardware.
2. Sandpaper: Use sandpaper with a grit between 120-220 for smoothing out any rough spots or imperfections in your cabinets.
3. Tack cloth: A tack cloth is used for wiping down surfaces before painting to ensure they’re free of dust and debris.
4. Painter’s tape: This will help protect areas that you don’t want painted, such as hinges or walls adjacent to the cabinets.
5. Primer: Applying primer is crucial because it helps paint adhere better while also covering up stains or discoloration on your cabinets’ surface.
6. Paintbrushes/Rollers/Spray Gun – Depending on what method works best for you, choose from these options when applying paint.
7. Paint – Choose high-quality paints specifically designed for cabinetry that can withstand wear-and-tear over time without chipping easily.
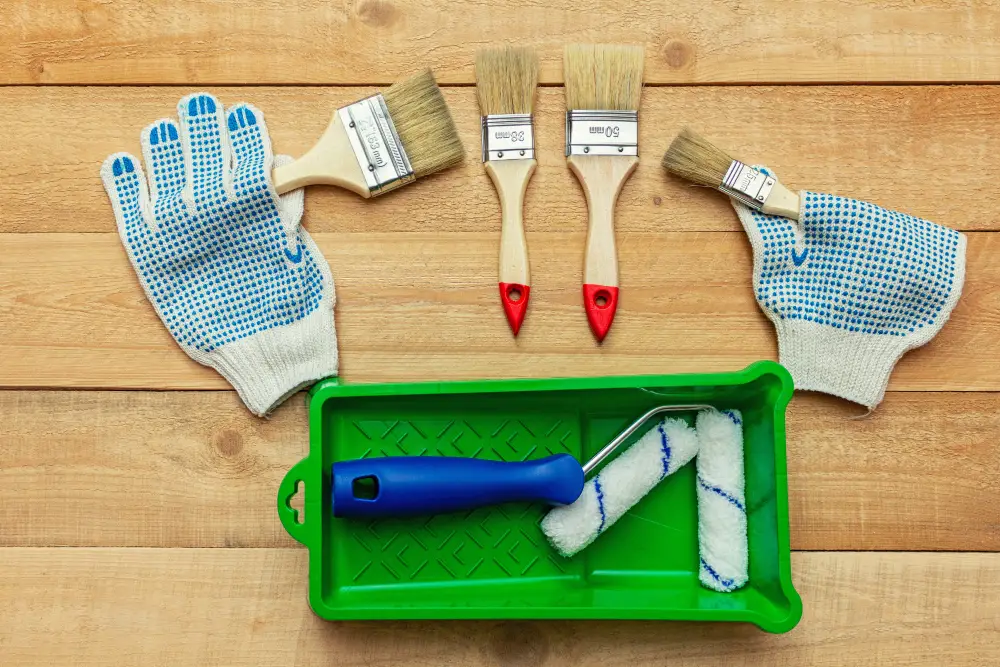
Painting The Inside of Cabinets Supplies
Here are some of the items you’ll need:
1. Paint: Choose a high-quality paint that is specifically designed for cabinets and can withstand frequent use and cleaning.
2. Primer: A good primer will help ensure that your paint adheres well to the surface and provides an even finish.
3. Sandpaper or sanding block: Use fine-grit sandpaper or a sanding block to smooth out any rough spots on the cabinet interior before priming.
4. Painter’s tape: This will come in handy when taping off areas that you don’t want to get painted, such as hinges or hardware.
5. Drop cloths or plastic sheeting: Protect your floors from drips and spills by covering them with drop cloths or plastic sheeting before starting work.
6. Brushes/rollers/spray gun (optional): Depending on personal preference, choose either brushes, rollers, spray guns for applying paint evenly over surfaces.
How to Paint the Inside of Kitchen Cabinets
First, remove all items from your cabinets and clean them thoroughly with warm soapy water. Once they’re dry, sand the interior surfaces lightly with fine-grit sandpaper or use liquid deglosser if you prefer not to sand.
Next, prime the cabinet interiors using a high-quality primer that is specifically designed for wood surfaces. This will help ensure that your paint adheres well and lasts longer without chipping or peeling.
Once the primer has dried completely (usually overnight), it’s time to apply your chosen paint color. Use a small foam roller or brush for best results and work in thin layers until you achieve full coverage.
Remember always; allow each coat of paint sufficient drying time before applying another layer – this will prevent drips and unevenness in color distribution.
Reattach any hardware such as knobs or handles once everything is fully dry before putting back any items into their respective places within each cabinet space.
What Is Better for Painting Cabinets Roll Vs. Brush?
Two of the most popular options for applying paint to cabinets are using a roller or a brush. But which one is better? The answer depends on several factors, including your skill level and personal preference.
Rollers are ideal for large flat surfaces like cabinet doors and sides because they can cover more area quickly and evenly. They also leave behind fewer brush marks than brushes do, resulting in a smoother finish.
However, rollers may not be suitable for tight spaces or intricate details where precision is required.
On the other hand, brushes allow you to get into every nook and cranny of your cabinets with ease while providing greater control over how much paint you apply at once. This makes them an excellent choice if you’re working on small areas that require careful attention.
Ultimately whether you choose a roller or brush will depend on what works best for your project’s specific needs – there isn’t necessarily one “right” way! Some people even use both methods together: rolling larger areas before brushing smaller ones by hand!
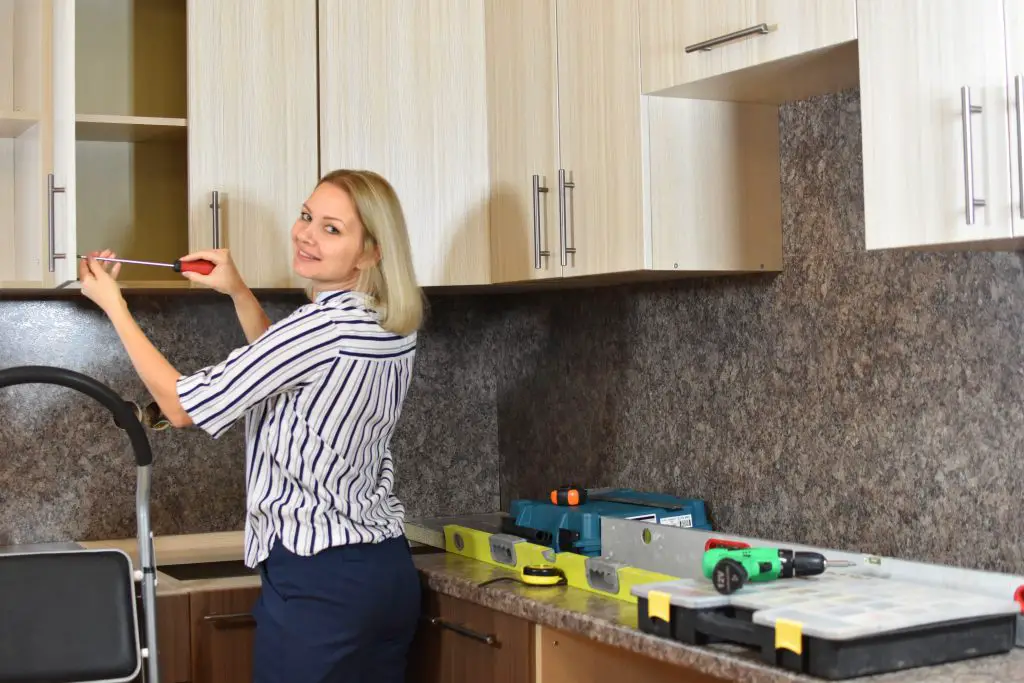
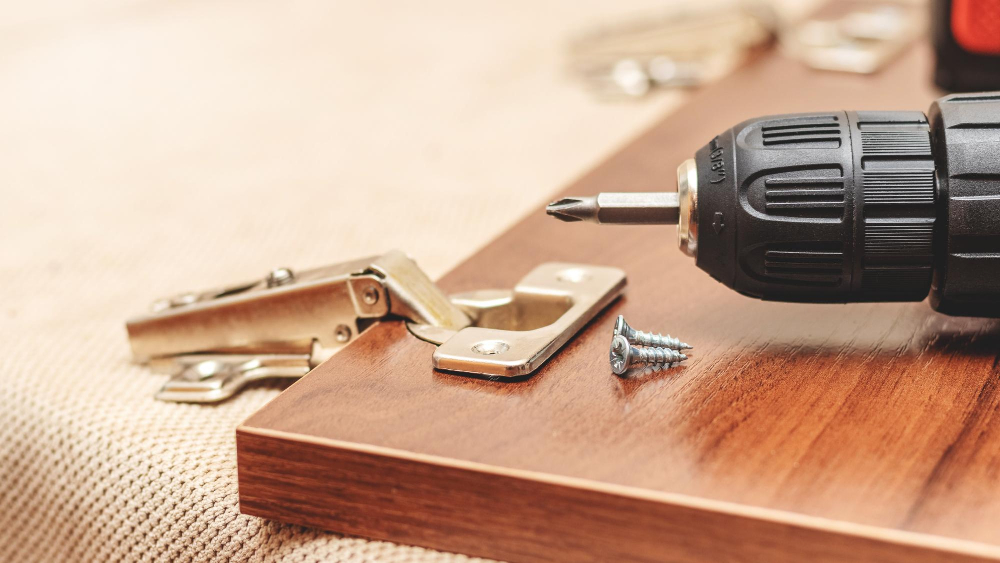
Remove Kitchen Cabinet Hardware
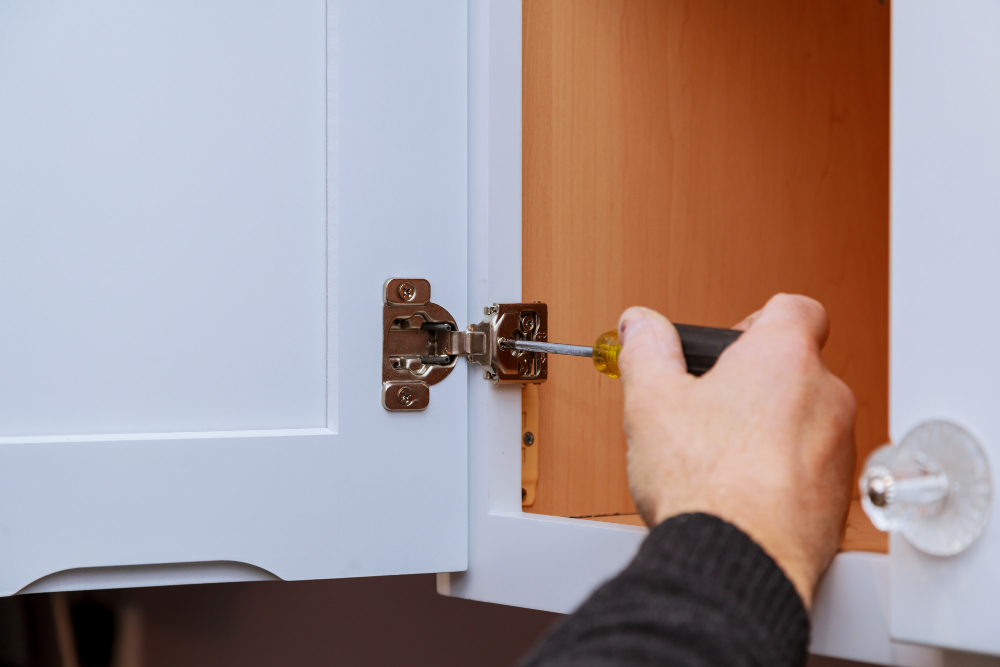
This includes handles, knobs, hinges and any other fixtures that are attached to the cabinet doors or drawers. Removing these items will make it easier for you to paint your cabinets without getting paint on them.
To remove kitchen cabinet hardware:
- Use a screwdriver or drill with an appropriate bit size.
- Loosen each screw until the handle/knob/hinge is loose enough to be removed by hand.
- Place all screws in a small container so they don’t get lost.
If there are any stubborn screws that won’t budge, try using some WD-40 or another lubricant spray before attempting again with your tool of choice.
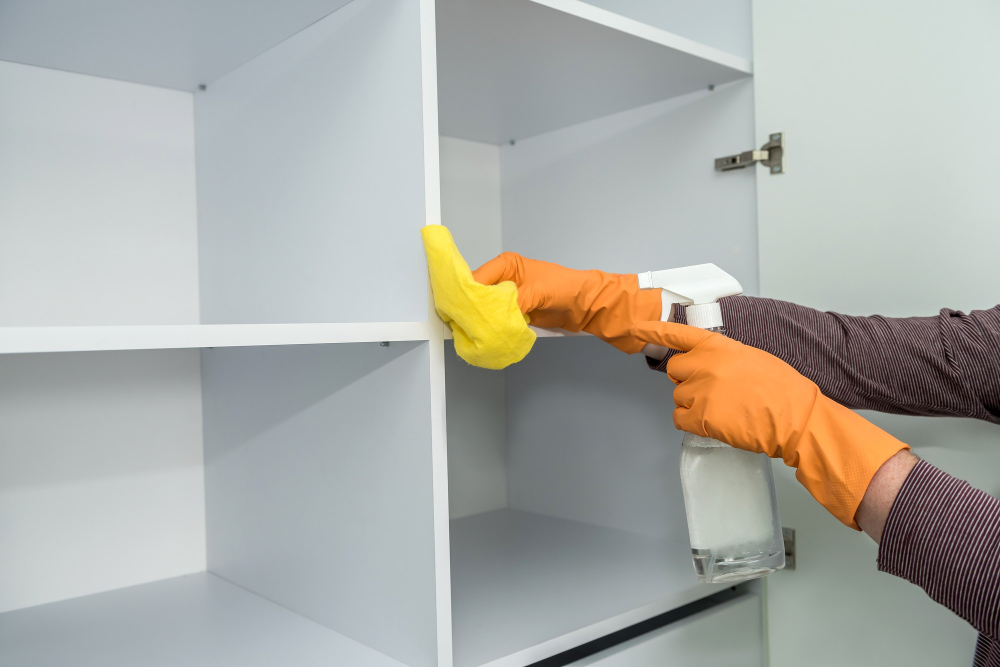
Clean and Prep Kitchen Cabinets
This step is crucial for achieving a smooth and long-lasting finish. Begin by removing all the cabinet doors, drawers, and hardware such as knobs or handles.
Next, give the surfaces a thorough cleaning with warm water mixed with mild dish soap or TSP (trisodium phosphate). Use a sponge or cloth to scrub away any dirt, grease buildup or stains that may have accumulated over time.
Rinse thoroughly with clean water and let dry completely.
Once your cabinets are dry, sand them lightly using fine-grit sandpaper (220 grit) to create an even surface for paint adhesion. Be sure to remove any dust left behind from sanding before moving on.
Use painter’s tape around areas that you don’t want painted like walls adjacent to the cabinets’ edges; this will help prevent drips onto other surfaces while painting inside of kitchen cabinets.
Prime Kitchen Cabinets
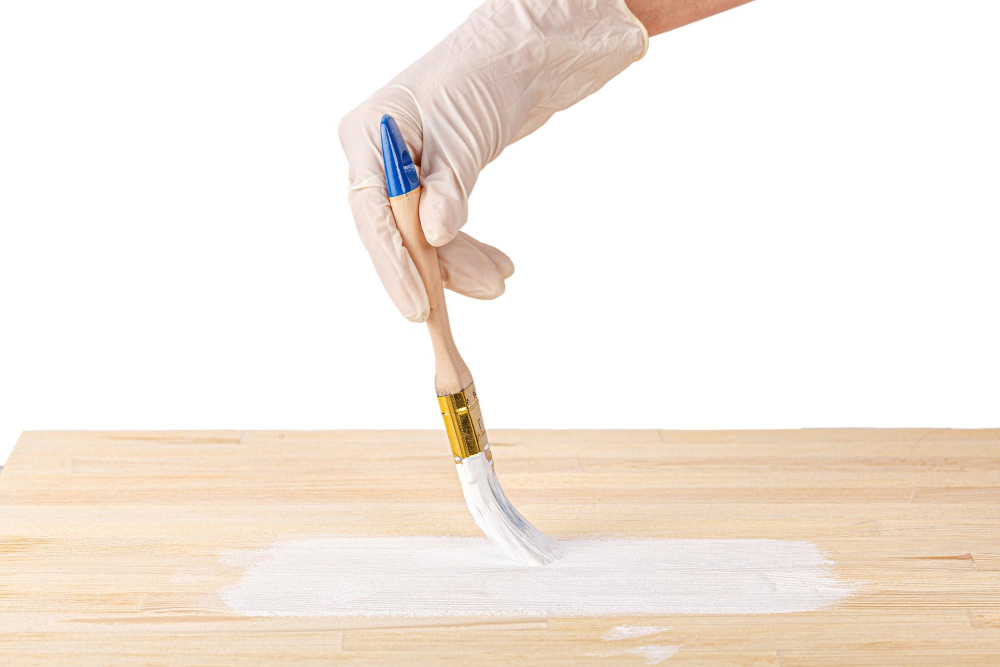
Priming helps the paint adhere better and ensures a smooth finish that will last longer. It also seals any stains or wood tannins that may bleed through the paint.
To prime your kitchen cabinets, begin by removing all hardware such as handles and hinges from the doors and drawers. Then clean them thoroughly with soap and water to remove any dirt or grease buildup.
Next, sand down all surfaces lightly using fine-grit sandpaper to create a rough surface for better adhesion of primer. Wipe away dust with a tack cloth before applying primer.
Choose an oil-based or shellac-based primer for best results as they provide excellent adhesion on most surfaces including wood, laminate, metal etc., but make sure you use one specifically designed for cabinetry since these are formulated not only to bond well but also dry quickly without leaving brush marks behind.
Apply two coats of primer using either a brush or roller depending on what works best in each area (brushes work well around edges while rollers cover large flat areas more efficiently). Allow each coat of primer enough time (usually 24 hours) between applications so it can dry completely before proceeding further with painting process.
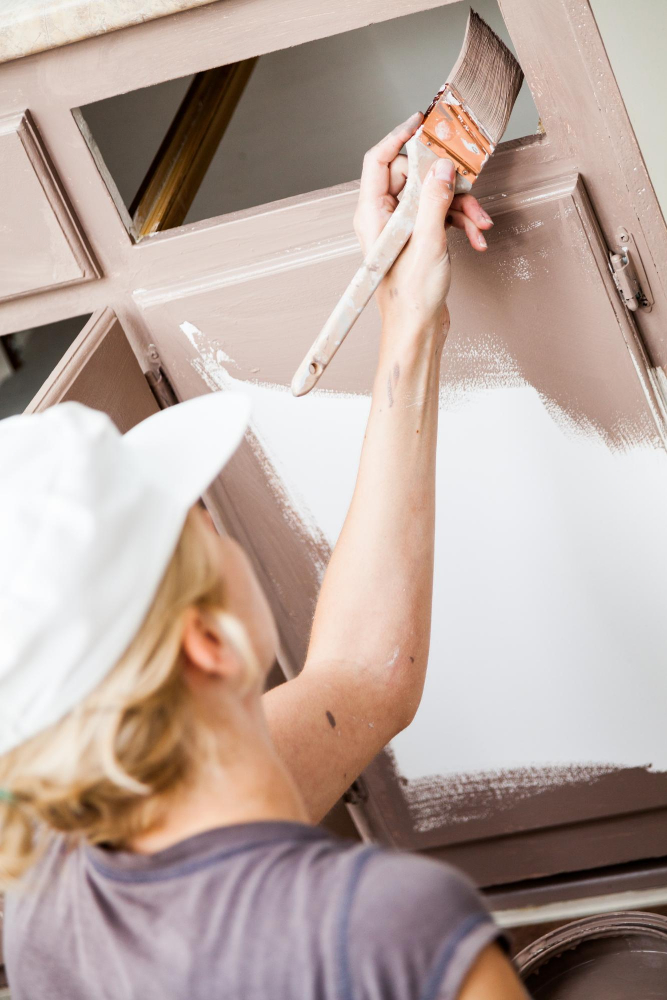
Paint Kitchen Cabinet Doors
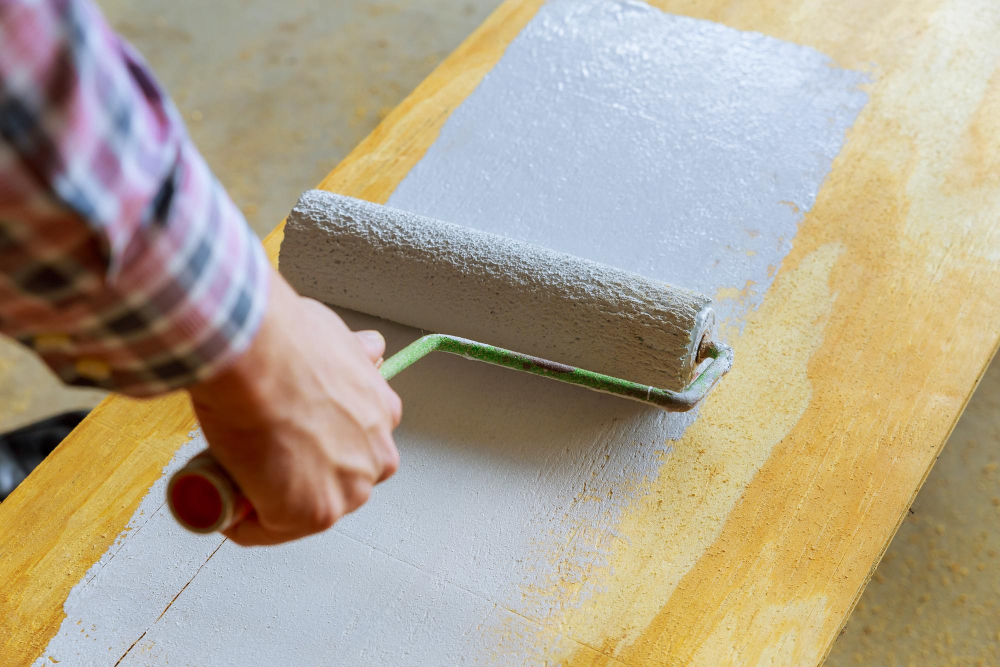
Begin with the cabinet doors since they’re easier to remove and work on separately. Remove all hardware from the doors, including hinges, knobs or pulls.
Next, clean each door thoroughly with a degreaser solution to remove any dirt or grime that may have accumulated over time. Once cleaned and dried completely, sand each door lightly using fine-grit sandpaper until smooth.
Apply a coat of primer evenly across each door surface using a brush or roller. Allow it to dry completely before applying your first coat of paint in long even strokes following the grain of wood if applicable.
Allow this first coat of paint enough drying time before applying another one for better coverage as needed (usually two coats are sufficient). Finally reattach hardware once everything is dry according to manufacturer instructions for best results.
Paint Kitchen Cabinet Frame and Rails
The frame is the part of your cabinets that surrounds each door, while rails are horizontal pieces that connect them. Painting these areas can be a bit tricky since they require more precision than painting flat surfaces.
To begin with, use a small brush or roller to apply paint along the edges of each rail and stile (vertical piece) in long strokes. Be sure not to overload your brush or roller with too much paint as this can cause drips and uneven coverage.
Next, use a larger brush or roller for painting larger sections of your cabinet frames. Start at one end and work towards another using smooth even strokes until you’ve covered all visible areas.
It’s important not to rush this process as any mistakes made here will be very noticeable once everything is put back together again! Take care when applying paint around corners where two pieces meet – try using an angled sash brush for better control over tight spaces like these.
Paint Kitchen Cabinet Sides

Painting kitchen cabinet sides can be a bit tricky since they are often flush against walls or other cabinets. To avoid getting paint on adjacent surfaces, use painter’s tape to protect them before painting.
Start by applying primer with a brush or roller, making sure to cover all areas evenly. Once the primer has dried completely (usually 24 hours), sand lightly with fine-grit sandpaper and wipe away any dust.
Next, apply your chosen paint color using a brush or roller in thin coats for even coverage. Allow each coat of paint to dry completely before adding another layer.
When painting kitchen cabinet sides that are visible from multiple angles (such as those at the end of an island), it may be necessary to use an angled brush for better precision and control over where you apply your strokes.
Reattach Doors and Drawers

This is a crucial step in achieving a professional-looking finish that will last for years to come. Before reattaching any hardware, make sure that your paint has fully dried according to the manufacturer’s instructions.
When it comes to attaching cabinet doors and drawers, take care not to scratch or damage your newly painted surfaces. Use soft cloths or towels as buffers between surfaces when necessary.
Start by aligning each door with its corresponding hinge on the cabinet frame. Once aligned correctly, insert screws into each hole on both hinges and tighten them securely using a screwdriver.
For drawer fronts, use screws provided with new knobs or pulls if you’re replacing old ones; otherwise reuse existing hardware if possible for consistency in appearance throughout all cabinetry pieces within one room design scheme (or house).
Caring for Painted Cabinets
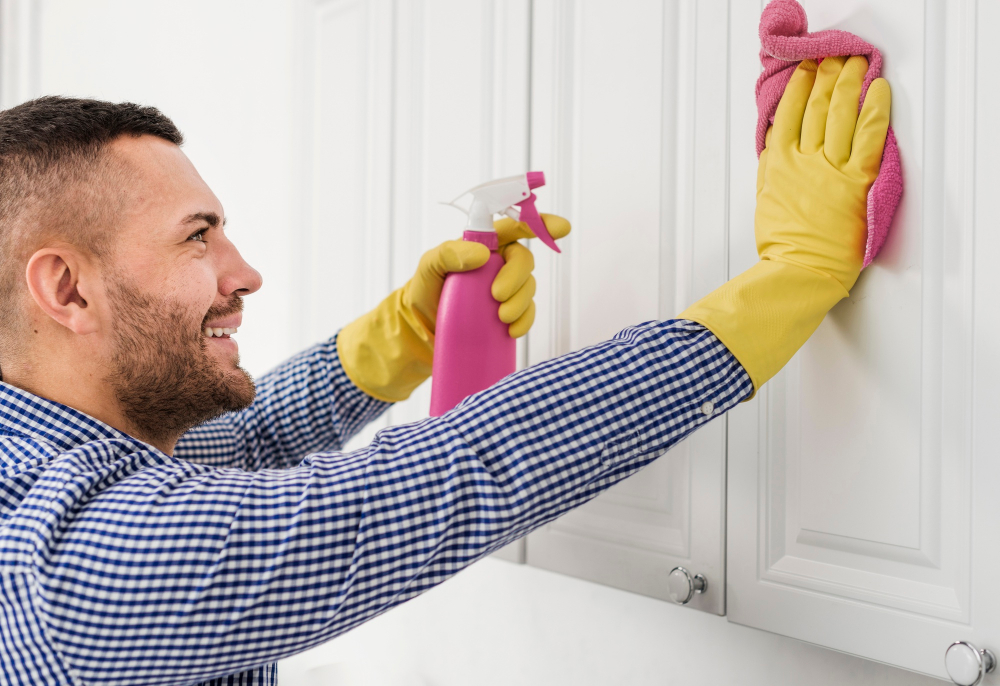
Here are some tips on how to care for your newly painted cabinets:
1. Avoid harsh chemicals: Abrasive cleaners and solvents can damage the paint finish on your cabinets, so it’s best to avoid using them altogether.
2. Clean regularly: Regular cleaning is crucial in maintaining the appearance of your painted cabinets.
Use a soft cloth or sponge with mild soap and water solution.
3. Wipe spills immediately: Accidents happen, but if you spill something on your freshly-painted cabinet doors or drawers, wipe it up immediately with a damp cloth.
4. Don’t slam doors and drawers shut: Slamming cabinet doors and drawers can cause chips in the paint over time; instead, close them gently every time.
5. Keep humidity levels low: High humidity levels can cause wood expansion that may lead to cracking or peeling of paint from surfaces exposed directly.
By following these simple steps above will help keep those beautiful new colors looking fresh while also protecting against wear-and-tear over time!
FAQ
Why don’t you paint the inside of cabinets?
The inside of cabinets is typically not painted due to increased labor, cost, and because the interior is only visible when the doors are opened, yet some individuals prefer a consistent color throughout.
Do you paint the inside of cabinets the same color as the outside?
Most homeowners usually paint the inside of cabinets the same color as the outside to maintain a consistent look.
What paint finish for inside kitchen cabinets?
The best paint finish for inside kitchen cabinets is semi-gloss, as it provides durability and light reflection, essential in a kitchen environment.
Do you paint both sides of kitchen cabinet doors?
Yes, both sides of kitchen cabinet doors are painted, as it is necessary to paint both sides and let them fully dry in between the two top coats.
How do you properly prepare the inside of kitchen cabinets for painting?
To properly prepare the inside of kitchen cabinets for painting, one must clean the surface thoroughly, remove hardware, and sand it lightly before applying a primer.
What are the pros and cons of painting the inside of kitchen cabinets?
Pros of painting the inside of kitchen cabinets include a cleaner and refreshed look, while cons involve time-consuming and potential wear over time.
How does painting the inside of cabinets impact the overall look and functionality of the kitchen?
Painting the inside of cabinets can significantly enhance the overall appearance and functionality of the kitchen by providing a refreshed, clean look and making it easier to organize and visually locate items.


