Last updated on
Discover practical tips on choosing the perfect spot for your trash can in the kitchen.
Key takeaways:
- Trash can near sink and prep area for convenient use.
- Freestanding or built-in based on kitchen size and preference.
- Choose a trash can that matches kitchen aesthetics.
- Maintain cleanliness with liners, regular cleaning, and immediate wipe-downs.
- Place trash can away from heat sources and near good ventilation.
What's Inside
Analyzing Kitchen Layout for Optimal Trash Can Placement
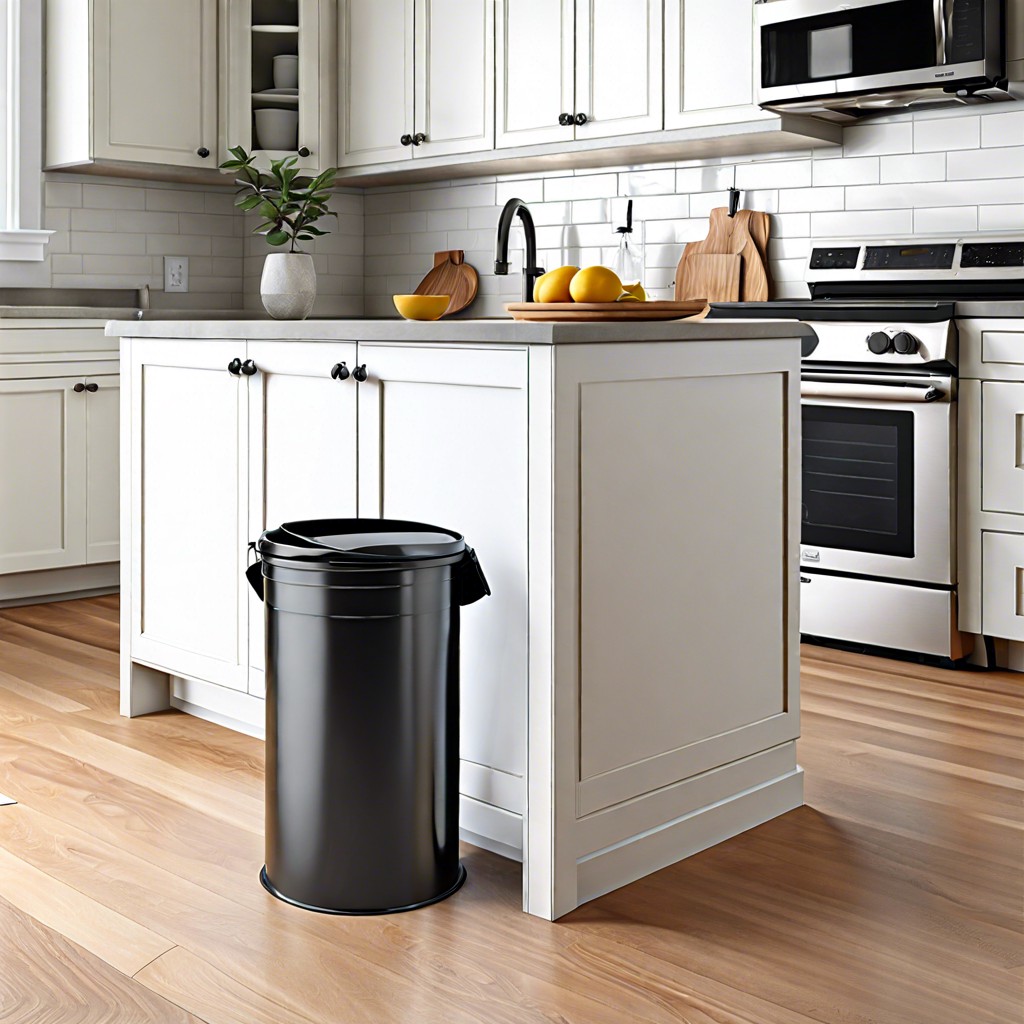
Consider the workflow in your kitchen where prepping, cooking, and cleaning converge. Ideally, placing your trash can near the sink and main prep area cuts down time spent moving around. Check if there’s enough room where the doorway won’t bang into an open trash can lid, or where high traffic won’t turn it into an obstacle course. A tucked-away spot is great, but ensure it’s accessible — maybe next to the lower cabinets or under the kitchen island, if there’s enough clearance. Remember, a too-hidden trash can could become an inconvenience when you need to toss something in a hurry. Also, factor in the distance to your dishwasher or pantry — quick disposal after unloading groceries or cleaning dishes is better when coherent. Keeping these elements in mind simplifies your kitchen routine and also plays nicely with its aesthetics.
Freestanding Vs. Built-in Trash Cans: Which Is Right for Your Space?
Choosing between freestanding and built-in trash cans often depends on your kitchen’s size and layout. Freestanding cans are versatile and can be moved as needed, making them ideal for those who like flexibility or have a larger kitchen area. They come in various styles and materials, so you can find one that matches your kitchen’s decor.
Built-in options, on the other hand, are perfect for saving space and keeping waste hidden. Typically integrated into the cabinetry or underneath the sink, they help maintain a cleaner, more streamlined look. This type is particularly good in smaller kitchens or if you prefer not to have the trash can visible.
When considering which type to go with, think about your daily usage and how much space you can dedicate to a trash can. Also, consider the ease of cleaning and whether the integration of the trash can with the existing cabinetry is feasible in your kitchen setup.
How to Choose a Trash Can That Complements Your Kitchen Aesthetics
Selecting a trash can that enhances your kitchen aesthetics ensures that functionality meets style. Consider the color and material of your bins according to your kitchen’s theme. Stainless steel cans are sleek and modern, whereas wood or wicker can add a warm, rustic touch.
Size matters. A smaller, chic trash can might suffice for minimal waste families or smaller spaces, keeping the area uncluttered. Conversely, larger families might opt for bigger cans but should seek options that are visually unobtrusive.
Think about finishes. A matte finish can reduce the appearance of fingerprints, perfect for maintaining a tidy look in busy kitchens. Glossy finishes, on the other hand, make a bold statement but may require more frequent cleaning.
Lastly, consider innovative designs like cans that tuck away into a cabinet or ones that feature a hidden compartment to store additional garbage bags. These types blend in nicely and keep the necessary, but not necessarily beautiful, aspects of kitchen waste out of sight.
Practical Tips for Maintaining Cleanliness Around the Kitchen Trash Can
Keeping the area around your kitchen trash can clean not only enhances the overall hygiene of your kitchen but also makes the space more inviting. Here are some handy tips to ensure the cleanliness around your trash disposal area:
- Line Your Bin: Always use liners in your trash can to prevent leaks and spills that can stain the bin and floor. Consider choosing biodegradable or recyclable liners to stay eco-friendly.
- Regular Cleaning Schedule: Empty the trash can daily to avoid odors and bacteria buildup. Clean the can itself weekly with a disinfecting cleaner to keep it fresh and reduce germ spread.
- Immediate Wipe-downs: Spills happen, but immediate action can prevent stains and odors. Keep a cloth or paper towel handy to quickly wipe down the area around the trash can after any spills or when removing the liner.
- Deodorizing: To combat odors, sprinkle some baking soda at the bottom of the trash can before putting in a new liner. This simple trick helps absorb foul smells and keep the area fresh.
- Strategic Placement: Avoid placing the trash can directly under the sink or next to cooking areas. Such locations can promote quicker bacterial growth and attract pests. A spot near the kitchen exit or an easily accessible but less trafficked area is ideal.
By implementing these practical steps, you maintain a cleaner and more pleasant kitchen environment.
The Role of Trash Can Placement in Minimizing Odors
Keeping your kitchen smelling fresh starts with where you place the trash can. Ideally, position it away from heat sources like stoves and dishwashers, which can accelerate decomposition and amplify odors. Instead, tuck it near a window or an area with good ventilation to help disperse smells.
Another smart placement? Close to the sink. It makes it easier to rinse recyclables or food containers before tossing them, minimizing residue that can cause stink.
If space allows, choose a spot that isn’t directly in your primary cooking or prep area. This not only keeps odors at bay but also maintains kitchen hygiene by separating waste from food preparation zones.
Lastly, consider a trash can with a tight-sealing lid and perhaps invest in odor-absorbing technologies like filters or scented liners to provide an extra layer of defense against unpleasant smells.


