Last updated on
Experience a profound transformation in your kitchen because this detailed guide will unlock the secrets of painting MDF cabinets with a professional touch.
Key takeaways:
- MDF cabinets offer smooth finish, but less resilient to moisture
- MDF cabinets can be painted with proper prep and paint choice
- Take safety precautions when working with MDF: wear protective gear
- Gather the right tools and materials before painting MDF cabinets
- Follow step-by-step process: clean, seal, sand, prime, paint, finish
What's Inside
Benefits & Drawbacks of MDF
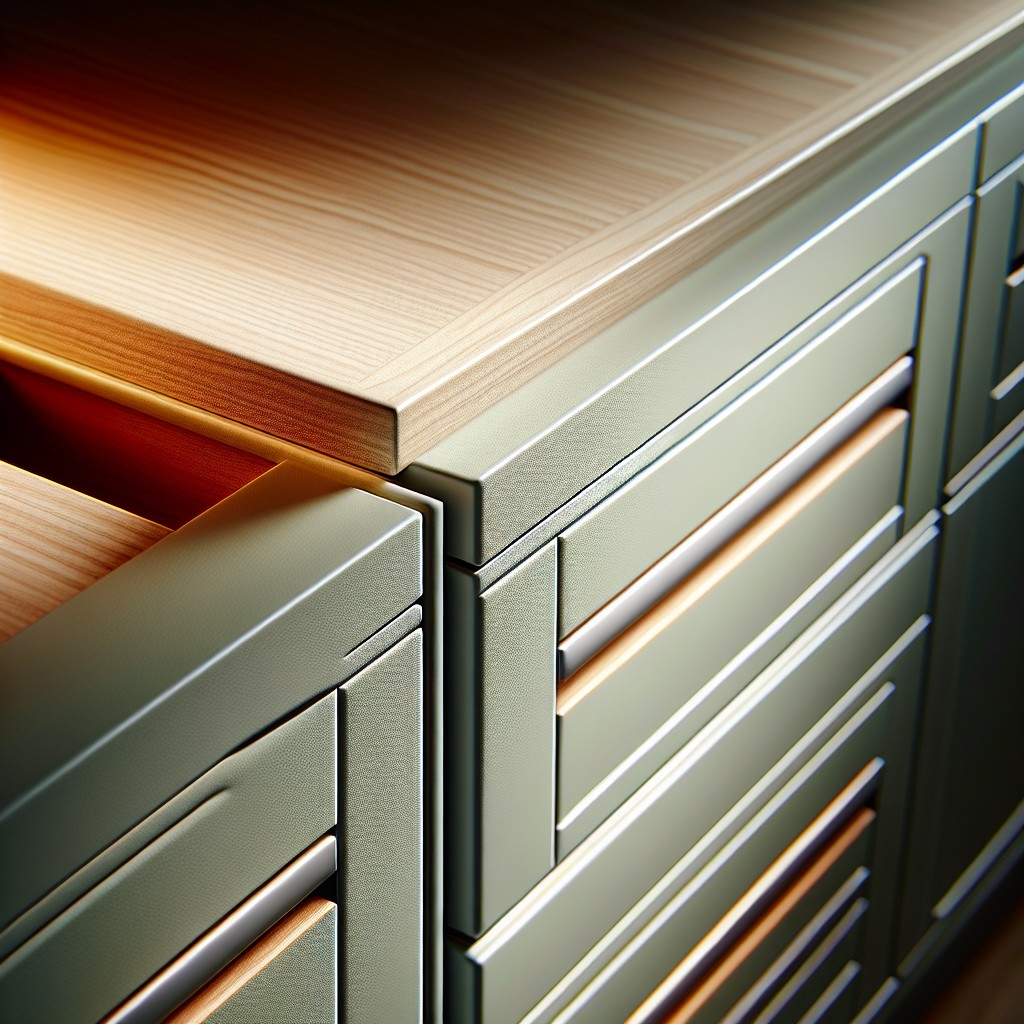
Medium-density fiberboard, or MDF, is widely favored for its affordability and smooth texture, which allows for a seamless finish when painted. Its homogeneous surface ensures that there are no grains or knots that could interrupt the paintwork.
Additionally, MDF’s density ensures durability and resistance to warping over time, making it a reliable material for cabinets.
On the flip side, MDF can be less resilient to moisture compared to solid wood. Exposure to water can cause swelling or damage, so it’s crucial to thoroughly seal its surface before applying paint. The material is also prone to chipping during cutting or if knocked hard.
When sanding or cutting MDF, precautions should be taken to mitigate the fine dust produced, which can be harmful if inhaled.
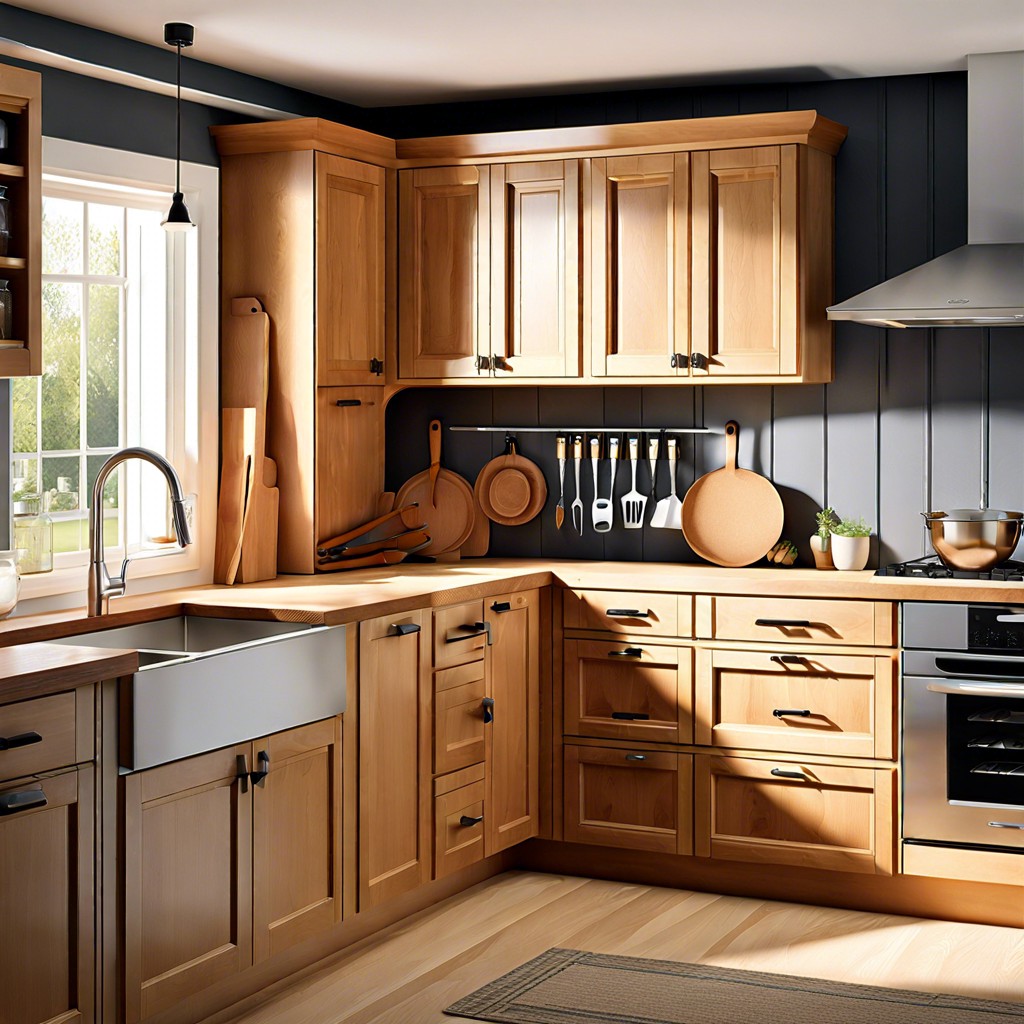
Despite these considerations, with proper handling and painting, MDF cabinets can offer a sleek and cost-effective solution for updating your space.
Can You Paint MDF Cabinets?
Absolutely, MDF cabinets are prime candidates for a paint job. Medium-density fiberboard, known for its smooth surface devoid of knots and grains, accepts paint well, giving a clean finish.
But the devil is in the details:
- MDF is engineered wood, combining fine wood fibers and resin, ideal for a uniform paint application.
- Its density ensures minimal absorption, meaning you’ll use less paint than with porous wood.
- Key to success involves proper prep: sealing, priming, and sanding to avoid swelling and to provide a receptive surface.
- Choose the right paint: a durable option that can endure the wear and tear typical to cabinetry—oil-based or high-quality acrylic paints work wonders.
- Take heed, MDF’s edges are more absorbent, requiring extra attention with a sealing primer to ensure an even finish.
Keeping these points in mind will set the stage for a successful painting project, transforming your MDF cabinets with a fresh, durable coat.
Safety Considerations
Ensuring safety while working with MDF is crucial due to the fine dust and chemical content. Wear protective gear, such as a mask with a P2 filter, to avoid inhaling particles.
Safety goggles protect your eyes during sanding, and gloves prevent skin exposure to chemicals.
Work in a well-ventilated area to disperse fumes from paint and primer. Keep a fire extinguisher handy because painting supplies can be flammable.
Lastly, familiarize yourself with the safety data sheets for all products used.
What You’ll Need
Equipping yourself properly ensures a smooth and successful painting project. Here’s what you need to gather before diving into the transformation of your MDF cabinets:
Equipment / Tools:
- Fine-grit sandpaper or a sanding block to prep the cabinet surfaces
- A vacuum cleaner with a brush attachment or a tack cloth for dust removal
- High-quality synthetic paintbrushes and/or foam rollers for a smooth application
- Paint tray to hold and roll out the paint
- Masking tape for protecting hinges and hardware
- Safety gear, including goggles and a dust mask
Materials:
- Oil-based primer specifically designed for MDF to prevent swelling
- Acrylic or latex paint in your chosen finish – satin, semi-gloss, or gloss work well on cabinets
- Clear acrylic sealant to protect your final coat
- Optional: Wood filler for fixing any imperfections before you begin
Securing the right tools and materials before you start saves time and helps ensure a professional-looking finish. Now, let’s turn those cabinets from drab to fab.
Equipment / Tools
Equipping yourself with the right tools ensures a smooth and effective painting process. A high-quality paintbrush or microfiber roller is crucial for a streak-free finish on the flat surfaces of the cabinets. An angled brush will help you reach into corners and detailed areas with precision. Foam rollers can also be beneficial for achieving a smooth surface without brush marks.
For preparation, you’ll need fine-grit sandpaper to lightly scuff the MDF surface, creating a better grip for the primer. A vacuum cleaner with a brush attachment or a tack cloth will assist in removing all sanding dust, which is critical before painting. Painter’s tape is a must-have for protecting hinges, countertops, and adjacent walls from paint splashes.
Having a paint tray will be useful for loading rollers evenly with paint or primer, and a stir stick is necessary to mix the paint thoroughly, ensuring consistent color and texture. Lastly, safety gear like a dust mask and protective goggles are non-negotiable to shield yourself from fine particles and fumes.
Materials
To ensure a smooth, durable finish on your MDF cabinets, gather the following materials:
- High-quality primer: A solvent-based primer helps to seal the porous surface of MDF and prevents moisture absorption.
- Sandpaper: Use 220-grit sandpaper for initial sanding and finer 320-grit for between coats.
- Tack cloth or microfiber cloth: These will remove dust post-sanding to prevent rough textures.
- Paint: Acrylic or oil-based paints suit MDF well. Opt for a semi-gloss or gloss finish for easy cleaning.
- Paintbrushes and rollers: A combination of foam rollers for flat surfaces and synthetic-bristle brushes for edges and detail work achieves a professional look.
- Paint tray: For easy roller access and paint management.
- Painter’s tape: Protect hinges and hardware by taping off areas not intended for painting.
Choosing the proper materials can make the difference between a cabinet finish that lasts and one that peels and chips prematurely. High-quality paints and primers may cost more upfront but will save time and money in the long run by reducing the need for touch-ups.
How to Paint MDF Cabinets
Cleaning and preparing the surface of your MDF cabinets is key to achieving a smooth, professional finish. Start by wiping down the cabinets with a degreaser or a mild detergent solution to remove any grease, grime, or dust. Rinse with a clean damp cloth and let them dry thoroughly.
Once clean, inspect for any imperfections. Use wood filler to correct any dents or scratches, then let it dry as per the manufacturer’s instructions. It’s essential to provide a sound, even base for painting, as MDF can be quite porous and irregularities will show through the paint.
Next, sand the surfaces lightly with fine-grit sandpaper to create a texture that the primer can adhere to. If you’re facing a laminated MDF, take care not to sand too vigorously, as this could damage the laminate. Once you’ve finished sanding, wipe the dust away with a clean, slightly damp cloth.
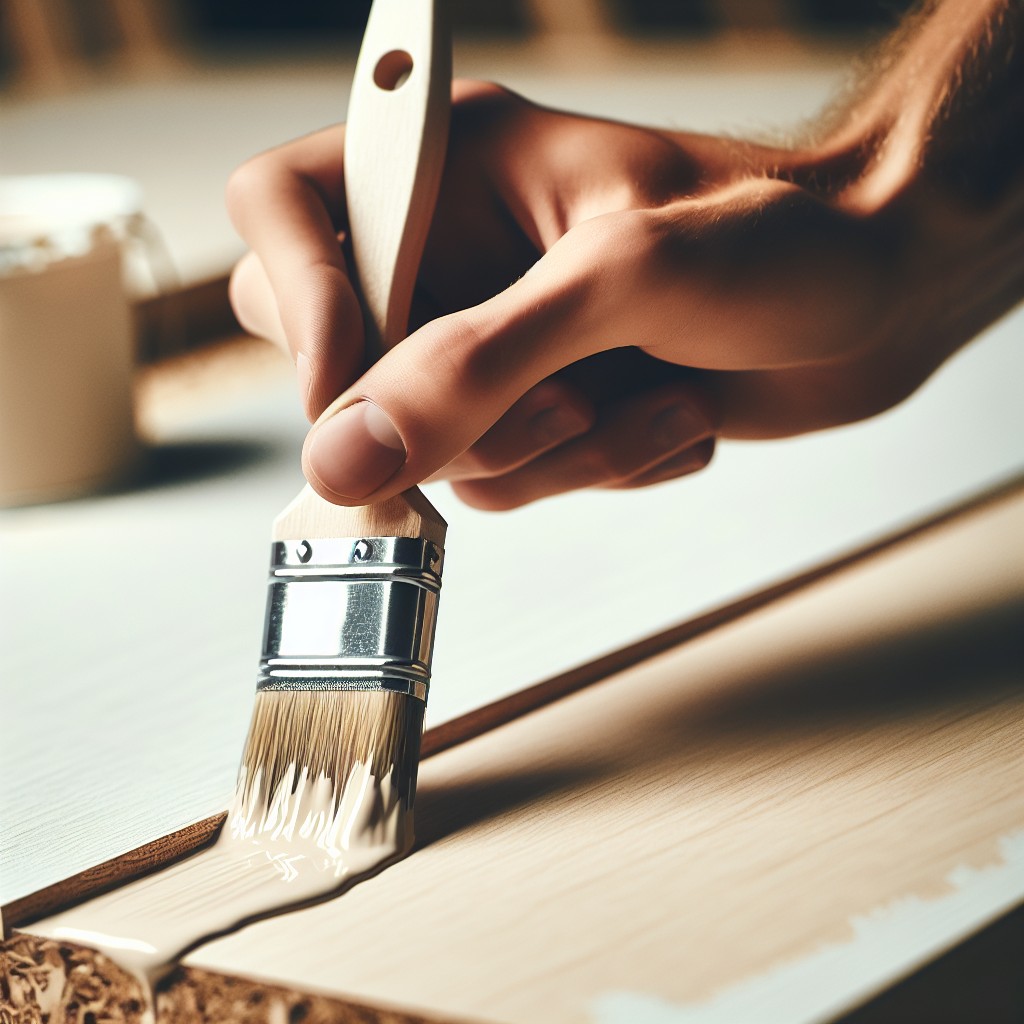
Choose a primer that’s suitable for MDF, preferably one that seals the wood and prepares it for painting. An oil-based or acrylic latex primer usually works well. Apply the primer with a brush or roller, starting with the cabinet edges and working inwards. Let it dry according to the guidelines specified by the product.
After priming, sand the cabinets lightly with ultra-fine sandpaper to remove any raised fibers and ensure the best adhesion for paint. Clean the dust once more, and now your cabinets are ready for painting, ensuring a durable and high-quality finish. Remember to use a paint designed for use on MDF, and consider applying several thin coats rather than one thick coat for the best results.
Step 1: Cleaning & Sealing
Begin with a thorough wipe-down using a damp cloth to remove all surface dust and grime from your cabinets. This ensures that the sealant and paint adhere properly.
After drying, apply a high-quality sealant. MDF is highly absorbent, so this step will prevent swelling and help achieve a smooth, professional finish. Wood sealant or a solvent-based primer can also be used, which offers the added benefit of reducing the number of overall primer coats needed.
Apply the sealant evenly and allow it to dry according to the manufacturer’s recommendations before moving on to the next step. Remember to seal edges as they are particularly prone to moisture absorption.
Step 2: Sanding
Before diving in with sandpaper, ensure your MDF cabinets are free from dust and debris. Begin with a medium-grit sandpaper, such as 120-grit, to gently sand the surface. The goal is to scuff up the glossy finish so that the primer will adhere better, not to sand through to the fiberboard.
Sand the cabinet surfaces in the direction of the grain to avoid creating cross-grain scratches. After the initial sanding, switch to a finer grit, like 220-grit, for a smooth finish. Remember that MDF is prone to abrasion, so apply minimal pressure while sanding.
Once the sanding is complete, wipe down the cabinets with a clean, damp cloth to remove any dust. It’s crucial to ensure the surface is completely clean and dry before moving on to priming. Regularly check your progress by running your hand over the surface to detect any rough spots you may have missed. Remember, a well-prepped surface makes all the difference in achieving a professional-looking paint job.
Step 3: Priming
Selecting a high-quality primer is crucial for MDF cabinets since it ensures a smooth finish and helps seal the porous edges. Oil-based or shellac-based primers are excellent choices due to their sealing properties and ability to prevent moisture absorption, which can cause MDF to swell.
Before application, make sure the cabinets are dust-free to avoid trapping particles under the primer. Apply an even coat with a brush or roller designed for smooth surfaces. Focus on edges as these areas are more absorbent and can take extra time to dry.
For a flawless finish, lightly sand the primed surfaces with fine-grit sandpaper after the first coat has dried. This will remove any raised fibers and prepare the surface for the second coat. Allow sufficient drying time as recommended by the primer manufacturer before moving on to painting.
Step 4: Painting
Once your MDF cabinets are sanded and primed, they’re ready for paint. Here are some key points to ensure a smooth and durable finish:
1. Choice of Paint: Opt for a paint formulated for cabinets, as these will have the durability needed for surfaces that see frequent use. A semi-gloss or gloss finish is often recommended because it’s easy to clean and resists moisture better than flat finishes.
2. Applying Paint: For a professional-looking finish, use a high-quality synthetic bristle brush or a foam roller to apply paint. Brushes are great for corners and edges, while rollers can cover large, flat surfaces quickly and with less risk of leaving brush marks.
3. Working in Sections: Tackle one cabinet at a time, starting with the back of the doors. Paint the detailed areas first and then fill in the larger flat surfaces to avoid drips and ensure even coverage.
4. Number of Coats: Apply at least two thin coats of paint rather than one thick one to prevent drips and uneven textures. Allow the paint to dry thoroughly between each coat, according to the manufacturer’s instructions.
5. Drying Time: Be patient with drying times. Rushing to re-coat or reassemble doors and hardware can result in fingerprints and marks on the surface. Thorough drying ensures a hard, durable finish that will hold up well over time.
By paying close attention to the type of paint used, application technique, and allowing for proper drying time, you’ll achieve a long-lasting and attractive finish on your MDF cabinets.
Step 5: Finishing
After your paint has dried, inspect the finish for any blemishes or missed spots, touching up as necessary. Apply a sealer or topcoat to safeguard the paint against scratches and moisture—this step ensures longevity and provides a professional touch. When selecting a sealer, opt for a non-yellowing, clear polyurethane or acrylic product designed for cabinetry. Apply the sealer with a fine-bristle brush or a foam roller to avoid brush marks and achieve a smooth finish. Allow the sealer to dry as recommended by the product instructions.
Finally, reattach hardware or install new pieces for an updated look. Remember, MDF can be prone to swelling if screws are over-tightened, so be gentle. The hardware not only adds functionality but also complements the cabinetry’s aesthetic. Stand back and admire your newly transformed cabinets, reminiscent of a fresh, modern kitchen or bathroom update.
Tips for Painting MDF
Achieving a smooth, professional finish on MDF cabinets is all about attention to detail and a few insider tricks:
- Seal the Edges: MDF is extremely porous along the cut edges. Use a high-quality, solvent-based primer specifically for sealing MDF to prevent swelling and facilitate a more uniform paint application.
- Choose the Right Primer: An oil-based or acrylic latex primer will adhere best to MDF, ensuring a better paint bond and a durable finish. Steer clear of water-based primers, which can cause the fiberboard to bulge or warp.
- Opt for High-Density Foam Rollers: Foam rollers leave a fine, smooth finish without brush marks. They are particularly suitable for flat surfaces like cabinet doors.
- Light Sanding Between Coats: After each primer and paint coat, a light sanding with fine-grit sandpaper helps to knock down any texture, contributing to a glass-like finish.
- Thin Coats Over Thick: Multiple thin paint layers are preferable. They dry faster and more evenly, reducing the risk of drips and sags that can occur with heavier coats.
- Consider Paint Additives: Additives like Floetrol can be mixed into your paint to extend drying time, which reduces brush marks and roller texture.
- Control Dust: Keep your workspace clean to avoid dust settling into wet paint. Even a speck of dust can become an eyesore on an otherwise smooth surface.
These tips can significantly elevate the final look of your painted MDF cabinets. Patience, precision, and careful execution are the keys to a flawless finish.
FAQ
Can you paint MDF cabinets?
Absolutely, MDF cabinets can be painted.
What kind of paint do you use on MDF?
For painting MDF, it is advisable to utilize paints like eggshell, satinwood, or gloss after applying a primer and an undercoat to achieve a robust and enduring finish, while evading emulsion paints.
Do I need to prime MDF before painting?
Yes, priming MDF before painting is necessary to seal its porous surface thus preventing uneven paint absorption and achieving a uniform finish.
Can painted MDF be repainted?
Yes, painted Medium-Density Fiberboard (MDF) can be repainted by lightly sanding, sealing with a primer, and applying the new paint.
What is the best method of preparing MDF cabinets for painting?
The best method of preparing MDF cabinets for painting involves cleaning them thoroughly, sanding the surface lightly, and applying a coat of quality primer before painting.
Are there any specific considerations when painting MDF compared to other materials?
Yes, painting MDF requires specific considerations such as proper sealing due to its porous surface, and using oil, not water-based paint to prevent swelling or warping.
How can you protect painted MDF cabinets to ensure longevity and durability?
To ensure the longevity and durability of painted MDF cabinets, apply a few coats of high-quality acrylic latex paint and seal with a high-quality polyurethane finish.
Read More
 Staining Cabinets: A Step-by-Step Guide to a Fresh Look
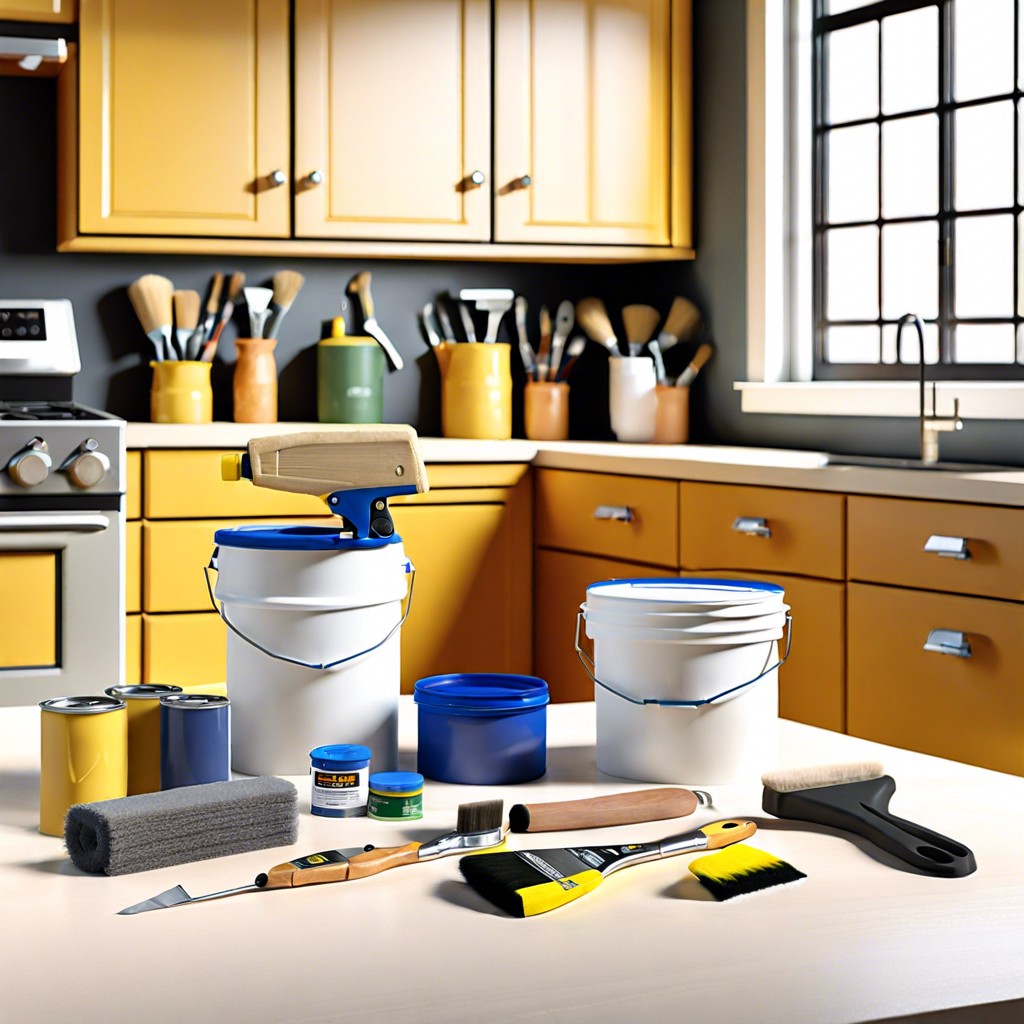 How Long Does It Take to Paint Kitchen Cabinets: A Time-Saving Guide
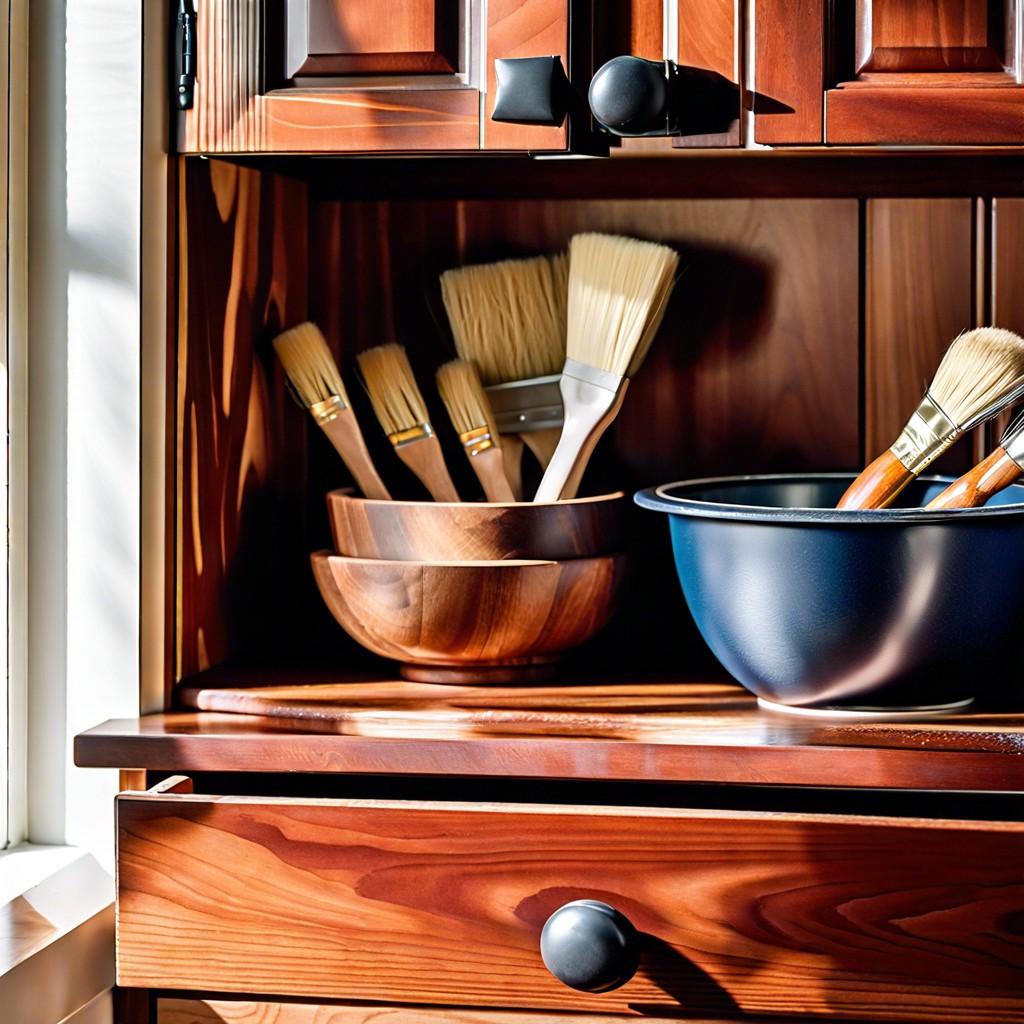 Cost to Refinish Cabinets: A Cheaper Revival
 How to Install Upper Cabinets: Tips for a Perfect Kitchen Makeover
 How to Keep Roaches Out of Cabinets: Say Goodbye to Unwanted Guests