Last updated on
Embarking on a cabinet painting project can present a puzzle because determining the amount of time required involves an array of factors, which will be unraveled in this comprehensive guide.
Key takeaways:
- DIY vs professional: skill level, time commitment, equipment, quantity and complexity, simultaneous tasks.
- Factors affecting project duration: size, complexity, chosen finish, skill level, current cabinet condition.
- Project timeline overview: 4-7 days, prep, removal and cleaning, priming, painting, reassembly.
- Cost breakdown: DIY materials 0-0, professional ,200-,000.
- Time breakdown for each step: prep, removal, cleaning, priming, painting, reassembly.
What's Inside
Understanding the Time Investment for Cabinet Painting
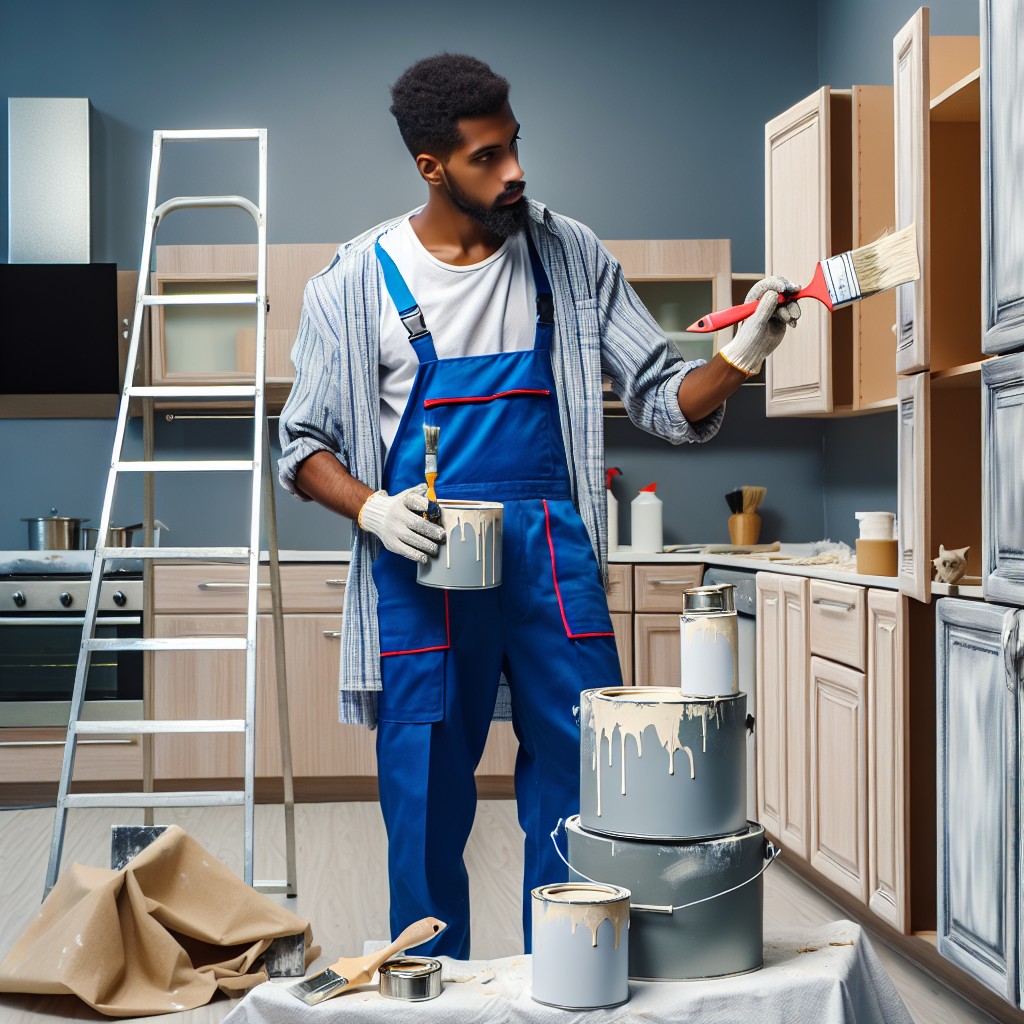
Embarking on a cabinet painting project requires a realistic understanding of the time involved, whether you plan a DIY approach or intend to hire professionals. The scale of your kitchen and the condition of your cabinets can significantly influence the time commitment. For DIY enthusiasts, expect to commit a weekend or more, depending on your pace and experience. Professional painters could potentially complete the job faster due to their expertise, but this comes at a financial cost.
Factor in the following as you plan your project timeline:
- DIY Experience Level: Novices may need additional time to familiarize themselves with techniques and may progress more slowly.
- Condition of Cabinets: Cabinets requiring extensive cleaning or repairs will elongate the preparation phase.
- Size of Kitchen: More cabinets equal more time. A simple math that affects both prep and painting stages.
- Design Complexity: Intricately designed cabinets with detailed work require more attentive painting and longer drying times between coats.
Recognizing these aspects before you dip your brush or roller will help in effectively scheduling your project and setting realistic expectations.
Time Required for DIY Vs. Professional Completion
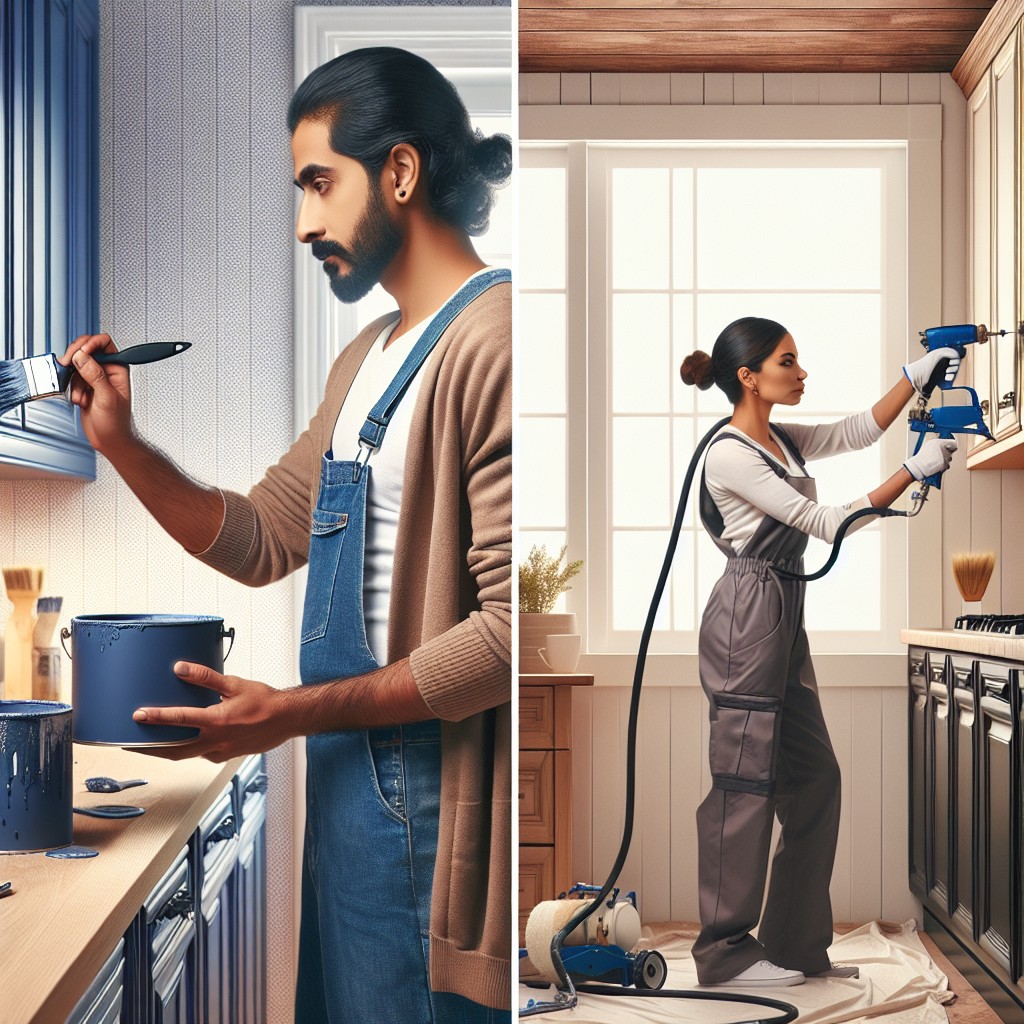
When taking on a cabinet painting project, the decision between DIY and hiring professionals significantly impacts the timeline. DIY enthusiasts might need anywhere from a few days to a couple of weeks, depending on the time they can dedicate each day and their level of expertise. Here’s a quick look at the factors influencing time:
- Skill Level: DIYers often require more time due to a learning curve. Professionals come with experience that streamlines the process.
- Hours Committed Daily: Part-time DIY efforts will stretch the project over more days. Professionals typically work full-day schedules, condensing the timeline.
- Equipment: Pros have access to commercial equipment that speeds up tasks like sanding and spraying, shaving off hours or even days.
- Quantity and Complexity: A large kitchen with intricate cabinet designs will take longer. Professionals are more adept at managing complex tasks efficiently.
- Simultaneous Tasks: Professionals usually work in teams, allowing for multiple stages to happen at once, unlike a solo DIY approach.
Remember, while a professional job is quicker, a DIY project provides a sense of accomplishment and potential cost savings. Assess personal time constraints and desired outcomes when choosing between the two.
Factors Affecting Project Duration
The size of your cabinets plays a crucial role in determining the timeline; larger kitchens naturally take longer. The complexity of the cabinet design also matters—if you’re dealing with intricate moldings or multiple small drawers, expect to add hours for meticulous work.
Additionally, your chosen finish can either speed up or slow down the process. For example, applying a simple single coat will be quicker than multiple layers or specialty finishes requiring longer drying times.
Skill level impacts efficiency, too. If you’re a seasoned DIYer accustomed to handling paint projects, you’ll likely complete the task faster than someone new to such undertakings.
Lastly, the current state of your cabinets can add extra steps. Pre-existing damage may require intensive prep work, including sanding, patching, and priming before a paintbrush is ever dipped.
Project Timeline Overview
Delving into the timeline for painting cabinets, it’s important to note that an average project spans several days. Erfors, anticipate dedicating anywhere from 4 to 7 days from start to finish. The actual working time each day typically ranges from 3 to 5 hours, depending on the complexity and size of your kitchen.
Here’s a quick glimpse into what these days entail:
- Day 1: Preparation – This is all about getting ready. You’ll spend time covering countertops, floors, and walls to protect from paint splatters.
- Day 2-3: Removal and Cleaning – These days are for taking off the doors and hardware and thoroughly cleaning all surfaces. Adequate cleaning ensures the primer and paint adhere properly, laying the foundation for a smooth finish.
- Day 4: Priming – Apply a coat of primer and allocate time for it to dry completely. This can take up to 24 hours depending on the primer used and environmental factors.
- Day 5-6: Painting – After the primer is set, apply the first coat of paint. You’ll need to allow it to dry before applying a second (and possibly third) coat. Keep in mind drying time is crucial to prevent any smudges or dents.
- Day 7: Reassembly – Once the paint is thoroughly dry, it’s time to put everything back together. Carefully reinstall doors, shelves, and hardware.
Remember, these estimations can vary with the specific needs of your cabinetry and environmental conditions like humidity and temperature, which affect drying times. Giving each step the time it requires is key to achieving professional-quality results.
Estimate of Total Time From Start to Finish
When embarking on a cabinet painting project, anticipate a general timeline between 4-7 days. This window allows for a thorough job without sacrificing attention to detail. Here’s what you can expect:
- Days 1-2: Prep work, which includes cleaning, sanding, and applying primer, sets the foundation for a high-quality finish. Primer drying time is crucial; rushing can result in a less durable outcome.
- Days 3-5: Painting begins after the primer sets. Often, two coats are necessary, with ample drying time between them. This stage is pivotal for achieving an even, professional appearance.
Day 6: Reattaching doors and hardware is usually reserved for the penultimate day to ensure the paint is thoroughly dried and won’t be compromised by handling.
Day 7: Final touch-ups and clean-up ensure your refurbished cabinets look immaculate.
Of course, these steps may expand or contract based on your kitchen’s size and the specifics of your cabinets. Preparation and painting multiple layers with adequate drying time are the most significant time investments. Remember, patience during each phase yields the best results.
Measuring Your Kitchen Cabinet Area
Before you dip your brush into the paint, it’s crucial to quantify the workload. This starts by measuring the surface area of your cabinets, which simply means the height and width of every door, drawer front, and frame. Grab a tape measure and jot down these dimensions.
Here’s a pro tip: snap a picture of your cabinets, and note the measurements on it to keep track visually.
Next, add up all the square footage. This figure is your magic number, helping you calculate how much primer and paint you’ll need. But remember, you’ll be painting the front and back of doors, so double that part of your total.
With your numbers in hand, you can walk into the paint store confident about the quantity to purchase, keeping your project on track right from the get-go.
Calculating the Scope of Work
Before diving into the project, evaluating the size and complexity of your cabinet space ensures a realistic timeframe and adequate preparation. Here’s how to calculate the workload:
1. Count the Doors and Drawers: Start by counting each door and drawer front to understand how many pieces need to be painted. Remember, both sides count.
2. Measure the Surface Area: Use a tape measure to find the height and width of each cabinet face. Multiplying these numbers gives you the surface area, which is crucial for paint quantity estimation.
3. Note the Details: Moldings, intricate designs, and textured surfaces can add time to the project due to the careful attention required.
4. Factor in Shelving: Don’t forget the interior! If you plan to paint the inside surfaces, include all shelves and inner cabinet walls in your calculations.
5. Record the Layout: Sketch a rough layout of your cabinets, noting where each piece fits. This visual aid helps track progress and aids in reassembly.
By assessing these elements, you can anticipate the extent of your project and plan efficiently for the task ahead.
Cost Breakdown
When considering a DIY approach to painting cabinets, initial cost savings is a significant enticement. The primary expenses include purchasing paints, primers, brushes, rollers, and potentially a sprayer. Quality brushes and rollers can range from $10 to $20 each, while a decent paint sprayer might start at around $50 for a basic model. Paint quality can vary, with a gallon of quality cabinet paint costing between $30 and $60, and primer between $20 and $30 per gallon.
On average, a DIY project might range from $200 to $600 in material costs, depending on the size of your kitchen and the products chosen.
When hiring professionals, labor costs become a substantial factor. The total outlay can oscillate from $1,200 to over $6,000. Professional painters might charge $30 to $60 per hour per person or offer a flat rate, considering the size and condition of your cabinets. Additionally, the benefit of hiring a professional is their access to top-tier materials and possible bulk-purchasing discounts. This option ensures a certain expertise level and time efficiency but comes at a higher overall cost.
Keep in mind the potential need for extra supplies or unexpected labor that can affect your budget regardless of which route you choose. Factor in a buffer, about 10-20%, to cover these unforeseen costs. Remember, the best value isn’t always the lowest price, but the balance between cost and the quality or convenience you seek.
Cost Estimation for DIY Versus Hiring a Professional
When deciding between DIY and hiring a pro, consider these points to help estimate your costs:
1. Materials: For DIY, you’ll need to buy primer, paint, brushes, rollers, and possibly a sprayer. These can add up but are generally a one-time expense.
2. Tools: If you already have painting tools, great! If not, factor in the cost of purchasing or renting them.
3. Time: Your time is valuable. Professionals can usually complete the job more quickly due to their experience and equipment.
4. Complexity: A professional might charge more for intricate designs and additional prep work.
5. Quality: Professionals guarantee a certain quality level. If you’re not confident in your painting skills, it might be worth the extra cost to ensure a professional finish.
6. Efficiency: A pro has the necessary tools and techniques at their disposal to minimize waste and ensure efficient use of materials.
7. Scale: Larger kitchens or more cabinets mean more materials and time, which affects both DIY and professional costs.
Each of these points can influence your overall budget. Weigh the costs and benefits based on what matters most to you—whether that’s time, money, or the quality of the finished cabinets.
Time Breakdown for Each Step
Prep work often goes unnoticed, yet it’s vital. Set aside an entire day for this. Clearing your cabinets, taping edges, and laying drop cloths to protect your countertops and floors are the primary tasks.
Expect the removal process to take a couple of hours, depending on the number of cabinets. Using a screwdriver, carefully take off the doors, drawers, and hardware. Label them to make reassembly straightforward.
Cleaning is next. Allocate 1-2 hours to scrub all surfaces with a degreasing agent to ensure the paint adheres well. Skipping this can lead to paint peeling later on.
Priming helps paint stick and should not be overlooked. It can take a few hours to prime the cabinets thoroughly. This includes allowing time for the primer to dry, which may vary based on humidity and temperature.
For painting, plan on at least two coats, with each coat needing 4-6 hours to dry. Depending on drying time, painting might stretch over a couple of days. Rushing can result in a less than perfect finish.
Lastly, reassembling may take up to half a day, again depending on the number of cabinets and any additional adjustments needed. Don’t hurry; slowly refit the doors, drawers, and hardware to ensure they align correctly and function well.
Prep the Space
Before embarking on the transformative journey of painting your cabinets, it’s crucial to set the stage for a successful project. Prepping the space is an investment in the quality and efficiency of your work.
Start by clearing countertops and emptying cabinets to ensure nothing is in the way. Protect appliances and flooring with drop cloths or plastic sheeting to guard against splatters. Ensuring good ventilation is key; open windows or use fans to keep the air circulating and to minimize fumes and dust.
Repair any damage or imperfections with wood filler and sand surfaces lightly for the primer and paint to adhere properly. A thorough wipe-down using a degreaser removes grime and grease, which can interfere with paint adhesion.
Tape off the walls, countertops, and any adjacent areas you want to protect with painter’s tape. By attending to these details, the actual painting process will not only be smoother, but the results will be professional and long-lasting. Remember, meticulous preparation is the foundation of a beautifully painted cabinet.
Remove the Doors, Shelves, and Hardware
Dismantling your cabinets is more than just a physical task; it’s about organization and precision. Label each door, drawer, and hardware piece as you remove them. This ensures that everything fits back into its original place seamlessly after painting. Use a simple numbering system or color-coding for clarity. Store screws and hinges in separate bags with corresponding labels. Lastly, keep all labeled components in a designated area to avoid any mix-ups or damage. These steps create a smoother transition when it’s time for reassembly and eliminate guesswork.
Clean All the Surfaces
Before diving into painting, ensuring your cabinets are impeccably clean is vital. This step can’t be skipped, as any residue or grease left behind can prevent the primer and paint from adhering properly. Start by using a degreaser or a mixture of warm water and mild dish soap to thoroughly wipe down all surfaces. A sponge or a soft cloth can make quick work of most grime, but for tougher spots, consider using a scrubbing brush—just be gentle to avoid damaging the wood.
Once you’re finished scrubbing, rinse the areas with clean water to remove any soap residue. Following this, a wipe-down with a lint-free cloth should dry the surfaces. Remember, any moisture remaining can also hinder paint adhesion, so this part is just as crucial.
Another pro tip? Pay extra attention to corners and detailed design elements, as they can harbor grime that’s harder to spot. Equipped with a toothbrush, you can reach into these nooks and crannies effortlessly. By the time you’re done, your cabinets should look as fresh and clean as they did on day one, setting the stage for a smooth, flawless finish. Now, they’re prepped and primed for the next transformative stage of their makeover.
Application of Primer
Before diving into the application of primer, ensure all cabinet surfaces are clean and dry. Starting with a smooth layer of primer is key for a professional-looking finish, as it helps the paint adhere better and provides durability.
Use a high-quality brush or foam roller for application to avoid streaks and ensure even coverage. If using a brush, opt for one with fine bristles to minimize the appearance of brush marks.
Additionally, if your cabinets have a dark or uneven finish, consider a stain-blocking primer to prevent bleed-through. Allow the primer to dry completely according to the manufacturer’s instructions before moving on to paint, which usually takes about 24 hours.
You may need to lightly sand the primed surfaces with fine-grit sandpaper to eliminate any texture and create the ideal surface for your topcoat. Remember to remove all sanding dust with a tack cloth or damp rag for a pristine base.
By taking the time to apply primer correctly, you’re setting the stage for a long-lasting and aesthetically pleasing cabinet transformation.
Paint Application and Drying Time
Applying paint to your cabinets requires careful attention to detail. Generally, you’ll need at least two coats of paint, each taking about four to six hours to dry.
Some key points to consider include:
- Temperature and humidity play a crucial role in drying times; follow manufacturer recommendations for the optimal conditions.
- Always allow the first coat to dry completely before applying a second coat to avoid tackiness and achieve a smooth finish.
- If you’re using an oil-based paint, be prepared for longer drying times, often 12 to 24 hours before recoating.
- For latex paints, quick-drying formulas are available which can dry to the touch in as little as an hour.
- While waiting for paint to dry, keep the room well-ventilated to expedite the process and ensure a durable finish.
- If you’re painting shelves or drawers, remember to factor in the time required to rotate and paint each side.
Patience during this stage will contribute significantly to the professional appearance of your cabinets once the job is completed.
FAQ
How long to wait between paint coats on cabinets?
When painting cabinets, it is advisable to wait a duration of at least 4 hours between coats, however, an optimal waiting time of 24 hours is highly recommended for the best results.
How much should I pay to have my kitchen cabinets painted?
The cost to paint kitchen cabinets typically ranges between $3,000 to $10,000, averaging around $5,000 for a medium-sized kitchen, based on a standard rate of $100 per drawer face and $175 per cabinet door.
Can you paint kitchen cabinets in a weekend?
Yes, with the right motivation and efficient use of a paint brush, it’s possible to paint kitchen cabinets over a weekend, assuming the kitchen isn’t particularly large.
Is it a lot of work to paint cabinets?
Yes, painting cabinets can be time-consuming and labor-intensive, requiring a steady hand and patience, with lesser-quality efforts often resulting in uneven or bubbly finishes.
What type of paint is best for kitchen cabinets?
The best type of paint for kitchen cabinets is generally a latex-based paint due to its durability, ease of application, and smooth finish.
How does temperature and humidity affect cabinet painting time?
Both temperature and humidity can significantly affect cabinet painting time as high levels can prolong drying time while extremely low levels can cause the paint to dry too fast, leading to imperfections.
What is the process of prepping cabinets for painting?
The process of prepping cabinets for painting includes cleaning, sanding, priming, and finally applying paint.
Read More
 How to Choose Kitchen Cabinets: Your Ultimate Buying Guide
 Staining Cabinets: A Step-by-Step Guide to a Fresh Look
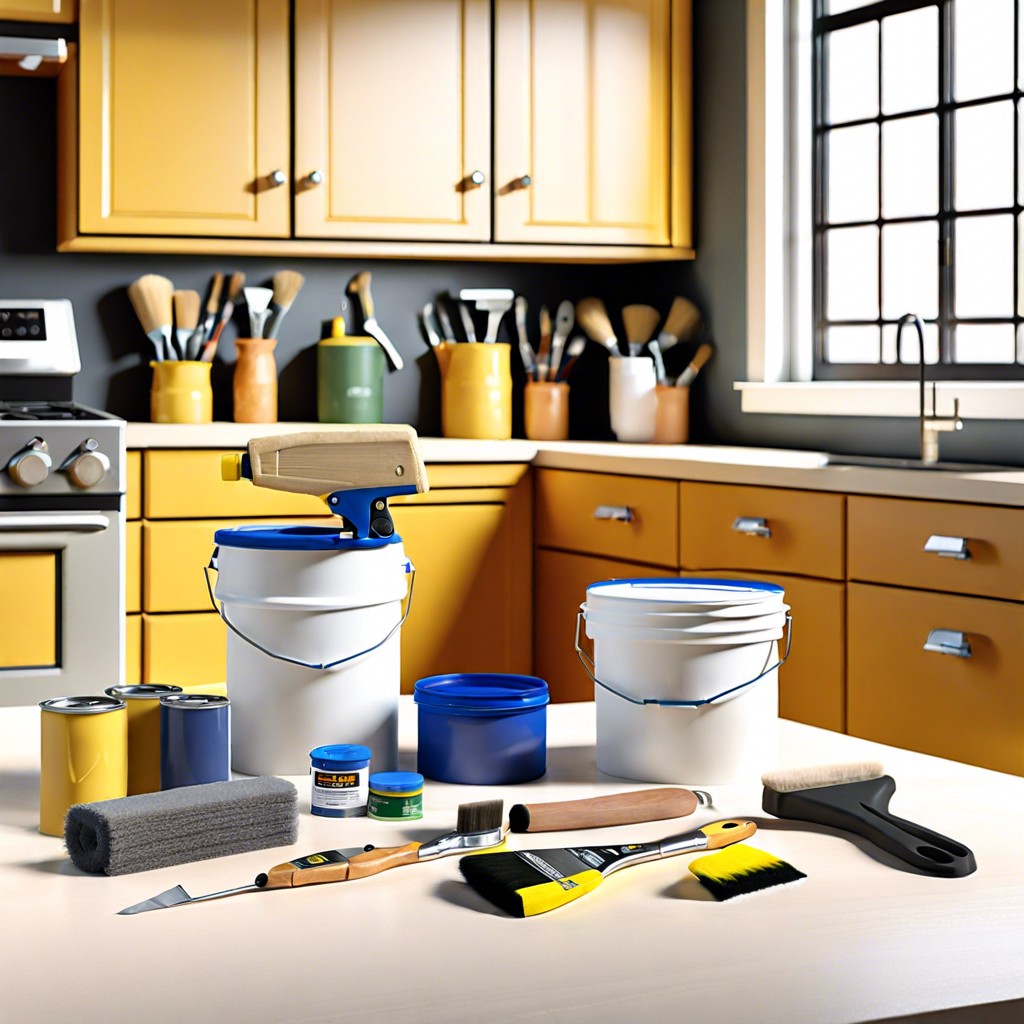 How Long Does It Take to Paint Kitchen Cabinets: A Time-Saving Guide
 Cost to Refinish Cabinets: A Cheaper Revival
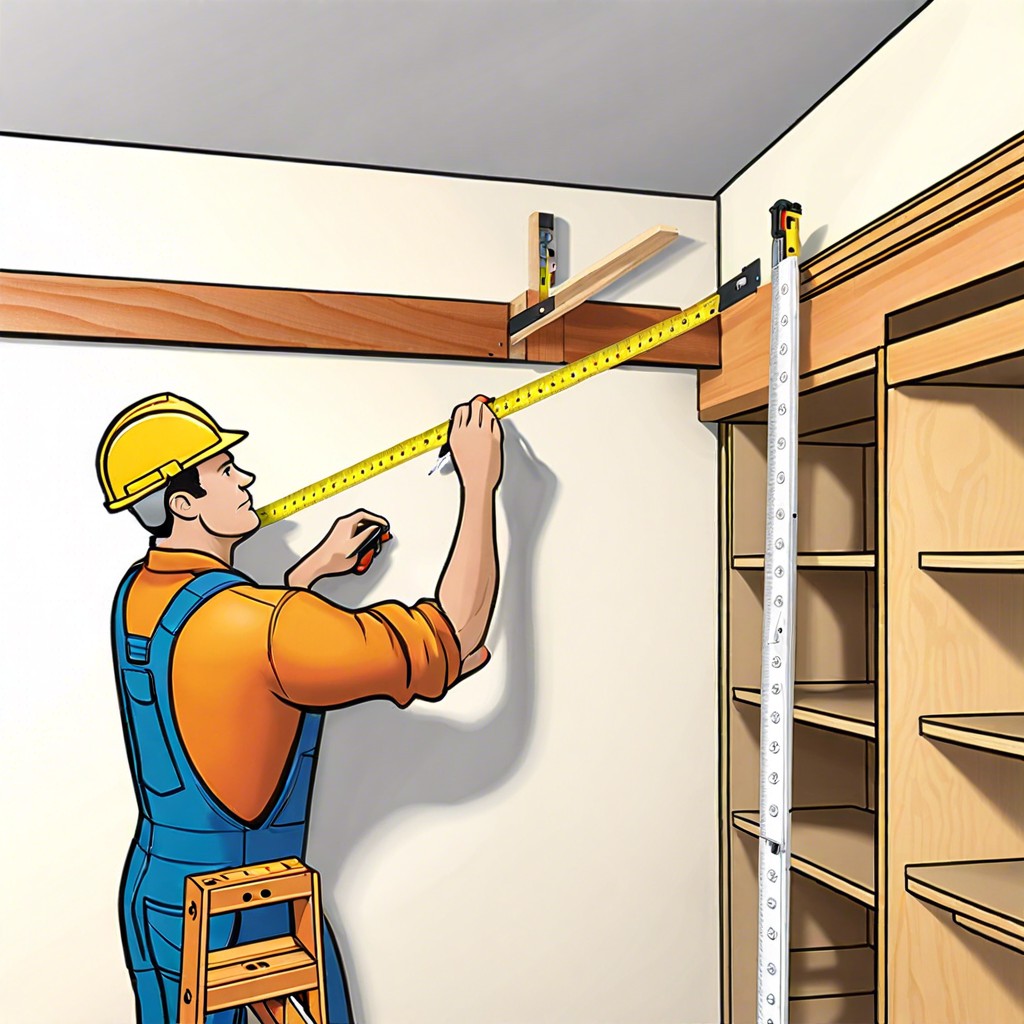 How to Install Upper Cabinets: Tips for a Perfect Kitchen Makeover