Last updated on
Changing the color of your kitchen cabinets rejuvenates your kitchen because it’s a game-changing home improvement hack you can do on your own, an exciting journey we’re going to walk through step by step in this blog.
Key takeaways:
- Transform your kitchen’s aesthetic without a full remodel
- Painting cabinets can hide imperfections and increase home value
- Choose oil-based or waterborne alkyd paints for durability
- Select the right paint finish for durability and ease of cleaning
- Clean, sand, prime, and paint cabinets for a smooth finish
What's Inside
Why Should I Consider Painting My Kitchen Cabinets?
Transforming your kitchen’s aesthetic can be achieved without a full remodel—simply by repainting the cabinets. This refresh can evoke a sense of newness, matching evolving style preferences or current trends.
Additionally, if your cabinets are showing signs of wear, a coat of paint can hide minor imperfections and update the look. Painting your cabinets can also increase your home’s value, making it more appealing to potential buyers if you’re considering selling. It’s a cost-effective alternative to purchasing new cabinetry, which can be quite expensive.
Plus, it’s an opportunity to personalize your space, with the freedom to select from an endless array of colors to perfectly suit your kitchen’s design and your own taste.
Can I Really Paint Kitchen Cabinets Myself?
Absolutely, taking on the project of painting your kitchen cabinets can be a rewarding DIY task, and many homeowners successfully do it. Here are some points to keep in mind:
- Assess your skill level: Basic DIY skills, such as sanding and painting, are essential. Familiarize yourself with the necessary tools.
- Time commitment: Clear your schedule as it might take several days to complete, given the drying time required between coats.
- Proper space setup: Ensure adequate ventilation and space to work. Use drop cloths to protect surfaces and appliances.
- Get the right equipment: Gather quality brushes, rollers, a paint sprayer if desired, and other materials before starting.
- Patience pays off: Rushed jobs can lead to drips and uneven coverage. Take your time for each step.
Remember, meticulous prep and attention to technique are the keys to achieving a professional-looking outcome.
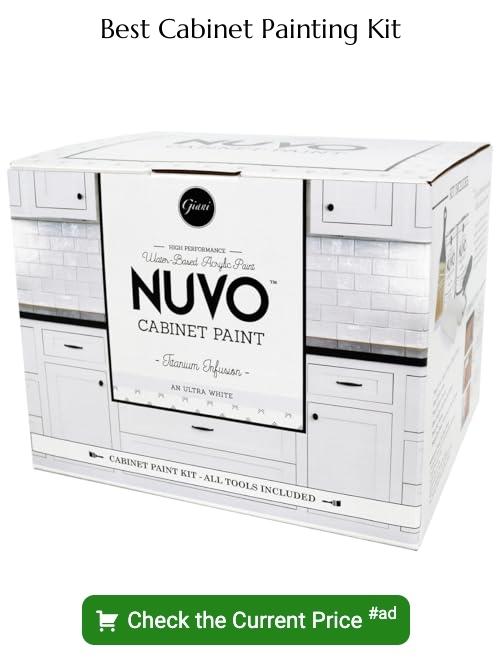
What Kind of Paint Do You Use On Kitchen Cabinets?
Selecting the suitable paint for your kitchen cabinets is critical to ensure longevity, durability, and a professional finish. Opt for oil-based or waterborne alkyd paints, which offer a hard, durable finish that can withstand the routine cleaning your kitchen will require. These paints are also less prone to chipping and staining, important for kitchen wear and tear.
Alternatively, acrylic latex paints are a low-VOC, environmentally friendly option that provide excellent adhesion and a flexible finish less likely to crack. For the smoothest application, consider using a paint additive like Floetrol to help minimize brush marks.
Lastly, a word on primer: don’t skip it! Use a high-quality stain-blocking primer to ensure your paint adheres properly and the color stays true. It provides a foundation that helps your topcoat of paint last longer without peeling or showing stains underneath.
Choosing the Right Paint Finish for Durability and Ease of Cleaning
Selecting the right paint finish for your kitchen cabinets is critical to ensure they stand up to the test of time and are easy to maintain. Here are the finishes you should consider:
- High-Gloss: Best for cabinets that endure frequent cleaning, high-gloss finishes are highly durable and reflective, making them an ideal choice for kitchens with heavy usage.
- Semi-Gloss: A favorite among many, semi-gloss offers a balance between ease of cleaning and moderate reflectiveness. It’s less prone to showing smudges and fingerprints compared to high-gloss.
- Satin: With a velvety, pearl-like finish, satin is less reflective than semi-gloss and hides imperfections better. It’s a good option for busy kitchens, as it’s relatively easy to clean.
- Eggshell and Matte: While they have a soft appeal, these finishes are best reserved for lower-traffic areas as they can be more challenging to wipe clean and are less durable.
Remember, the shinier the finish, the more durable and easy-to-clean the surface will be. It’s also worth noting that lighter colors may hide dirt better, but they also tend to reveal imperfections more than their darker counterparts.
How to Choose the Right Paint Color for Your Kitchen Cabinets
Selecting the ideal shade for your cabinets can transform the look and feel of your kitchen. To ensure a cohesive design:
1. Consider the room’s size and lighting – Lighter colors can make a small or dimly-lit kitchen appear larger and brighter.
2. Complement existing colors – Look at your countertops, backsplash, and appliances. Choose a cabinet color that harmonizes with these elements.
3. Factor in resale value – Neutral tones like whites, grays, or soft beiges tend to attract a wider range of buyers if selling your home is on the horizon.
4. Reflect on the mood – The color you choose sets the tone. Blues can evoke calmness, while a bold red might energize the space.
5. Use paint samples – Paint swatches on poster board and observe them in your kitchen at different times of the day to see how the colors behave under varying light conditions.
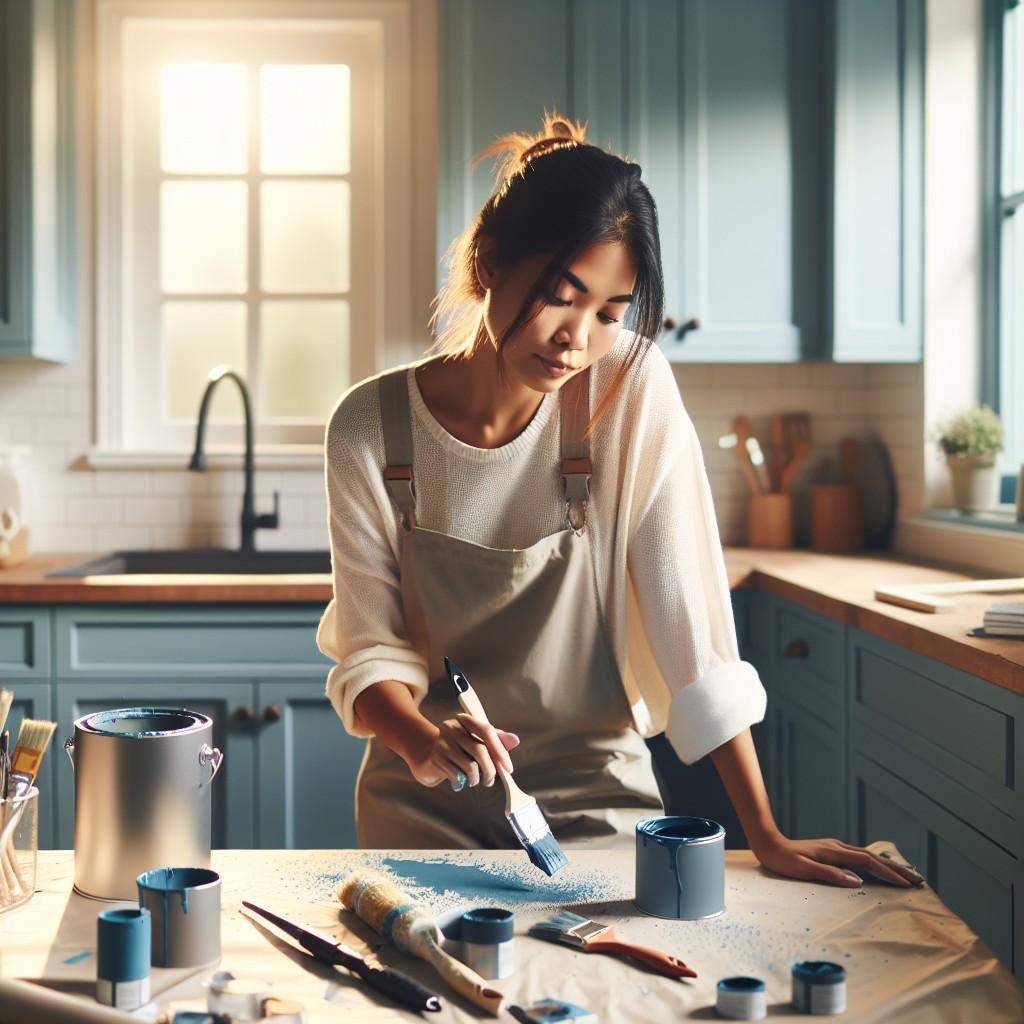
Step-by-step Guide to Cleaning and Prepping Cabinets for Painting
Before diving into the transformation, ensure your cabinets are squeaky clean and prepped for their fresh coat of paint:
1. Empty Cabinets: Begin by removing all items from your cabinets and drawers. This clears your workspace and protects your kitchenware.
2. Remove Hardware: Carefully take off the cabinet doors and remove hardware, such as handles and hinges. This step prevents paint from getting on the hardware and makes painting the doors easier.
3. Clean Surfaces: Use a degreaser or a mild detergent mixed with water to thoroughly clean all cabinet surfaces, removing grime, grease, and dirt that can prevent paint from adhering.
4. Repair Damage: Inspect for any nicks or holes. Fill them with wood filler and sand smooth once dry.
5. Sanding: Lightly sand all surfaces with fine-grit sandpaper to create a rougher surface for the paint to grip. This step is crucial for paint adhesion and long-lasting results.
6. Dust Off: After sanding, wipe down the cabinets with a damp cloth to remove all the dust. A tack cloth can be especially effective in picking up residual dust.
7. Prime the Surface: Apply a primer designed for the cabinet material you have. Primer creates an even base for the paint and can help cover any stains or wood grains.
8. Tape Off Areas: Protect the walls, countertops, and any areas you don’t want painted with painter’s tape.
This preparation lays the groundwork for a successful, smooth, and professional-looking paint job. It’s the attention and care in these initial steps that lead to a stunning and durable finish.
Detailed Process for Applying Paint to Kitchen Cabinets
Begin with a primer: A high-quality primer will ensure better adhesion of paint to the surface and increase paint durability.
Paint in stages: Start with the back of the doors, allowing them to dry completely before flipping to paint the front. This prevents smudging and allows each side to dry properly.
Use the right tools: A foam roller is ideal for flat surfaces and provides a smooth finish, while a high-quality angled brush will help you get into crevices and moldings.
Thin, even layers: Apply paint in thin, even coats to avoid drips and runs. Usually, two coats of paint will suffice, but some colors may require a third for full coverage.
Sanding between coats: Once the first coat is dry, lightly sand the surface with a fine-grit sandpaper to remove any brush strokes or imperfections. Wipe down with a damp cloth to remove dust before applying the next coat.
Avoiding streaks: To achieve a streak-free finish, paint with the grain of the wood and maintain a wet edge to blend each stroke with the next.
Dry time: Adhere to the recommended drying time between coats, which is typically at least 24 hours to ensure the paint is completely dry before reassembling or using the cabinets.
Professional Techniques for a Smooth Finish
Achieving a professional-grade smooth finish on your kitchen cabinets is within reach with the right techniques.
Sand the surface between coats using fine-grit sandpaper to remove any imperfections and to provide a key for the next layer of paint.
When applying paint, use a high-quality angled brush for detail work and tapered edges, and rely on foam rollers to avoid brush marks on larger flat surfaces.
Ensure you’re working in a well-ventilated area to aid in even drying and consider a paint conditioner to improve flow and leveling.
Thin, consistent coats are preferable over thick, heavy ones; they dry faster and with fewer drips or streaks.
Patience is key—allow adequate drying time before adding the next coat to prevent dragging partially dried paint and ruining your smooth finish.
Reassembling Your Cabinets: Aligning Doors and Hardware Correctly
Upon the completion of painting, the final step involves the careful reassembly of your kitchen cabinets, ensuring that doors and hardware align correctly for a polished look and functional use.
Here are some key points to guide you through this process:
- Begin by organizing your hardware and doors. If you labeled them before disassembly, this step should be straightforward.
- Attach hinges to the doors first, confirming that they’re flush and tight.
- When hanging doors, start with the top ones first. This allows easier access to the lower cabinets and reduces the risk of bumping into freshly installed doors.
- Adjust the cabinet doors for even gaps and level alignment. Most modern hinges have adjustment screws that can slightly move the doors up and down, side-to-side, and in and out.
- Once the doors are aligned, tighten all screws firmly to prevent shifting. Don’t overtighten, as this may strip the screw holes or damage the hardware.
- Lastly, reattach the handles or knobs. Use a template for consistent placement if new holes are required.
Troubleshooting Common Issues With DIY Cabinet Color Changes
Navigating the pitfalls of a DIY cabinet color update ensures a polished final product. Here’s how to troubleshoot some frequent issues:
1. Paint not adhering: If paint is peeling or not sticking, it’s often due to insufficient surface prep. Ensure cabinets are clean, sanded, and primed before applying paint.
2. Streaky finish: If brush strokes are visible or the finish is uneven, it may be due to poor quality brushes or rushing the job. Use high-quality brushes or rollers, and apply paint in thin, even layers.
3. Drying issues: Paint that takes too long to dry might be in a humid environment or applied too thickly. Follow paint instructions for drying times, ensure good ventilation, and apply thin coats.
4. Paint bleed: Use painter’s tape for crisp lines. If paint bleeds under the tape, seal the edges with a clear glaze or the same color of the background before applying your new color.
5. Hardware holes misaligned: When reassembling, ensure accuracy by labeling hinges and doors during disassembly. If new hardware doesn’t line up, fill old holes with wood filler, sand, and drill new ones carefully.
Address these common struggles with patience and attention to detail to achieve professional-looking results on your kitchen cabinet transformation.
FAQ
Can you change the color of your kitchen cabinets?
Yes, you can change the color of your kitchen cabinets, generally through a process of painting, which serves as an affordable and effective way of giving your kitchen a fresh, new look.
How much does it cost to recolor cabinets?
The cost to recolor cabinets typically ranges between $30 and $60 per linear foot, which equates to a total of $600 to $1,200 for a kitchen with 20 linear feet of cabinets.
What is the best color selection strategy for kitchen cabinets?
The best color selection strategy for kitchen cabinets is to consider your kitchen’s size, layout, and style, choose neutral colors for versatility, or opt for bold colors to create a focal point, always taking into account the correlation with other kitchen elements.
How long does it usually take to complete a cabinet color change project?
A typical cabinet color change project usually takes between 3 to 7 days to complete.
Does changing the color of kitchen cabinets increase the value of my home?
Changing the color of kitchen cabinets can potentially increase the value of your home by improving its aesthetic appeal and overall perceived quality.


