Last updated on
Learn how to craft a DIY dining table with these practical steps and creative tips.
Key takeaways:
- Measure the space and consider the number of people for the right size.
- Choose the right materials, from wood to glass or industrial steel.
- Assemble the top and base accurately for stability.
- Sand and finish your table for a smooth and durable surface.
- Practice safety precautions when using power tools and lifting heavy items.
What's Inside
Determining the Size of Your Dining Table

Space is key – measure twice, cut once! Before you dive into crafting, take a good look at the area where the table will live. Typically, you’d want about 36 inches between the table’s edge and surrounding walls or furniture for comfy chair scooting and walking space.
Think about how many folks will gather around your table regularly. A good rule of thumb is to allot about 24 inches of space per person for elbow room galore. Got a family of four? Aim for around 4 feet in length. Big holiday gatherings on the horizon? Consider extendable leaves or a larger tabletop.
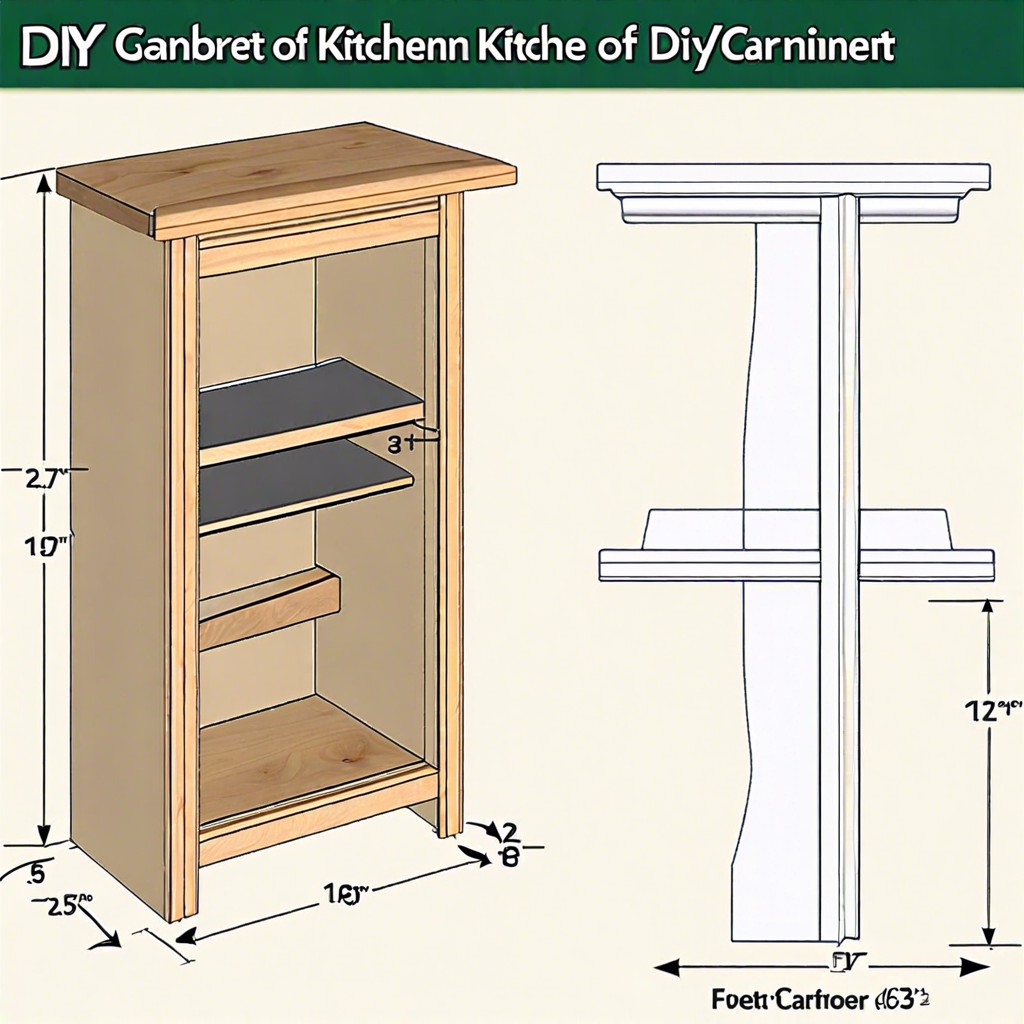
Don’t forget height – standard dining tables hover around 28-30 inches tall. This ensures ample legroom when pairing with chairs, so diners aren’t bumping knees throughout the meal. Lastly, sketch it out! Jot down a rough drawing with dimensions. This visual cue will guide your project and help sidestep sizing snafus.
Selecting the Right Materials
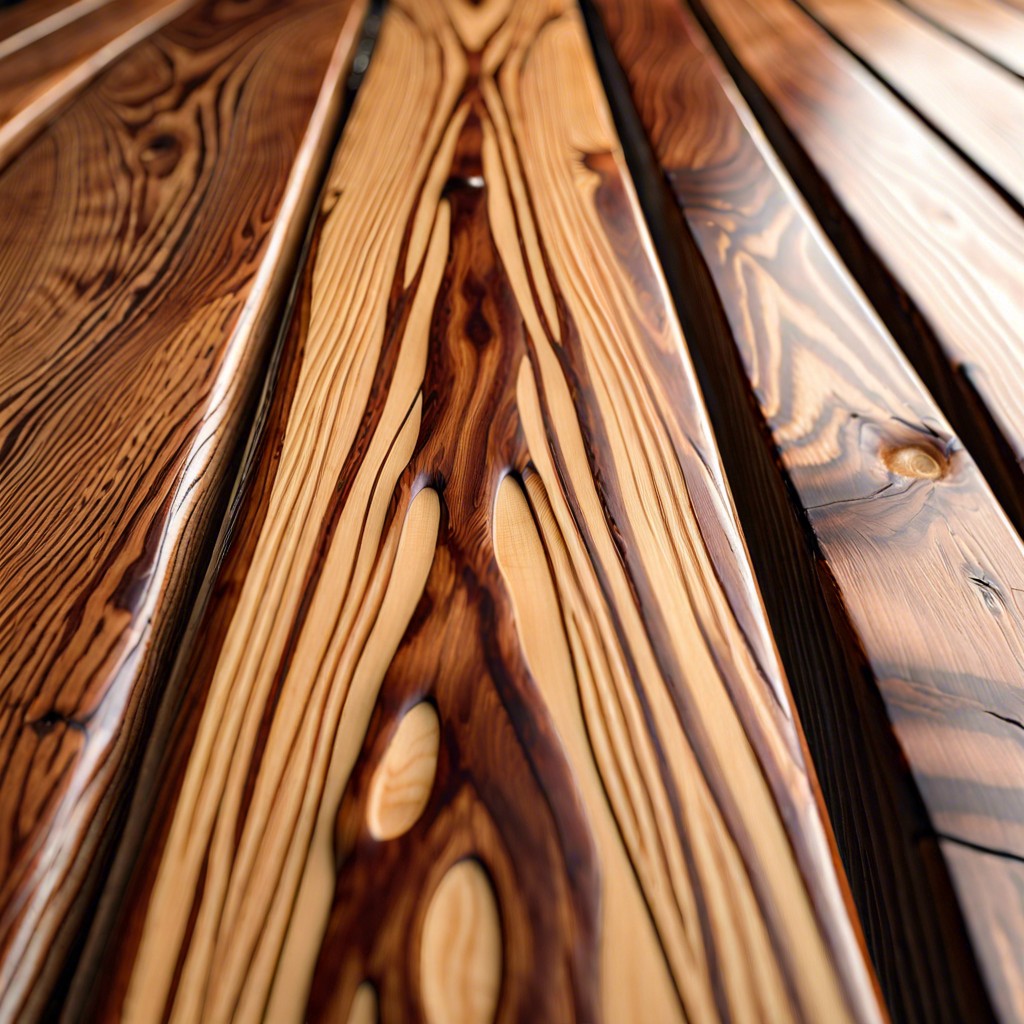
Wood is the bread and butter of table making – it’s sturdy, versatile, and gives that warm, inviting aura we all love at meal times. Pine is a wallet-friendly option for those crafting on a budget, but if you’re itching for a whisper of luxury, walnut or oak might just be calling your name.
On the flip side, if you flirt with modern aesthetics, materials like glass or industrial steel can catapult your dining space into the 21st century.
But let’s not forget about the unsung hero of durability: reclaimed wood. Bearing the marks of time, it tells a story and brings character to your table, not to mention it’s an eco-friendly salute to our planet.
Bear in mind, selecting the right wood treatment is akin to picking out a durable raincoat; it keeps the surface safe from spills and stains. Polycrylic offers protection without altering that rich wood grain you fell for in the first place.
When you’re out there in the trenches of hardware stores, grappling with options, keep this nugget of wisdom in mind: your material choice is more than just practicality; it’s the cornerstone of your dining table’s soul. Choose wisely, my friend.
Assembling the Table Top and Base
Okay, let’s get down to brass tacks. Assembling your table top to the base can feel like fitting together pieces of a puzzle. It’s essential to align the top and base accurately to prevent a wobbly table that may send your soup bowl sliding. Envision the top as a broad canvas and the base as the sturdy legs of a sprinter—both must synchronize seamlessly for balance and stability.
Start by laying the tabletop, bottom-up, on a flat surface. Next, place the base upside down on it, ensuring equal overhangs on all sides—the key to proper table manners here is symmetry.
Now, marrying the two can be done in several ways: brackets, screws, or special hardware like tabletop fasteners, which allow for wood movement through seasons without playing tug-of-war with your table. Drill pilot holes with composure, preventing the wood from splitting—it’s like keeping a tight lid on your emotions in a tense game of Jenga.
A wise trick is to mark your drill points with masking tape. It’s like leaving breadcrumbs in a forest; it tells you exactly where you’ve been and where you need to go.
Finally, fasten the top to the base with a screwdriver, not with the enthusiasm of a toddler with pots and a wooden spoon, but with the steady hand of a seasoned pro. Remember, it’s a marathon, not a sprint. Take your time to ensure everything is tight and secure. This isn’t a place for shaky foundations—think of the Leaning Tower of Pisa: charming, but not ideal for a dinner party.
Sanding and Finishing Tips
Sanding your creation is similar to polishing a rough diamond; it’s where the magic happens, turning your efforts into a smooth masterpiece. For a flawless finish, start with a coarser grit sandpaper and gradually move to a finer one. Imagine you’re an artist smoothing out the brush strokes on a canvas until it’s as smooth as silk.
When you dive into finishing, think of it as sealing the deal. This part is crucial because it protects your table from the wear and tear of daily life. You’ve got options galore, from oils and varnishes to stains and waxes. An oil finish might be your ally if you’re after that warm, honeyed look. If you want a bit more armor, polyurethane packs a punch, guarding against scratches and spills. Remember, it’s a marathon, not a sprint—apply each coat thinly, and let it dry thoroughly. This avoids a sticky situation where your table feels like flypaper.
Tip alert: Before you apply any finish, wipe the wood with a damp cloth. This will raise the grain before that final, critical sanding—ensuring your dining table is as smooth as butter on hot toast. After all, this is the surface where your masterpiece will shine, your feasts will unfold, and your memories will be made.
Safety Tips for DIY Furniture Projects
Crafting your own dining table can feel like a high-five to your skills, but let’s keep all your fingers in the celebration. First off, power tools aren’t shy – they demand respect. Before you flip that switch, suit up with safety glasses, ear protection, and a dust mask. Always give the equipment a once-over. Loose screws or a wonky blade can turn a fun project sour.
Did you know that a cluttered workspace is the stage for a tragic ballet of tripping and slipping? Keep your area neat and your path clear. Also, buddy up with clamps whenever you’re cutting or drilling. They’re the trusty sidekicks that hold things steady when your two hands aren’t enough.
And don’t forget, taking shortcuts with power tools is like playing tag with a cheetah – not the best idea. Stick to the recommended settings and speeds. Better to take it slow and steady than speed through and end up on a first-name basis with the emergency room staff.
Here’s an easy one: unplug tools when adjusting or changing bits. It’s like stepping away from a conversation to take a call – common courtesy that can prevent an accidental start-up.
Lastly, listen to the story your body tells. Heavy lifting is part of the DIY dance, but do it wrong, and you could be sitting out the next few numbers. Lift with your legs, and when in doubt, get a helper or use a dolly. Your back will thank you, and you’ll be two-stepping around your new table before you know it.


