Last updated on
Dive into this article because it’s brimming with innovative folding lattice screen ideas that can transform any space into an aesthetic paradise.
These are my unique design concepts made using design tools. I hope you find them inspiring!
Dipping into the treasure trove of innovation, this article unfolds a handful of strikingly fresh and unique ideas around folding lattice screens. From cascading floral dividers to marvelous miniature patio additions, variety and creativity will have no limits here.
Even though the internet is rife with a myriad of known ideas, this article embarks on a journey to offer novel and untread perspectives. For those who wish to dive into more established concepts, a compilation of resources will be on standby at the end.
This article is set to whisk you away into unexplored territories of lattice screen designs, providing fresh angles and concepts that not only inspire but also personalizes your space in ways only limited by your imagination.
Let the voyage begin.
What's Inside
) Create a Vintage Window Frame Privacy Screen
To achieve this rustic aesthetic, you’ll need some vintage window frames which can often be found at thrift stores, flea markets, or salvage yards. The more weathered, the better for achieving that vintage appeal. Once you have your frames, simple steps can lead to your new privacy screen:
- Prepare the Frames: Ensure they are solid and free from loose paint or wood. Clean thoroughly and let dry.
- Secure the Glass: Use caulk or glazing points (small metal fasteners) to make sure the old glass panes are secure within the frame. For safety, consider replacing the glass with plexiglass or leaving the panes empty.
- Join the Frames: Connect your frames together using hinges. This will allow you to fold the privacy screen and stand freely.
- Seal your Screen: Lastly, apply a clear, weather-proofing sealant to your finished product to sustain for outdoor use.
This project not only adds privacy but also provides a nostalgic touch to your space. A versatile decor piece, you can leave it as is, showcasing its vintage charm, or consider painting it to match your existing color scheme.
) Design a Mosaic Tile Outdoor Screen
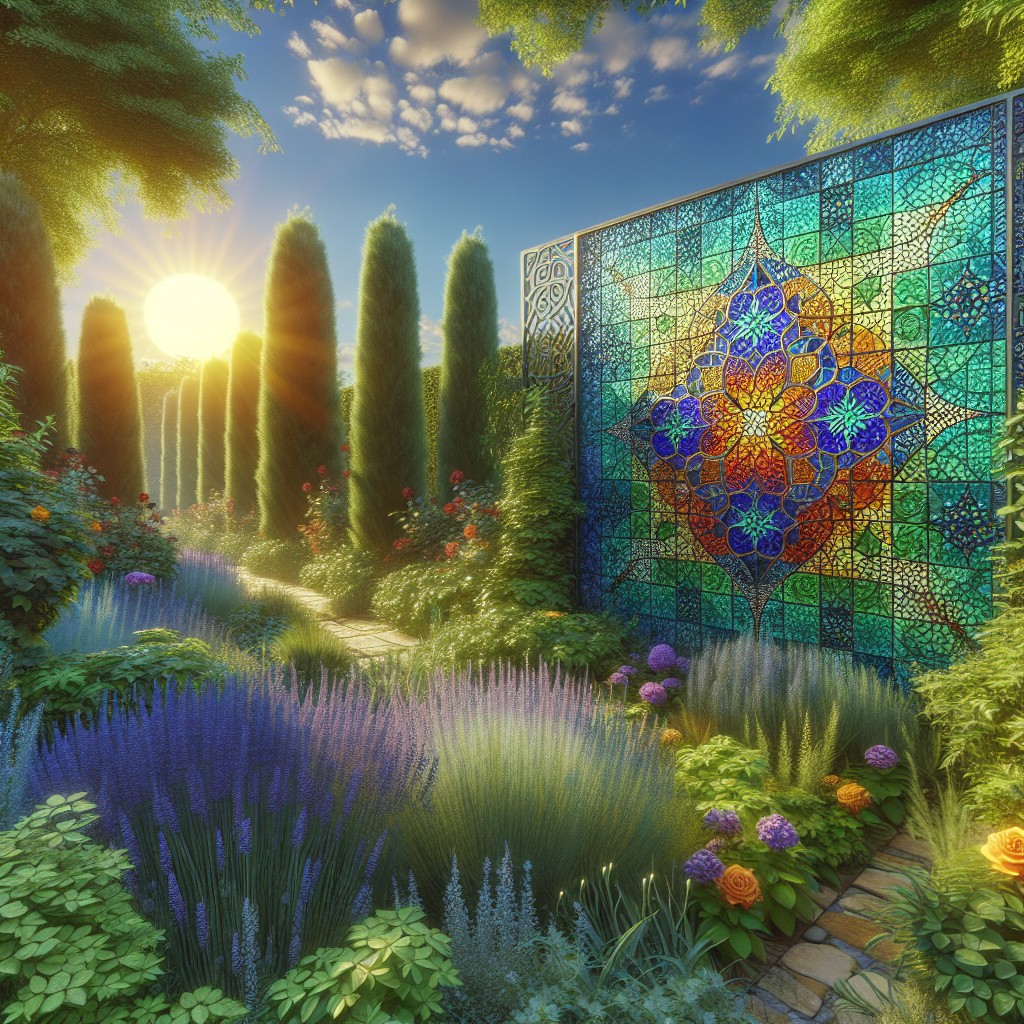
Cultivating your own mosaic tile outdoor screen isn’t just a decor project, but an art project as well. The beauty of picking this concept is the sheer freedom it offers in personalization. You can choose from a variety of tiles to best complement your space – ceramic, glass, pebble, or even stone tiles work well.
Start off by creating a sturdy wooden frame for your screen. Depending on the desired size, you might need additional cross braces for support. Moving to the creative part, sketch out your design on a plywood board that fits into the frame. This could be a simple geometric pattern or an intricate, abstract design.
After your desired design is sketched, it’s time to lay your mosaic tiles. Always start from the center and work your way outwards. Regular tile adhesive is perfect for attaching the tiles to the plywood. Once your design is complete and the adhesive is dry, grout is applied to fill in the spaces between the tiles.
Remember, your mosaic tile outdoor screen will be exposed to the elements. Always opt for materials that can withstand weather conditions and a sealant is a must to prevent any water damage. This project might require a bit more effort, but the result is a beautifully personalized, resilient privacy screen that is a true reflection of your personal style.
) Use Old Picture Frames for a Chic Privacy Screen

Leveraging old picture frames for the creation of a chic privacy screen can be a fascinating and eco-friendly option. The concept is simple but yields an impressive outcome! Follow these steps:
1. Gather a few old picture frames, preferably with different shapes, sizes, and styles. Visit thrift stores if you lack an ample collection.
2. Paint them in a single color for cohesion or multiple colors for a vibrant effect. You may also maintain the look of classic wood if you prefer.
3. After they are dry, assemble the frames in a pattern you desire. It could be a well-ordered grid or something more abstract – let your creativity shine!
4. Secure the frames together with durable backing or directly to each other with robust hardware. Make sure the structure is stable and able to support the weight.
5. Position your new chic privacy screen wherever you require additional partitioning, whether it’s for privacy or purely aesthetic reasons.
Remember, the idea here is to reimagine and repurpose – what once displayed memorable pictures now provides privacy with a hint of nostalgia. Plus, it adds a tasteful hint of vintage charm to your space.
) Implement a Screen With Built-in Seating

Delving deeper into the practicality of folding lattice screens, integrating built-in seating is surprisingly straightforward and advantageous. Combining function with aesthetics, this approach subtly encourages outdoor relaxation and effectively maximizes space.
1. Design: You can incorporate benches directly into the structure. For stark simplicity, adorn it with a few toss pillows. For a luxurious touch, custom cushions and upholstery do the trick.
2. Material Selection: Choose materials that complement or contrast with the rest of your screen and outdoor decor. Popular choices are wood, wrought iron, or even composite materials for a modern twist.
3. Versatility: With seating, your screen doubles up as a social hotspot for backyard bashes. It can also be a cozy nook for enjoying a quiet afternoon reading.
4. Stability: Make sure the seating and the lattice screen are sufficiently stable. While it needs to resist wind, occasional bumps shouldn’t knock it over either.
5. Size: The size of the seating will depend on the width of the screen and the available space. A wider screen can accommodate more seating space while a narrower one offers an intimate seating for two.
6. Privacy: Seats built into the screen allow you to enjoy your privacy while partaking the outdoors. Screen designs should take seated eye-level into account, blocking invasive views.
Remember, the goal is to strike a balance between personal style, comfort, and functionality. Implementing a screen with built-in seating is a brilliant way of achieving that balance.
) Opt for a Frosted Glass Privacy Screen
This design offers a combination of privacy with an elegant aesthetic appeal. Frosted glass lets in light while obscuring vision, perfect for balconies, patios, or any space where seclusion is desired.
Here are some key considerations when selecting this type of privacy screen:
- Material Strength: Generally, these panels are made from reinforced, tempered glass which is four times stronger than regular glass.
- Style variety: Frosted glass panels come in various designs – from plain frosting to detailed patterns.
- Installation: These panels can be installed in wooden or metal frames, and can either be permanent fixtures or designed for moving.
- Maintenance: Frosted glass is low-maintenance and easier to clean than wooden lattice screens, it only needs a wipe down with a damp cloth or glass cleaning product.
- Weather-resistance: It can withstand severe weather conditions, increasing its longevity outdoors.
Remember to incorporate lighting in the surroundings to further enhance the translucent effect of the frosted glass, creating a more effective and beautiful privacy solution. With adequate care, these screens can be a long-term addition to your home.
) Craft a Woven Reeds or Bamboo Screen
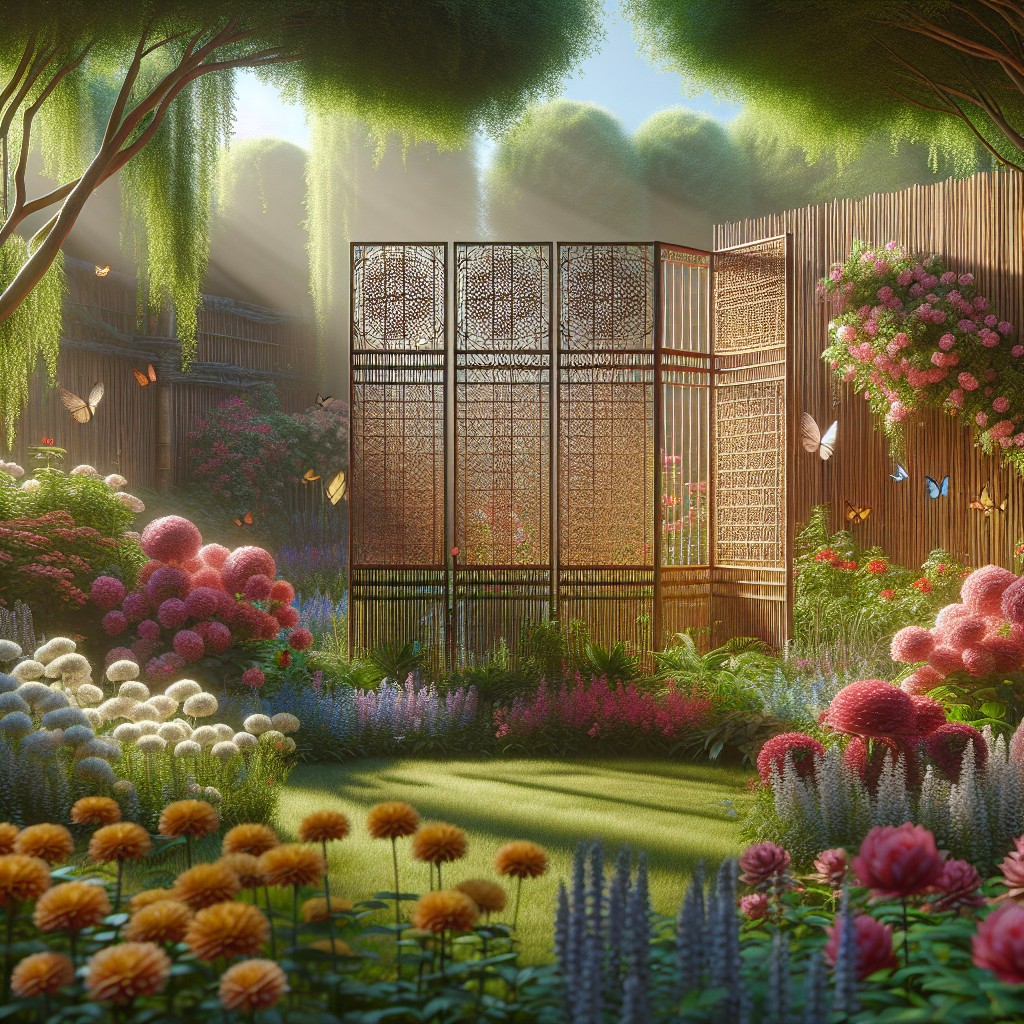
Constructing your own woven reeds or bamboo screen provides an organic, natural-look that can be both refreshing and visually appealing. Here are a few key steps to this DIY project:
1) Gather supplies: The main items you’ll need are bamboo poles or long, sturdy reeds, string or twine, and a saw for cutting.
2) Plan your size: Determine how tall and wide you want your screen to be, then mark and cut your reeds to size. Remember, you’ll want extra length for weaving.
3) Prepare your lattice: This involves weaving your horizontal and vertical reeds together. Start by laying out your vertical reeds, then weave your horizontal reeds, securing them at each crossing point with your string or twine.
4) Secure your screen: Once all reeds are woven together, frame your screen with additional reeds on the outer edges for stability. This also gives a polished finish to your natural screen.
Remember, with projects like these, patience is key. Enjoy the process and the satisfaction of your handcrafted bamboo or reed screen. It’ll be a unique piece of art just as much as a functional divider or privacy screen.
) Create a Sturdy Concrete Block Wall
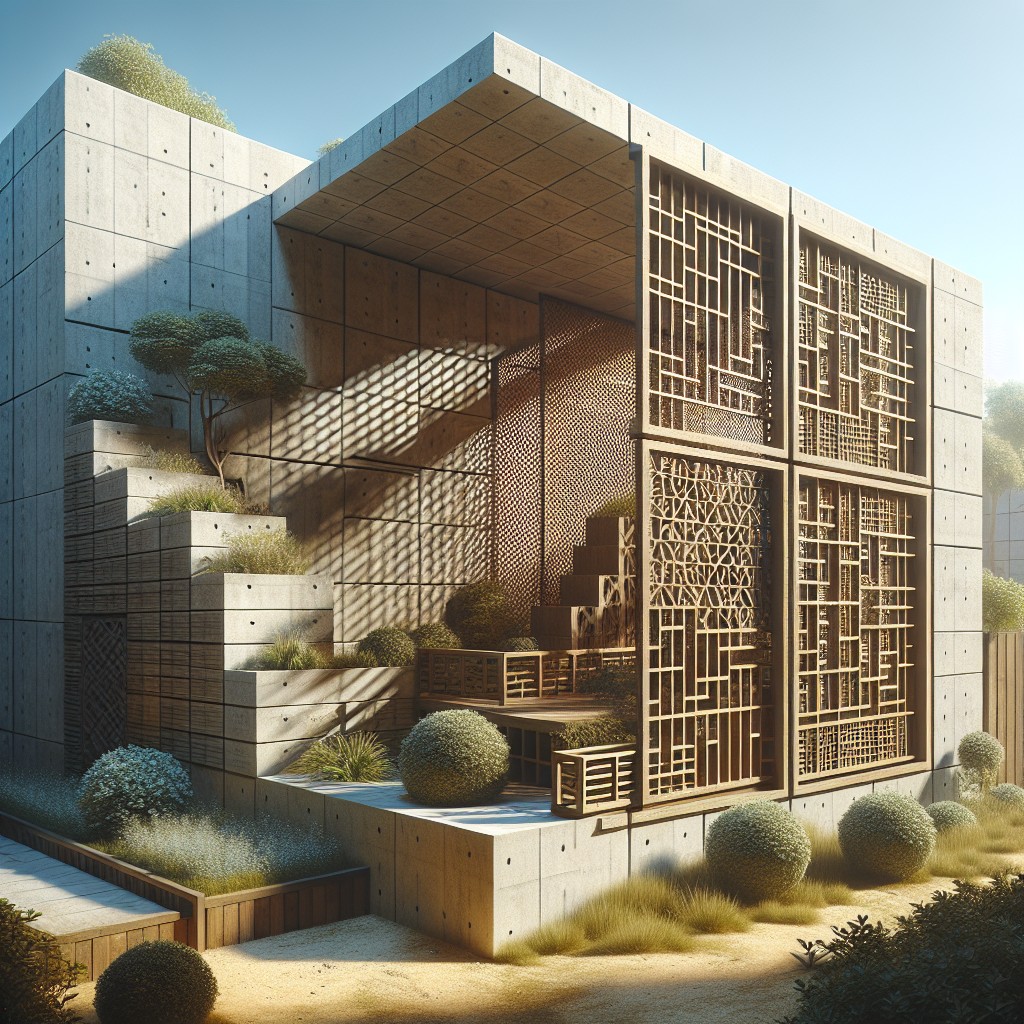
Concrete block walls serve more than just the functional purpose of privacy, they also add an industrial, modern feel to your patio or backyard. To build one, you’ll need concrete blocks, concrete mix, metal rods for reinforcement, and a shovel for mixing and applying concrete.
Firstly, map your wall footprint then dig a trench, which will serve as your wall’s foundation. Fill this trench with concrete and allow it to cure before you start stacking your blocks.
When stacking, alternate the orientation of the blocks, end to end, then front to back. This pattern will give your wall more stability. Metal rods can be inserted into the blocks for extra reinforcement. Once your blocks are stacked to your desired height, apply a concrete mix to fill in any gaps and cover the top for a seamless finish.
To enhance its aesthetics, consider painting the wall in a color that complements your outdoor furniture, or leave it in its raw state for that unfinished look that’s equally attractive. Remember, safety gear is a must-have during construction.
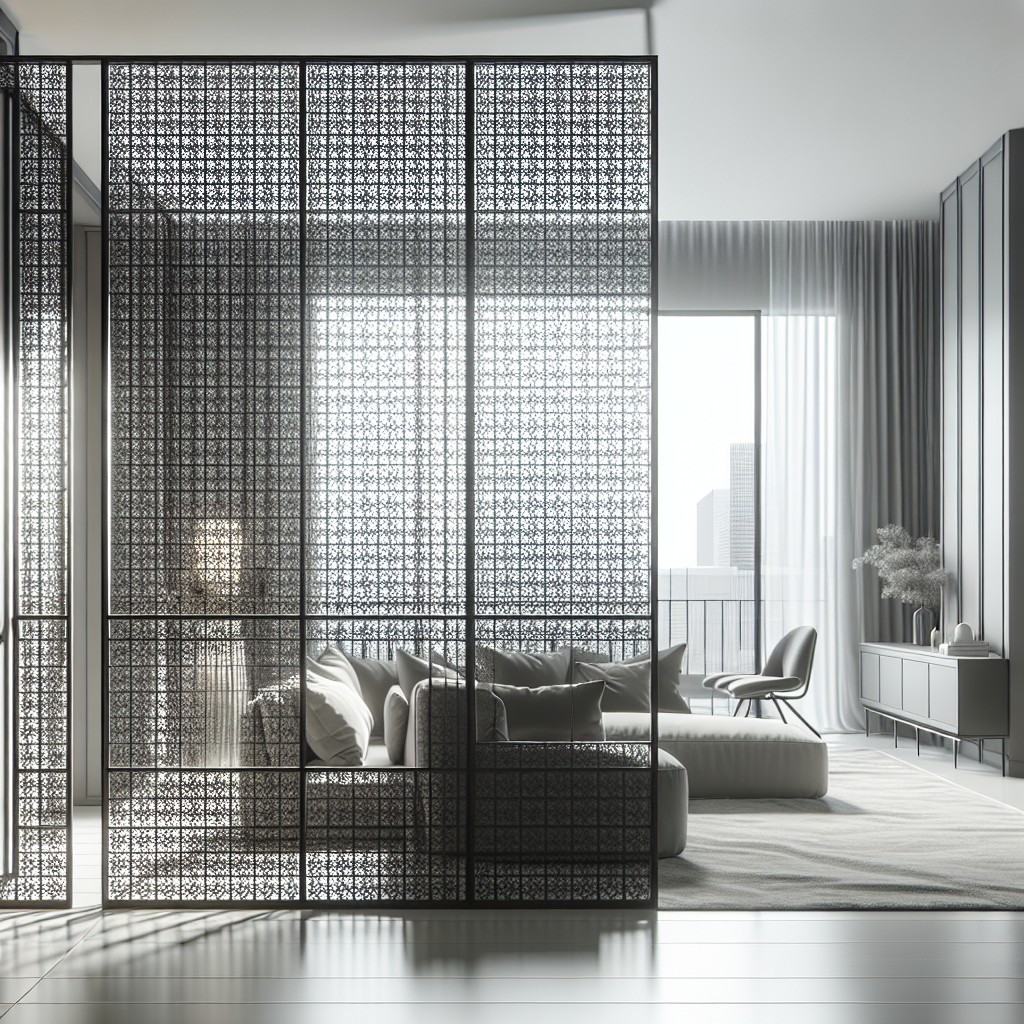
) Make a Decorative Metal Sheets Privacy Wall

Decorative metal sheets offer a unique approach to creating a private space. Their intricate designs and durable material make them an ideal choice. Here are the steps to create such a privacy wall:
1. Selection: Start by choosing the pattern that suits your style and the existing decor. Options range from floral to geometric designs.
2. Measurement: Measure your space carefully to determine the size and number of sheets you’ll need.
3. Purchase: Most home improvement stores carry decorative metal sheets. You can also find online retailers with a wider variety.
4. Framework: Build a sturdy wooden frame to which you can attach the sheets. Ensure it fits your space perfectly.
5. Attachment: Use screws to secure the sheets to the frame. Be careful not to dent the sheet while doing so.
6. Installation: Place the assembled screen in your desired location. You can mount it permanently or use it as a movable partition.
7. Maintenance: Despite their sturdy nature, the sheets may rust over time. Regular inspection and timely painting will help their longevity.
Remember, safety first. Always wear protective gear while cutting or handling metal sheets. Enjoy the sleek and stylish look of your new wall!
) Create a Trellis With Climbing Flowers Screen

Utilizing nature’s beauty, this concept proves as effective as it is attractive. The trellis structure serves as a support system for climbing flowers. Choose vibrant climbers like morning glories or clematis for the sturdiest results.
Here are some process steps:
- 1. Build or purchase a trellis that fits your outdoor area in dimensions and design.
- 2. Ensure its stability by anchoring it appropriately before plantation, considering elements like wind or water flow.
- 3. Pick robust and fast-growing climbers as they’ll cover the trellis faster and offer privacy sooner.
- 4. Plant the chosen species at the base of the trellis, train them by guiding their growth towards it.
- 5. Regularly prune and maintain the plants for a healthy look and continuous privacy.
Pro-tip: Opt for evergreen species if you need year-round privacy.
Ideal for those with green thumbs, this is more than a privacy screen – it’s a living, breathing addition to your outdoor space that has the added benefit of assisting local pollinators.
) Go for a DIY Pallet Privacy Wall
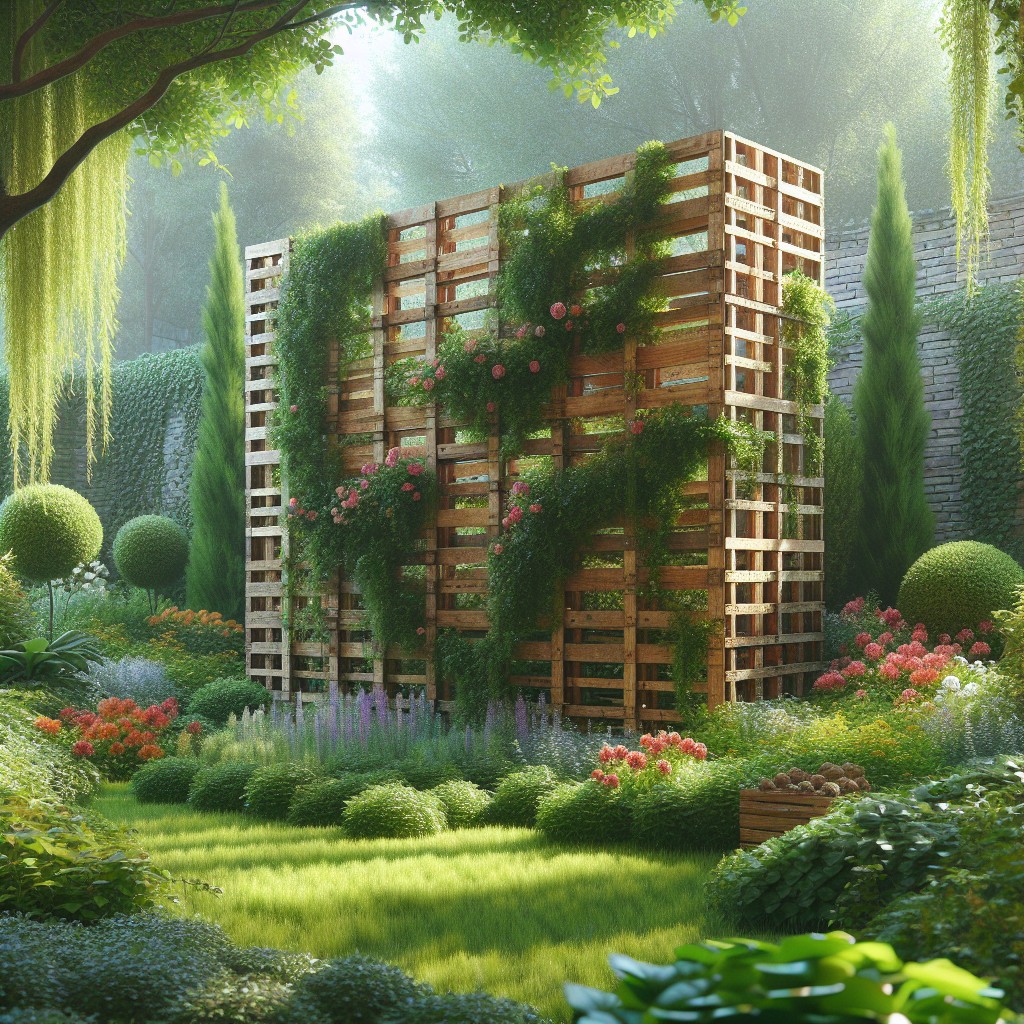
Gather some pallets – the number depends on the desired height and width of the screen. Ensure they’re in good condition, splinter-free, and have been properly treated to resist weather conditions. After all, the longevity of your screen is crucial.
Create a solid base by cementing two posts into the ground where the ends of your screen will be.
Attach pallets onto the posts using screws, stacking them until the desired height is reached. Remember that for a sturdy construction, it’s crucial to screw each pallet into the previous one. Paint is optional but can enhance the overall appearance and increase durability.
One thing to note is the gap between the pallet boards which allows air flow but still obstructs direct view. This makes for a perfect blend of privacy without completely closing off your outdoor space. Not to mention, upcycling pallets is an eco-friendly choice that adds a rustic charm to your garden.
) Create a Shoji-style Privacy Screen
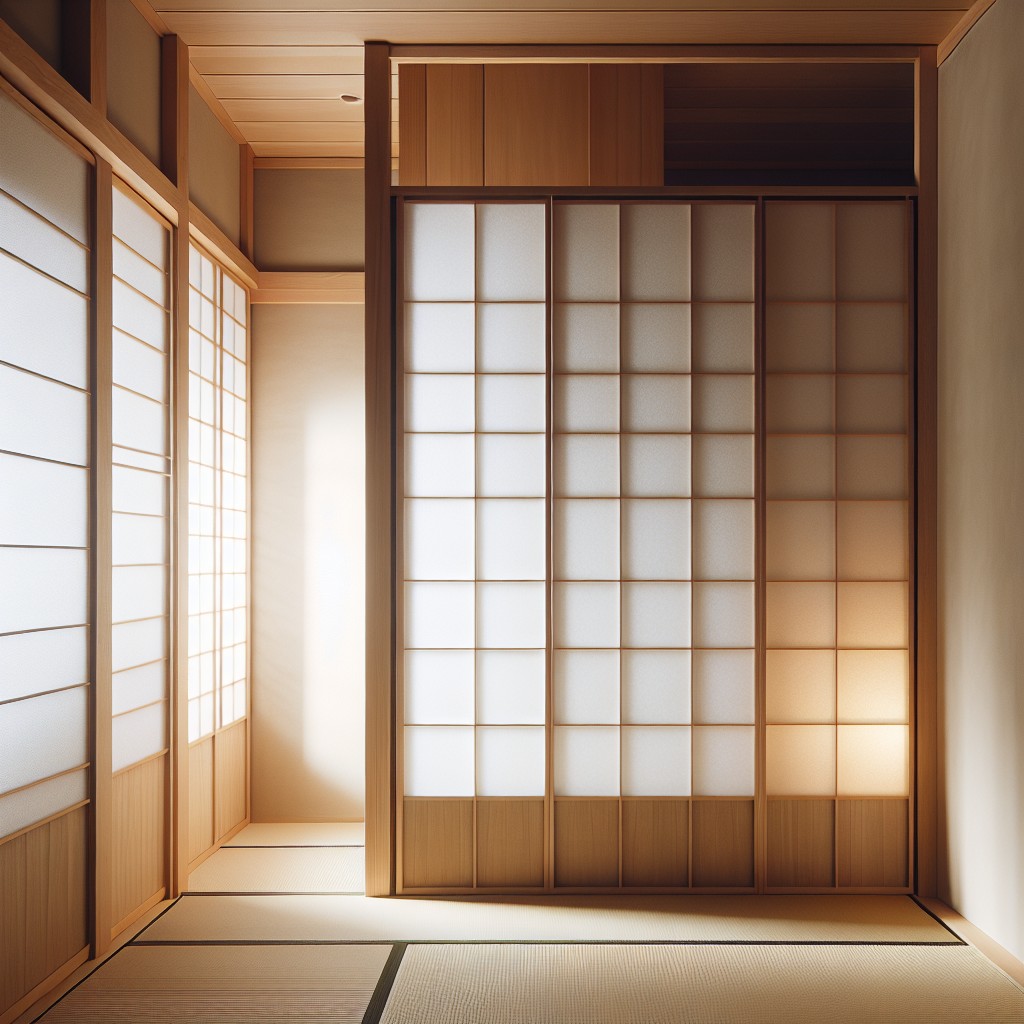
Creating this captivating screen requires just a few materials: lattice strips, rice paper, and some clear varnish to protect it against the elements. Shoji screens are great for letting light filter through while still providing privacy.
To achieve this design, firstly, you’ll construct the frame and lattice work from the wooden strips. This can be done in a variety of designs, but commonly, straight lines and squares are used. Achieve a sleek look with finer strips.
Once the lattice work is complete, attach the rice paper on one side. Glue works well for this, and the paper is cheap and easy to replace if it gets damaged. Add some varnish for weather-proofing, and you’re good to go.
One can further enhance the look by using colored rather than plain rice paper, creating vibrant patterns that can provide that necessary pop to your garden or patio. Though simplistic in assembly, the unique aesthetic brought through a Shoji-style screen can add an element of Zen to any outdoor area.
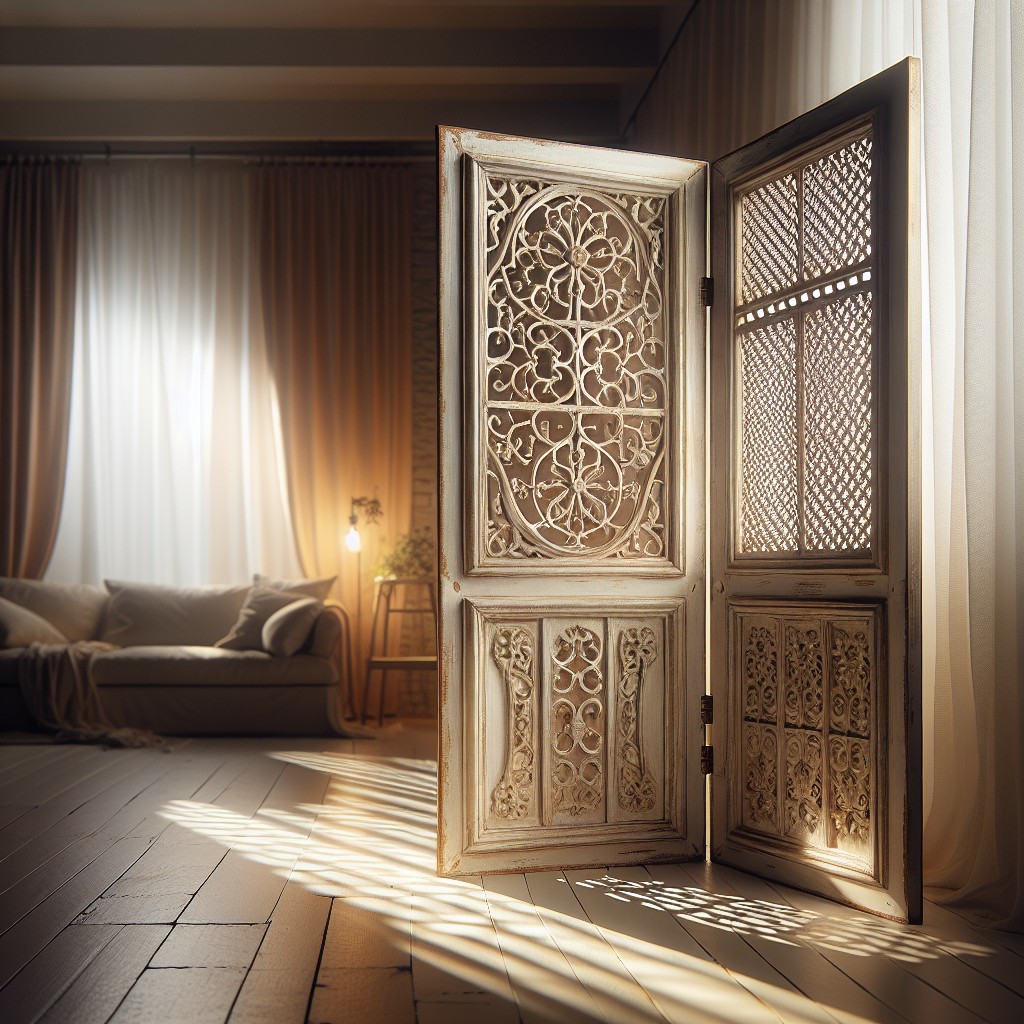
) Transform Old Bi-Fold Doors Into a Privacy Screen
To execute this distinctive project, start by hunting for old bi-fold doors at a thrift store, auction, or even your own basement or garage. They can be painted as desired, keeping in mind your patio, deck, or backyard aesthetic.
Once your doors have the right color, simply attach them together using hinges. An essential tip here is to use outdoor quality paint and varnish for an extended lifespan. Opt for a minimum of three doors for optimal privacy and stability.
Despite its simplicity, this DIY project provides an efficient privacy solution without dampening your outdoor space’s visual appeal.
) Go for a Brightly Coloured Lattice Screen

Inject some joy and personality into your outdoor space by opting for a vivid hue instead of traditional white or wooden shades. You’ll love the burst of color, and it’s a fantastic way to get creative with your garden.
1. Selection: Pick a color that will complement your existing plants and decorations. Warmer colors like reds and oranges can make your screen pop while cooler colors like blues and greens blend more with nature.
2. Craftsmanship: Use durable weather-resistant paint to avoid peeling or chipping. Two to three coats should be enough to provide sufficient cover and vibrancy.
3. Lighting: Light plays a crucial role in how the color turns out. Pick a location for your brightly coloured lattice screen where it gets the maximum benefit of sunlight and shade.
4. Checklist: Always ready your work zone. Ensure safety by using gloves and masks while working with the paint and other materials.
5. Results: Your brightly coloured lattice screen not only adds privacy but also helps tie your garden decor together, making it a visual centerpiece that stands out. Imagine the burst of color amidst your green plants and vibrant flowers!
Remember that repainting is always an option if you crave a décor change or your once vibrant lattice has dulled over time. Personalization is key, so have fun with your color choices and design process.
) Build a Nautical Rope Privacy Screen
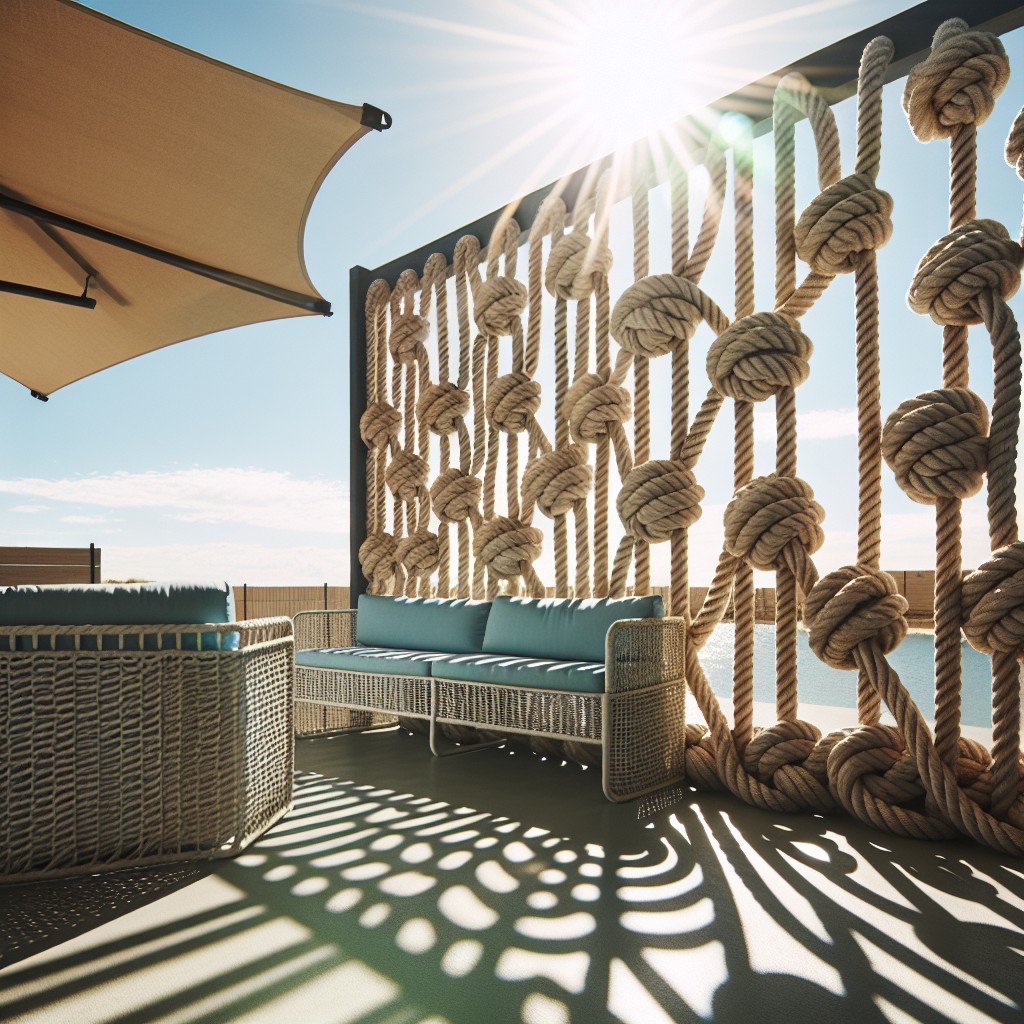
To construct this unique screen, you’ll begin with a sturdy wooden frame. Preserved, pressure-treated posts work best for outdoor use.
These could either be mounted in the ground for stability or assembled in a freestanding design.
Once your frame is in place, you’re ready to start the weaving. Choose marine-grade rope, which resists rot and sun damage.
Then, crisscross the rope through the frame, creating a lattice effect.
For an extra touch of seafaring charm, incorporate nautical knots at the intersections.
This project not only provides great privacy but also adds a fascinating visual element to your outdoor living space.
) Create a Bookcase Privacy Screen
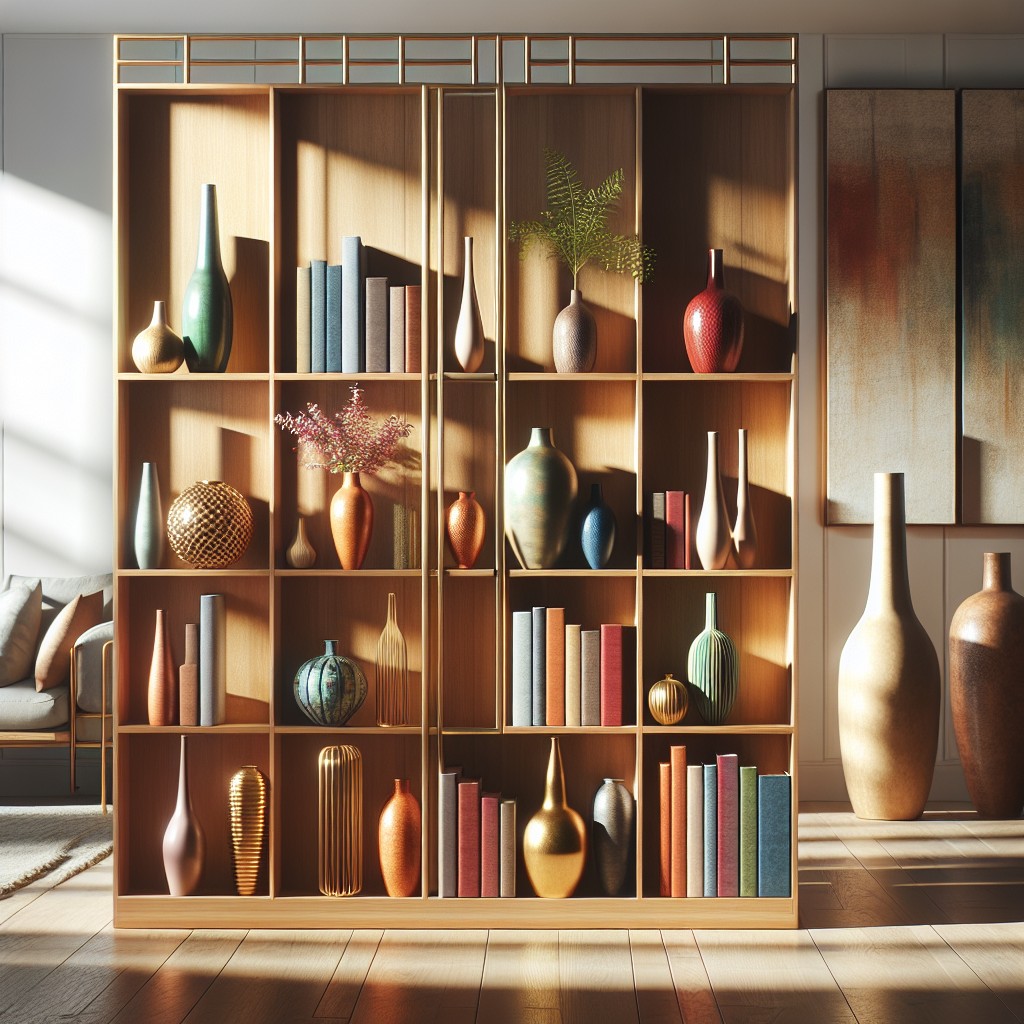
Designing your screen from a bookcase is both pocket-friendly and an ingenious space-saving solution. Simply choose a bookcase that fits nicely into the desired area. Fix it securely to prevent it from toppling over.
To make it uniquely yours, consider these suggestions:
- You could stock it with books and potted plants for a vibrant aesthetic finish.
- Paint or stain the wood to match your décor. A bold color can make it the room’s centerpiece.
- Wallpaper the back for a surprise pop of color or pattern whenever you pass.
- Adding lights, either fairy, LED or small lamps, can illuminate the space and provide a warm ambiance.
- Consider replacing a few boards with lattice for added sophistication and airiness, especially if you desire less blockage and more privacy.
Remember, it’s all about reflecting your personal design ideas and taste.
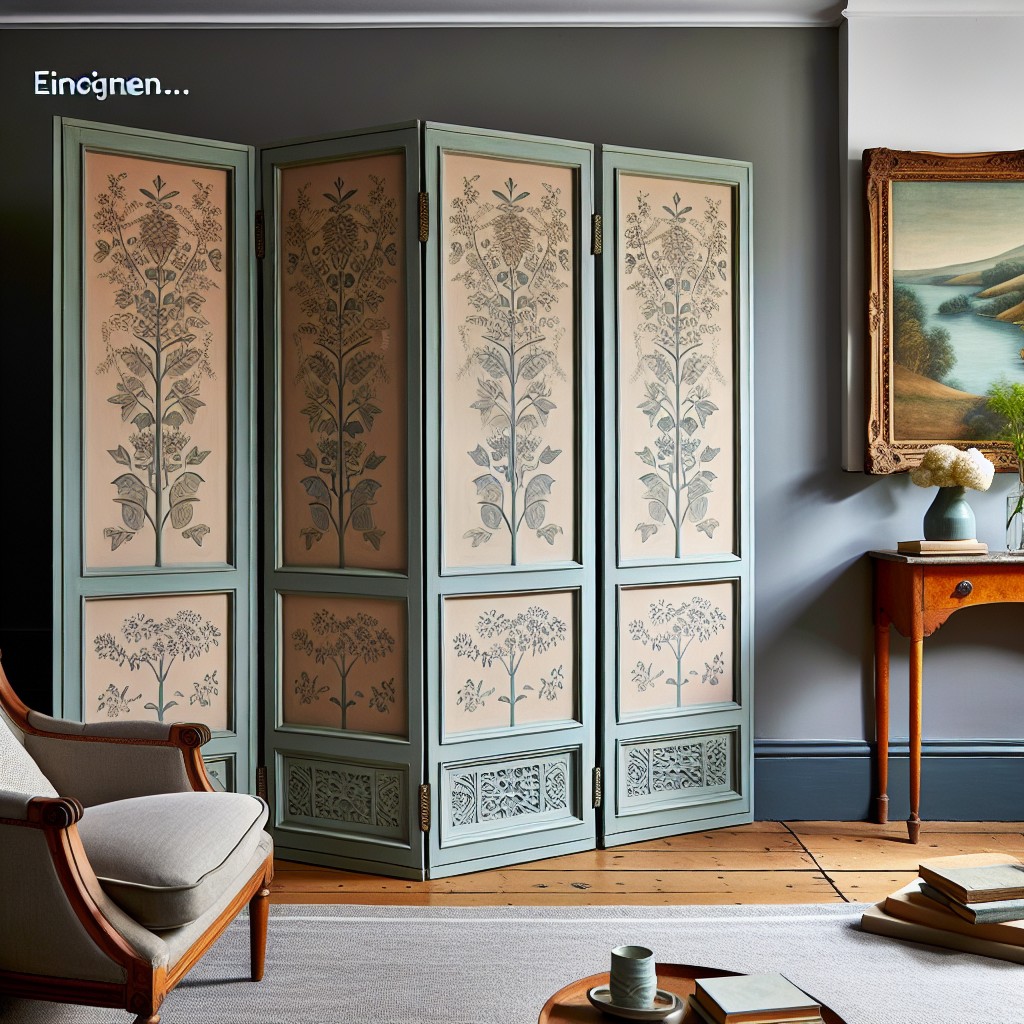
) Use Patterned Fabric Panels for a Bohemian Vibe
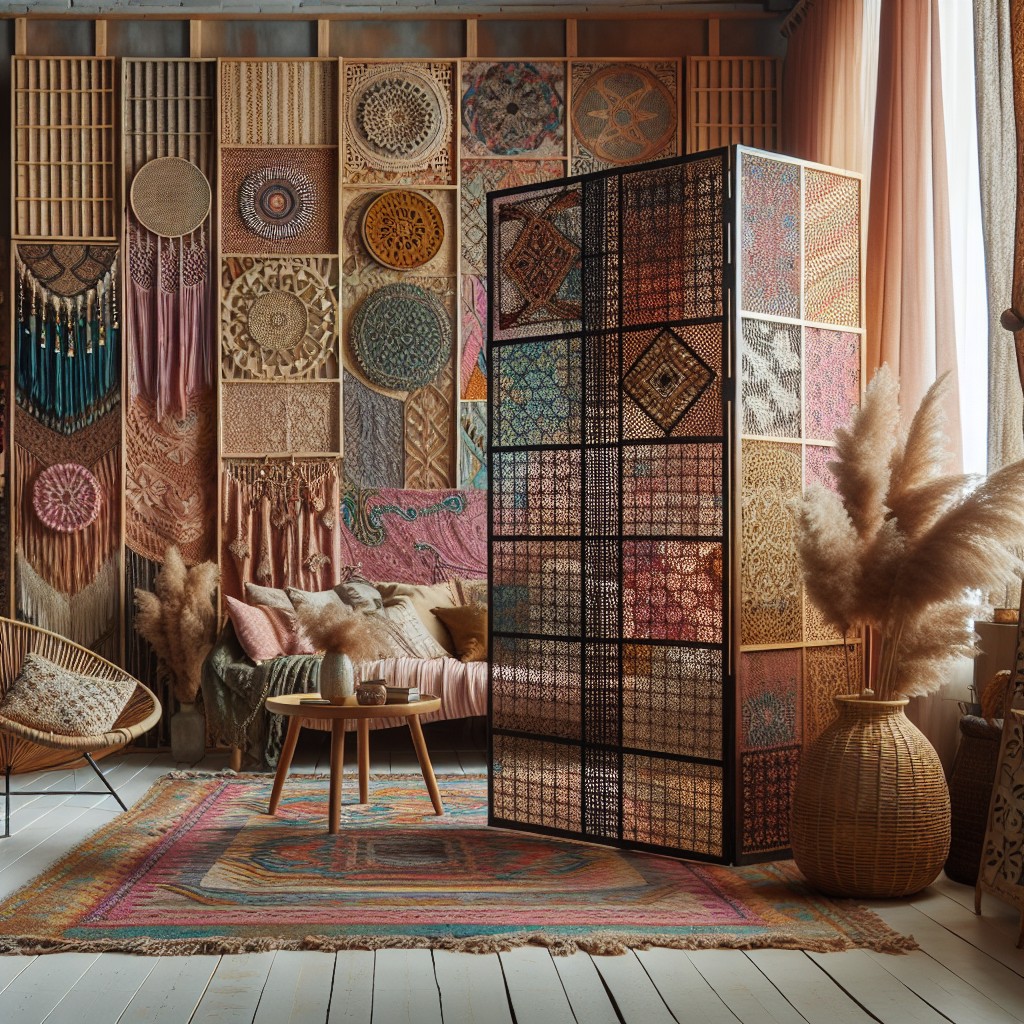
Choosing the right pattern is crucial to achieving the boho vibe. Beautiful, vibrant, or even understated textiles can effectively enhance the feel of your space. Opt for rich, saturated tones like maroon, emerald green, or deep purple. Motifs like paisley, intricate floral designs, or abstract geometric patterns also work well.
Here’s how you get started:
- Collect your material: Look for old curtains, saris, or any large piece of cloth with a noteworthy design.
- Frame it: Structures can be as simple as a few sturdy wooden dowels or an old window frame.
- Attach the fabric: Depending on your frame, a staple gun may suffice. For a cleaner look, consider sewing the fabric onto the frame.
Remember to select weather-resistant fabrics if your lattice screen is outside. A protective spray also helps to prolong its life. Always check the screen stability, especially during windy conditions. The beauty of this idea is its simplicity and adaptability. Feel free to experiment and let your creativity flow.
) Construct an Elegant Stone Wall
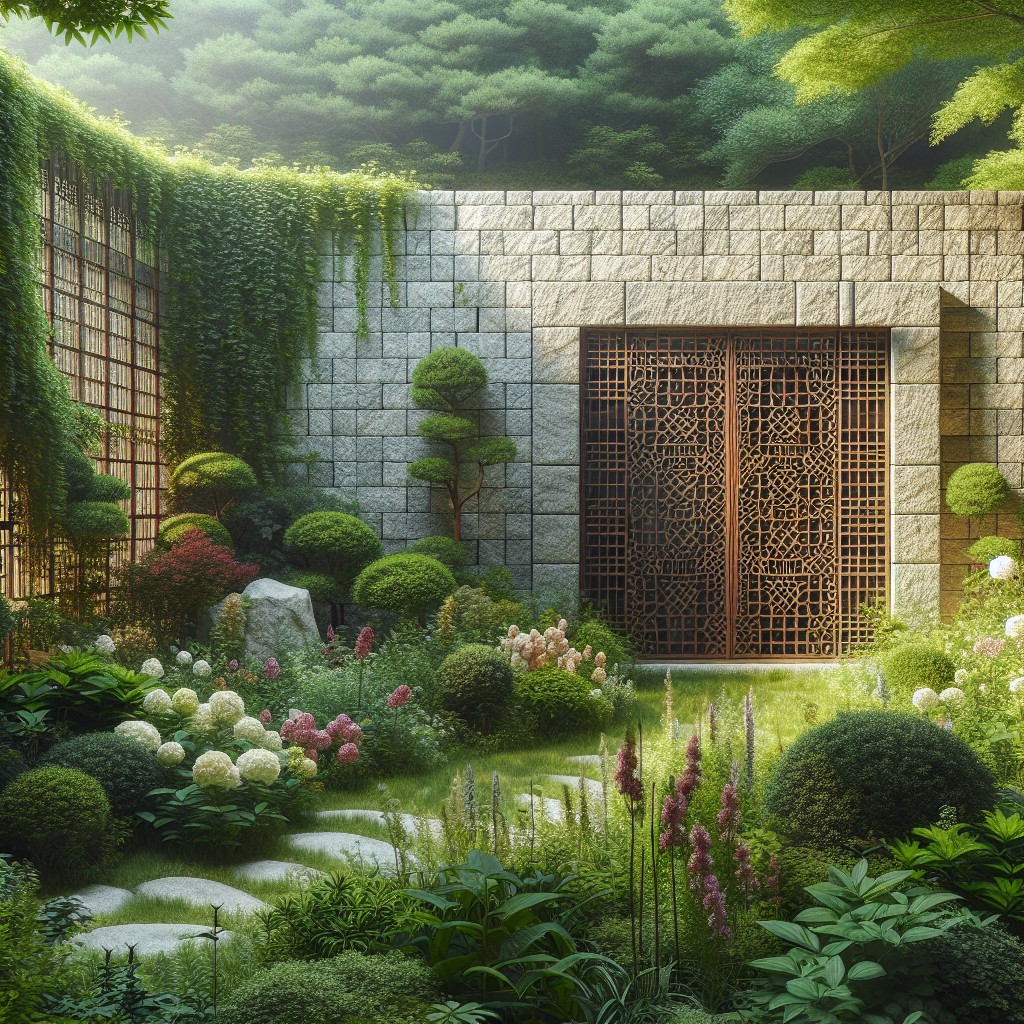
To construct your elegant stone wall, start by choosing the right type of stones that complement your outdoor space. The most popular types are fieldstone and flagstone, but you can also opt for cut stone if you prefer a more formal look. The stones should vary in size, maintaining balance and diversity for a more refined aesthetic.
Proper preparation of the site is crucial for the stability of the wall. Ensure that the ground is level or adequately sloped if you’re working on a hill. An uneven base can cause the wall to tilt or collapse over time.
Lay out a foundation with larger, flatter stones first; they provide stability and a base for the successive layers. As you build upwards, overlap the stones to create a strong and interconnected structure. Consider using a masonry adhesive for extra strength.
Keep in mind, the wall doesn’t need to be perfectly geometric but should have a gradual sloping on the top for drainage. Vary the orientation of stones – some can have a longer face while others have a short or square face – to avoid creating a visible pattern or line, which could detract from the overall organic and elegant appearance.
Don’t forget to incorporate spaces for planting. This softens the wall’s appearance and merges it with the landscape. Try succulents or creeping plants as they are both aesthetically pleasing and low maintenance.
Safety is key during the construction process. Always wear a hard hat, safety glasses, and durable gloves. Remember, a well-constructed stone wall can be a timeless addition to your landscape, serving both functional and aesthetic purposes.
) Create an Ivy-Covered Lattice Screen
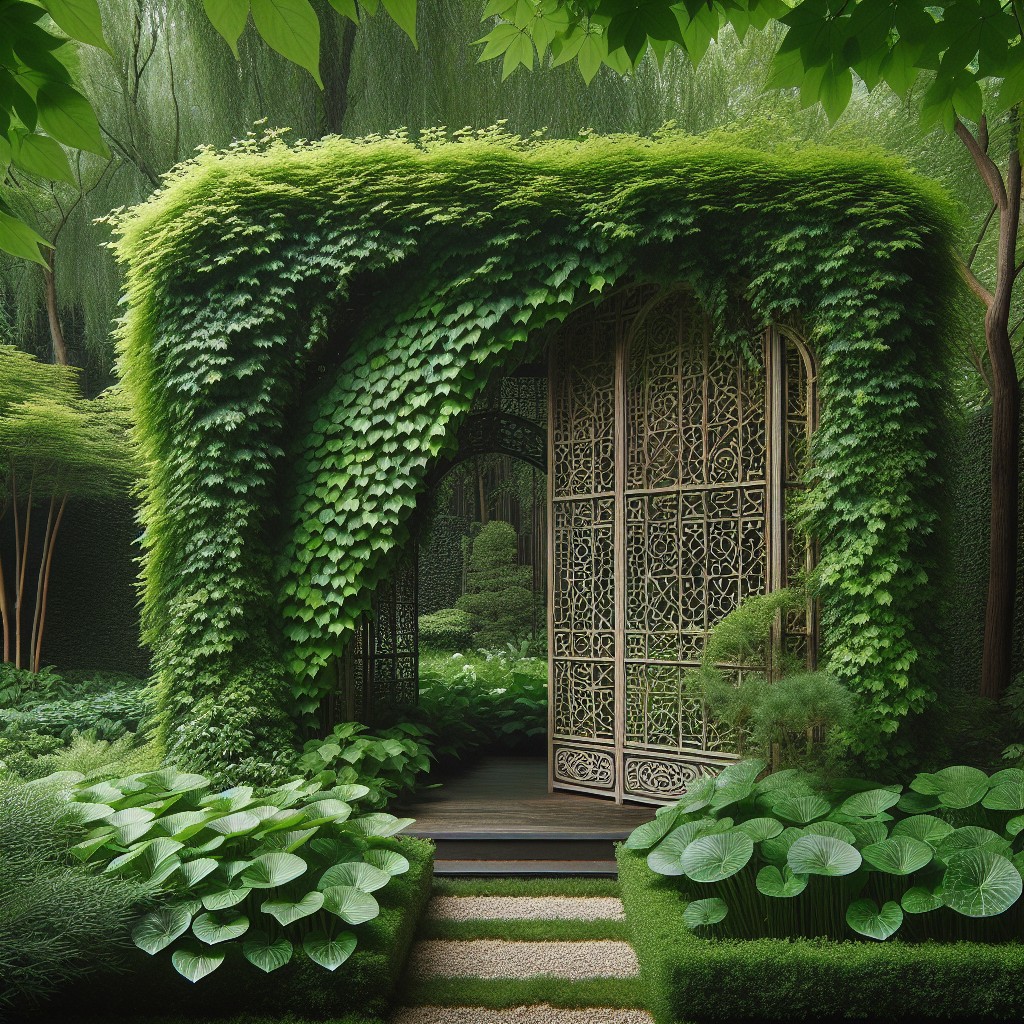
To establish your Ivy-Covered Lattice Screen, begin by selecting a sturdy wooden or vinyl lattice. Choose a section of your outdoor space that has suitable conditions for ivy growth; these resilient climbers prefer partial to full sun exposure and well-drained soil.
Fix the lattice panel outward enough from the wall or fence it’s attached to, allowing space for the ivy to grow in-between. Plant the ivy at the base of the lattice, spreading the root structure against the panel. Use garden ties to secure the ivy to the lattice initially, aiding it to start climbing upwards.
The beauty of this screen not only lies in the greenery but also in your control to shape and prune this natural curtain. Regular trimming will maintain the ivy in a dense, leafy form, enhancing privacy effectively. Additionally, the ivy-covered screen acts as an excellent sound and wind buffer. Always remember to keep an eye out for overgrowth, as ivy can become invasive if not managed.
For a striking appearance, considering mixing different varieties of ivy. English ivy and Boston ivy are popular choices for their fast growth and robust nature. With patience and regular care, you’ll establish an alive, green partition that offers privacy, beauty, and a touch of an enchanting, secret garden vibe.
) Make an Antique Mirror Privacy Wall
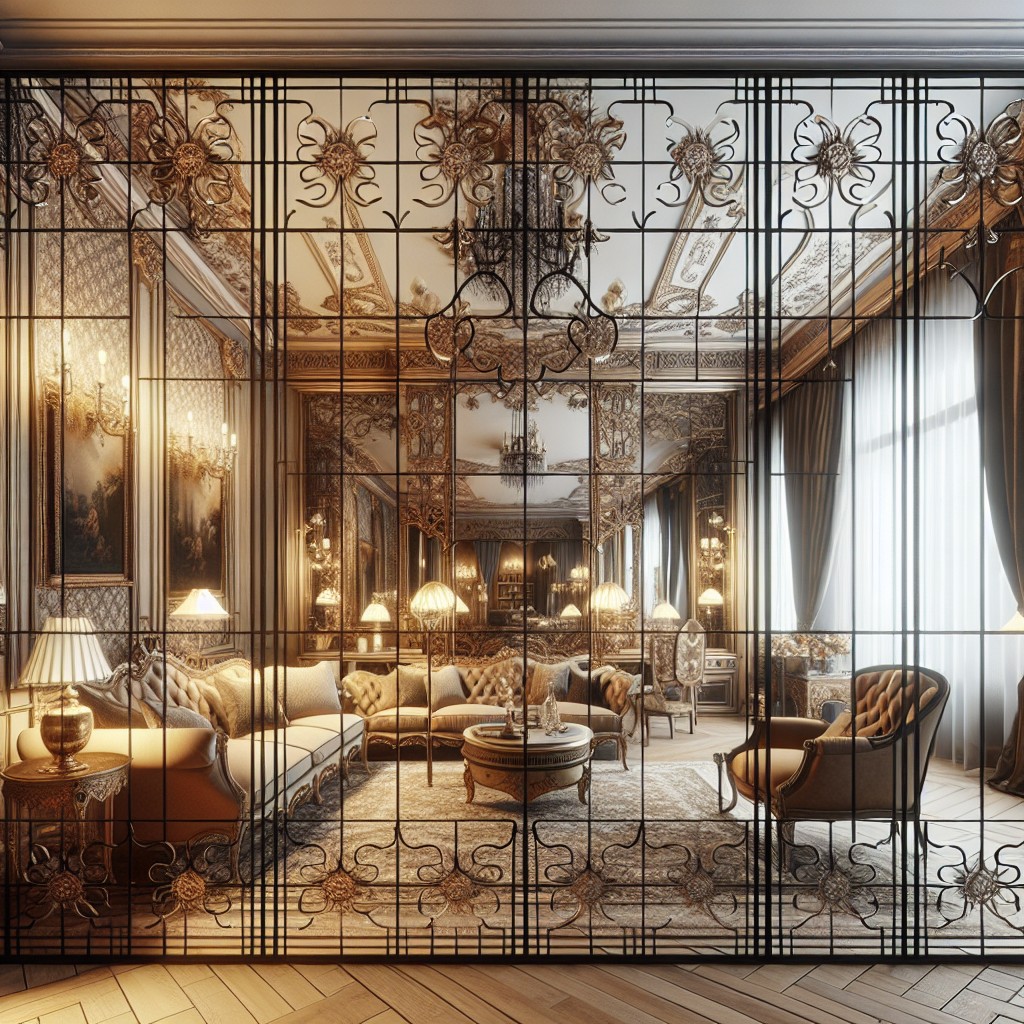
To create this unique and captivating privacy screen, you’ll need several different sized mirrors with antique frames. You can either use real antiques or artificially aged modern mirrors. While it’s perfectly fine to use non-matching frames, it’s important to have a cohesive design element, whether it be color, finish, or style.
Connect the mirrors along the edges, creating a patchwork effect. Back the joined mirrors with a sturdy material such as thick plywood or metal for support. As this will add weight, make sure your chosen location can handle the mass. Utilize heavy-duty hinges for standing and flexibility.
One key element to consider is reflection. Position the screen in a way that reflects something visually intriguing or adds light to your space. However, avoid angles where the sun’s rays might reflect into the eyes.
This antique mirror privacy screen isn’t just functional; it’s also an artistic statement piece. It adds light and depth to your space, making it feel larger while providing that much-needed privacy.
) Design a Shelf and Lattice Combo Wall
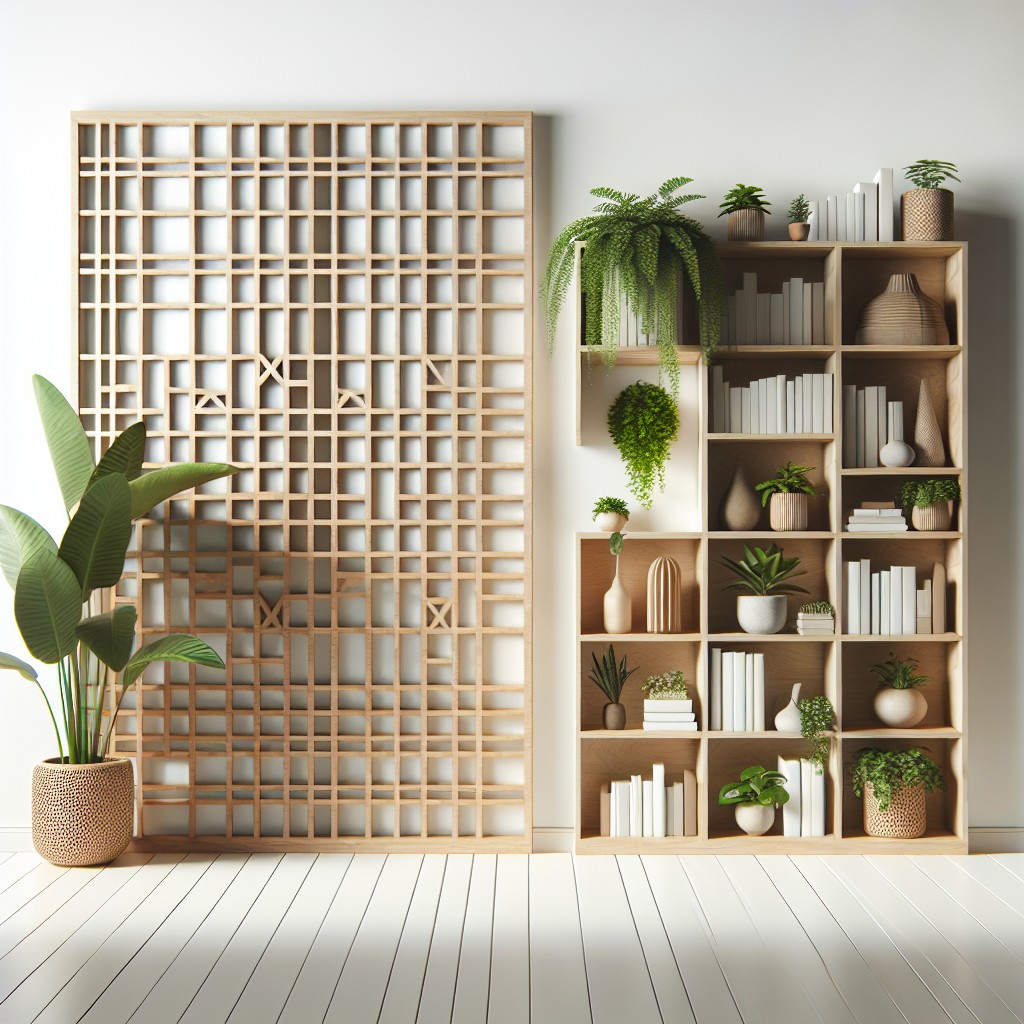
A shelf and lattice combo wall offers a remarkable blend of aesthetic appeal and functionality. It’s an ideal choice for those who love double-duty designs.
Start by selecting durable wood material to ensure longevity. Ensure to waterproof the wood, especially if you plan to place the screen outdoors.
Next, consider the size and design of your lattice. A larger, more geometric lattice pattern can provide a cleaner, modern look, while a smaller, more intricate pattern can offer a traditional feel.
When it comes to shelving, be strategic about spacing and placement. Alternating shelves between open lattice gaps is one design possibility. The shelves can hold plants, home décor, or outdoor gear, depending on where you place the screen.
Lastly, remember the power of paint. Matching your lattice screen’s color to your outdoor décor palette can help create a cohesive aesthetic, or opting for a contrast color can make your screen pop. It’s all about creating harmony with your existing décor.
Keep in mind, the success of this design relies heavily on balance. Too many shelves can overshadow the beauty of the lattice, while too few can fail to maximize the utilitarian aspect of the screen. Strive for an aesthetically pleasing equilibrium – and don’t forget to enjoy the process!