Last updated on
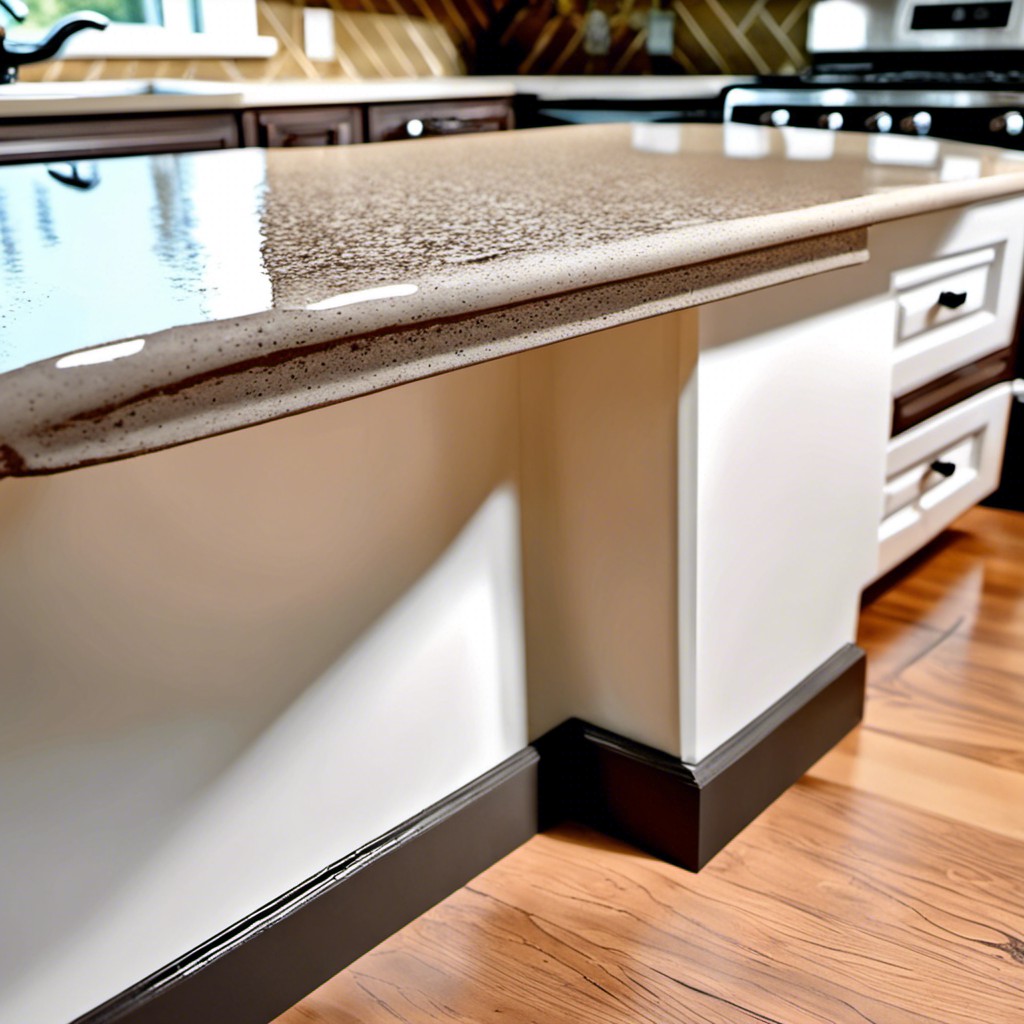
Closing the unsettling gap between countertop and wall can immensely elevate your kitchen’s aesthetics, because strategically filling this space not only conceals construction imperfections but also embraces function and style.
I’m proud to present this article about 20 creative solutions for the gap between your countertop and wall, lovingly penned and illustrated by yours truly, with my deepest hopes that you find it as inspiring and fun to read as I did while crafting it.
Having a gap between your countertop and wall can seem like a small issue, but it can become a significant annoyance. Whether it’s crumbs falling into the gap or just the unsightly appearance, there are plenty of reasons why you might want to address this issue.
Luckily, there are several creative and practical solutions to this problem. This article will guide you through different options, such as using a trim or molding, installing a backsplash, or even using silicone caulk. Each solution comes with its own set of pros and cons, and this article will delve into these details to help you make an informed decision.
So, whether you’re a DIY enthusiast or prefer hiring professionals, you’ll find a solution that suits your style, budget, and skill level.
What's Inside
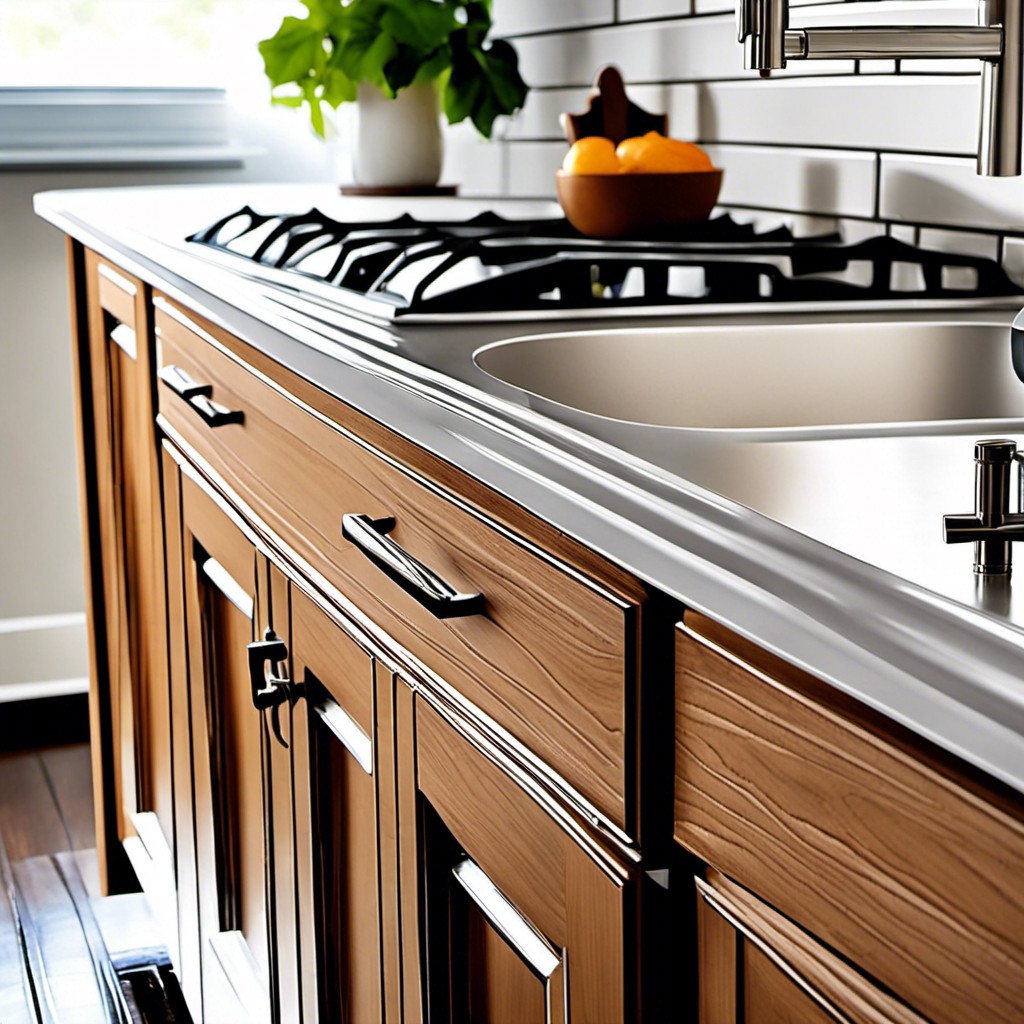
Caulk the Gap
Caulking is an excellent way to fill in the space between the countertop and wall. It’s a simple task that just needs a tube of caulk and a caulk gun.
Start by thoroughly cleaning the gap and allowing it to dry. Next, cut the tip off the tube of caulk at about a 45-degree angle. Use a caulk gun to apply a steady bead of caulk along the gap. Finish by smoothing the caulk with a wet finger or a caulk smoothing tool.
Choose a caulk color that matches your countertop or wall to make the job blend in seamlessly. Don’t forget to let the caulk dry thoroughly before using the countertop.
Caulking not only covers up the gap, but also prevents moisture and dirt from getting trapped in there. It’s a practical and cost-effective solution that can extend the lifespan of your countertop and wall.
Install a Backsplash
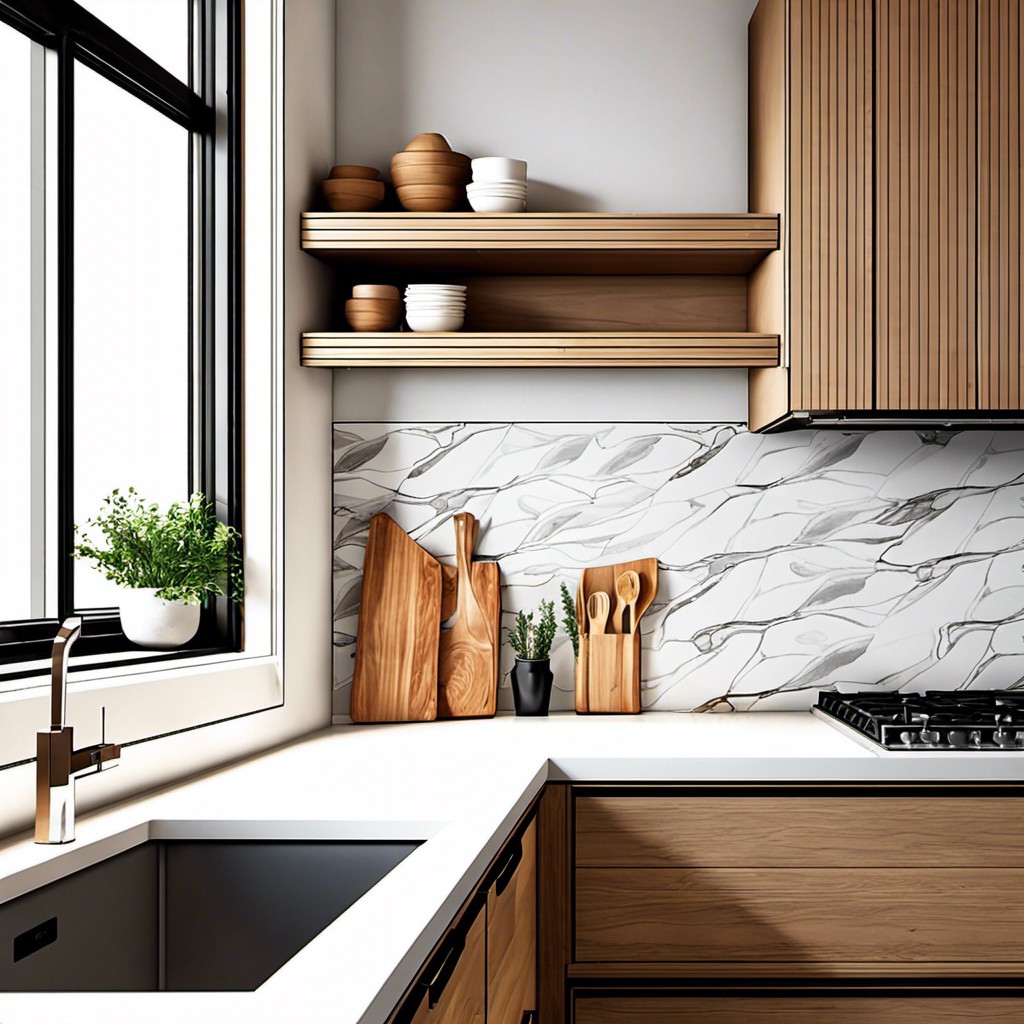
Opting for a backsplash not only covers the gap but also adds an artistic touch. Various materials like glass, ceramic, metal, or even stone are suitable. Remember to consider the matching with kitchen decor while choosing. Use adhesive or tile mastic for the installation – apply, press the backsplash, let dry, and voila! Easy to clean and maintain, it keeps wall stains at bay while amplifying the aesthetic appeal. Remember, measure twice before buying materials to avoid wastage. For an even more chic look, consider designer options like a mosaic pattern or a subway tile layout.
Use Trim Molding
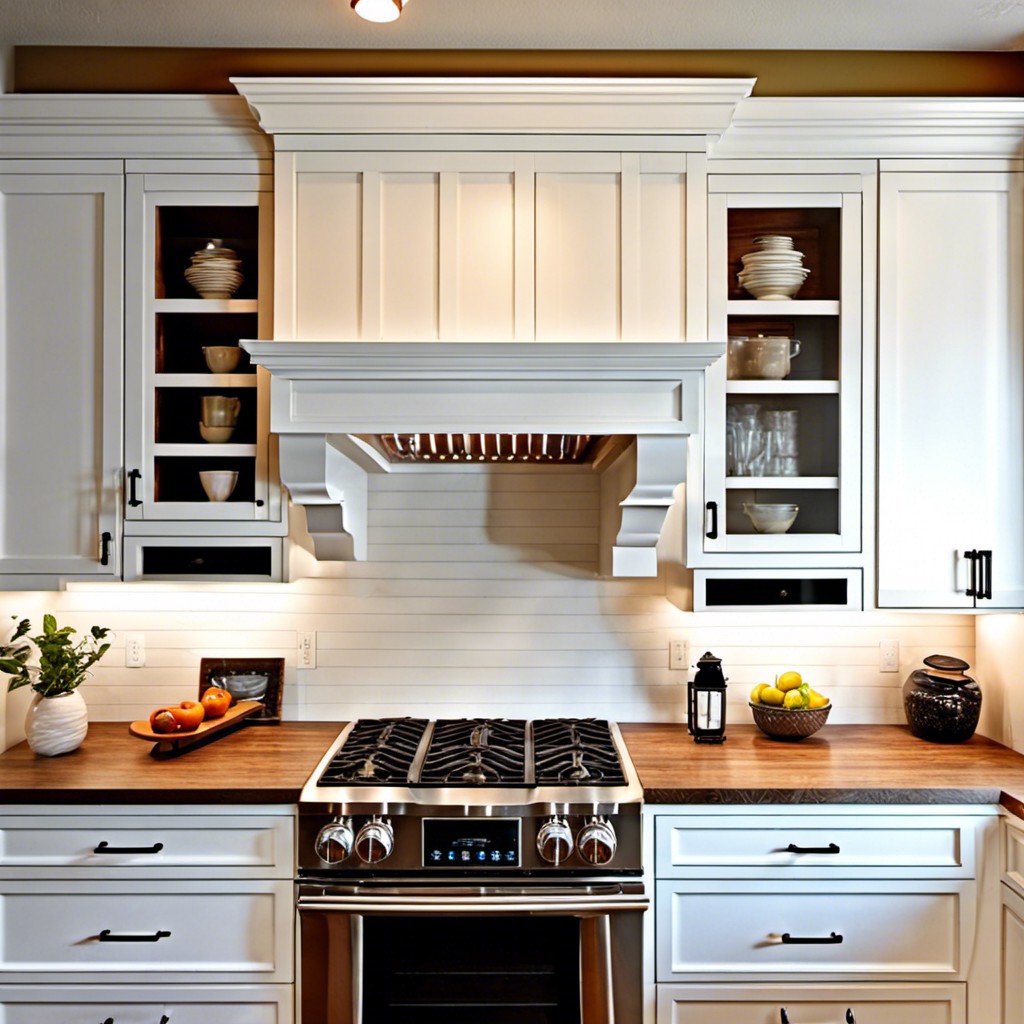
Trim molding is a versatile and aesthetically pleasing filling option. It’s available in various materials such as wood, plastic and even metal, offering homeowners a choice to match their kitchen decor.
To make this work, you measure the gap between the countertop and wall, then cut the trim to size.
Installing it is quite straightforward. Start by applying a bead of adhesive on the back of the molding, press it into the gap, then secure it with finishing nails. The nails should be placed 12-16 inches apart for sturdy installation.
Once in place, you can paint or stain the molding to match either the counter or wall, seamlessly integrating it into your kitchen design. It’s an excellent way to not only hide the gap but also enhance the overall aesthetics of the space.
Fit a Rubber Gap Cover
For those who value function and affordability, rubber gap covers are an excellent option. Easy to install, they conveniently slip into the area between your countertop and wall, creating a smooth, clean transition. These covers come in a variety of colors, making it easy to match with your existing kitchen decor. Some covers even mimic the look of high-end materials like stainless steel.
Flexibility is another advantage of rubber gap covers. They can bend or be cut to conform to the exact size and shape of your gap. This spot-on adjustment helps them fit securely and reduce the risk of crumbs or water slipping down, improving cleanliness around your cooking area.
Moreover, rubber gap covers are durable and easy to clean. Simply wipe them down or place them in the dishwasher for a thorough sanitation session. Keep in mind that not all rubber is heat-resistant, so if the gap is close to your range, you may want to consider a heat-resistant material. In most other scenarios, rest assured, a rubber gap cover is a reliable pick.
Paint a Faux Shadow
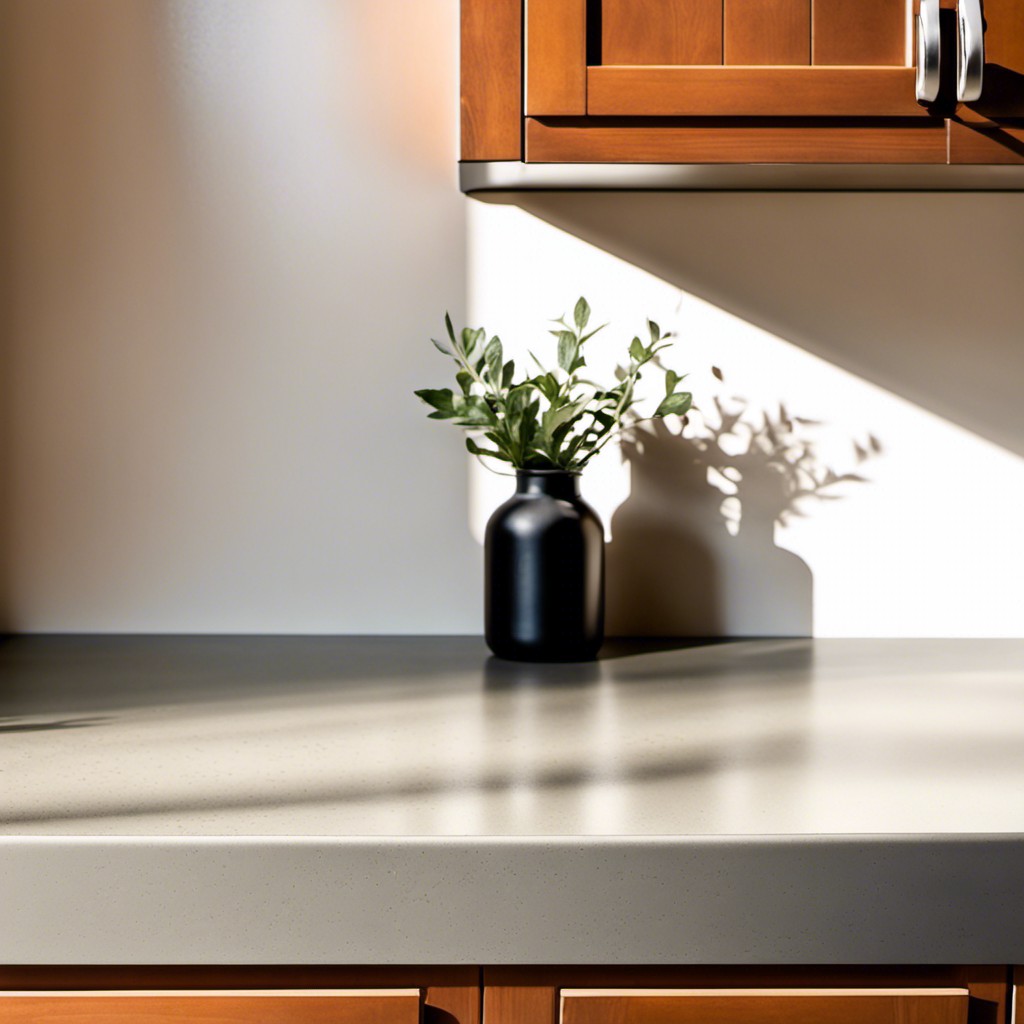
Commanding an artistic flare and a willingness to experiment can cross the gap between the countertop and the wall with an intriguing solution; painting a faux shadow. With this approach, the gap can be transformed into a stylish feature rather than a syncopation.
1. Choose the appropriate paint: A dark color that mimics the natural shadow in that particular area is the best choice. Flat, matte finishes work best in creating a convincing shadow effect.
2. Preparation work: Before starting, ensure the surface is clean and free of any debris for smooth paint application.
3. Paint Strokes: Use soft, vertical strokes to create the shadow effect. Transition from dark at the bottom to lighter at the top for a natural appearance.
4. Blending: A soft cloth can help blend the wet paint for a smoother, more organic shadow transition.
5. Seal the finish: A topcoat can keep the paint protected from wear and tear, ensuring durability.
Remember, attention to detail in mimicking the right shade, gradient, and direction of a natural shadow will perfect this unique embellishment. Be bold, be experimental and watch the gap go from drab to fab!
Install Tiles
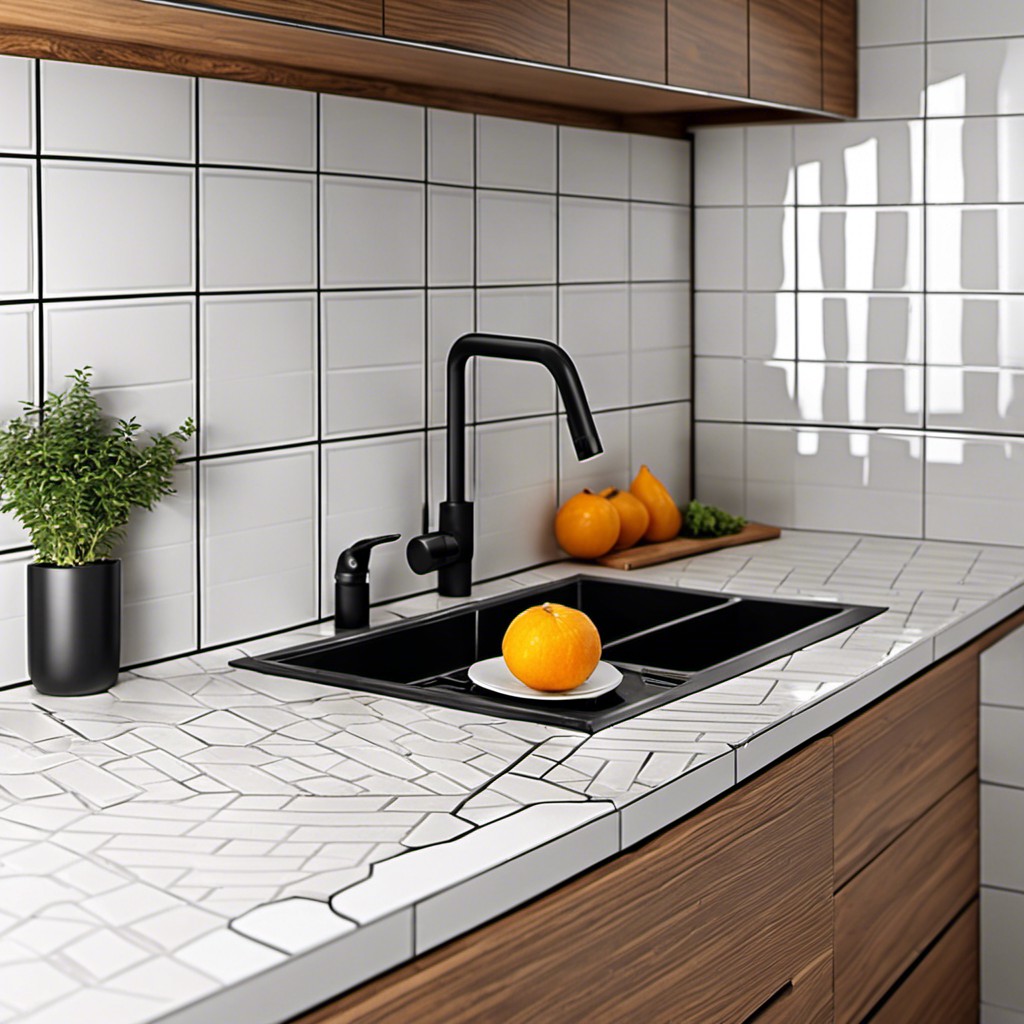
Following the plaster or caulk method, another possible solution is tiling. This robust, elegant option goes hand in hand with both functionality and aesthetics. Consider these points when implementing this strategy:
Firstly, measure accurately. The dimensions between your countertop and wall should be accurately gauged to ensure a perfect tile fit.
Choose a tile design that complements your kitchen decor. Matte or glossy, bright or neutral – various designs can elevate your kitchen appeal.
Thoroughly clean the area, removing any debris or dust before applying tiles.
Use a tile adhesive to place your tiles. This strong, waterproof bonding material ensures a long-lasting solution to cover the existing gap.
Remember to seal the edges. After tile installation, apply grout sealer around the edges for a clean, professional finish.
This approach not only fills the gap efficiently but also adds an attractive, finished look to your kitchen. Next, let’s discuss another solution – attaching wall panels.
Attach Wall Panels
Wall panels are also an excellent choice for covering the gap between countertop and wall. Available in a diversity of styles, colors, and materials, they can perfectly match your existing kitchen decor.
1. Measure the Gap: Knowing the exact size will help you order the right sized panels.
2. Select Panels: Wood, metal, or plastic – choose the one that complements your space.
3. Install: Adhere them properly keeping everything leveled.
4. Paint if Required: If you opted for custom wood panels, you could add a splash of paint for more personal touch.
The end results? A polished and refined appearance that effortlessly conceals the unwanted gap. Remember to take maintenance into consideration – panels with textured surfaces may be more challenging to clean than their smooth counterparts.
Use Epoxy Resin Fill
When choosing a durable, customizable solution, an epoxy resin fill is a go-to option. First, clean and dry the gap area, ensuring no debris or moisture is present, which could interfere with the application process. Then, measure out the correct amounts of resin and hardener, which are combined to create the solid fill.
The main advantage of epoxy resin is its superior durability compared to other fillers. Once set, it forms a hard, waterproof seal that can withstand daily wear and tear. An added benefit is it comes in various colors, allowing you to either match your countertop or create a striking contrast for an aesthetic appeal.
For application, use a syringe or a small spatula to carefully fill the gap. Allow the resin to settle, then smooth with a putty knife for a seamless finish. Be sure to wear relevant protective equipment to avoid any adverse skin reactions during handling.
Remember, while epoxy resin provides a long-lasting solution, it’s not easily removable. So, think carefully about your aesthetic preferences before making this permanent change to your kitchen. Properly done, an epoxy fill can provide both functionality and beauty to the gap between your countertop and wall.
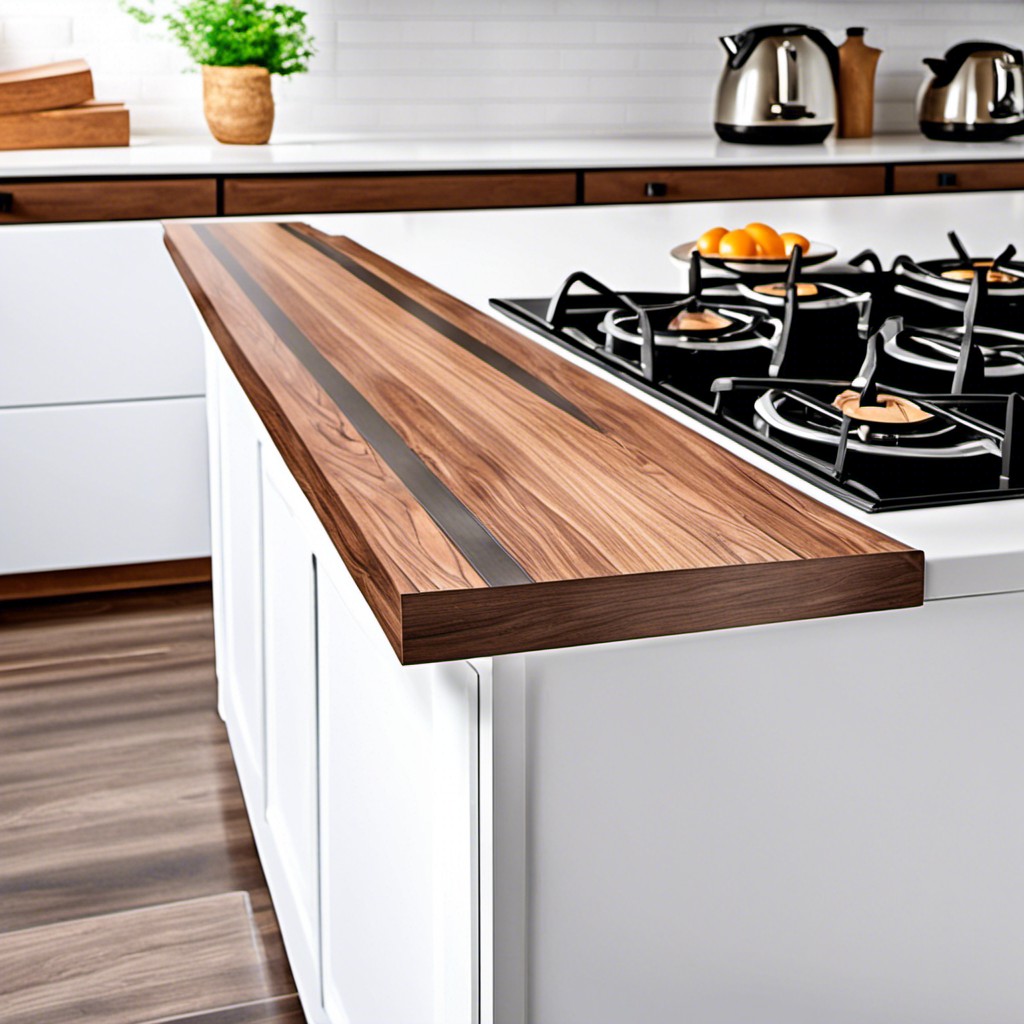
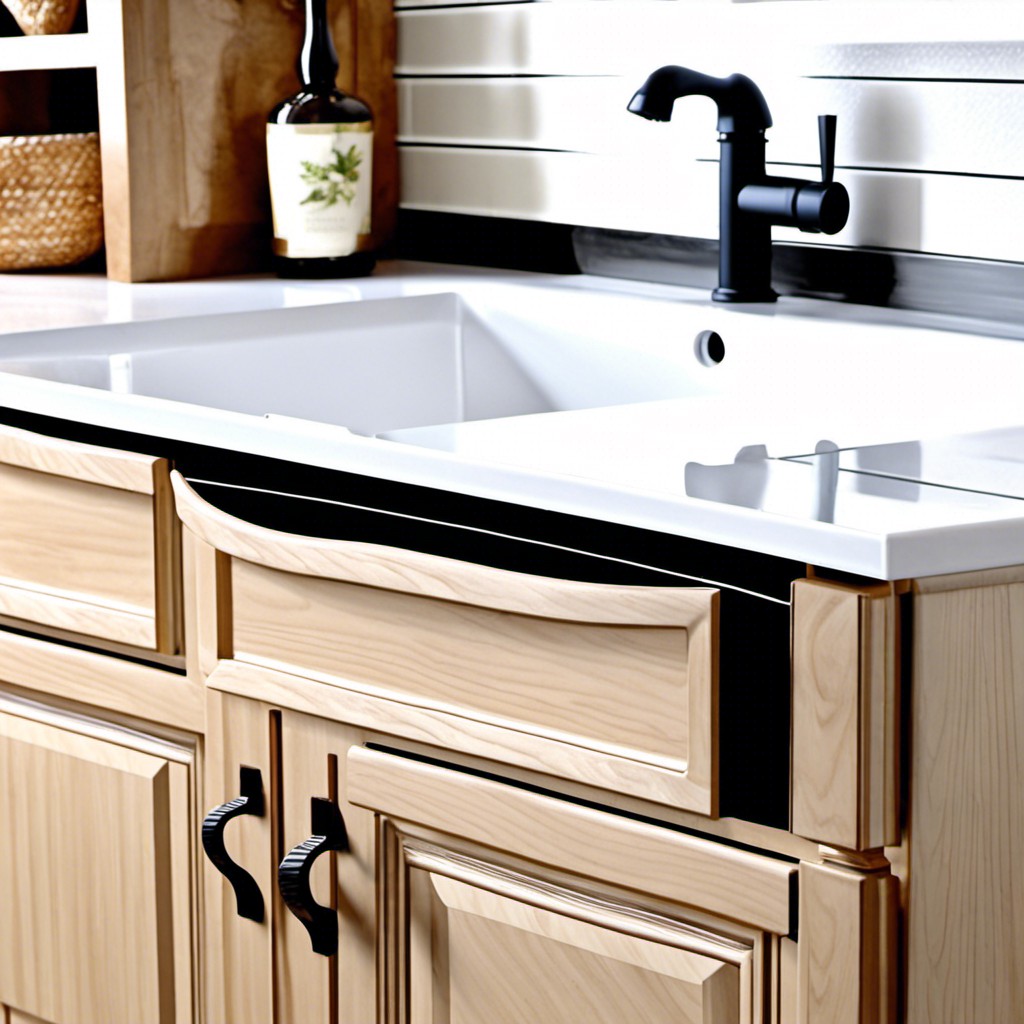
Add Wooden Counter Edge
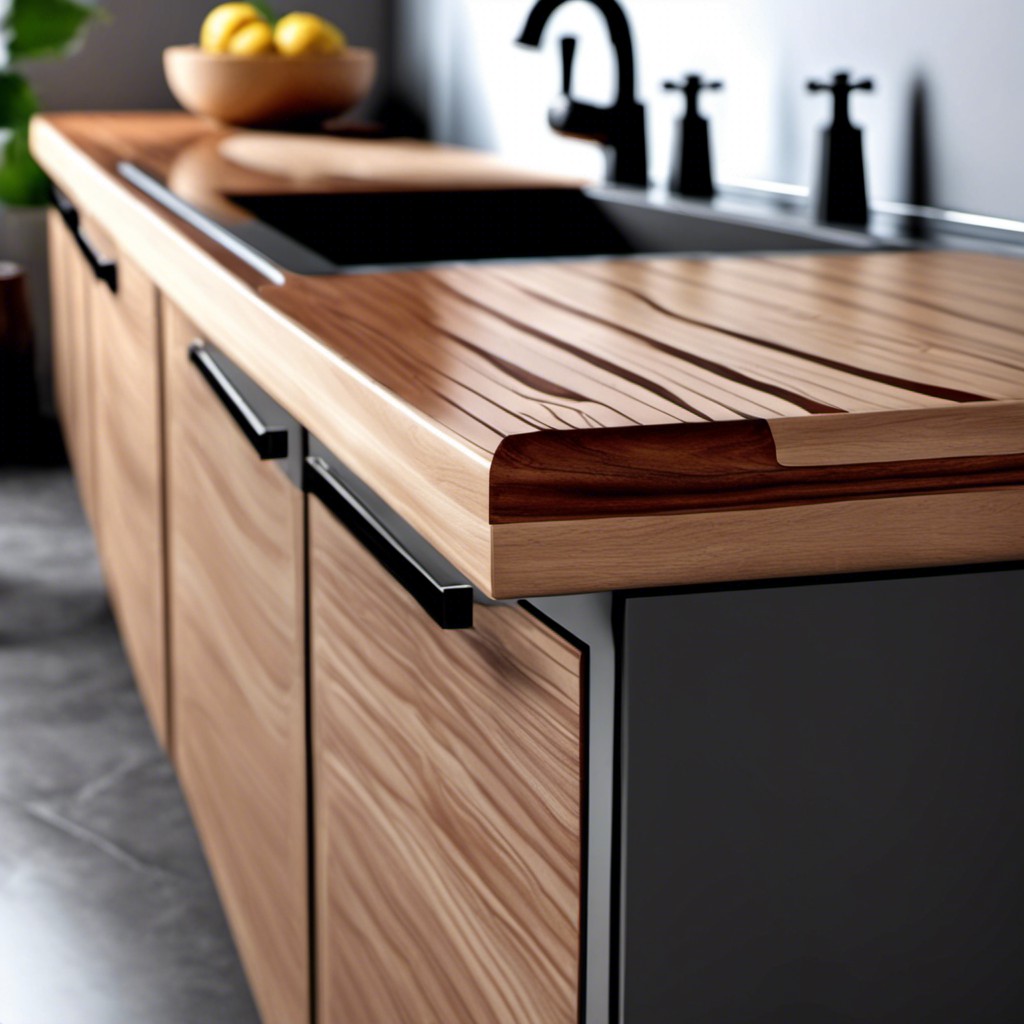
Incorporating a wooden edge into your countertop setup provides a natural and warm touch to your kitchen. It serves not only for decoration but also masks any noticeable gaps between the countertop and the wall.
1. Select the Right Wood: Choose wood that matches your countertop material and kitchen design. Hardwoods like oak or cherry are durable and visually appealing.
2. Measure and Cut: Accurately measure the length of the gap and cut your wood strip accordingly. This will ensure a seamless fit.
3. Attach: Secure the wooden strip directly on the edge of your countertop using strong glue or screws. Should you opt for screws, ensure they are well hidden to maintain the aesthetic.
4. Finish: Apply a matching finish to the strip and countertop. This provides a cohesive look while protecting the wood.
Remember, a wooden edge’s charm lies in the details. Fine crafting and fitting will yield the best aesthetic results while efficiently covering any gaps.
Utilize a Silicone Strip
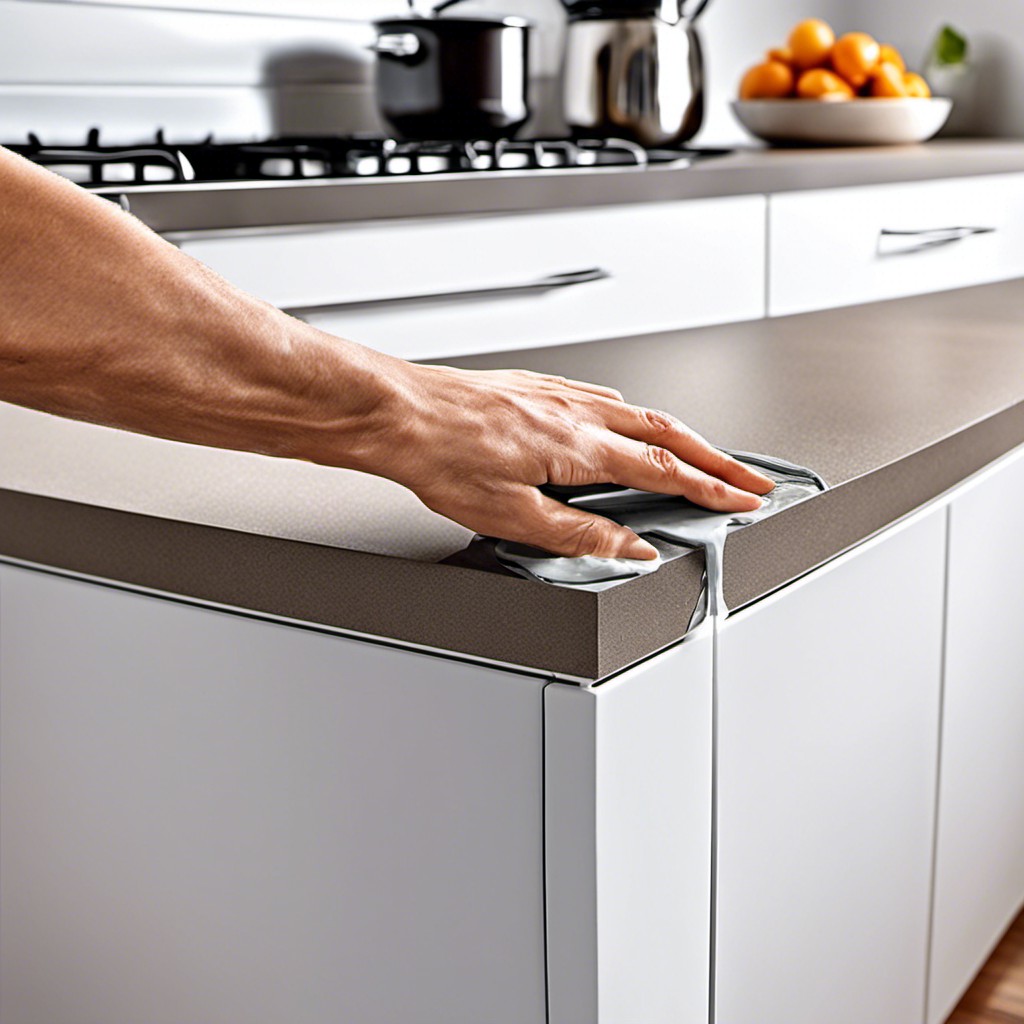
For filling the gap between your countertop and wall, silicone strips are an excellent choice. They are simple to install, making them a popular choice for DIY enthusiasts. Silicone strips are also resistant to water, reducing the risk of water damage in your kitchen.
Moreover, these strips are versatile. They come in various colors and styles, so you can choose one that complements your kitchen’s overall decor.
The installation process doesn’t require professional skills. You cut the strip to your desired length, remove the backing, position it in the gap, and press firmly. Just make sure the surface is clean, dry, and dust-free before applying the strip. This ensures it sticks properly and gives a neat finish.
Using a silicone strip is a cost-effective and long-lasting solution to fill gaps. It provides a cohesive and polished look, enhancing both the aesthetic value and the functionality of your kitchen.
Finally, remember that while silicone strips are durable, they may wear out over time. However, their replacement is easy and budget-friendly, making them a dependable option.
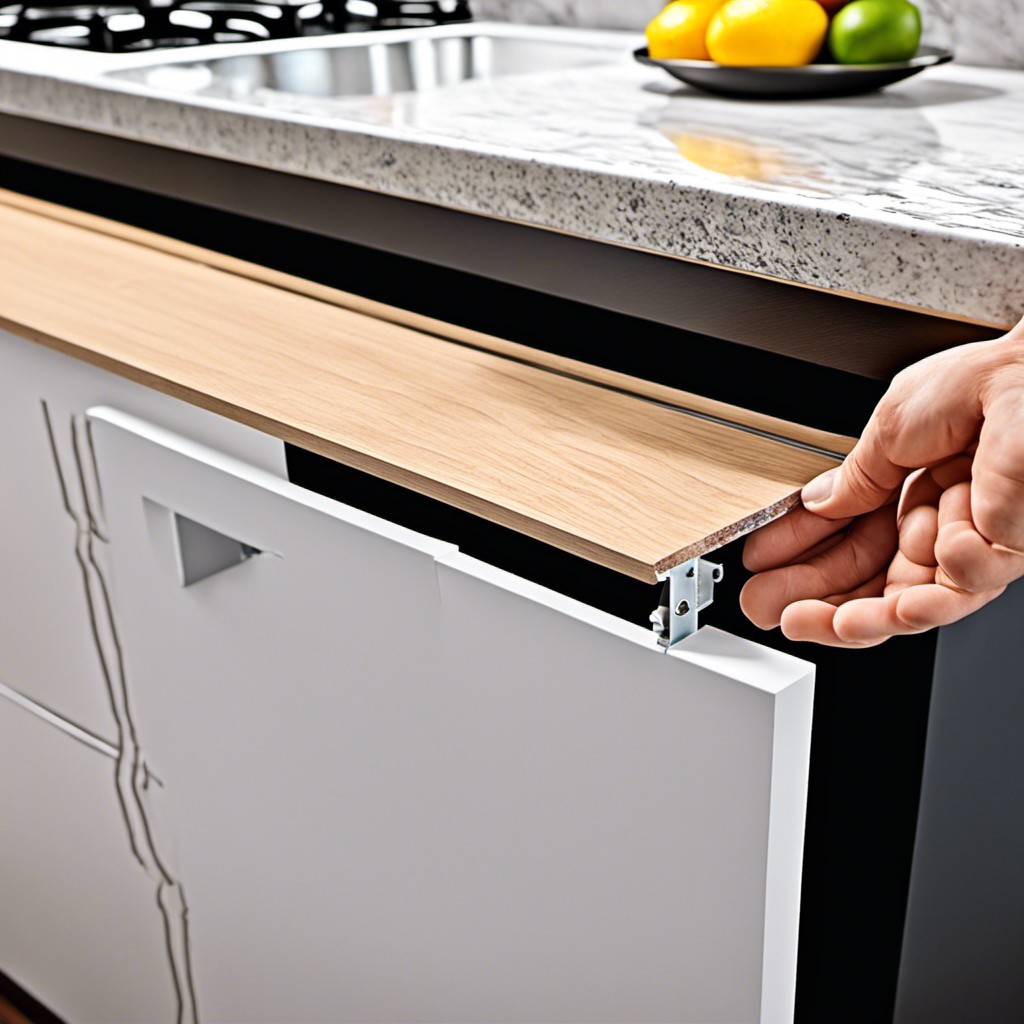
Install a Laminate Strip Cover
Slipping into the home improvement store, you’ll find a range of laminate strip covers meant to bridge the gap between the countertop and wall. These versatile strips are easy to apply, and they come in a diversity of colors and finishes to match your countertop.
Cutting them to length poses no challenges, and with some strong adhesive, it’s a quick fix to fill that unseemly gap. Moreover, laminate strips afford you an, especially cost-effective solution. They’re easily replaceable if they become worn or damaged, saving you time and money, while continuing to maintain that sleek kitchen aesthetic.
Create a Mosaic Design
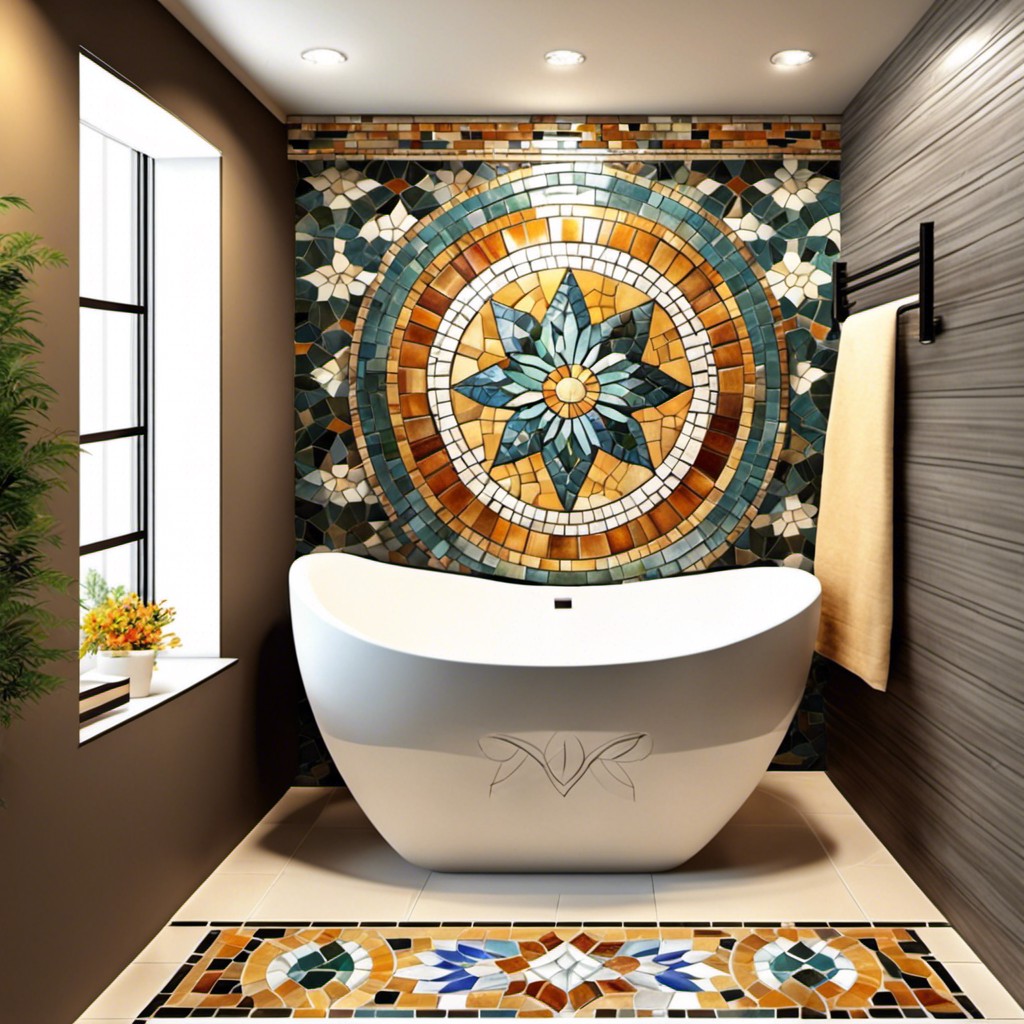
Creating a mosaic between your countertop and wall can be an intricate and creative fix. You can use different materials, like ceramic, glass, or even pebbles.
First, get the accurate measurements of the gap. Second, make sure the countertop and wall surfaces are both clean and dry. Adhesive comes next. Apply it over the area and carefully begin to place your mosaic pieces in an arrangement that suits your style.
Let the adhesive set for the instructed amount of time before using a grout to fill in spaces. This not only emphasizes the design, but also seals the gap. Be advised this option requires patience and precision. But finished results often add a unique and charming touch to your kitchen décor.
Add Beadboard
Beadboard, traditionally used as wall decoration, has evolved into a stylish solution for bridging the gap between countertops and walls. It’s ideal for a kitchen or bathroom with a country, farmhouse, or shabby chic decor scheme.
To install, measure the length and height of the area, then cut your beadboard panel to fit. Next, apply industrial-strength adhesive to the back of the beadboard, press it into the gap, and secure with finishing nails if needed. Remember, beadboard can be painted to custom-match your existing color scheme or can be left natural for a rustic look.
Advantages of this approach include adding character to your kitchen and providing a cohesive look to the wall and countertop. Plus, beadboard is relatively inexpensive and easy to install, making it a budget-friendly solution. Essential to note is the maintenance aspect: beadboard needs regular wiping and occasionally needs repainting to keep looking fresh.
All in all, beadboard provides a comfortable, homey feel, lives well with wear and tear, and fits beautifully in a variety of design schemes.
Install Mirror Tiles
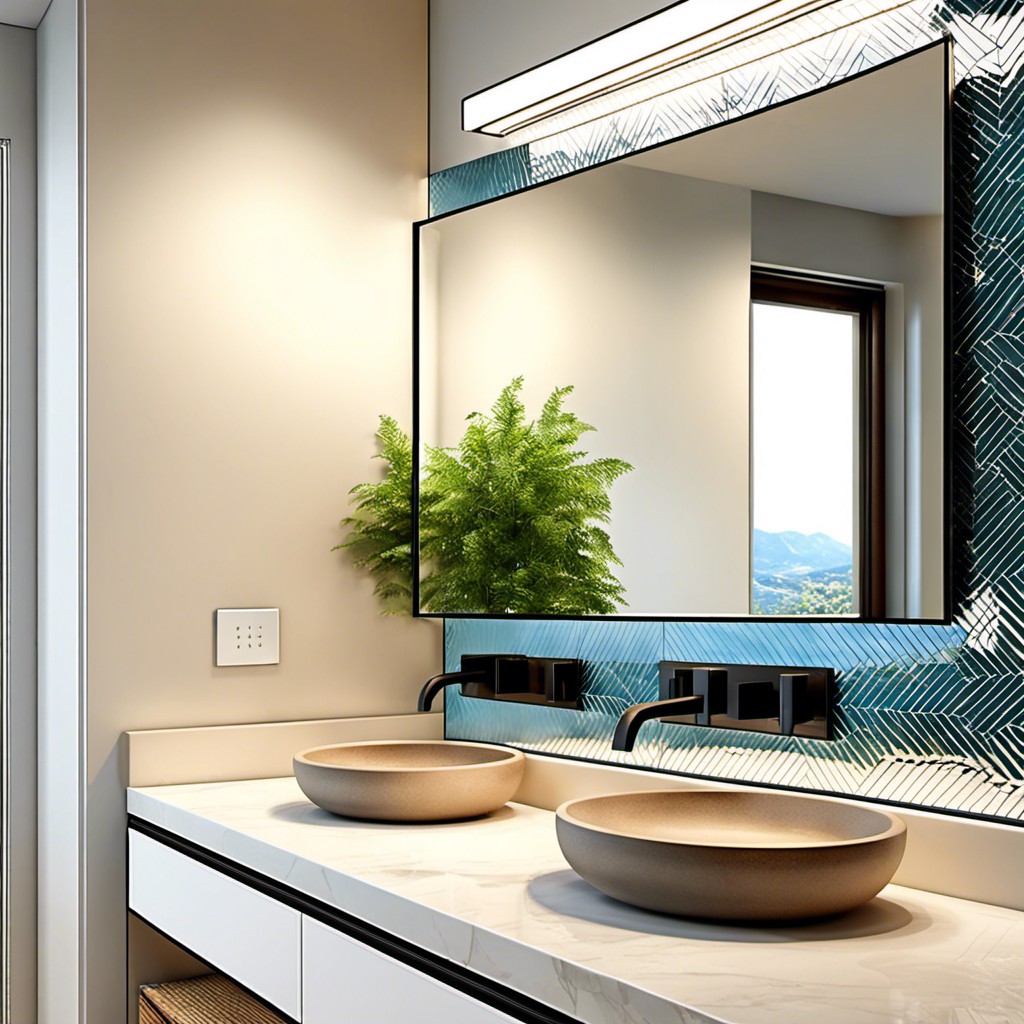
Choosing mirror tiles as a solution to cover the gap between your countertop and the wall brings a modern, sleek aesthetic to any kitchen or bathroom. This option has the added benefit of creating the illusion of more space due to the reflectivity of the mirrors.
The process involves measuring the gap you need to cover and securing your mirrored tiles in place with adhesive, ensuring a seamless finish. It’s imperative to cut the tiles accurately for a perfect fit. The appropriate tools for this are a glass cutter or a wet saw.
The maintenance of mirror tiles is easy, as they can be cleaned with a regular glass cleaner to keep them shining.
Remember, mirror tiles are breakable; therefore, be careful during installation and be mindful of areas with high traffic to avoid potential damage.
When properly used, mirror tiles can be a stylish and functional solution to close the countertop-wall gap.
Decorative Vinyl Strip
A decorative vinyl strip can deliver both a practical solution and a touch of flair to the countertop-wall gap. These strips are easy to install and come in an array of designs, colors, and styles, allowing a seamless blend or a complement to your existing kitchen decor.
Installation requires minimal tools and can typically be achieved in a single afternoon. If you opt for a removable strip, you can even switch designs with the changing seasons or your evolving style preferences, giving your kitchen a new look with minimal hassle. Being water and stain-resistant, they also offer additional protection to your countertop and wall.
Comprehensive cleaning is a breeze, too, requiring only a damp cloth to maintain cleanliness and luster.
Use a Granite Seam Filler
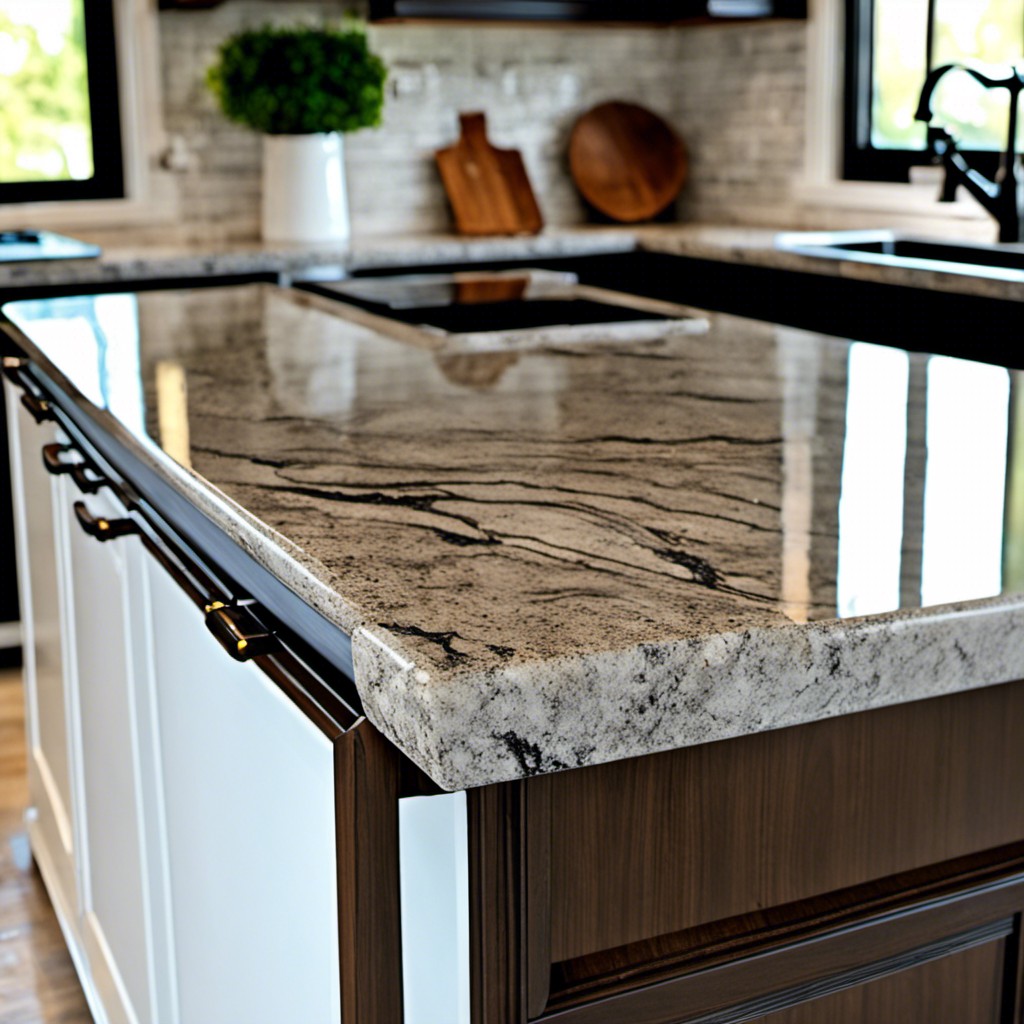
A granite seam filler might be an ideal solution for your kitchen aesthetics. This product is specifically designed to blend with the color and pattern of the countertop itself, providing a smooth, invisible fix for those annoying gaps. It’s extremely durable and resistant to heat, which makes it great for use in a kitchen.
Installation is fairly simple as well. First, protect the surrounding area with masking tape to avoid any spillage. Next, mix the filler according to the instructions. Fill the gap carefully, ensuring the filler is level with the countertop surface. Allow it to cure for the recommended time. After it’s completely hard, remove the masking tape and polish the surface gently for a seamless finish.
Keep in mind that this method is most effective on small gaps. Moreover, you would want to make sure the filler color matches your granite. Otherwise, instead of hiding the gap, you may inadvertently draw attention to it.
Overall, filling with granite seam filler is an affordable, low-maintenance way to address the gap between countertop and wall, while maintaining the uniform beauty of your kitchen.
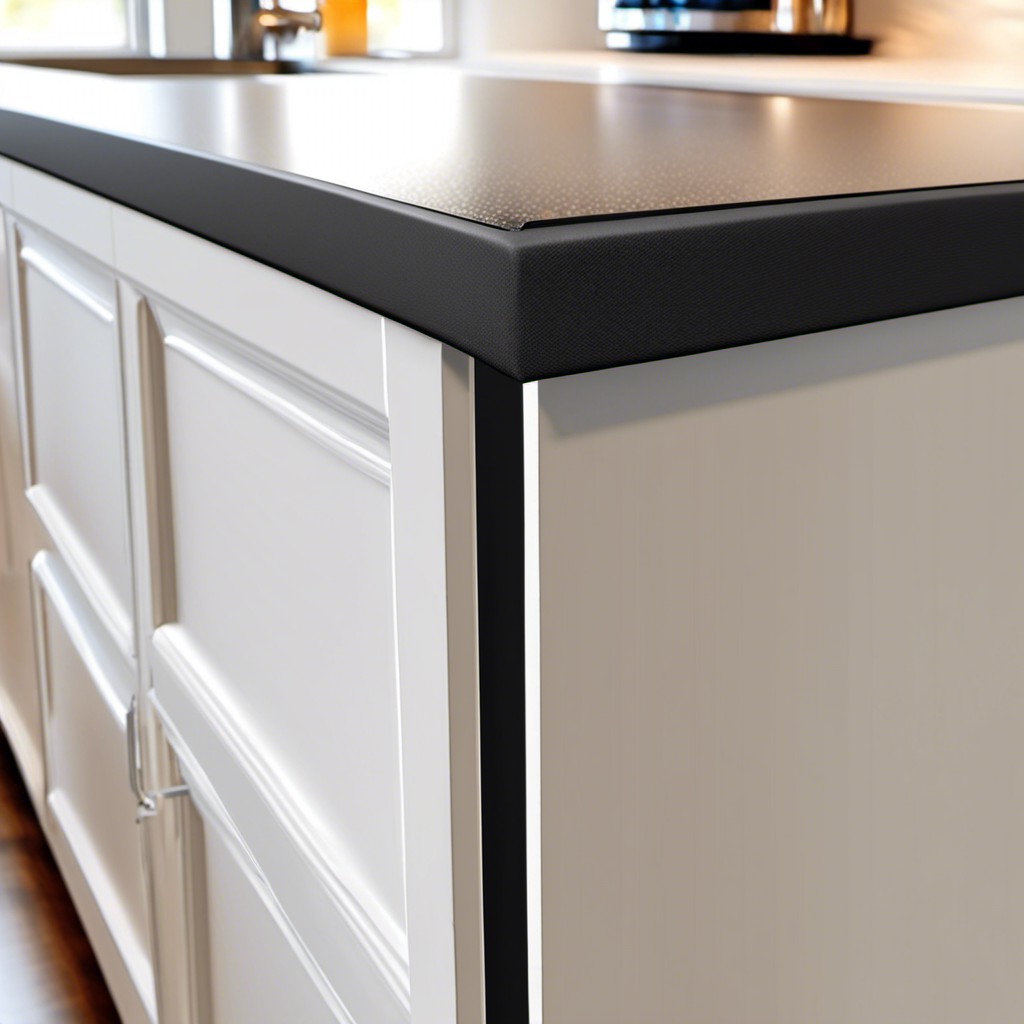
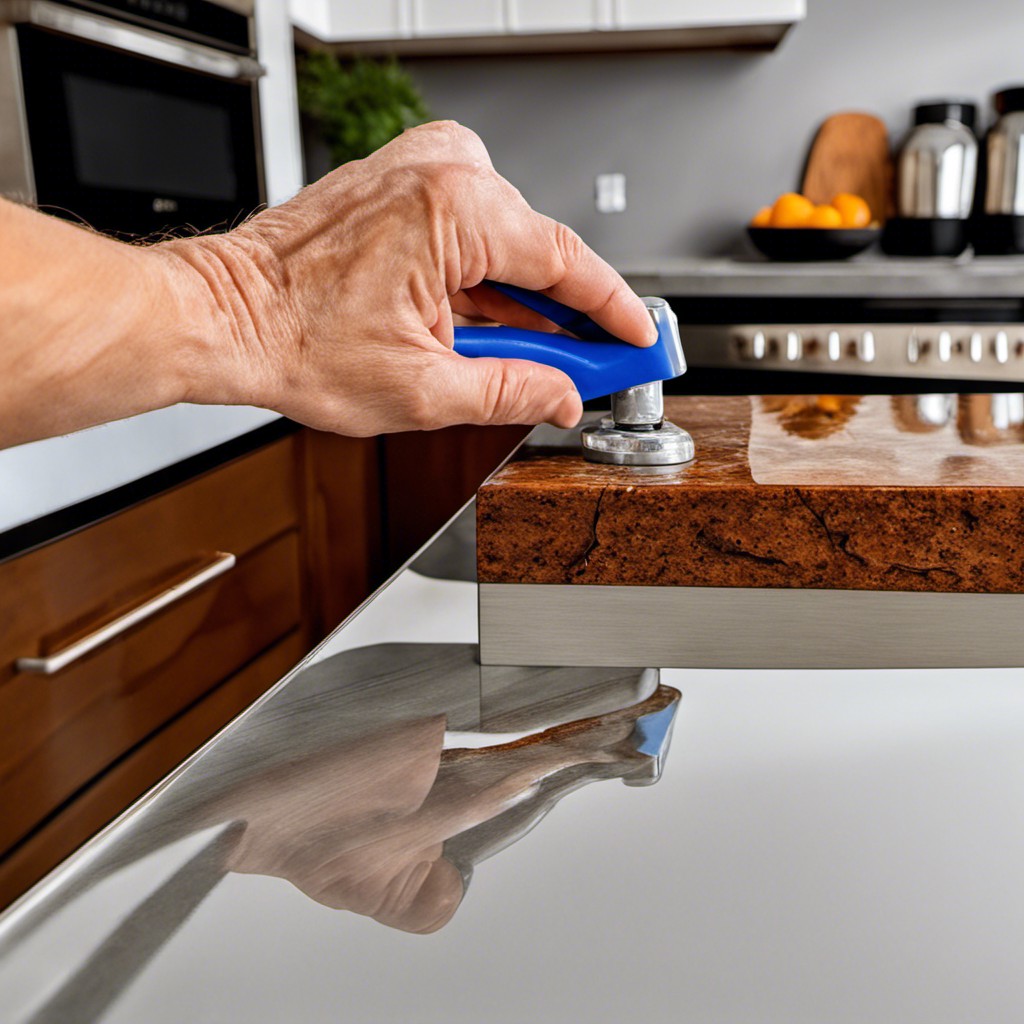
Put in a Stainless Steel Strip
Opting for stainless steel is an innovative and stylish solution for the countertop-wall gap. This metallic strip not only covers the gap efficiently but also enhances aesthetics, complimenting a modern kitchen design perfectly.
First, measure the gap width between the countertop and wall. It’s essential to get accurate measurements to ensure your strip fits perfectly. Don’t forget length measurements, too.
Once you have the measurements, purchase a stainless steel strip of suitable size. These strips can usually be found in home improvement stores or online.
Before installing, clean the area thoroughly to remove any dirt or grease. This promotes a secure attachment. Then, simply align the strip and press firmly into place. It’s advisable to use an adhesive for added sturdiness.
Your new stainless steel strip is easy to clean and resistant to mold and mildew. It’s an excellent option for wet areas like the kitchen, providing a functional, low-maintenance, and aesthetically pleasing solution.
Remember, if you’re not confident in your DIY skills, it’s always wise to hire a professional to ensure the work is done correctly.
Create a Chalkboard Wall
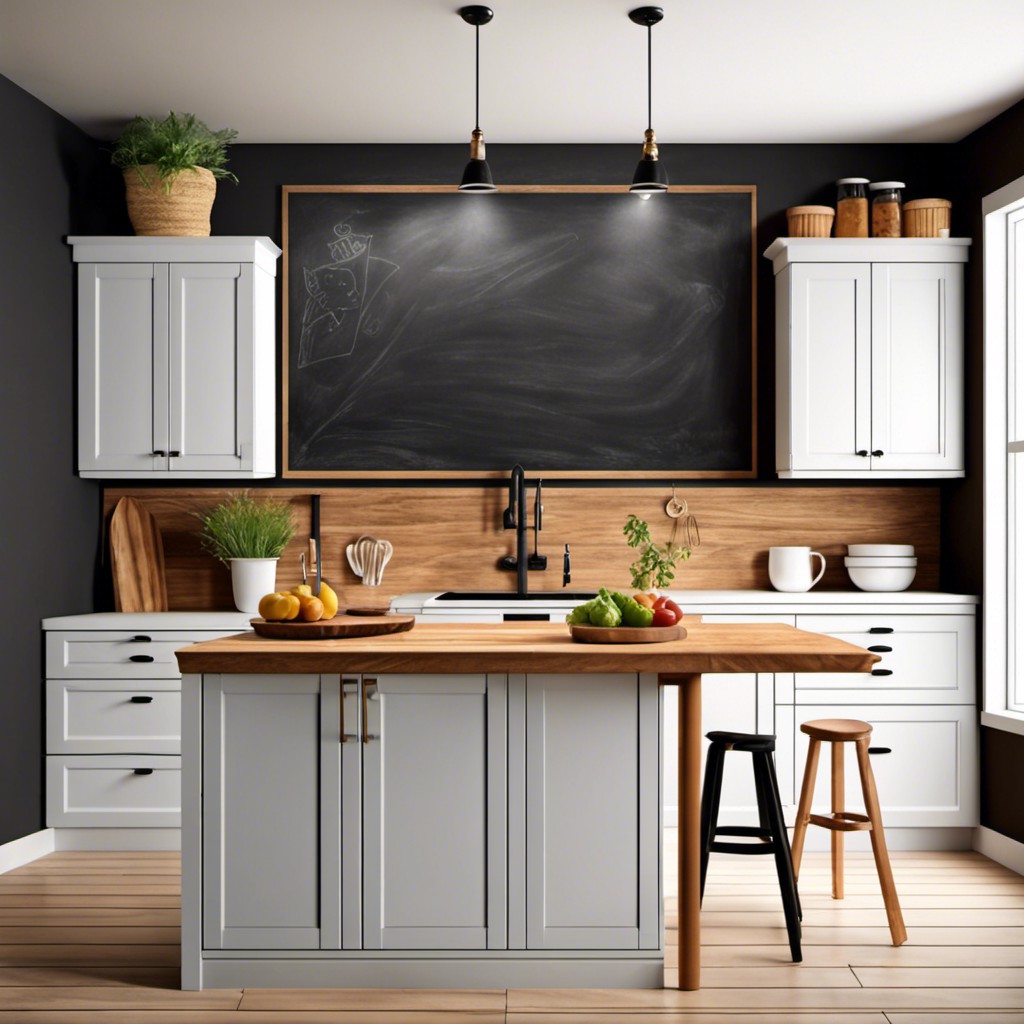
Integrating chalkboard paint can turn your kitchen wall into a functional and fun space. It gracefully hides the gap while offering a platform for jotting down shopping lists, reminders, or recipes.
Here’s how to proceed:
- Choose your Paint: An array of chalkboard paints are available in various colors. Choose one that complements your kitchen’s decor.
- Clean the Surface: Ensure the wall is clean and dry for the best adhesion.
- Apply Primer: Coat the wall with a primer to create a smooth surface for the chalkboard paint.
- Paint: Apply two coats of chalkboard paint, following the manufacturer’s instructions for drying time between coats.
- Season the Chalkboard: Rub the side of chalk all over your new chalkboard wall and erase it before your first use.
In addition to solving your gap issue, a chalkboard wall adds a unique and playful touch to your kitchen space.
Use a Decorative Wall Border
A decorative wall border can serve as an excellent finishing technique to cover the gap between your countertop and wall, while also adding a touch of elegance to the kitchen. Selecting a design that complements your room’s decor is crucial; it could be floral, geometric, abstract, or even a simple color line.
Once you have your favorite design, prepare the wall area by cleaning it thoroughly to ensure optimum adhesive. Carefully measure and apply the border, checking the alignment and ensuring the gap gets fully covered. Remember, patience here will offer the best results.
This method has undeniable merits. Not only it conceals the gap, it also enhances the overall aesthetic appeal of your kitchen with minimal cost and effort. Whether you choose a minimalist style to subtly blend with your wall or a more vibrant, contrasting design, the decorative wall border can offer a pleasing visual progression from the countertop to the wall.
Install a Glass Splash Guard
Opting for a glass splash guard not only covers the gap between the countertop and wall, but it also provides an elegant, modern look to the kitchen.
Here are some quick insights into this superb option:
1. Specially manufactured and cut glass is fitted over the gap and stretching up the wall. This creates a seamless, sleek finish.
2. With myriad design options like tempered, frosted, etched, or even colored glass, it can complement any kitchen decor.
3. Beyond aesthetics, glass is heat-resistant, easy to clean and discourages mold growth, making it a practical choice as well.
4. It’s recommended to hire a professional for installation, to ensure controlled handling and fitting due to the fragility of the material.
5. Though relatively pricey, the sophistication and chic look it offers, alongside easy maintenance can make it worth the investment.
Remember, the beauty of a glass splash guard lies in its seamless installation, and its ability to morph into any design scheme. It’s a wonderful choice if you’re looking for a stylish, yet functional solution for that pesky countertop-wall gap.


