Last updated on
Discover the simple steps to effectively apply caulk on your kitchen countertop, enhancing its durability and appearance.
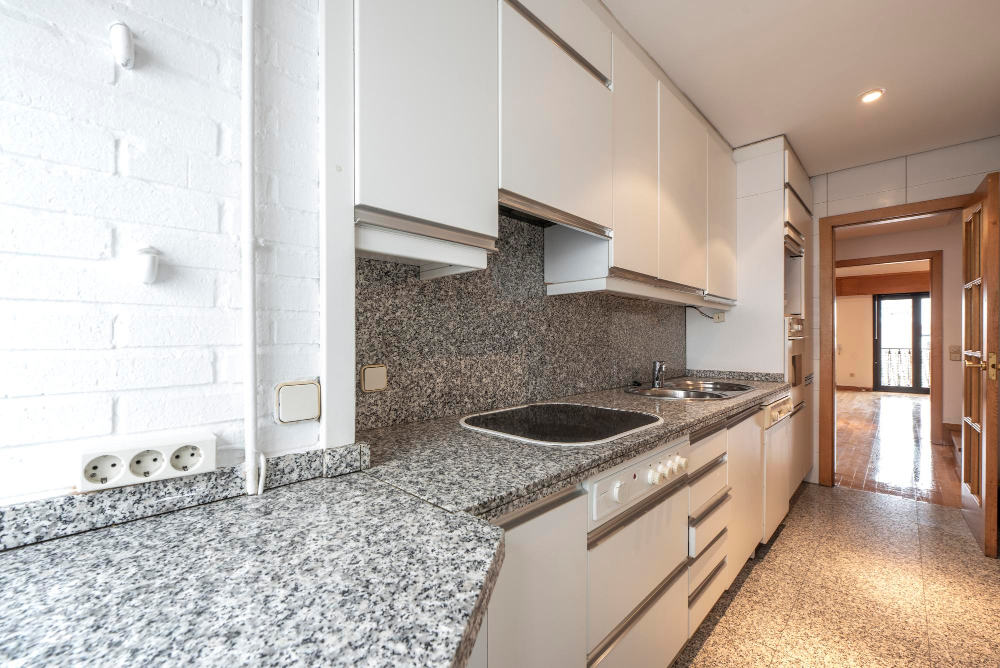
When it comes to kitchen renovations, there are few things more satisfying than a beautifully caulked countertop. Not only does it provide a clean and seamless finish, but it also helps to protect against water damage and keeps pesky crumbs from finding their way into those hard-to-reach crevices.
Whether you’re a seasoned DIY enthusiast or just starting out on your home improvement journey, learning how to caulk your kitchen countertop is a skill that will come in handy time and time again. In this article, we’ll guide you through the step-by-step process of calking your kitchen countertop like a pro.
So grab your caulking gun and let’s get started!
What's Inside
Importance of Caulking Your Kitchen Countertop
Without proper maintenance, even the most beautiful countertops can start to show signs of wear and tear over time. This is where caulking comes in as an essential step in preserving the longevity and appearance of your kitchen countertop.
Caulking plays a crucial role in sealing gaps between the countertop and adjacent surfaces such as walls or backsplashes. By filling these gaps with caulk, you create a barrier against moisture infiltration, preventing water from seeping into crevices where it can cause damage over time.
In addition to protecting against water damage, caulking also helps keep your kitchen clean by preventing food particles or liquids from getting trapped between the countertop seams. These hidden spaces are notorious for harboring bacteria growth if left unsealed.
Furthermore, properly caulked countertops provide added stability by reducing movement or shifting caused by daily use or changes in temperature and humidity levels within your home.
By taking the time to apply caulk on your kitchen countertop correctly, you not only enhance its durability but also maintain its aesthetic appeal. A well-caulked surface creates seamless lines that give off an impression of professionalism while adding value to both older countertops needing some TLC and newly installed ones alike.
Understanding Caulk
Caulk is a flexible material that is used to seal gaps and joints in various surfaces, including countertops. It acts as a barrier against moisture, preventing water from seeping into cracks or crevices.
Caulk comes in different formulations, each designed for specific applications. The most common types include silicone caulk, acrylic latex caulk, and polyurethane caulk.
Silicone caulk offers excellent flexibility and durability while being resistant to mold and mildew growth – making it ideal for areas prone to moisture like kitchens or bathrooms.
Acrylic latex caulks are easy to work with due to their water-based formula but may not be as durable as silicone options. Polyurethane caulks provide superior adhesion properties but can be more challenging to apply correctly.
By understanding the different types of caulks available on the market today along with their unique characteristics, you’ll be better equipped when choosing the right one for your kitchen countertop project.
Different Types of Caulk
With various options on the market, each designed for specific purposes and materials, choosing the right type of caulk will ensure long-lasting results.
Silicone Caulk: Known for its flexibility and water resistance, silicone caulk is an excellent choice for kitchen countertops. It creates a durable seal that can withstand moisture and temperature changes without cracking or shrinking.
Silicone caulk also offers good adhesion to most surfaces commonly found in kitchens.
Acrylic Latex Caulk: This type of caulk is versatile and easy to work with, making it popular among DIY enthusiasts. Acrylic latex caulks are paintable once dry, allowing you to match them seamlessly with your countertop color or decor theme.
However, they may not be as resistant to water as silicone caulks.
Polyurethane Caulk: If you’re looking for maximum durability and strength in your countertop caulking job, polyurethane-based products are worth considering. They have excellent adhesive properties on various surfaces like stone or concrete countertops but require careful application due to their fast-drying nature.
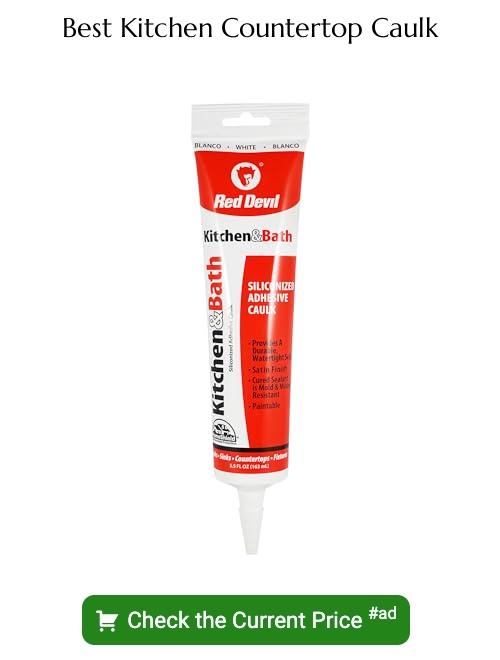
Kitchen & Bath Caulk: Specifically formulated for high-moisture areas like kitchens and bathrooms, this type of caulk provides superior resistance against mold growth while maintaining flexibility over time. Kitchen & bath caulks often contain mildewcides that help prevent fungal growth in damp environments.
It’s important always to read product labels carefully before purchasing any kind of caulk since manufacturers may offer specialized variations within these categories tailored specifically towards certain applications or materials.
Choosing the Right Caulk for Your Countertop
With so many options available, it’s important to select a caulk that suits the specific needs of your countertop material and the environment in which it will be used.
Firstly, consider the type of material your countertop is made from. Different materials require different types of caulk for optimal adhesion and flexibility.
For example, if you have a granite or quartz countertop, look for silicone-based caulks that are specifically formulated for natural stone surfaces. On the other hand, if you have laminate or tile countertops, acrylic latex caulks may be more suitable.
Next, think about where your kitchen is located within your home. If it’s an area prone to high humidity levels or frequent temperature changes (such as near windows or doors), choosing a caulk with excellent moisture resistance and thermal expansion properties becomes essential.
Take into account any potential exposure to water splashes or spills on your countertops. If you frequently use water near these areas (e.g., next to sinks), opt for waterproof caulks that can withstand constant moisture without deteriorating over time.
Lastly but importantly – color! Caulk comes in various shades; therefore selecting one that matches seamlessly with both your countertop color and overall kitchen aesthetic will provide an aesthetically pleasing finish.
By considering these factors when choosing caulk specifically designed for countertops’ unique requirements – such as material compatibility, moisture resistance, and durability – you’ll ensure maximum effectiveness while maintaining visual appeal.
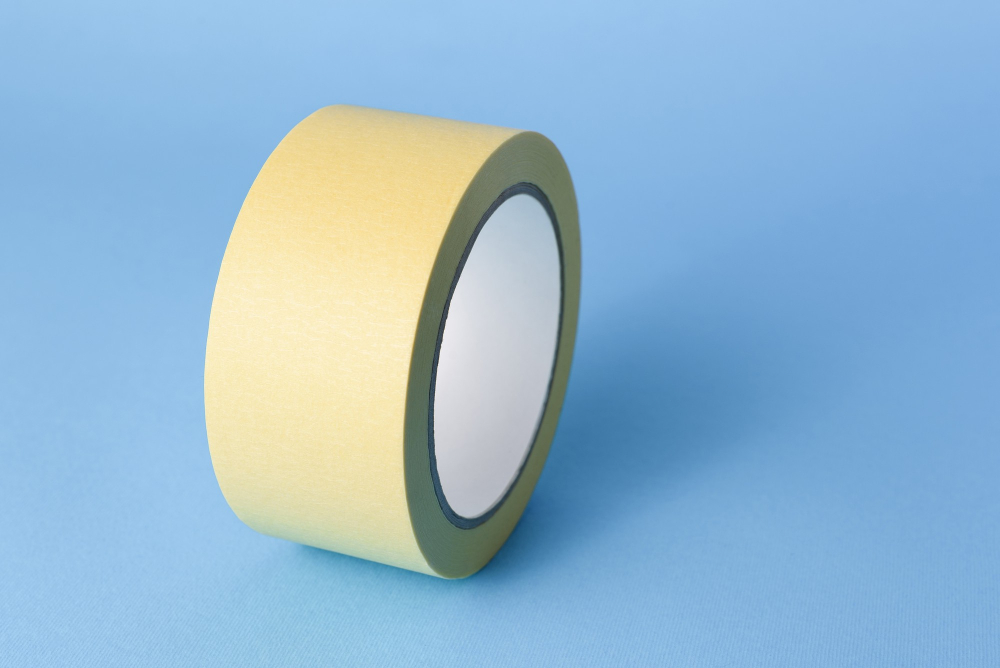
Necessary Materials for Caulking
Having everything at hand will save you time and ensure a smooth caulking process.
Here are the key materials you’ll need:
1. Caulk: Choose a high-quality silicone or acrylic latex caulk that is specifically designed for kitchen and bathroom use.
These types of caulk are resistant to moisture, mold, and mildew.
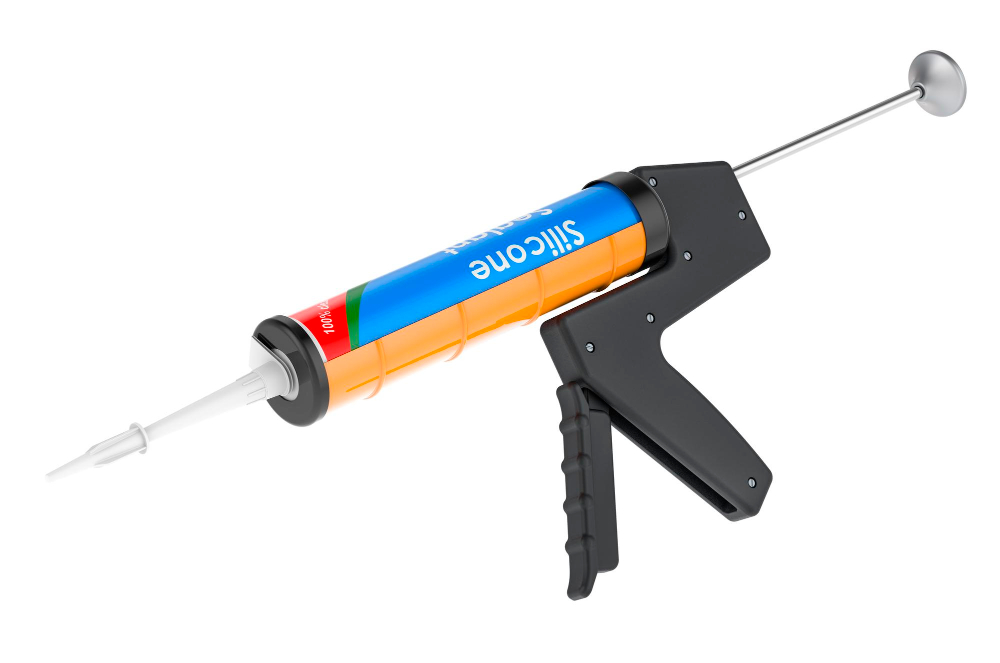
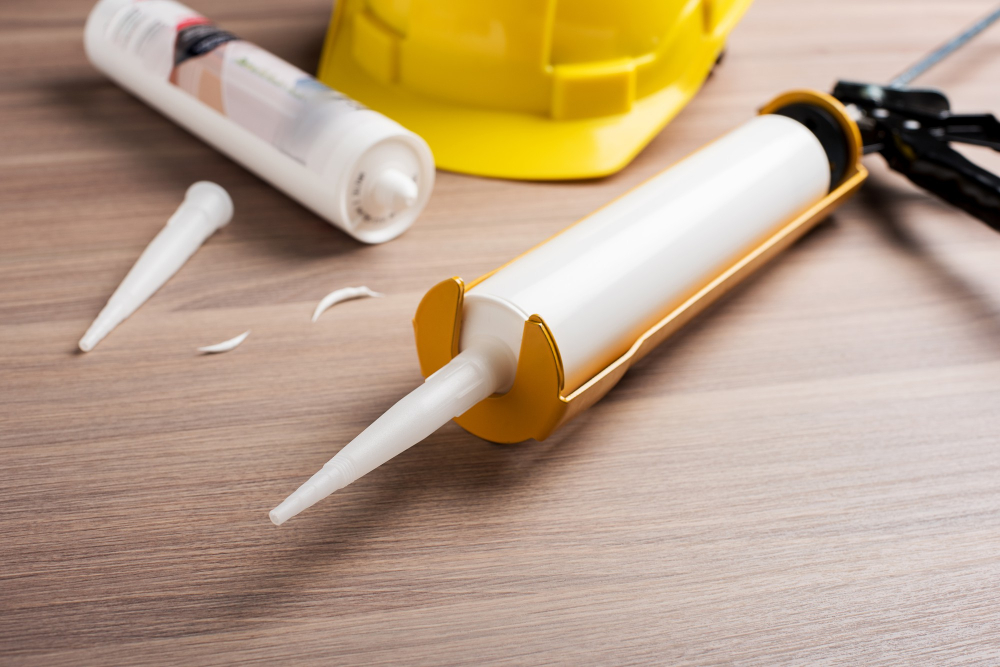
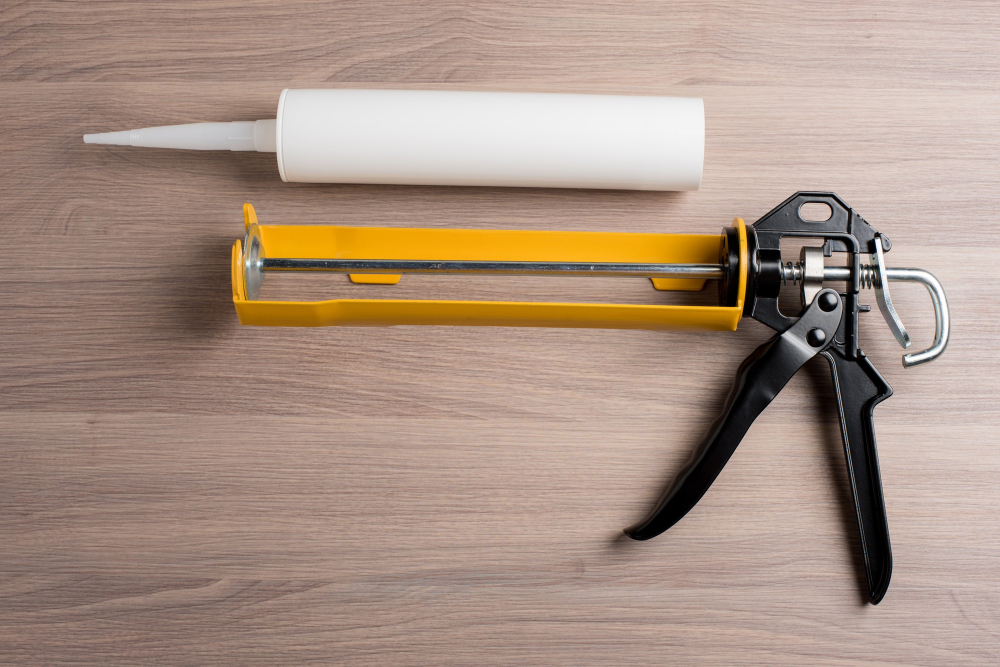
2. Caulking Gun: Invest in a good quality caulking gun that allows for precise control over the flow of caulk.
Look for one with an adjustable pressure release mechanism to prevent excess oozing when releasing the trigger.
3. Utility Knife or Razor Blade: You’ll need this tool to remove any old or loose caulking from your countertop before applying new caulk.
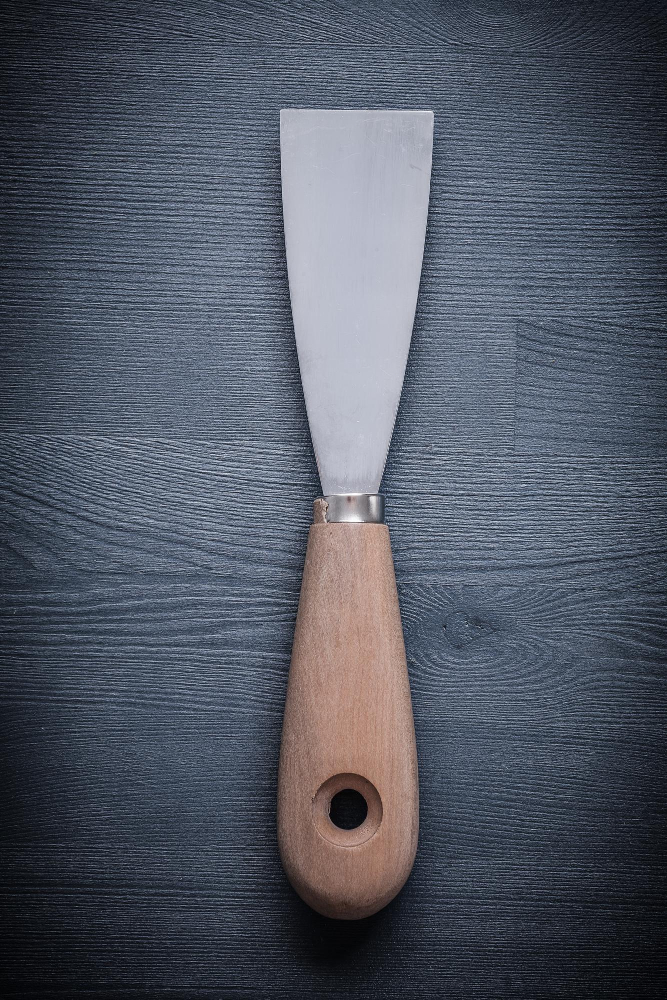
4. Putty Knife or Caulk Removal Tool: This tool helps in scraping off old caulking residue effectively without damaging the surface of your countertop.
5. Cleaning Solution: Use an appropriate cleaning solution recommended by your countertop manufacturer to thoroughly clean and degrease the area where you plan on applying new caulk.
6.Clean Cloth/Towel/Paper Towels: Keep these handy for wiping away excess water, cleaning up spills during preparation, as well as smoothing out freshly applied caulk lines if needed.
Tools Required for Caulking
These tools will not only make the process easier but also ensure that the caulk adheres properly and creates a seamless finish.
1. Caulking Gun: A caulking gun is an absolute must-have tool for applying caulk effectively.
It allows for precise control and even distribution of the caulk along the countertop edges.
2. Utility Knife or Razor Blade: Before applying new caulk, it’s important to remove any old or damaged caulking from your countertop surface using a utility knife or razor blade.
This ensures proper adhesion of the new layer of sealant.
3. Scraper Tool: A scraper tool comes in handy when removing stubborn remnants of old caulking from tight corners and hard-to-reach areas on your kitchen countertop.
4. Cleaning Supplies: To prepare your countertop surface adequately, gather some cleaning supplies such as mild soap, water, sponge or cloth to wipe away dirt and debris before applying fresh caulk.
5.Caulk Smoothing Tool (Optional): While not necessary for every project, having a smoothing tool can help create clean lines by shaping and smoothing out excess sealant along with countertops’ edges after application.
Preparing Your Kitchen Countertop for Caulking

This step ensures that the caulk adheres well and creates a long-lasting seal. So, let’s dive into how you can get your countertop ready for caulking.
Firstly, make sure that your countertop is clean and free from any debris or residue. Wipe down the surface with a mild detergent or cleaner to remove any grease, dirt, or grime that may have accumulated over time.
A clean surface will allow the caulk to adhere better and create a seamless finish.
Next, thoroughly dry the countertop after cleaning it. Moisture on the surface can interfere with proper adhesion of the caulk and compromise its effectiveness in sealing gaps or joints effectively.
Inspect your kitchen countertop for any existing caulking material that needs removal before applying new caulk. If there are old layers of caulking present on seams or edges of your counter, use a putty knife or scraper tool to carefully scrape away as much of it as possible without damaging the underlying material.
Once all remnants of old caulking have been removed successfully (if applicable), take some time to inspect for cracks in tiles/grout lines around sinks/countertops/joints where water could potentially seep through if left unaddressed. If you notice any cracks during this inspection process – no matter how small they may seem – fill them using an appropriate filler product designed specifically for repairing tile/grout lines before proceeding further with calk application.
Removing Old Caulk From the Countertop

Over time, caulk can deteriorate and become discolored or cracked, compromising its effectiveness in sealing gaps and preventing moisture from seeping into the countertop.
To begin the process of removing old caulk from your countertop, gather a few necessary tools: a utility knife or razor blade scraper, a putty knife or paint scraper with a flat edge, and some rubbing alcohol. These items will help make the removal process easier and more efficient.
Start by carefully scoring along the edges of the old caulking using either a utility knife or razor blade scraper. Be cautious not to scratch or damage your countertop surface while doing this step.
Once you have scored along both sides of the caulking line on all affected areas, use your putty knife or paint scraper with a flat edge to gently pry up one end of the old caulk strip.
Slowly work your way along each side of the caulking line until you’ve completely removed all traces of it from your kitchen countertop surface. If there are stubborn remnants left behind after scraping off most of it manually, dampen an absorbent cloth with rubbing alcohol and gently rub over those areas until they’re clean.
Remember always to exercise caution when working with sharp tools like knives and scrapers during this process. Take care not to damage surrounding surfaces such as tiles if applicable while removing old caulking material.
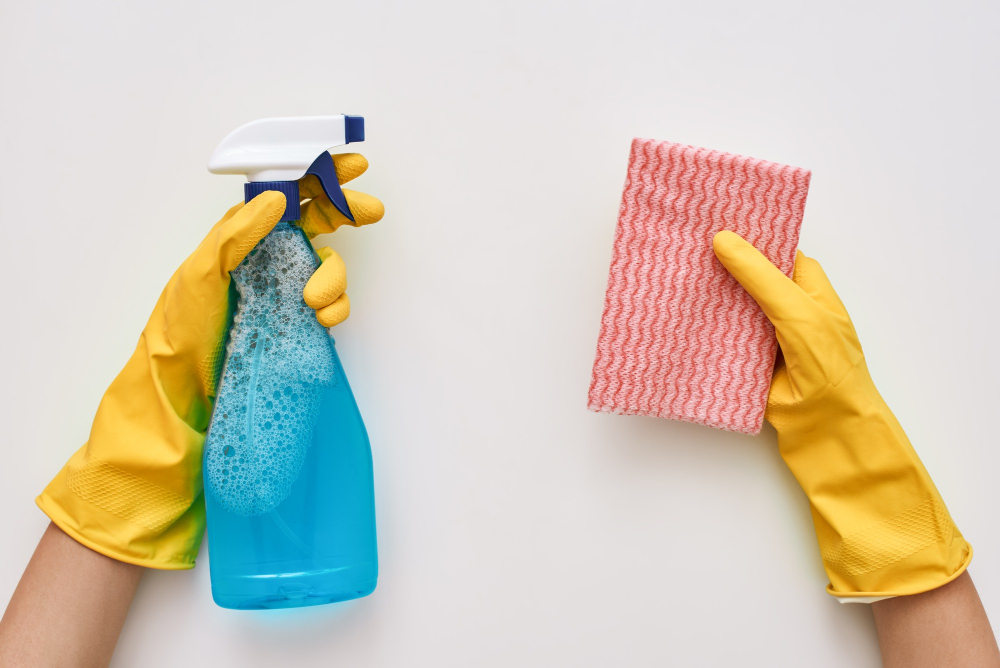
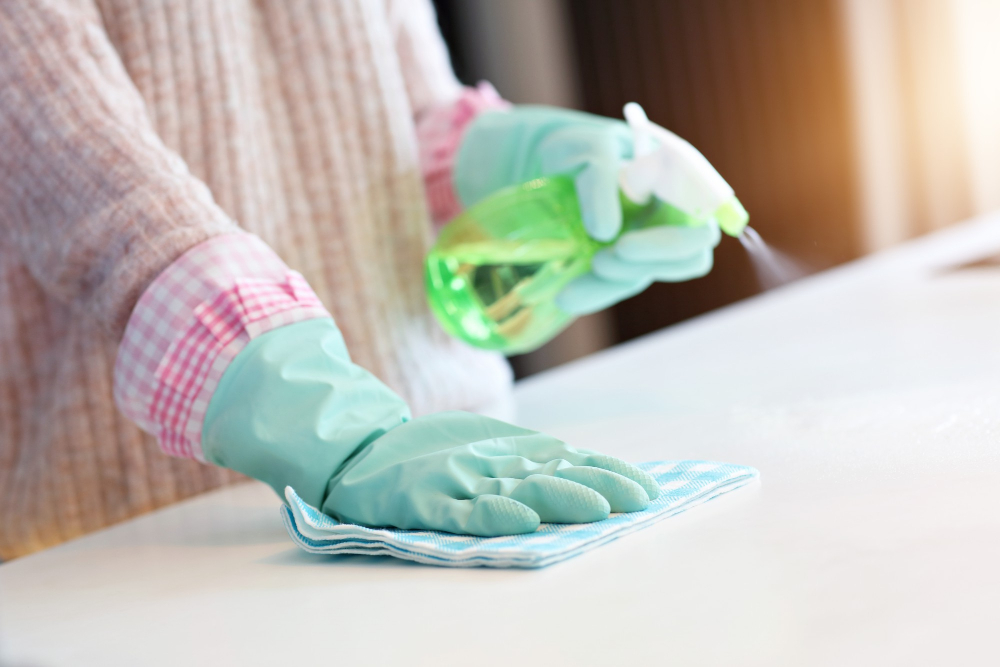
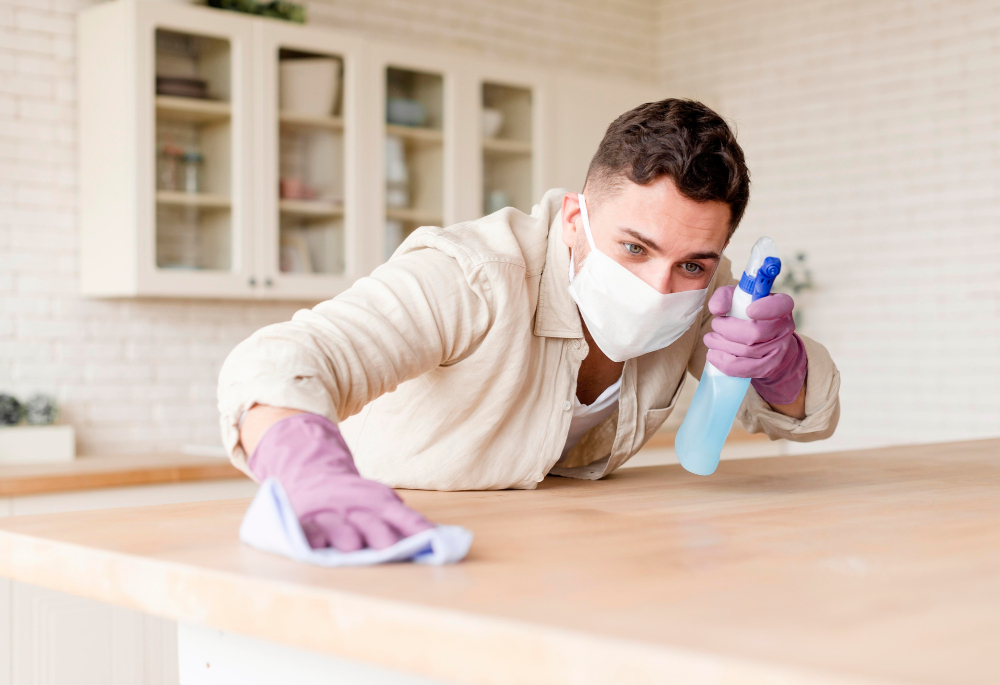
Cleaning and Drying the Countertop Surface
This step ensures proper adhesion and a long-lasting finish.
To begin, gather a mild detergent or cleaner specifically designed for countertops. Avoid using harsh chemicals that could damage the material of your countertop.
Dilute the cleaner according to its instructions and apply it generously across the entire surface.
Using a soft sponge or cloth, gently scrub away any dirt, grease, or residue that may have accumulated over time. Pay close attention to areas near sinks where water splashes are common.
After cleaning with soap and water, rinse off any remaining residue with clean water. Ensure all traces of detergent are completely removed as they can interfere with proper caulking adhesion.
Next comes drying – an essential step often overlooked by many DIY enthusiasts! Use a dry towel or lint-free cloth to thoroughly dry every inch of your countertop surface. Moisture trapped beneath caulk can lead to mold growth and compromise its effectiveness in sealing gaps effectively.
For best results when drying larger countertops surfaces such as islands or L-shaped counters consider using fans or opening windows nearby for increased air circulation which will help speed up drying time significantly. Remember: patience is key during this process! Allow ample time for your kitchen countertop surface to air-dry completely before moving on to applying new caulk.
Step-by-Step Instructions for Caulking Kitchen Counter
Remember, a well-executed caulk job can make all the difference in both appearance and functionality.
Step 1: Prepare Your Kitchen Countertop Before applying any caulk, it’s crucial to ensure that your countertop is clean and dry. Remove any debris or old caulk using a putty knife or scraper.
Thoroughly clean the surface with soap and water, then allow it to completely dry before proceeding.
Step 2: Choose the Right Caulk Selecting an appropriate type of caulk for your kitchen countertop is essential for long-lasting results. Consider factors such as moisture resistance and flexibility when choosing between silicone-based or acrylic latex caulks.
Step 3: Load Your Caulking Gun Load a tube of caulk into your caulking gun by cutting off its tip at a slight angle using a utility knife. Make sure not to cut too much; start with a smaller opening since you can always increase it if needed.
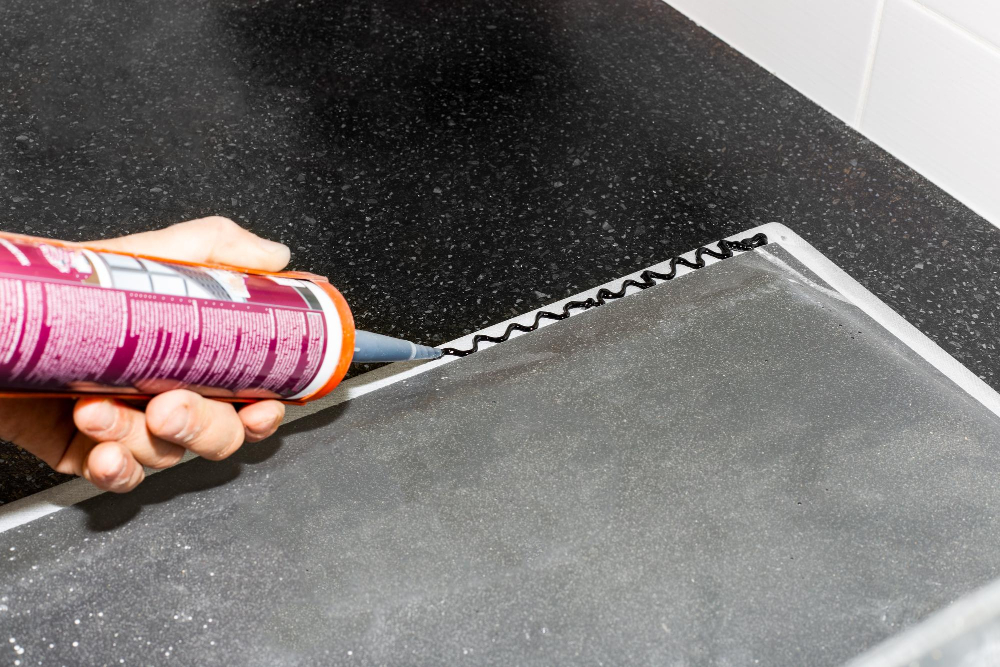
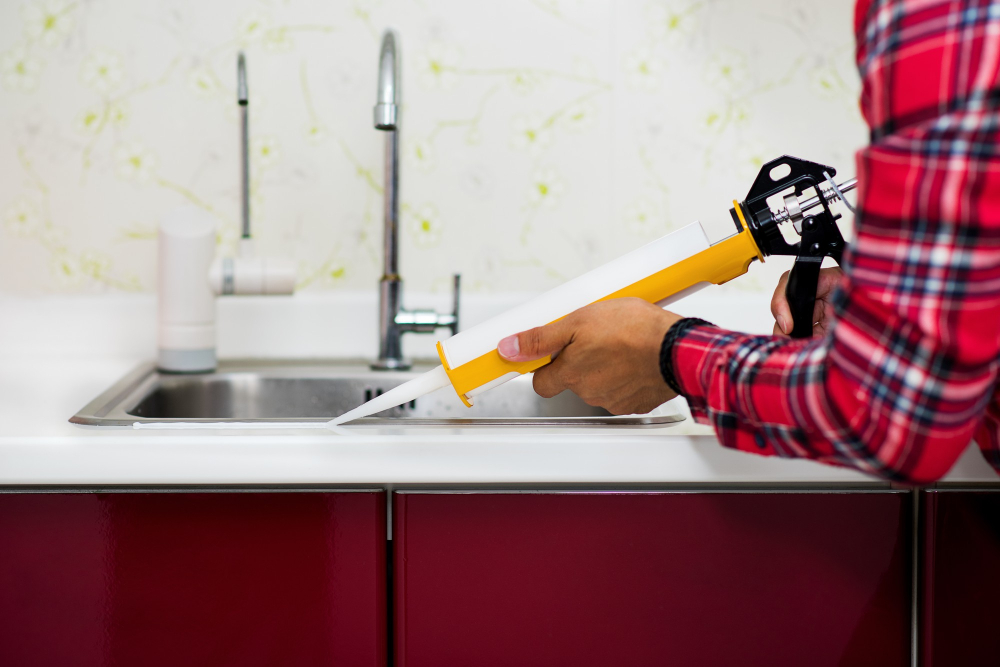
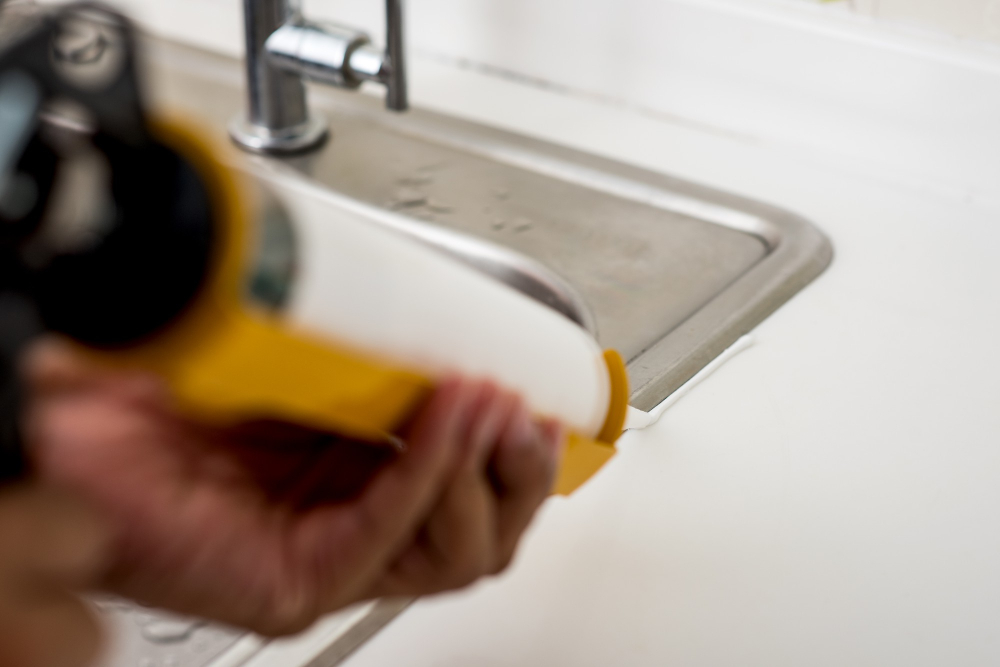
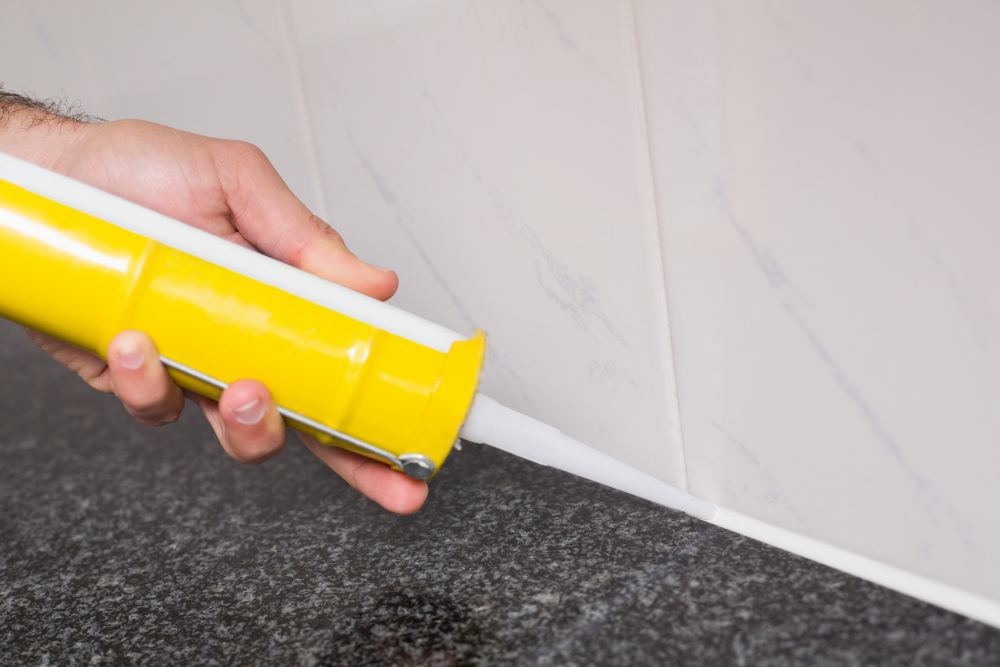
Step 4: Apply Caulk Along Joints Hold the loaded caulking gun at about a 45-degree angle against one end of the joint where two surfaces meet on your kitchen counter. Squeeze gently but steadily while moving along in one continuous motion until you reach another endpoint.
Step 5: Smooth Out The Line Using either an index finger dipped in soapy water or specialized tools like smoothing spatulas, smooth out and shape the freshly applied bead of caulk along each joint line on your countertop surface.
Applying the Caulk
This step is crucial in achieving a professional-looking finish and ensuring long-lasting results.
1. Load the Caulking Gun: Start by loading your caulking gun with a tube of caulk.
Cut off the tip of the tube at a 45-degree angle, making sure to create an opening that matches the width you desire for your caulk line.
2. Apply Even Pressure: Hold onto both handles of your caulking gun firmly and apply even pressure as you squeeze out a thin bead of caulk along one edge or joint on your countertop surface.
3. Maintain Consistent Speed: As you move along, maintain consistent speed to ensure an even application throughout.
Avoid stopping or hesitating mid-way as this can result in uneven lines or excess buildup in certain areas.
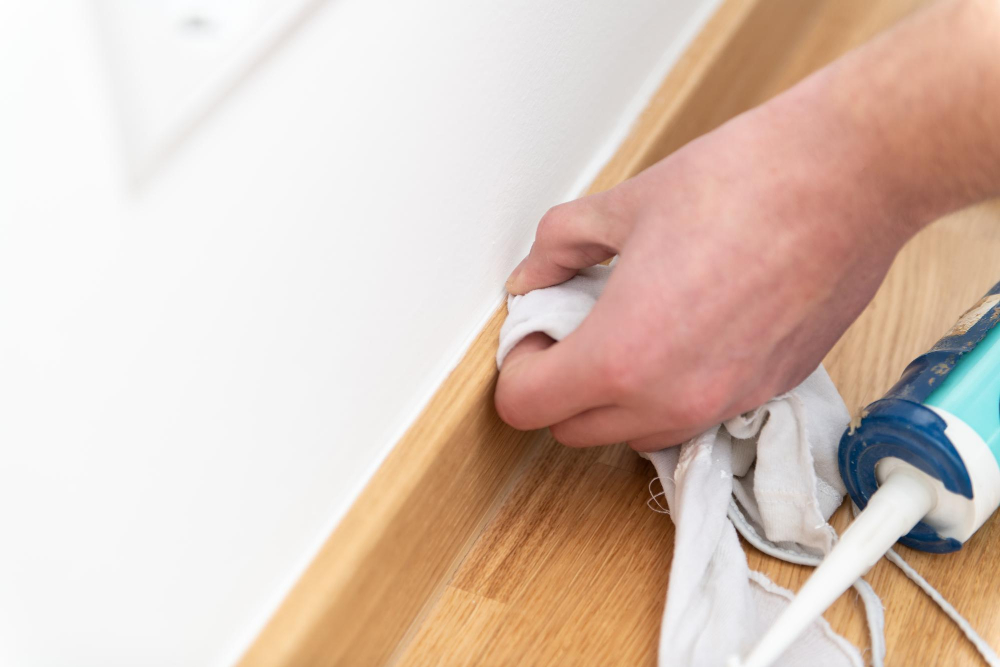
- Smooth Out with Your Finger (Optional): If desired, immediately after applying each section of caulk, use a damp finger or sponge to gently smooth out any imperfections and create clean edges for seamless blending with surrounding surfaces.
- Clean Up Excess Caulk: Keep some paper towels handy so that if any excess caulks seep out from either side while smoothing it down; they can be easily wiped away before drying up completely.
- Remember not to rush through this process – take your time! It’s better to go slow and steady than end up with messy results later on.
Smoothing the Caulk Line
Smoothing the caulk line not only enhances the overall appearance but also ensures a tight seal that will protect against moisture and debris.
To begin, dampen your finger or use a caulking tool specifically designed for smoothing. Gently run your finger or tool along the length of the caulk line, applying even pressure to create a consistent bead.
This process helps to push excess caulk into any gaps while creating an even surface.
Remember to keep a damp cloth nearby so you can periodically wipe off any excess caulk from your finger or tool as you go along. This will prevent smearing and ensure clean lines.
Take care not to press too hard while smoothing as this may remove too much caulking material or cause unevenness in its application. Aim for a smooth finish without flattening out all of the product.
Once you’ve completed smoothing one section, move on immediately before allowing it to dry completely; otherwise, it may become difficult to blend with adjacent areas later on.
Best Practices in Applying Caulk
These tips will help you avoid common mistakes and ensure that your caulk adheres properly and lasts for years to come.
Firstly, make sure you have chosen the right type of caulk for your countertop material. Different materials require different types of caulks, such as silicone-based or acrylic latex caulks.
Refer back to our earlier section on “Choosing the Right Caulk for Your Countertop” if you need guidance in selecting the appropriate product.
Before applying any caulk, thoroughly clean and dry both sides of the joint where you’ll be applying it. Use a mild detergent or cleaner to remove any dirt, grease, or residue that could hinder adhesion.
Allow sufficient time for drying before proceeding with caulking.
When using a caulking gun (which is highly recommended), cut off just enough at an angle from its tip so that it matches the width of your desired bead size – typically around 1/8 inch wide opening is ideal for most applications.
Hold the gun at a 45-degree angle while squeezing out an even flow of caulk along one side of the joint in one continuous motion without stopping until reaching its end point; this helps maintain consistency throughout and prevents air bubbles from forming within. After applying each section lengthwise along all joints between countertops pieces (or between countertops and walls), use either gloved finger dipped into water mixed with dish soap solution or specialized smoothing tool like plastic spoon handle edge etc., gently smooth over freshly applied bead by running them lightly across surface while maintaining constant pressure against both surfaces being sealed – this ensures proper adhesion as well as neat appearance once dried completely.
Lastly but importantly: allow ample time according manufacturer’s instructions mentioned on packaging label before subjecting newly-caulked area normal usage conditions such cooking splatters etc.; this will ensure that caulk has fully cured and hardened, providing maximum durability and longevity.
By following these best practices in applying caulk to your kitchen countertop, you’ll achieve a seamless finish that not only enhances the aesthetic appeal but also provides long-lasting protection against moisture and debris.
Letting the Caulk Dry

This step is often overlooked or rushed, but taking the time to let the caulk dry will ensure a long-lasting and professional-looking finish.
After applying the caulk along the seams of your countertop, resist any temptation to touch or disturb it. The drying process typically takes anywhere from 24 hours up to several days, depending on factors such as humidity levels and temperature in your kitchen.
During this drying period, avoid using or placing any objects on top of the freshly caulked areas. Doing so could disrupt its smoothness and compromise its effectiveness in sealing gaps effectively.
It’s important not only for aesthetic reasons but also for functionality that you give enough time for proper curing before resuming regular use of your countertop. Rushing this step may result in premature cracking or peeling of the caulking material.
Remember that patience is key when letting caulking dry – allowing sufficient curing time will ensure a durable seal that can withstand daily wear and tear while maintaining its appearance over an extended period.
Tips for a Perfect Caulk Finish
After applying the caulk along the seam between your countertop and backsplash or wall, follow these guidelines to ensure a professional-looking result.
1. Use masking tape: Before you start caulking, apply strips of masking tape along both sides of the seam.
This will create clean edges and prevent any excess caulk from smearing onto adjacent surfaces.
2. Cut the tip at an angle: When preparing your caulking tube, cut off just enough of the tip to create a small opening.
Aim for about 45 degrees for optimal control over how much caulk is dispensed.
3. Apply steady pressure: As you squeeze out the caulk from your gun or tube, maintain consistent pressure to ensure an even flow along the entire length of your countertop seam.
- Smooth with wet finger or tool: Once you’ve applied a bead of caulk along one section of your countertop seam (about 12-18 inches), use either a wet finger or specialized smoothing tool to gently press down on it while moving in one continuous motion from end to end.
- Wipe away excess immediately: Keep some damp paper towels nearby so that if any excess caulking material gets onto surrounding surfaces during application or smoothing process; it can be wiped away promptly before drying up.
- By following these tips for achieving that perfect finish when calking kitchen countertops; you’ll be able not only enhance its appearance but also extend its lifespan by preventing water damage and keeping dirt at bay!
Troubleshooting Common Caulking Problems
Fear not! We’re here to help you troubleshoot some common caulk-related issues that may arise during your kitchen countertop project.
One of the most frustrating problems is when the caulk starts to crack or shrink over time. This can happen due to temperature changes, improper curing, or low-quality caulk.
To fix this issue, carefully remove the old cracked caulk using a putty knife or a specialized tool called a caulk remover. Clean and dry the area thoroughly before applying fresh caulking.
Another problem you might encounter is an uneven bead of caulking along your countertop edge. This can make your finished result look messy and unprofessional.
To avoid this issue, ensure that you are holding your caulking gun at a consistent angle while applying pressure on its trigger for an even flow of caulk.
Sometimes air bubbles may appear in freshly applied silicone sealant causing unsightly imperfections in its finish once it dries up completely.To prevent air bubbles from forming during application gently squeeze out small amounts of sealant at regular intervals along with smoothing process by using either finger dipped into soapy water solution (for latex-based products)or plastic spoon(for silicone-based products).
Lastly, if you notice that moisture is seeping through gaps between countertops after calk has dried up completely,it could be due to inadequate sealing around sink edges.In such cases,reapply additional layer(s)of waterproofing agent like clear silicone adhesive/sealant specifically designed for wet areas ensuring complete coverage over affected areas.Leave it undisturbed until fully cured before resuming normal use.
Cleaning Up After Caulking

Cleaning up after caulking is an essential step in achieving a professional-looking finish.
Start by wiping away any excess caulk using a damp cloth or sponge. Be sure to do this while the caulk is still wet, as it will be much easier to remove at this stage.
Gently wipe along the caulk line, being careful not to disturb or smudge the freshly applied sealant.
For stubborn residue or dried-up bits of caulk, you can use a plastic scraper or putty knife with rounded edges. Scrape gently and avoid scratching your countertop surface.
Next, prepare a mixture of warm water and mild dish soap in a bucket or basin. Dip another clean cloth into this soapy solution and wring out any excess liquid until it’s slightly damp but not dripping wet.
Using the damp cloth, carefully wipe down the entire countertop surface around where you’ve applied caulking. This will help remove any remaining traces of dirt, dust particles, or smudges from your work area.
After cleaning with soapy water thoroughly rinse off all soap residue from both countertops and surrounding areas using fresh water on another clean cloth. Dry everything completely with dry towels ensuring no moisture remains on either countertops nor surrounding surfaces.
Maintenance Tips for Caulked Countertops
Proper maintenance will not only keep your countertop looking fresh and clean but also extend the lifespan of the caulk itself. Here are some essential tips for maintaining your newly caulked countertops:
1. Regular Cleaning: Make it a habit to wipe down your countertops regularly with a mild soap or cleaner specifically designed for use on kitchen surfaces.
Avoid using abrasive cleaners or scrub brushes that could damage the caulking.
2. Gentle Scrubbing: For tougher stains or spills, use a soft sponge or cloth and gently scrub the affected area in circular motions until clean.
Be careful not to apply excessive pressure as this can cause the caulk line to deteriorate over time.
3. Avoid Harsh Chemicals: Steer clear of harsh chemicals such as bleach, ammonia, or acidic cleaners when cleaning your countertops as they can degrade and discolor both the surface material and caulking.
4. Promptly Address Water Damage: If you notice any water pooling near faucets, sinks, or other areas where moisture is present on your countertop surface, address it immediately by drying up excess water with a towel and ensuring proper ventilation in those areas.
- Protect Against Heat Damage: While most modern caulks are heat-resistant up to certain temperatures (check manufacturer guidelines), it’s still advisable to use trivets under hot pots/pans directly placed on top of counters since extreme heat exposure may compromise both caulking integrity and counter material quality over time.
- Regular Inspections & Touch-ups : Periodically inspecting all seams along edges where counters meet walls/sinks is crucial; if any cracks appear in existing sealant/caulking lines due wear-and-tear/ageing , promptly remove old damaged sections before reapplying new bead(s)of silicone-based waterproof sealant/caulking .
By following these maintenance tips, you can ensure that your caulked kitchen countertop remains in excellent condition, providing a beautiful and functional space for all your culinary adventures.
FAQ
Should kitchen counters be caulked?
Yes, kitchen counters should be caulked, especially where the backsplash meets the countertop.
What materials are required for caulking a kitchen countertop?
Materials required for caulking a kitchen countertop include a caulk tube, caulk gun, utility knife, rubbing alcohol, and cleaning rags.
How often should I re-caulk my kitchen countertop?
Caulking on kitchen countertops should be replaced roughly every 5 years.
What are the steps involved in caulking a kitchen countertop?
The steps involved in caulicking a kitchen countertop include cleaning the area, removing old caulk if any, applying painters tape for neat lines, cutting the caulk tube’s tip, using a caulk gun to apply the caulk, smoothing the bead of caulk with a caulk smoothing tool, letting it dry, and finally removing the painters tape.


