Last updated on
Dive into the mesmerizing world of heat-resistant glass paint, because it can transform ordinary glassware into artistic masterpieces with enduring vividness and brilliance.
I’m proud to have drafted this article and crafted the unique designs on heat resistant glass paint ideas, and I genuinely hope you find as much inspiration and enjoyment in them as I did in creating them.
Heat-resistant glass paint can add a touch of creativity and personality to your kitchenware, fireplace screens, or even windows, while standing up to high temperatures. This article will explore a variety of heat-resistant glass paint ideas that are both functional and aesthetically pleasing.
Whether you’re looking to revamp old glassware or add a pop of color to your fireplace screen, you’ll find a wealth of inspiration here. Plus, you’ll get all the details on how to select the right paint, application techniques, and tips for longevity.
So, let’s dive in and explore the vibrant world of heat-resistant glass paint.
What's Inside
Multicolored Striped Vases
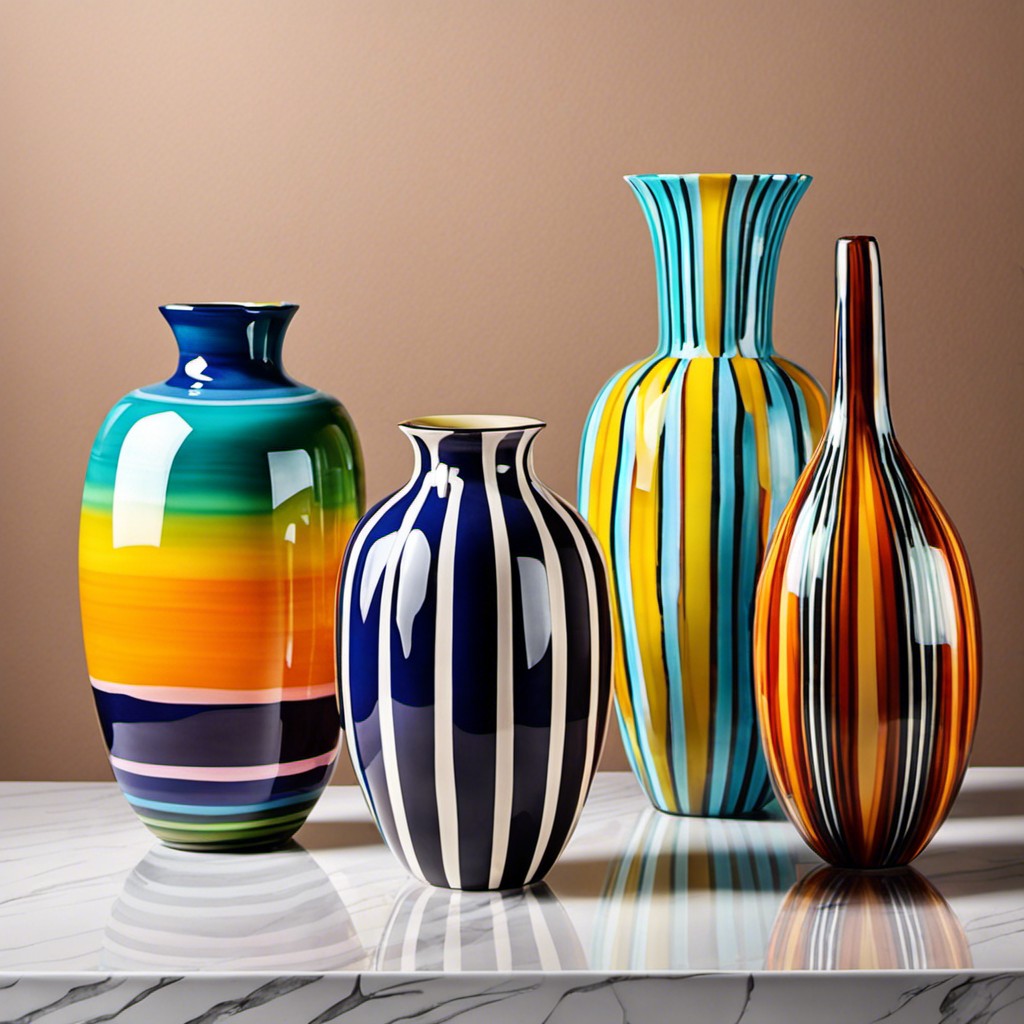
Creating a multicolor striped vase is a fun and easy project, even for beginners. Start by choosing a set of heat-resistant glass paints in a range of colors that match your space’s decor.
Make sure to clean your glass vase thoroughly before you begin to ensure the paint adheres better. Use painter’s tape to create stripes on your vase. You can opt to make stripes of varying widths for a dynamic look.
Apply the paint to one stripe at a time, letting each one dry before removing the tape. Remember, thinner coats dry quicker and are less likely to peel.
Finally, follow the manufacturer’s instructions to cure the paint, usually by allowing it to air dry for several days or baking it in the oven.
Stenciled Floral Patterns On Glassware

Using your chosen stencil design, align it carefully on your glass piece. Ensure it’s secure with masking tape.
Dip a stencil brush into the heat resistant glass paint and then dab it gently over the cut-outs. Subtle shades like pastel hues can exude a delicate charm, while bold colors like deep red or royal blue that pop can provide a dramatic visual impact.
Multiplicity in pattern size could give your work a depth effect. Try painting the stem or base of a glassware different shades to add uniqueness.
Once done, remove the stencil carefully, clean off any paint seepage, and leave the glass to dry. It’s recommended to follow the paint manufacturer’s specific curing process to ensure durability.
Noteworthy, heat resistant paints which can be baked for curing yield longer-lasting results. So, transform glassware into exquisite, customized art pieces just with some stencils and paint, impressing anyone who lays their eyes on it.
Gradient Color Scheme On Glass Tables
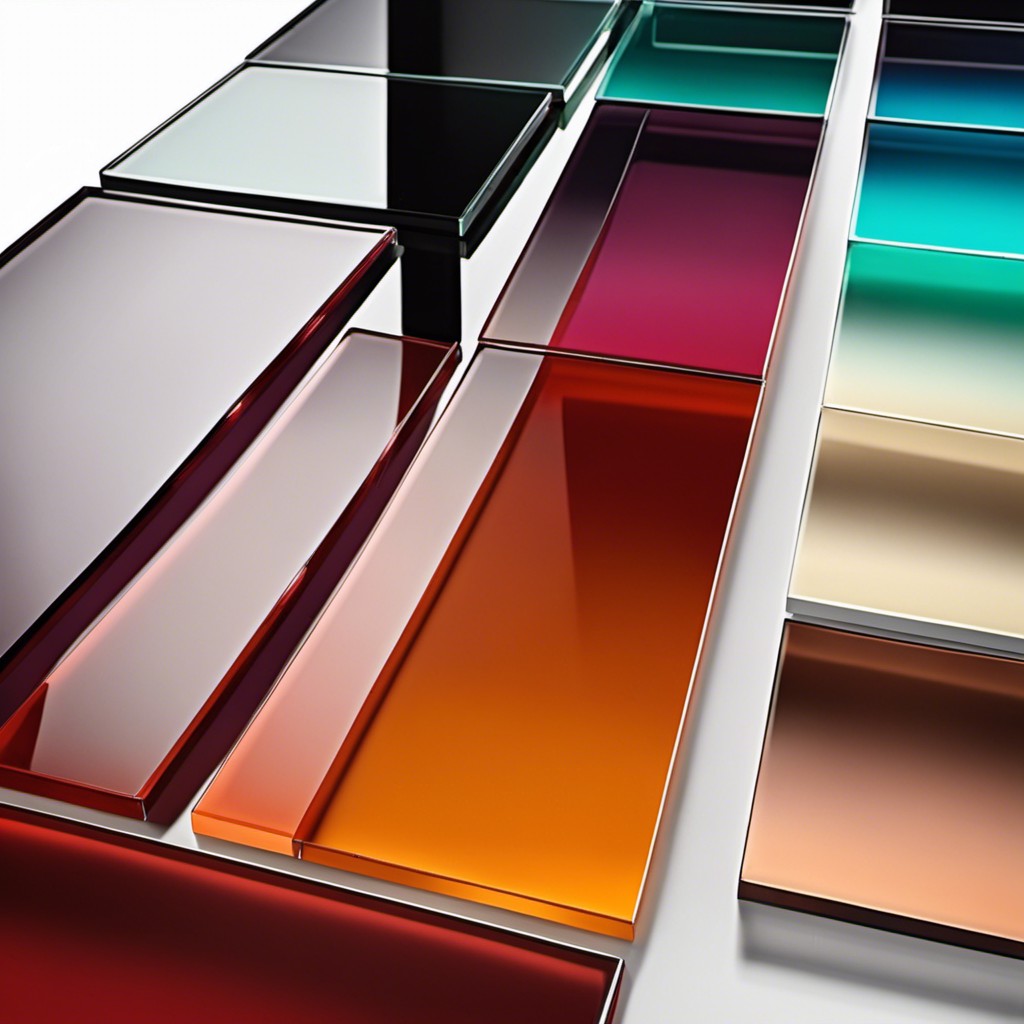
Creating a gradient color scheme on a glass table can breathe new life into any room, serving as a lovely centerpiece. The steps are easy to follow and can be customized to match any décor.
1. Choose contrasting but complementary colors to create a dramatic effect, or go for monotone shades for a subtle look.
2. Start by applying the darker shade at one end of the table.
3. Gradually mix in the lighter color as you move to the other end, creating a seamless transition.
4. Make sure to use heat resistant glass paint to withstand any heat from hot mugs or dishes.
5. Allow each layer to dry before adding the next to avoid smudges and streaks.
6. Finally, seal your work with a clear coat to preserve the paint job and add a glossy finish.
In undertaking this project, remember, patience and creativity will go a long way in achieving a beautiful gradient table that will become a conversation starter. Enjoy the process!
Abstract Geometric Designs On Window Panes
Incorporating abstract geometric designs will infuse an element of modernity and artistic flair into your decor. These can range from simple lines and dots to complex polygons and shapes. By using heat resistant glass paint, your window panes can become an ongoing art project.
1. Color Pallet: Choose a color scheme that complements your interior. For a minimalist aesthetic, stick to black and white. For more vibrancy, opt for bold colors.
2. Design Planning: Sketch your design on paper first. Think about balance, symmetry, and overall look. Consider the use of shapes – circles, triangles, squares, and rectangles can all weave together.
3. Paint Application: Start with larger shapes and allow them to dry before painting smaller details. Use a narrow brush for precise lines.
4. Curing the Paint: As per the paint manufacturer’s instruction, let the paint cure properly to ensure longevity.
5. Maintenance: Clean gently to keep your designs vibrant over time. Abrasive cloths or harsh chemicals could damage the paint.
Remember, patience and practice are key. This form of decoration can make your home truly unique and personalized. Happy painting!
Hand-painted Coasters for Hot Pots
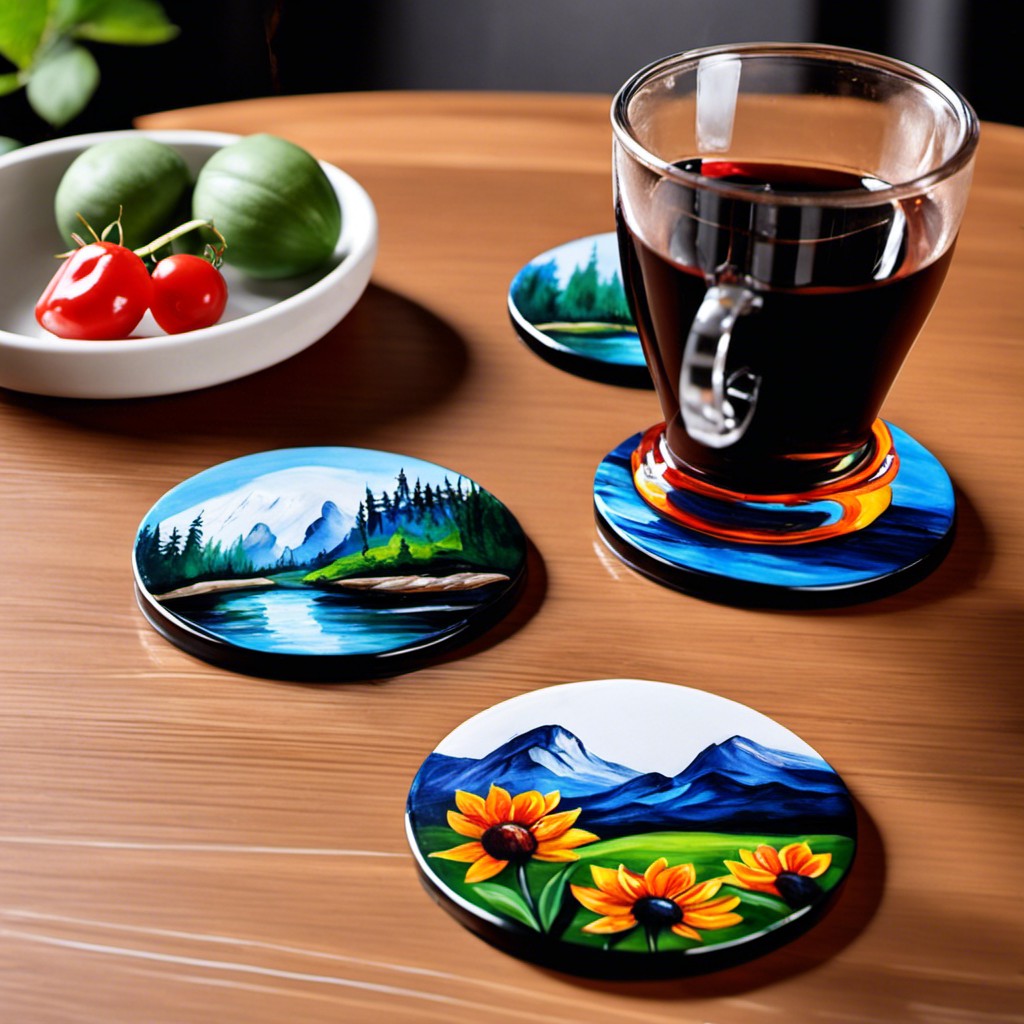
Utilizing heat-resistant glass paint, these coasters add charm to any dining table while protecting it from heat damage. Start by cleaning the coasters thoroughly, then let them dry. Sketch your design lightly on the coaster. Just remember, simplicity often brings elegance. Consider nature-inspired motifs, abstract patterns, or even monograms.
Now, you’ll need your paint. Pour a small amount onto a palette or makeshift palette like a tin foil. Use a fine paintbrush for more complex designs or a sponge for simpler, abstract art.
Remember, colour choice can matter as much as the design itself. Bold hues can make a striking impression, pastels can present a more peaceful aesthetic, and metallics can bring a touch of luxury.
Once your design has been painted, allow it to dry for at least 24 hours. Then bake the coasters according to the paint manufacturer’s instructions to fully cure the paint, making it resistant to heat and washing.
Stamped Polka Dots On Glass Trays
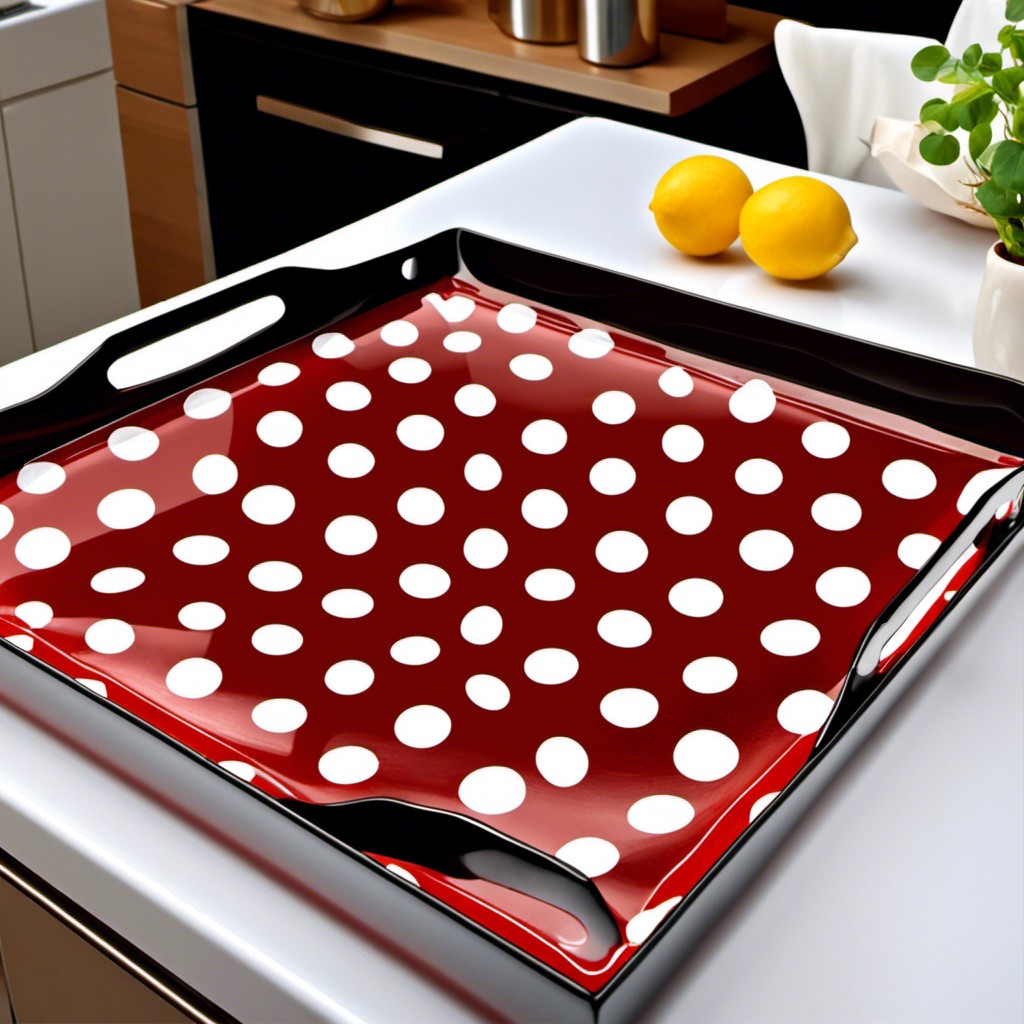
Start by choosing a heat-resistant glass tray you’d like to decorate. Gather your choice of glass paints, along with a round sponge brush, to create your polka dots. Pick a color scheme, for instance, contrasting colors can add a vibrant appeal, while a monochromatic scheme can exude elegance.
1. Clean the tray thoroughly: Any residue might impede the paint’s adherence to the glass surface.
2. Dispense Paint: Pour a small amount of your chosen paint onto a palette or a disposable plate.
3. Saturate the Brush: Dip the round sponge brush into the paint, ensuring an even coat.
4. Apply the Dots: Lightly press the brush onto the tray, creating a dot. Depending on personal preference, dots can be spaced evenly or sporadically.
5. Let it Dry: It’s crucial to let each color dry fully before adding another to avoid smudging the design.
6. Heat Cure: Follow the paint manufacturer’s instructions, typically involving a curing process in the oven, to ensure the paint can withstand heat.
7. Care: Clean the tray gently by hand, once the paint is fully cured and cooled down.
Remember, creativity goes a long way in this project. Tailoring the shape, size, color, and pattern of your polka dots can result in a uniquely decorated, functional, heat resistant tray.
Moroccan-themed Painted Glass Lanterns
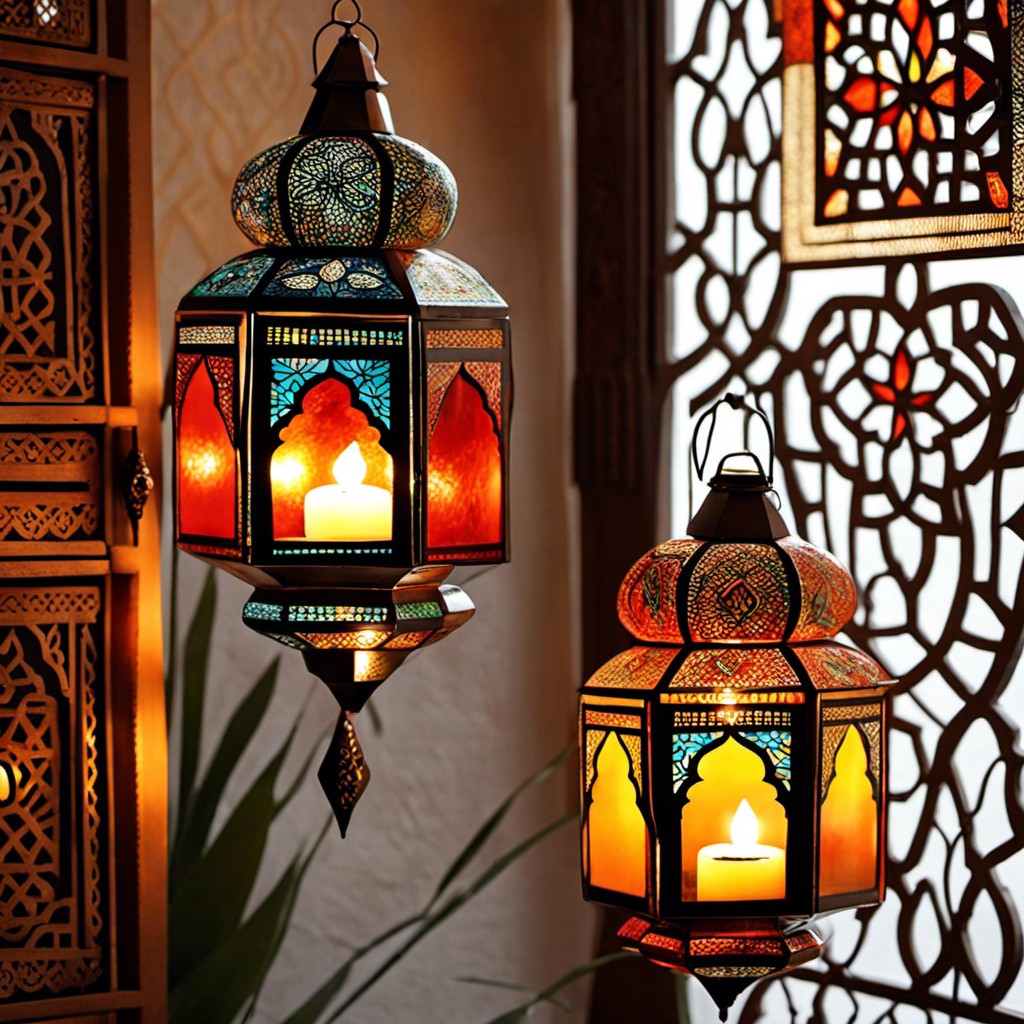
To bring the enchanting allure of Moroccan design into your space, you can begin with applying intricate patterns. A fine-tipped brush and steady hand can help you recreate traditional geometric, floral, or arabesque designs. For instance, painting golden shapes on teal background brings out an extraordinary charm.
Alternatively, a blend of jewel tones like ruby red, sapphire blue, and emerald green can impart an authentic Moroccan aesthetic.
While attempting these designs, make sure you’re using heat-resistant glass paint for durability. If the lanterns will be exposed to very high temperatures, a protective heat-resistant sealant to coat the finished design will ensure long-lasting brilliance.
Also, feel free to improvise with the patterns – the key is to create something you love and represents the Moroccan spirit to you. Just remember to practice the designs on paper before proceeding onto the lantern to prevent potential mistakes.
Glass Door With Painted Vines and Birds
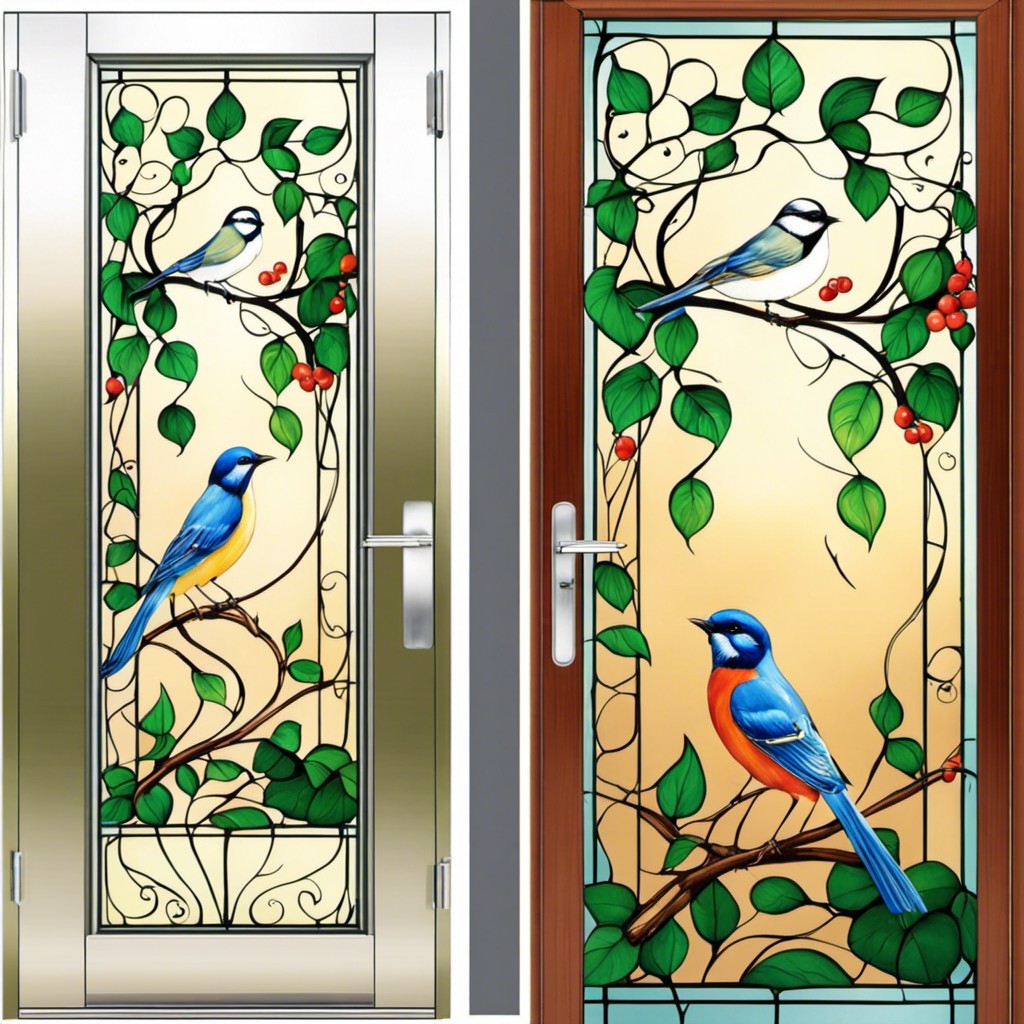
Introducing artwork to your entrances can provide a charming touch. Vines represent growth and vitality, while birds symbolize freedom and perspective. Utilizing heat-resistant glass paint will ensure the design remains vibrant and unaffected by sunlight or changing weather conditions.
Start from the bottom: Commonly, vines appear rooted from the base of the glass door. Initiate your design by painting a twisting stem that grows upwards.
Simulate nature: Nature isn’t perfect, and your painting doesn’t have to be either. Vary the thickness and hue of your vines for a natural appearance.
Play with depth: To bring the vines to life, use lighter colours for vines that are supposed to be ‘closer’ to the viewer, and darker shades for those ‘further away’.
Add the birds: Position the birds on or close to the vine. You might consider painting a couple of birds to symbolize partnership or a family of birds to represent unity.
Use silhouette: Painting the birds in silhouette, using a single solid color, can give a stunning contrast to the intricate vine design.
Remember, this isn’t a quick sketch but an artwork, hence calls for patience. Make the process enjoyable by picturing the charm it would add to your entrance.
Seaside Themed Painted Glass Bowls
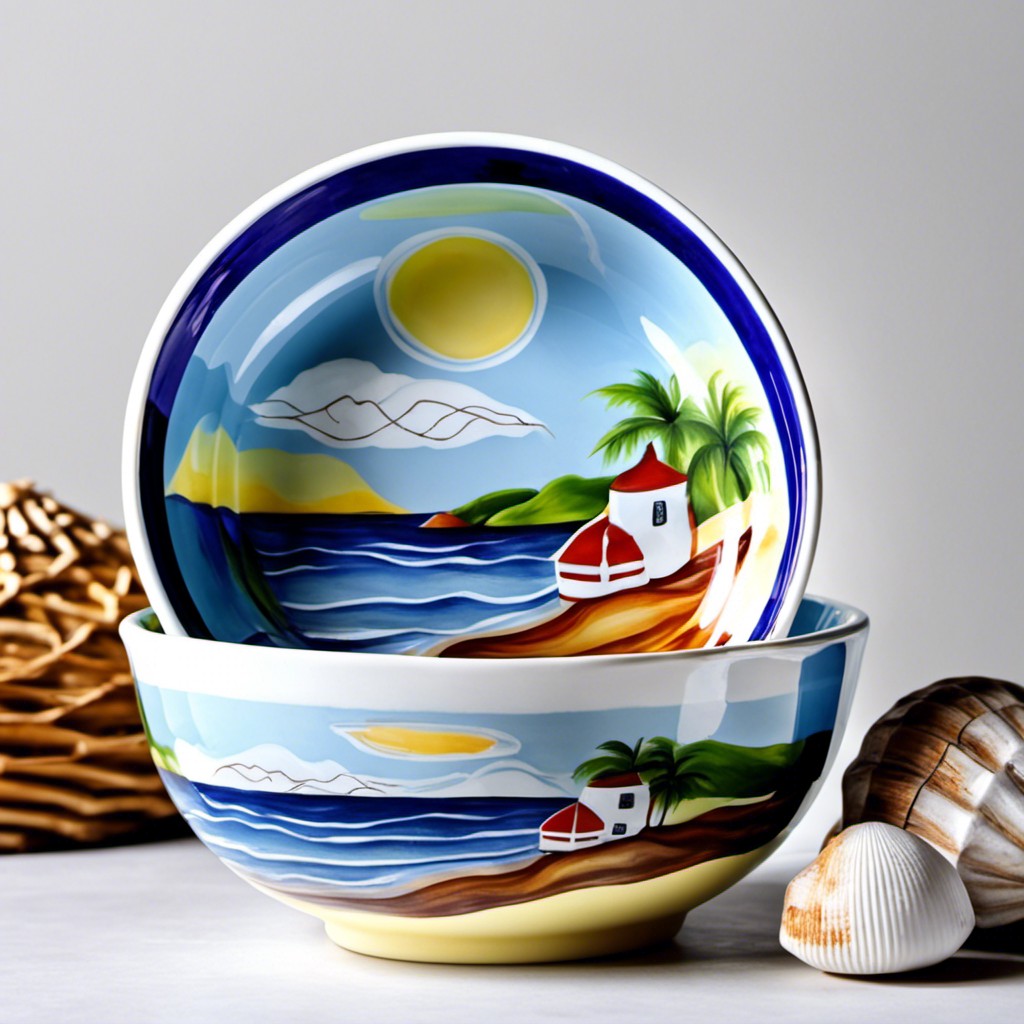
Creating your own oceanscape can be a soothing and rewarding process. Start with a clean, dry glass bowl and several shades of heat-resistant glass paint, from pale turquoise to deep marine blue, along with small amounts of sandy beige and white. Dabble the colors around the bowl’s interior to mimic water and seashore.
Now, it’s time to add details. Use thin brushes and sponges to create gradation in your seabed and patterns in your waves. Introduce sea life to your design – gentle seahorses, a school of painted fish or an intricate seashell can breathe life into your underwater scene. Remember, patience and dry time between layers are key to create depth and realism.
Feel free to get creative – it’s your personal seaside landscape. Whether it’s a serene early morning beach or a vibrant reef buzzing with life depends entirely on your imagination. Though a steady hand and attention to detail are helpful, the main ingredient is fun. So dive in! Don’t be afraid to make a splash.
Heat Resistant Painted Glass Backsplashes
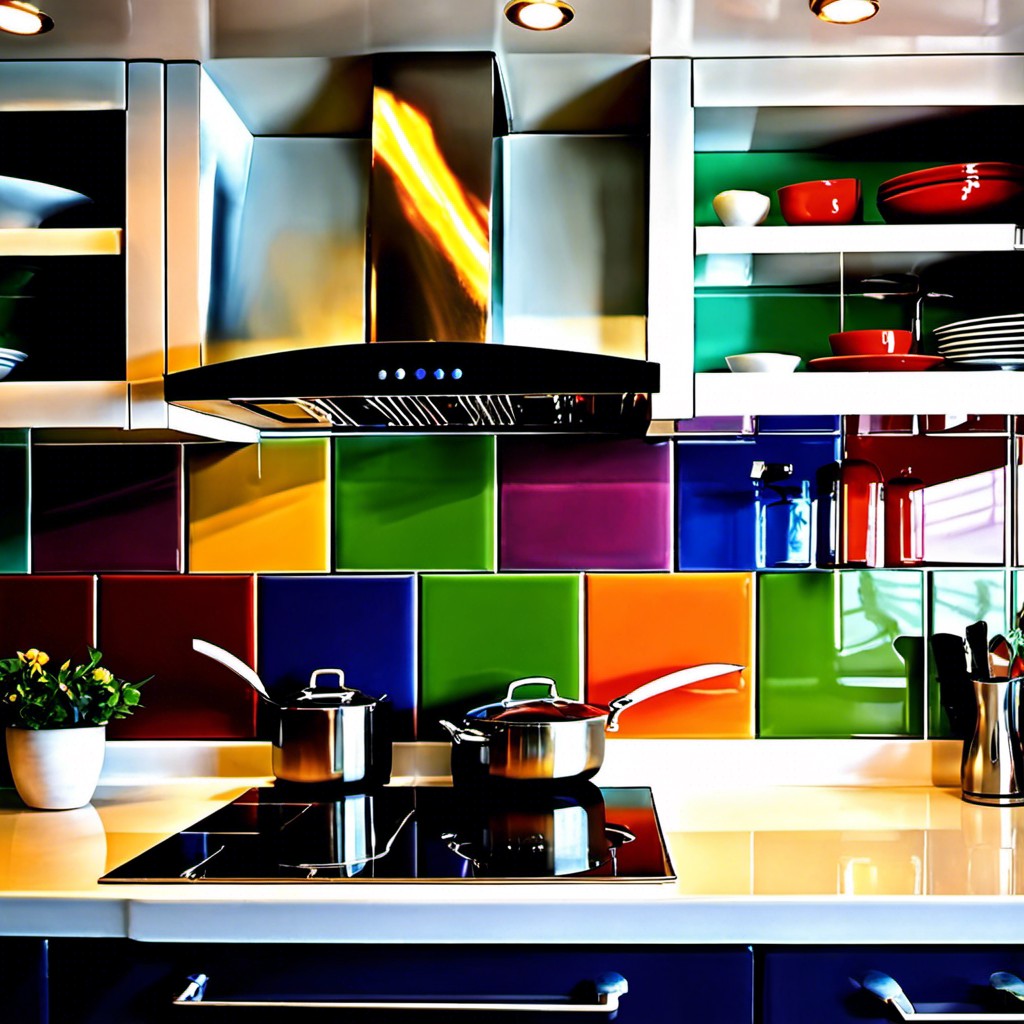
Selecting durable and vibrant heat-resistant glass paints can instantly transform your kitchen backsplash into a radiant centerpiece that can withstand the trials of everyday cooking.
1. Pick a Color Scheme: Whether choosing contrasting colors or sticking to a single hue, your palette should harmonize with your kitchen’s overall design.
2. Opt for High Heat Resistance: Ensure that your chosen paint can withstand high temperatures, a necessity for backsplashes near ovens and stoves.
3. Clean Glass Properly: Before painting, thoroughly clean the glass to achieve a smooth application and limit smudging.
4. Paint in Layers: Apply multiple thin layers of paint, allowing each to dry completely before proceeding. This prevents peeling and guarantees longevity.
5. Seal the Paint: Use a heat-resistant varnish to protect against moisture and heat damage.
Your dazzling, one-of-a-kind backsplash is not only a design statement but also a practical addition to your kitchen. Experiment with patterns and colors to achieve the perfect aesthetic!
Glass Plates With Painted Leaf Patterns

Crafting this design begins with selecting leaves that capture your aesthetic. You may opt for a monochromatic scheme or a variety of autumnal hues for a vibrant, seasonal look.
Once your palette is fixed, mix heat resistant glass paints accordingly.
Start by arranging your leaves on the plate, creating a design you find appealing. Then, using a fine paintbrush, trace around every leaf. Remove the leaves and fill in each outline with your chosen colors, ensuring an even coat. Remember that overlapping leaf patterns can generate a sense of depth.
For a more realistic texture, dot the center and veins of the leaves with a darker hue than the leaf body. Finally, after the paint is dry, bake the plate in an oven if required according to the paint instructions. This will set the paint permanently, ensuring longevity. Remember to follow safety precautions while baking.
This technique transforms your ordinary glass plate into a unique piece, reflecting the beauty of nature at your dining table. You can apply this concept to different items such as glass coasters or salad servers as well.
Painted Snowflakes On Christmas Ornaments

Creating a winter wonderland indoors is truly magical with heat resistant, painted snowflakes adorning your Christmas ornaments. The process involves three primary steps.
1. Clean and Dry: Start with squeaky clean, dry clear ornaments for a flawless foundation.
2. Choose your Paint: Opt for white or pearl heat-resistant glass paint for an authentic, frosty snowflake look.
3. Sketch and Paint: Use a fine brush to sketch delicate snowflake designs. Let paint completely dry before moving the ornament.
Remember, each snowflake is unique, so variations in your designs are more than welcome. Use these ornaments to decorate your tree, mantle, or gift packages for a touch of handmade charm. Be sure to follow all safety guidelines when using heat-resistant paint. Happy painting!
Hand-painted Glass Teapot With Floral Design
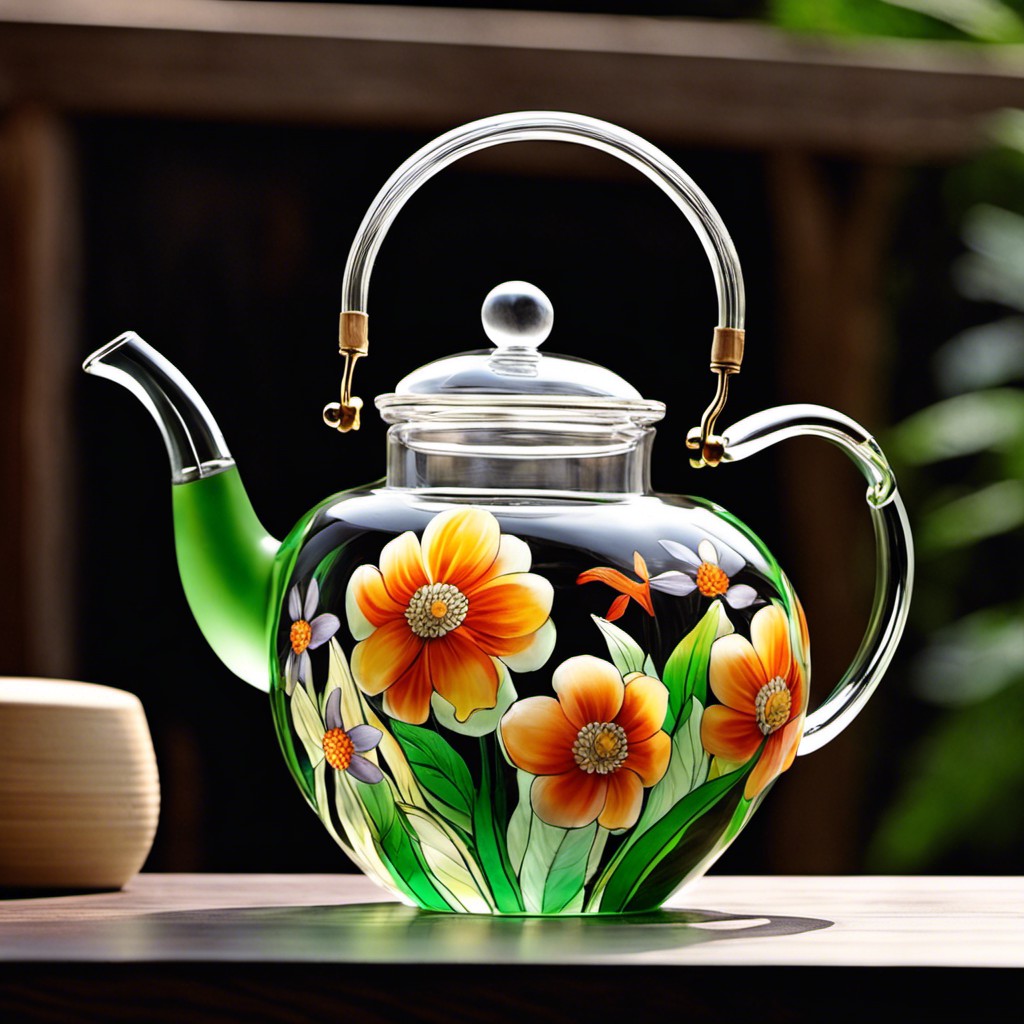
Begin by sourcing a heat resistant glass teapot, ensuring it’s thoroughly cleaned. Select a floral design that complements the teapot’s shape. Draw the design lightly with a pencil before painting to provide a guide.
Once satisfied with the sketch, you’re ready for the fun part: painting. Go for heat resistant glass paints that fit your color scheme. You’ll typically want brushes in a variety of sizes – wider brushes for large areas and fine-tip brushes for details.
Take your time with the painting process. Let each color dry thoroughly before applying the next to avoid any smudging or color bleeding. Careful application guarantees a crisp, clean design.
To seal your masterpiece, follow the paint manufacturer’s instructions. Typically, it involves baking the teapot in an oven for a certain period of time. This step is crucial to ensure the paint is long-lasting and able to withstand heat.
Remember, the goal is to create a tea-drinking experience that is not only delicious, but also visually pleasing. Keep in mind the practicality of the design. The handle and spout should remain free of paint to ensure safe and easy pouring.
And remember, it’s your masterpiece, so have fun and let your creativity shine!
Wine Glasses With Painted Swirls
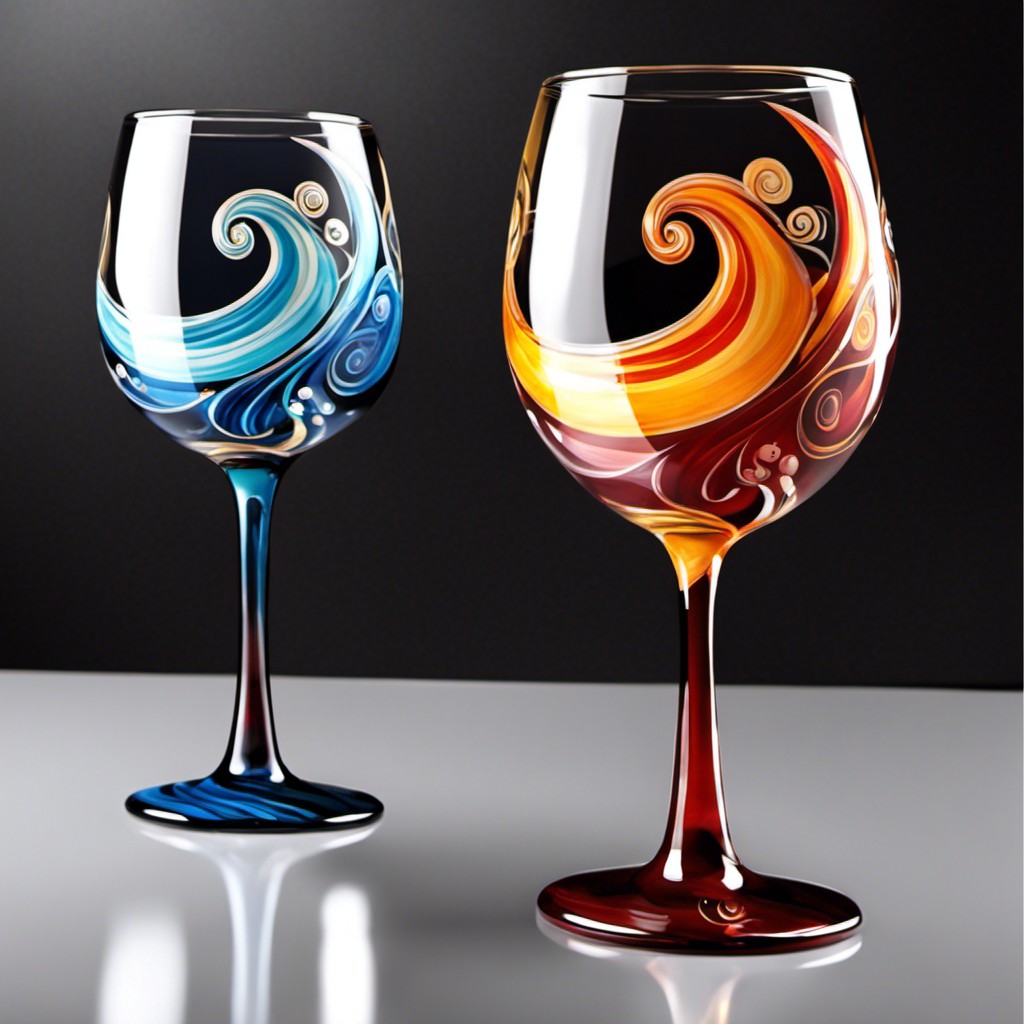
Adding a touch of creativity brings elegance to any occasion. Prior to embarking on the project, gather wine glasses, heat resistant glass paints, and brushes with a fine point.
1. Cleanliness: Preparing the glass surface is crucial for enhancing paint adherence. Cleaning with isopropyl alcohol serves this purpose effectively.
2. Design selection: Create a swirl pattern. Make an easy yet appealing design.
3. Paint Application: Apply paint directly to the glass. The method is simple, move your brush in a continuous swirly motion. Begin from the base towards the stem.
4. Drying time: Allow painted glasses to air dry for at least 24 hours.
5. Oven Cure: For a durable finish, follow the curing instructions provided by the paint manufacturer. Commonly, this involves baking in an oven.
6. Usage & Care: Painted glasses are safe for use once fully cured but avoid rough handling. Handwash gently and avoid using in microwaves.
This method not only transforms simple wine glasses into customized masterpieces but also brings out the hidden artist in you. Perfect for a personalized gift or to elevate your dining experience.
Remember, practice makes perfect. Patience and precision will result in beautifully swirled wine glasses.
Monogrammed Painted Glass Mugs
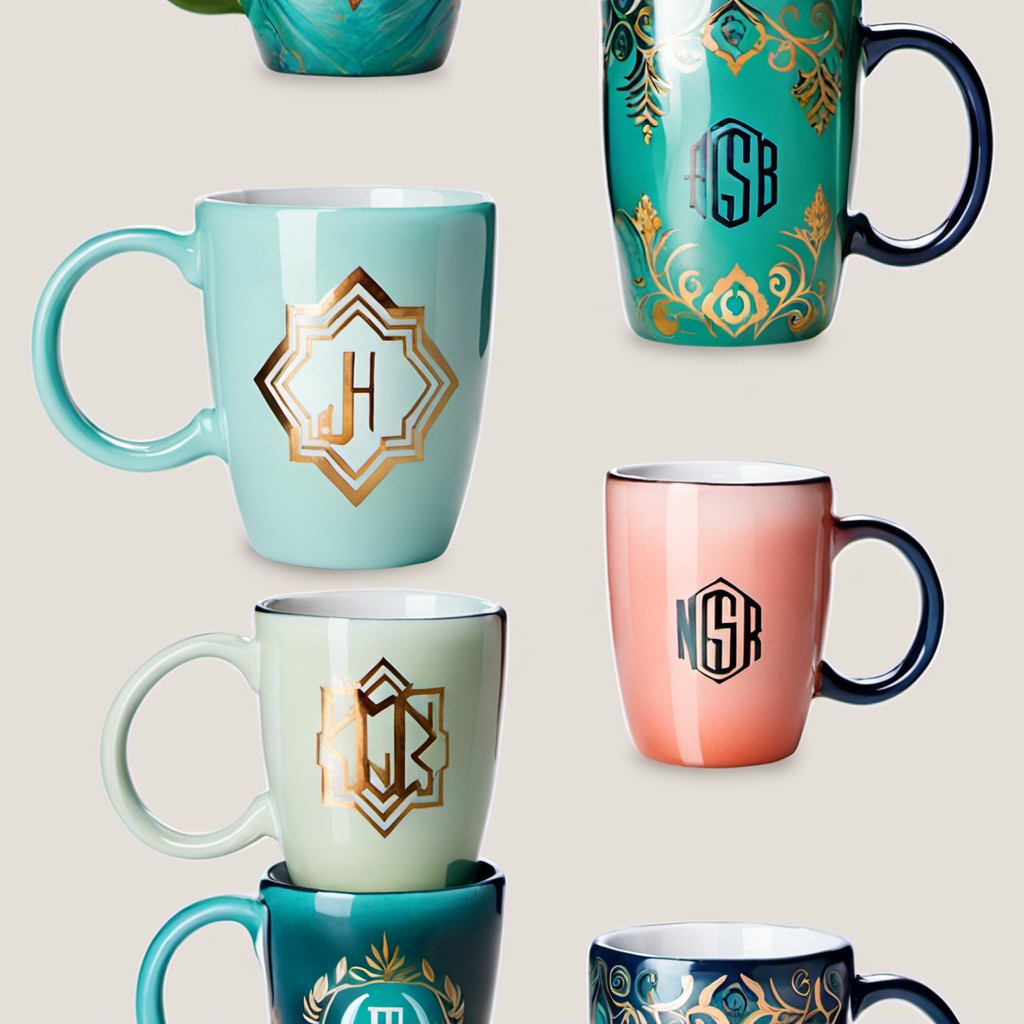
Creating a personal touch with heat-resistant glass paint can be achieved through the application of monograms on mugs. These can function as thoughtful gifts or a fun DIY project. Here are some points to make the task uncomplicated and enjoyable:
- Selection of Paint: Use heat-resistant, non-toxic paint for optimal durability and safety. These paints are designed to withstand high temperatures, making them ideal for regular use on drinkware.
- Equipment Needed: Simple tools like fine-pointed brushes, stencils, or adhesive vinyl can help with precision and uniformity in monogram design.
- Design Selection: Choose an aesthetically pleasing monogram font. Single or multi-letter monograms can be used, based on personal preference.
- Procedure: Clean the mug thoroughly before starting, apply a thin first layer of the paint, let it dry, then repeat. Be patient; perfection comes with practice.
- Care: After your monogram mugs have dried completely, cure them according to the instructions on the paint package. This ensures long-lasting designs and dishwasher-safe convenience.
Remember, the goal isn’t perfection, but the joy of creating something unique, combined with the practical functionality of a heat-resistant feature.
Metallic Painted Candle Holder

When dabbling with metallic paint, its inherent shimmer provides an unparalleled appeal, especially for an item like a candle holder. The reflective characteristic enhances the flickering light from the candle, creating a mesmerizing effect in the room.
1. Choose a glass candle holder: Various shapes and sizes can work. What matters is your vision for the design.
2. Decide on a metallic color: Classic gold or silver, bold copper or bronze, or even a metallic rainbow can be remarkable choices. The color should harmonize with the room decor.
3. Clean the candle holder: Ensure it’s free from dust or grease that may hinder the paint adherence.
4. Apply the paint: You can use brushes for a more rustic look or sponge for a smoother finish. Be consistent in your strokes.
5. Second coat: Metallic paint usually needs two coats for perfect coverage. Remember to let the first coat dry completely before applying the second one.
6. Seal the paint: A clear varnish guarantees the longevity of your artwork and its resistance to heat.
Remember to work in a well-ventilated area and let your piece dry completely before using. With your metallic painted candle holder, each dinner or bath time will have a luxuriant glow to come home to!
Marbled Painted Glass Vase
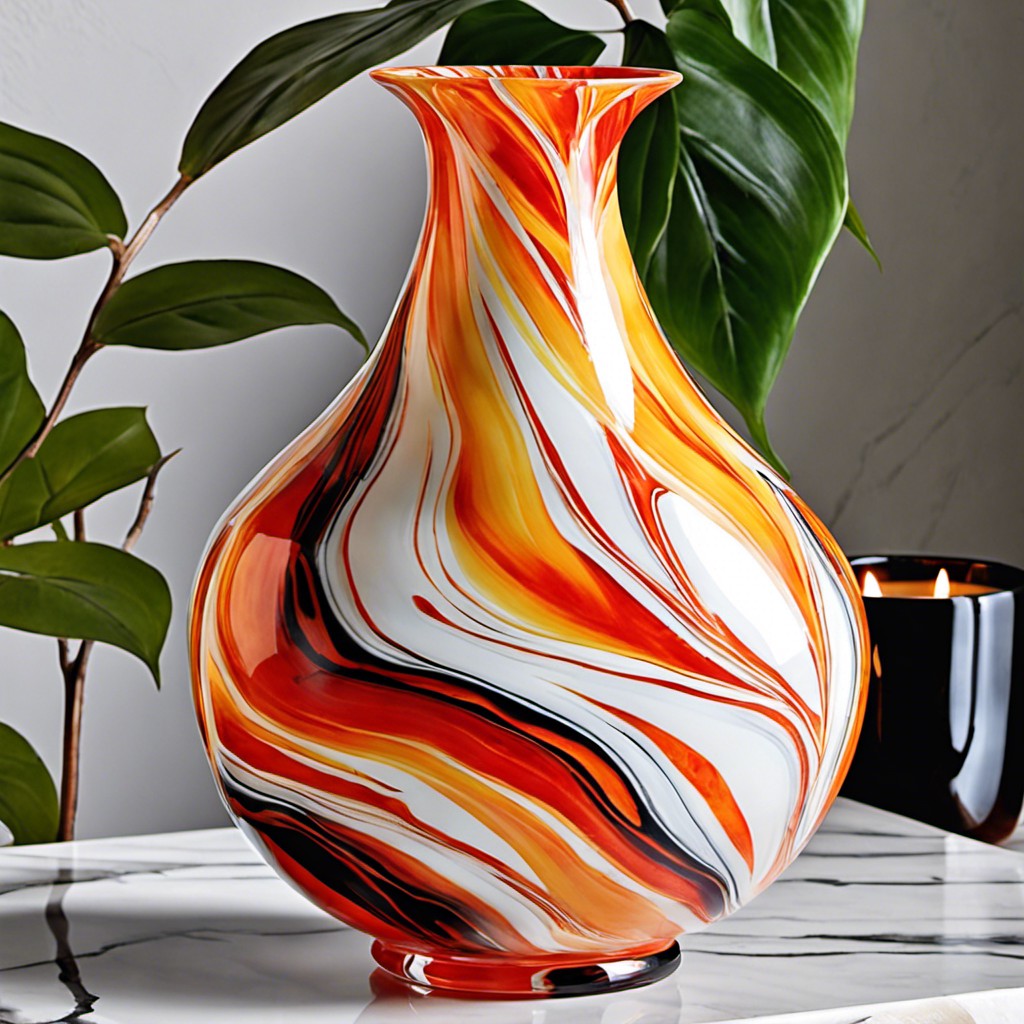
Creating this aesthetic requires a blend of two or more different shades for a dramatic look. Start by choosing complementary colors for a harmonious blend, or contrasting ones to make a bold statement. You’ll need heat resistant glass paint in selected colors, a disposable container, a stir stick, and a clear glass vase.
Pour a generous amount of each paint into the container. Gently stir together to get a marbled effect, being careful not to over-mix. Now, dip the bottom of the vase into the paint mixture and let it slowly rise. The paint should cling to the vase, creating a beautiful marbled effect. Let it dry thoroughly before adding a second coat, if required.
To preserve your work, bake the vase in an oven as per the paint manufacturer’s instructions. Always remember to place the vase in a cold oven, gradually increase the temperature, then slowly cool again to avoid drastic temperature changes that could crack the glass.
With this technique, every vase will be unique and a genuine work of art. To maintain the vibrancy of your marbled vase, avoid putting it in a dishwasher or microwave. Dust it lightly or wash by hand, when necessary.
Sunrise-themed Painted Glass Mirror
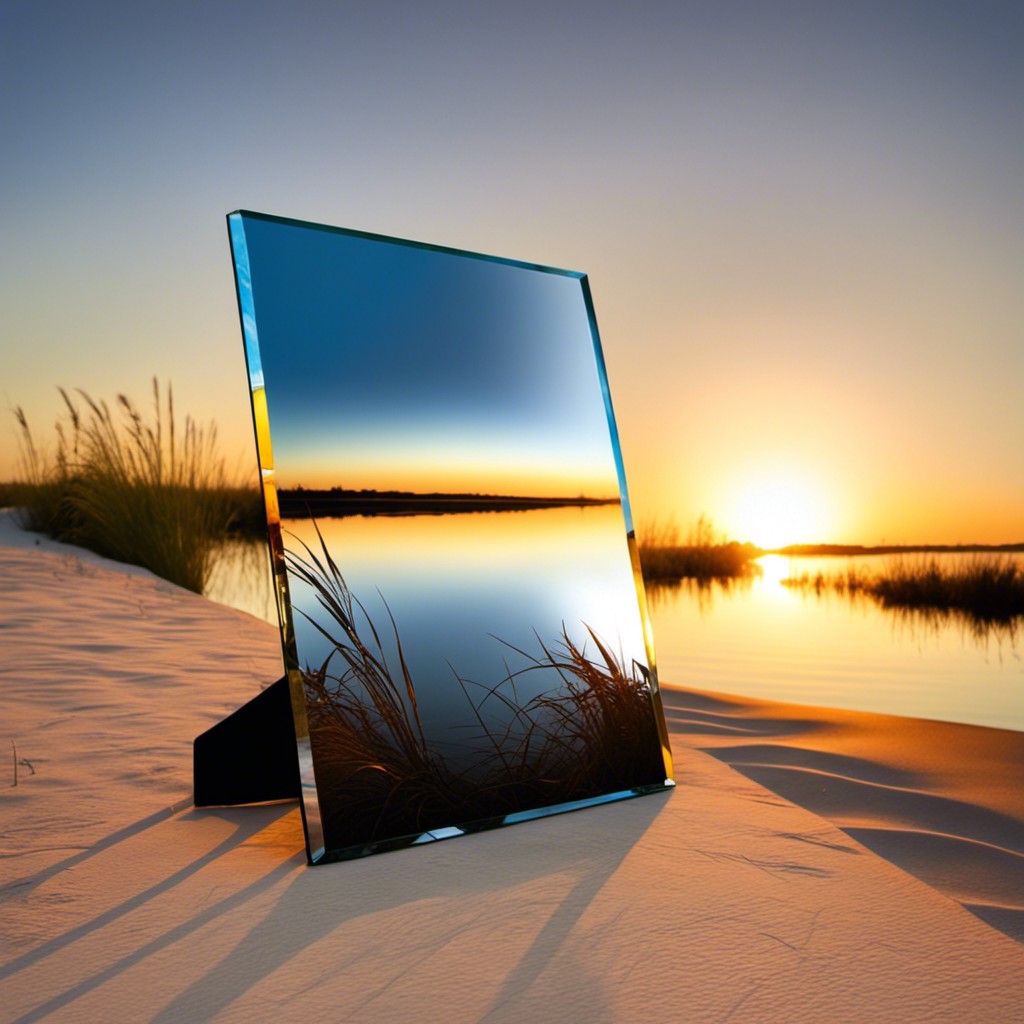
For an exquisite sunrise-themed painted glass mirror, first, identify the image of the sunrise you’d like to recreate. It could be over the sea, in a mountain range, or across a flat landscape.
Start by choosing the right shades of red, orange, and yellow for the painting. Darker shades serve better for the base while lighter tones can be used for highlights.
Begin painting the base layer, starting from the area representing the sun. With a steady hand, create radiant lines from the center to the edges of the mirror. For a realistic sunrise glow, merge the shades naturally to imitate how the sunrise blends into the sky.
Finally, add a protective topcoat. It would help protect the paint from chipping or fading away and add a glossy look. Remember that turning your creative vision into reality is a process, so patience is crucial. Happy painting!
Glass Lampshade With Painted Stars and Moon
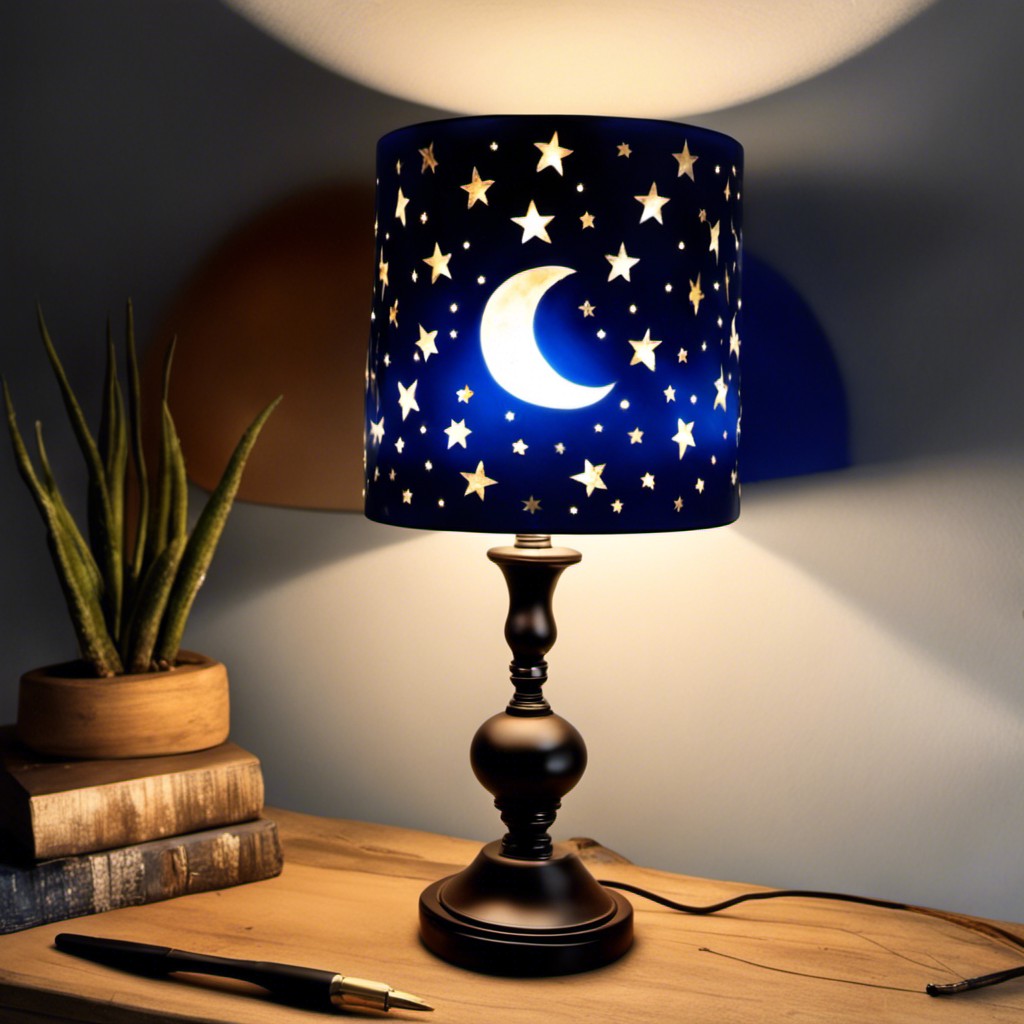
Creating a celestial design on a glass lampshade can bring a splash of whimsy and a hint of the cosmic into your interior decor. Here are some simple steps:
- Find a clear glass lampshade that suits your taste.
- Choose heat-resistant glass paint in shades of blue, silver, and gold.
- Paint small stars scattered all over for a charming star-studded sky effect. For larger stars, you might consider using a stencil for precision.
- Feature a crescent moon or a full moon, or even alternating phases of the moon on the rim, casting a beautiful glow when lit.
- Allow the paint to dry according to the manufacturer’s instructions. This is crucial to ensure the longevity of your design.
This celestial design will create a calming ambiance in any room, perfect for a cozy reading nook or a child’s bedroom. Simple yet impactful, this creative project can quickly transform a boring lampshade into a unique decor piece.
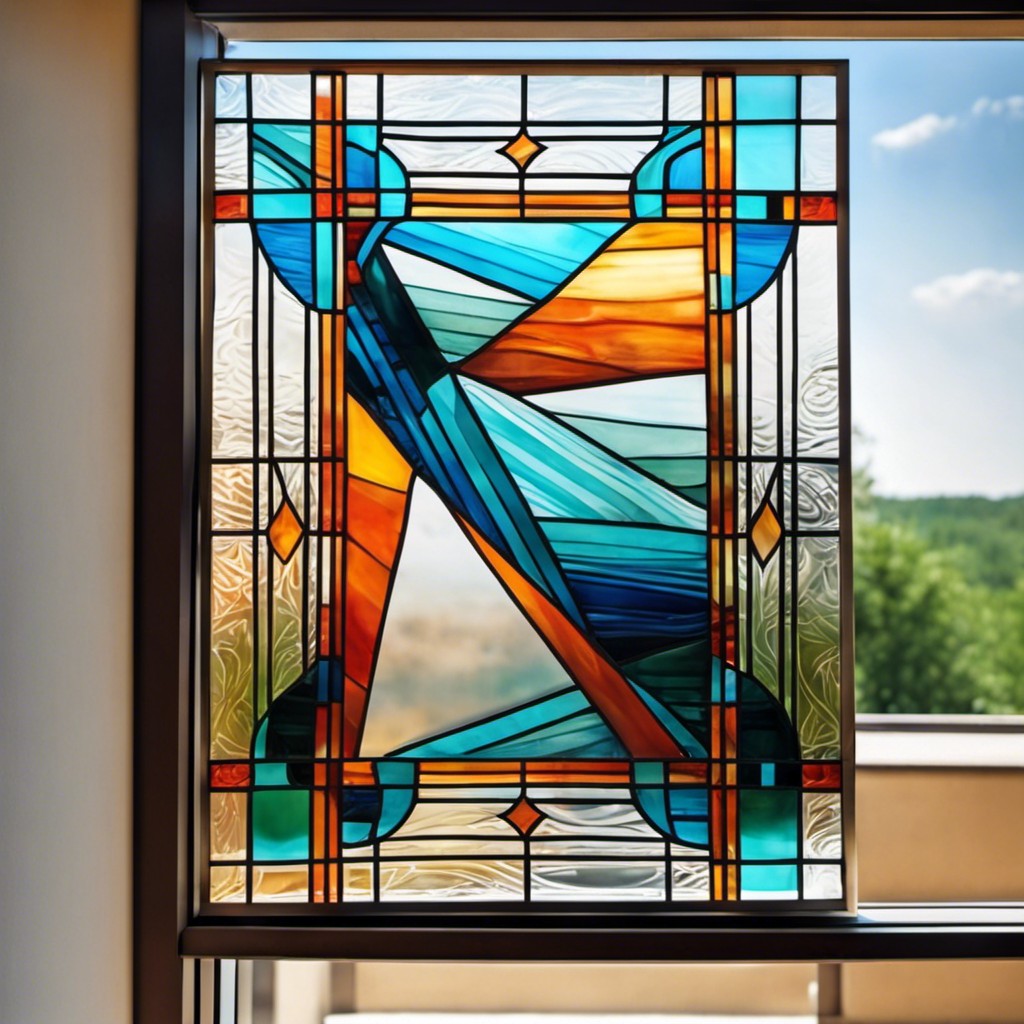
Painted Stained Glass Window Effect
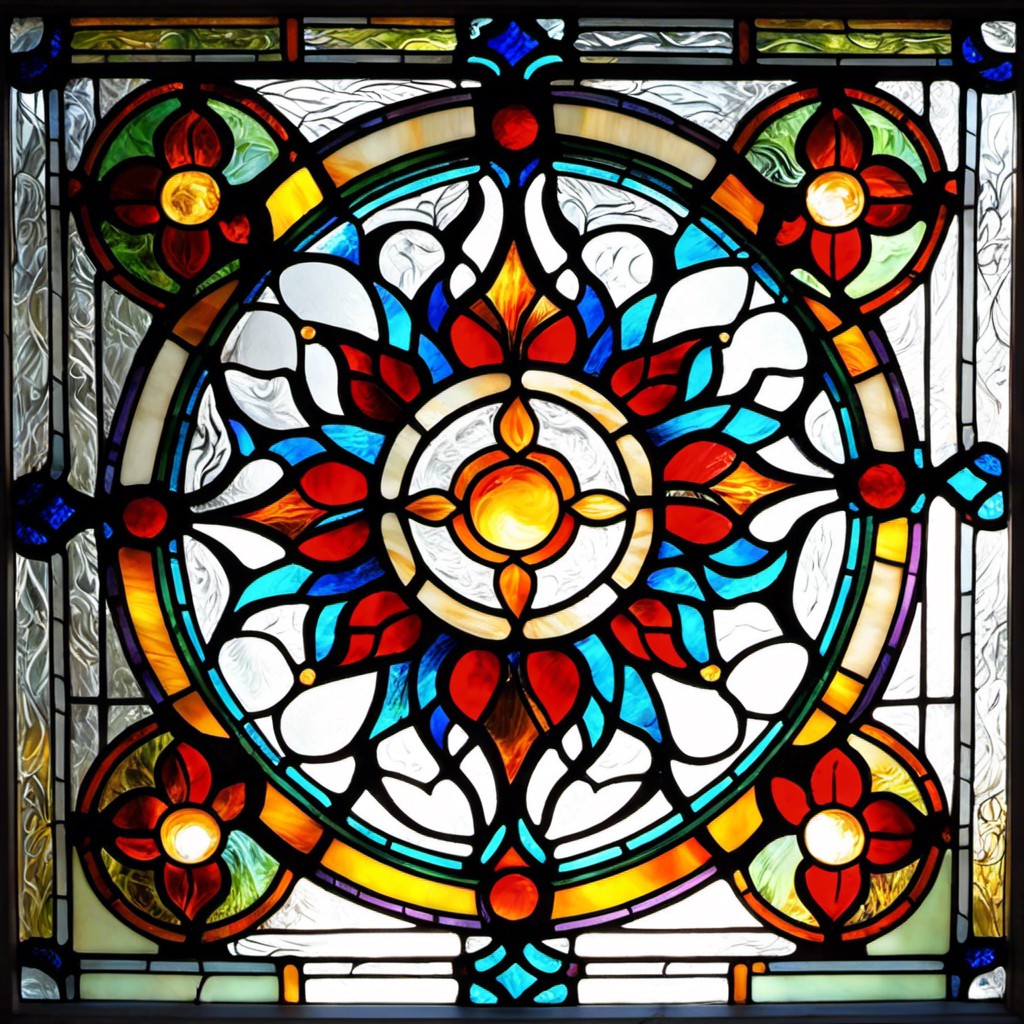
Starting with a clean window, choose a design that is both appealing and complements the surroundings. An artistic rendition of nature or an abstract pattern tends to work best. Make sure to use a mix of transparent and opaque heat-resistant glass paints to mimic the look of traditional stained glass.
Here are the steps to achieve this:
- 1. Use painter’s tape or stencils to mark out your design. Keep in mind that simpler designs are easier to execute, especially if you’re a beginner.
- 2. Apply the glass paint using small craft brushes or sponges. For intricate areas, consider tools like a fine liner brush.
- 3. Layer lighter colors first and gradually add darker shades. This mimics the effect of light shining through stained glass.
- 4. Let each layer dry completely before applying the next. This can prevent smudging and keeps the colors true.
- 5. Add details and outlines last. This helps define the design and give it a polished, finished look.
- 6. After completing the painting, allow it to dry completely. Then, bake according to the paint manufacturer’s instructions to set the paint, making it heat resistant and long-lasting.
Lastly, remember to clean your brushes properly after each use to prolong their lifespan.


