Last updated on
Because homespun comforts afford a unique felt sense of warmth and relaxation, this article unveils a selection of ideas to infuse your abode with an unmatched cozy ambiance.
These are my unique design concepts made using design tools. I hope you find them inspiring!
Delve into the world of homespun comforts, where old favorites meet innovative ideas. While the internet is awash with countless suggestions, this article aims to offer a fresh spin on the familiar. What’s more, it enhances tried-and-true methods with carefully curated resources for maximum utility. So, strap in for a distinctive tour through the heartwarming sphere of homespun comforts ideas.
You never know, the unique suggestion you’ve been searching for might be just around the corner.
What's Inside
Rustic Handwoven Placemats
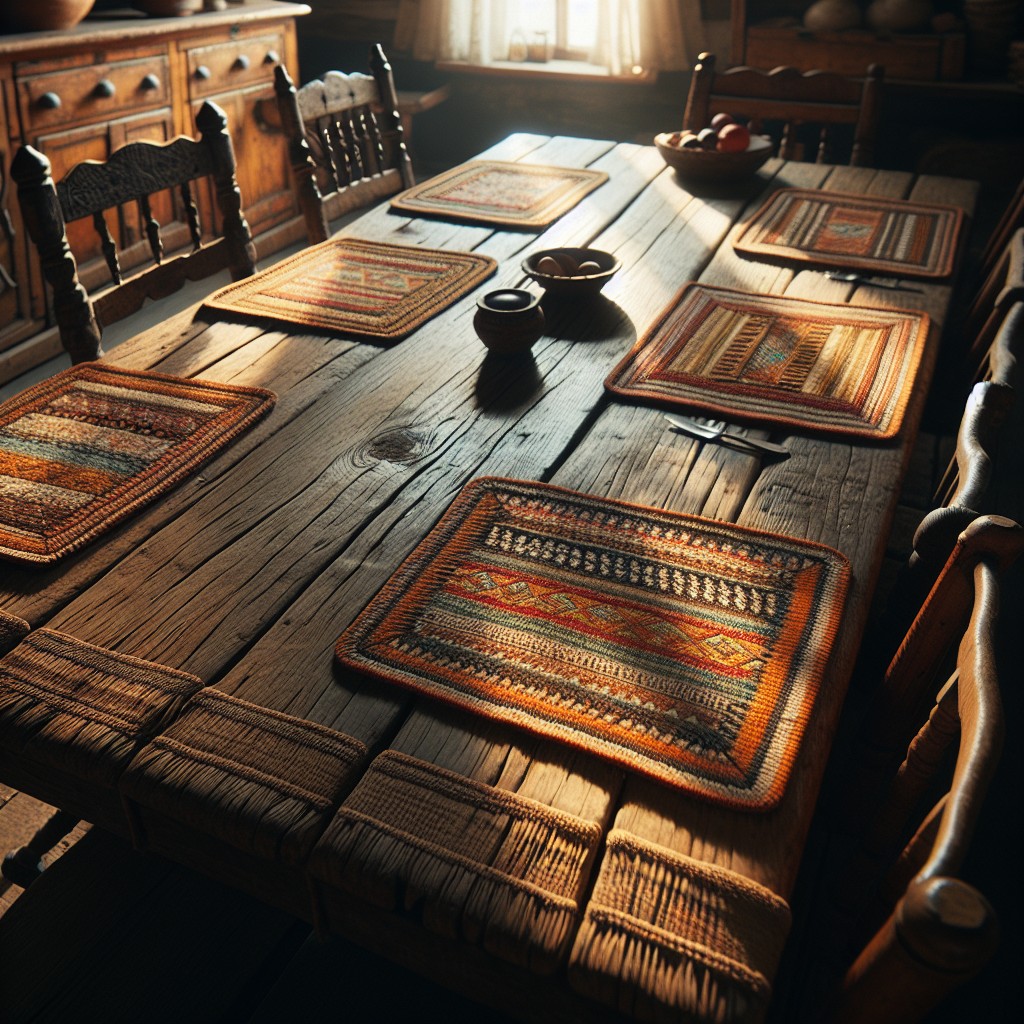
Made typically from materials like reclaimed wood, burlap or even old shipping pallets, these placemats bring a delightfully rugged, yet sophisticated look to the dining table. An environmentally-friendly option, their natural textures and tones harmonize well with a farmhouse-style decor, and are just as apt for a modern, minimalist aesthetic.
Here are some insights into their appeal:
- 1. Robust and Durable: Built to survive spills and heat, they’re perfect for daily use and special occasions alike.
- 2. Versatile Styling: From dark mahogany to light oak, they come in various wood tones, matching virtually any color palette.
- 3. Texture: The unique grain patterns and knots add depth to table arrangements.
- 4. Easy Maintenance: Wipe clean with a damp cloth, no laundering needed.
- 5. DIY Possibility: For craft enthusiasts, these can be a fulfilling homemade project. Using simple tools and materials, one can create placemats that are unique and tailored to personal tastes.
- 6. Conversation Starter: Their unique rustic charm often draws attention, sparking discussion among dinner guests.
Indeed, rustic handwoven placemats elevate a dining setup from ordinary to extraordinary with their authentic, time-worn charm.
Hand-knitted Cozy Slippers
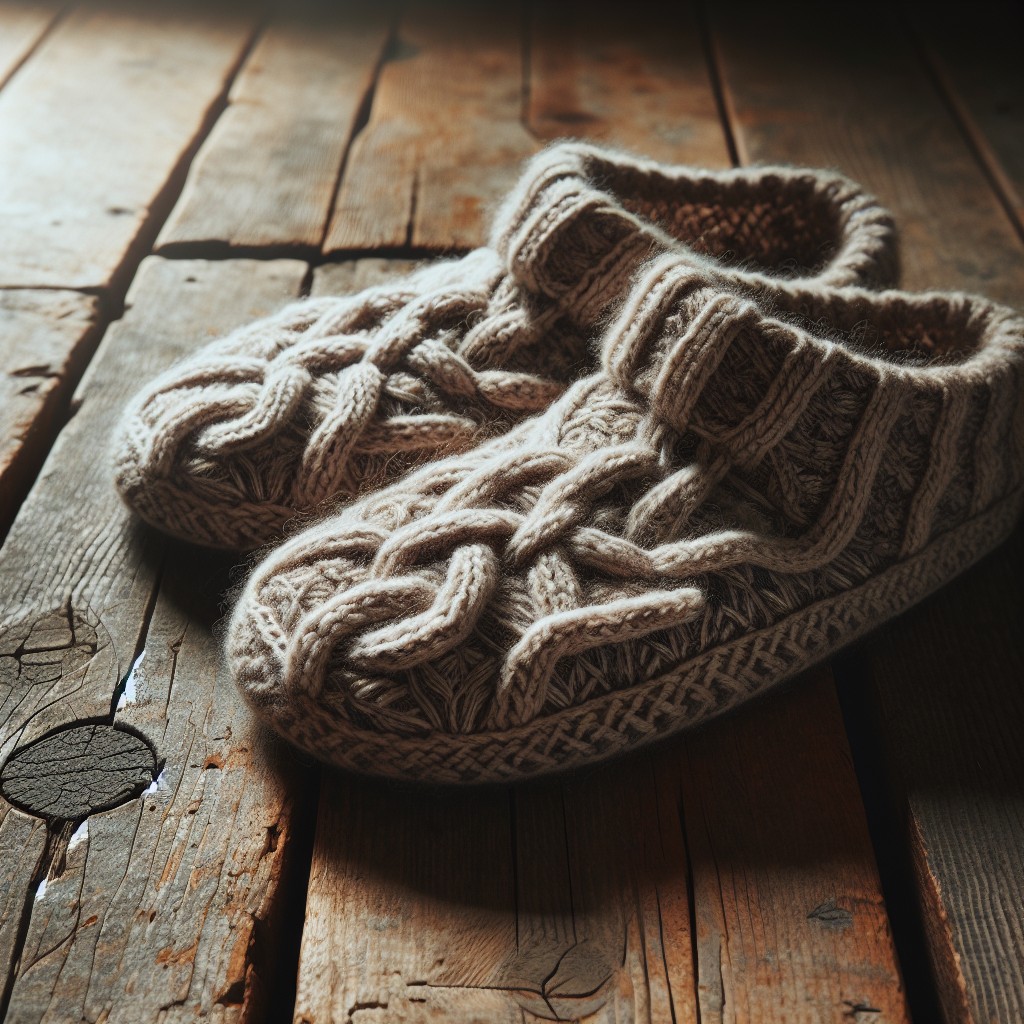
When it comes to creating a comfortable atmosphere in your abode, few things can compete with the appeal of hand-knitted slippers. Not only do they envelop your feet in a cocoon of warmth, they also add a touch of personal flair to your loungewear.
Firstly, try choosing a wool blend for your project. It’s lightweight, soft, and has excellent insulating properties – perfect for keeping those toes toasty. Don’t shy away from playing with colors and patterns. A bright pop of color or a unique pattern can instantly elevate these everyday items and reflect your personality.
Secondly, consider taking the time to properly measure the recipient’s feet. A perfect fit can make a world of difference in comfort. If you’re a beginner, opting for a simple design would be the way to go. As you get more confident, you can experiment with complex patterns and techniques.
Lastly, remember to look after your hand-knitted creations. Launder gently to maintain the shape and softness of the yarn. And voila! With these points in mind, your unique, hand-knitted cozy slippers will surely bring homespun comfort into your living space.
Homemade Scented Candles

Creating your own scented candles not only allows you to control the relaxing atmosphere of your home, but it also offers you the pleasure of crafting something with your own hands. Here are some simple steps to create your very own fragrant masterpiece.
Firstly, pick the right wax; soy is often the preferred choice for its clean and long-lasting burn. Next, choose an essential oil that suits your preferences; lavender for calm, cinnamon for warmth, or maybe citrus for a refreshing scent.
To begin, melt your chosen wax. Quantity would depend on the size of your container. As your wax melts, add the essential oil slowly, mixing as you go to ensure the scent blends thoroughly. Next, prep your candle vessel – attach a wick to the base and ensure it’s centered.
Lastly, pour in your scented wax, wait for it to set, and trim the wick. That’s it! With just a few easy steps, you’ve added a comforting, homespun touch to your home. Remember, don’t light the candle for at least 24 hours to allow the wax to fully harden and the scent to fully develop. Happy crafting!
DIY Patchwork Quilt Kit
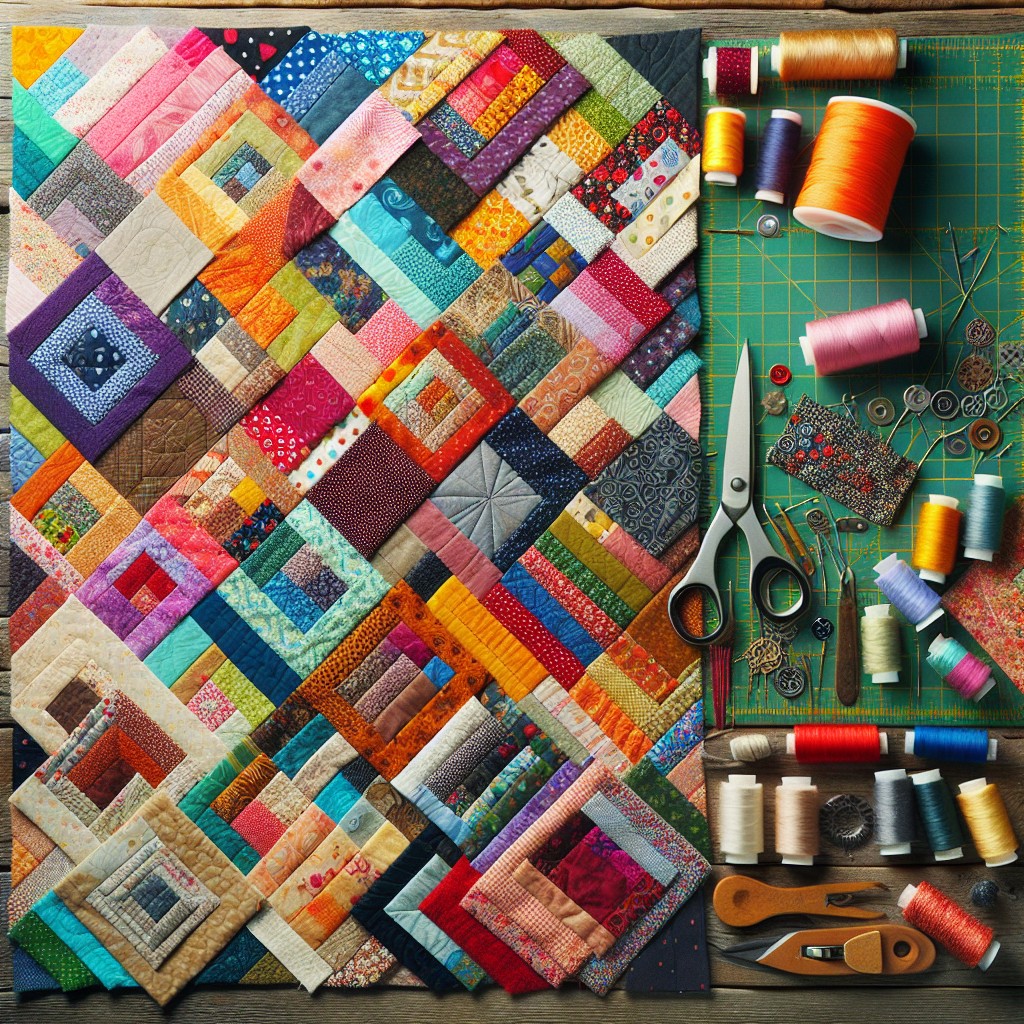
For a hands-on project that not only offers a comforting outcome but also allows creative expression, a DIY patchwork quilt kit can’t be beaten. This entails piecing together cut fabrics into a larger design, typically in a grid pattern. It’s a tactile experience that aids in improving practical skills like cutting, piecing, and sewing.
Start with selecting a kit that resonates with your personal style and your room’s decor. Kits usually come with pre-cut fabric, but you can also choose your own material.
The joy, of course, is in the creating, but the secondary perks include the freedom to choose colors and textures that fit your home decor perfectly. This personal touch makes the quilt bring a sense of warmth and individuality to a room.
When piecing your quilt together, patience is key – hasty or hurried sewing often results in misaligned patterns. However, the charm of a patchwork quilt lies in its little imperfections, which signify its handcrafted nature.
Once completed, your patchwork quilt not only promises an extra layer of warmth in the colder months, but also adds one-of-a-kind aesthetic appeal to any space. Always remember to take care of your quilt properly; gentle machine wash or hand washing is always preferable to prolong its quality.
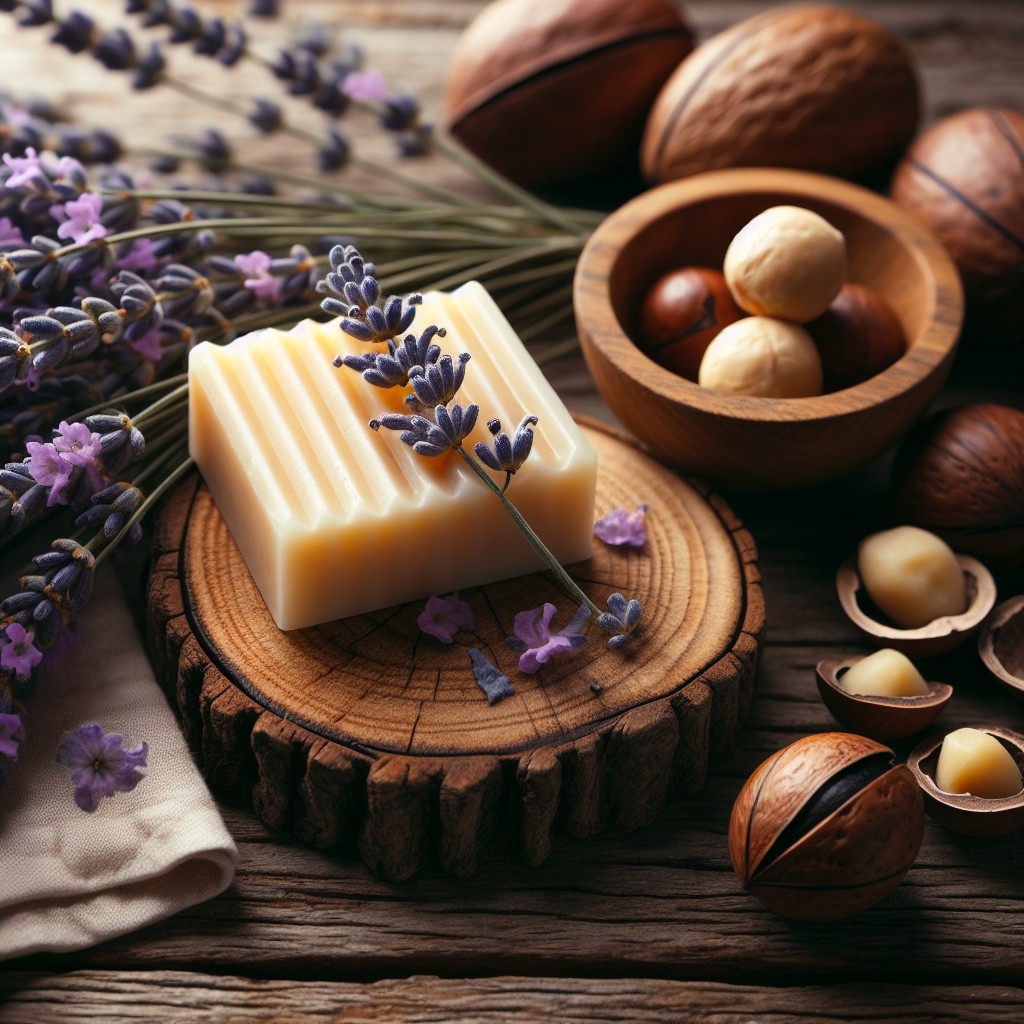
Hand-poured Soap Bars
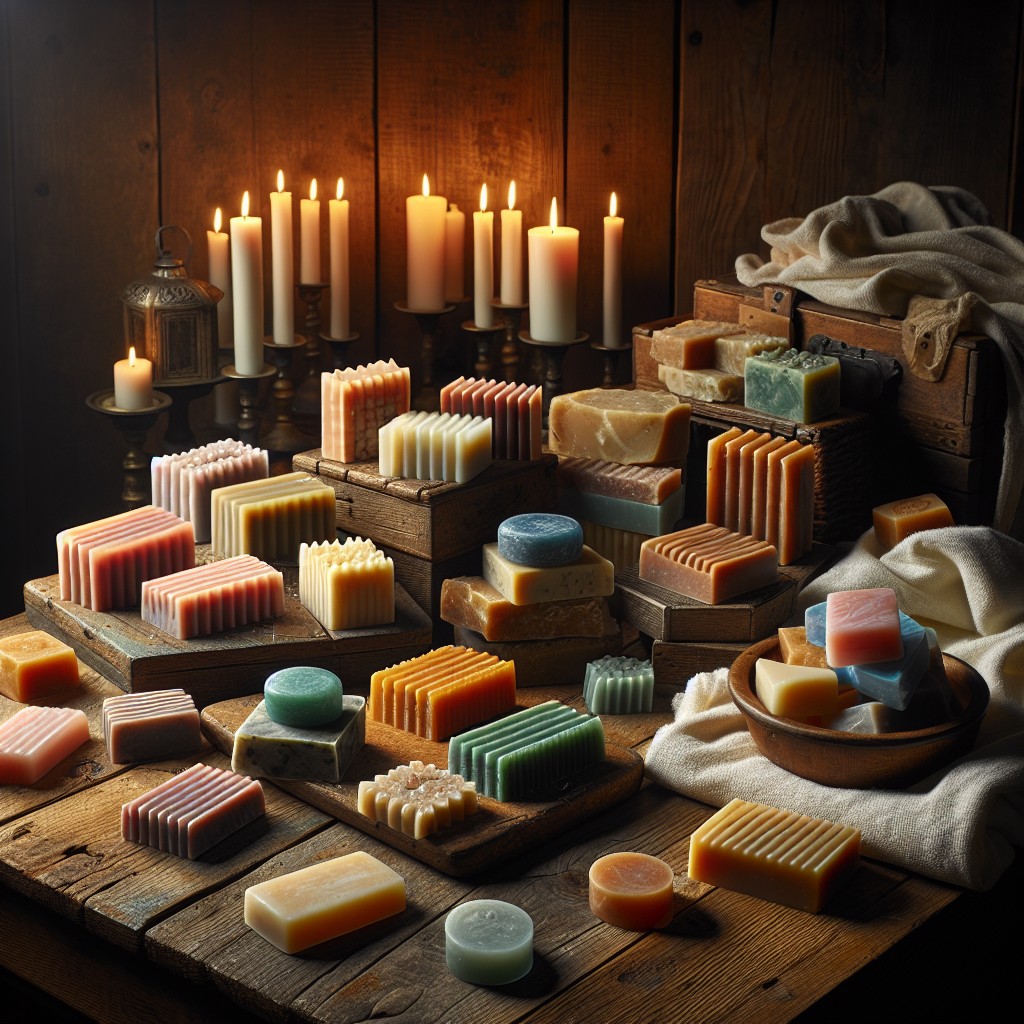
Creating your own hand-poured soap bars not only adds a personal touch to your home but also brings along a host of benefits. Firstly, you have complete control over the ingredients, enabling you to select natural, skin-friendly ones. This also allows you to exclude any potentially harmful chemicals often found in commercial soaps.
Moreover, designing and pouring your own soap bars can be a stress-relieving activity, providing an outlet for creativity. You can customize the shape, size, color, scent, and even the packaging to suit your preferences.
Building on this creative endeavour, you can also turn these customized soap bars into thoughtful handmade gifts for your loved ones. They’ll certainly appreciate the time, effort, and creativity you put into crafting a personalized item.
Last but not least, making your own soap bars encourages the reuse and recycling of ingredients and materials. You can upcycle old milk cartons, dessert molds, yogurt containers for unique and eco-friendly soap molds. This way, you are contributing to reducing waste while adding a rustic, homespun charm to your abode.
Natural Body Lotion Bars
Crafting your lotion bars offers several enticing benefits. By selecting all-natural ingredients, you can steer clear of artificial elements, ensuring your skin absorbs only healthy nutrients. Infusing essential oils not only lends appealing fragrances but adds therapeutic properties too.
For instance, lavender calms, while citrus oils can invigorate. You can also mold bars into unique shapes, making them charming, personalized gifts or decorative items in your bathroom.
Making these treats is quite simple. You’ll need equal parts of three essential components: a moisturizing butter (like shea or cocoa), a carrier oil (like coconut or almond), and beeswax to solidify the formation. Melt these ingredients in a double boiler, pour into desired molds, then allow time for them to set. Opt to enrich the mix with vitamin E oil or a few drops of your favorite essential oils before the mixture solidifies for an added touch.
Quality control is in your hands when DIY is the approach, ensuring your skin gets the top-notch care it deserves. Remember, the benefits of your lotion bars extend beyond skin deep, to some mind-soothing aromatherapy too.
100% Cotton Bathrobes
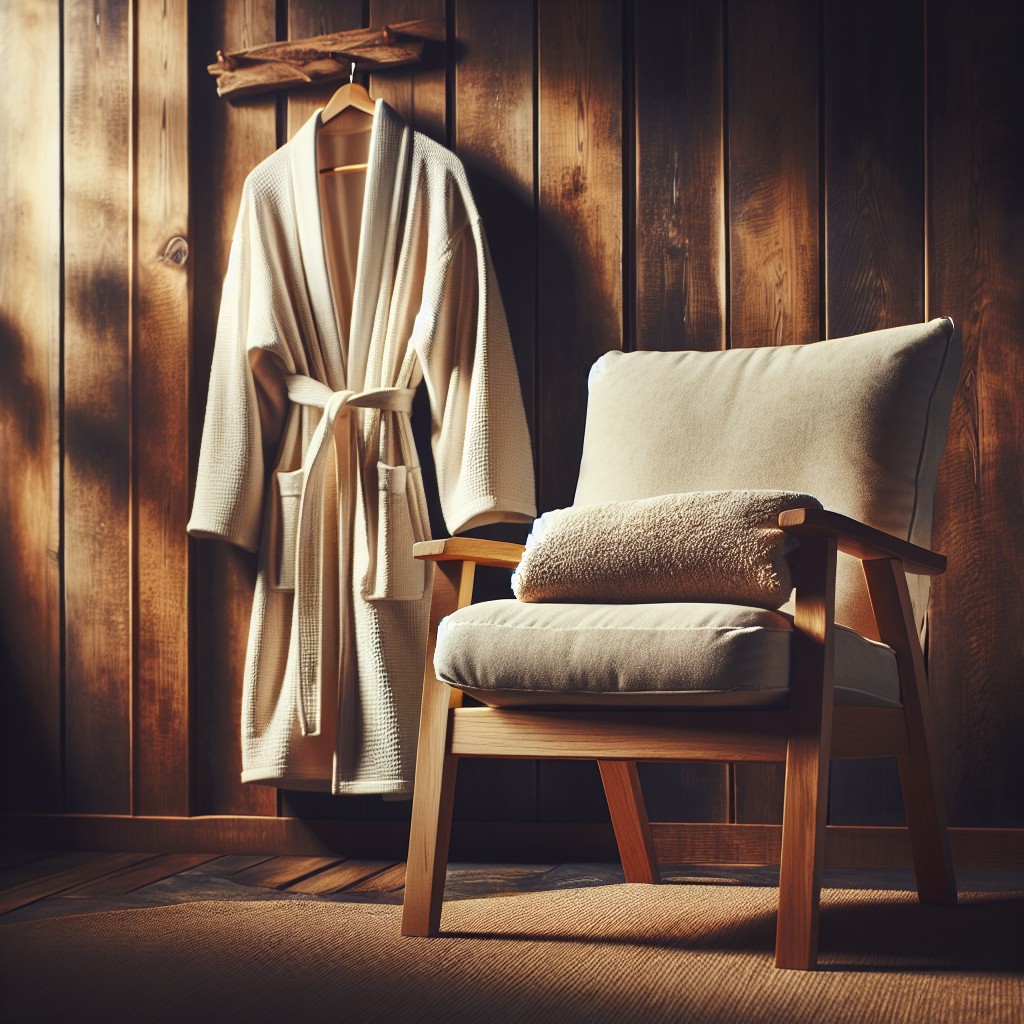
Ensuring both comfort and sustainability, these luxury robes are made entirely of cotton, providing a soft, plush feel while absorbing water effectively. As cotton is known for its breathability and heat retention, wrapping yourself in one after a bath or shower feels like a warm embrace.
Choosing a heavyweight cotton bathrobe can provide just the right amount of warmth during colder months, while a lightweight one can be perfect for summer. Off-white is a classic choice, but you can select from an array of colors to match your personal style or bathroom decor.
Caring for your cotton bathrobe should be simple. Typically, they’re machine washable and you can hang them dry. They’re long-lasting when taken care of, ultimately providing an eco-conscious solution to everyday comfort. The homespun appeal lies in their innate simplicity and comfort, making them a perfect embodiment of homely luxury.
Homemade Herbal Tea Collection
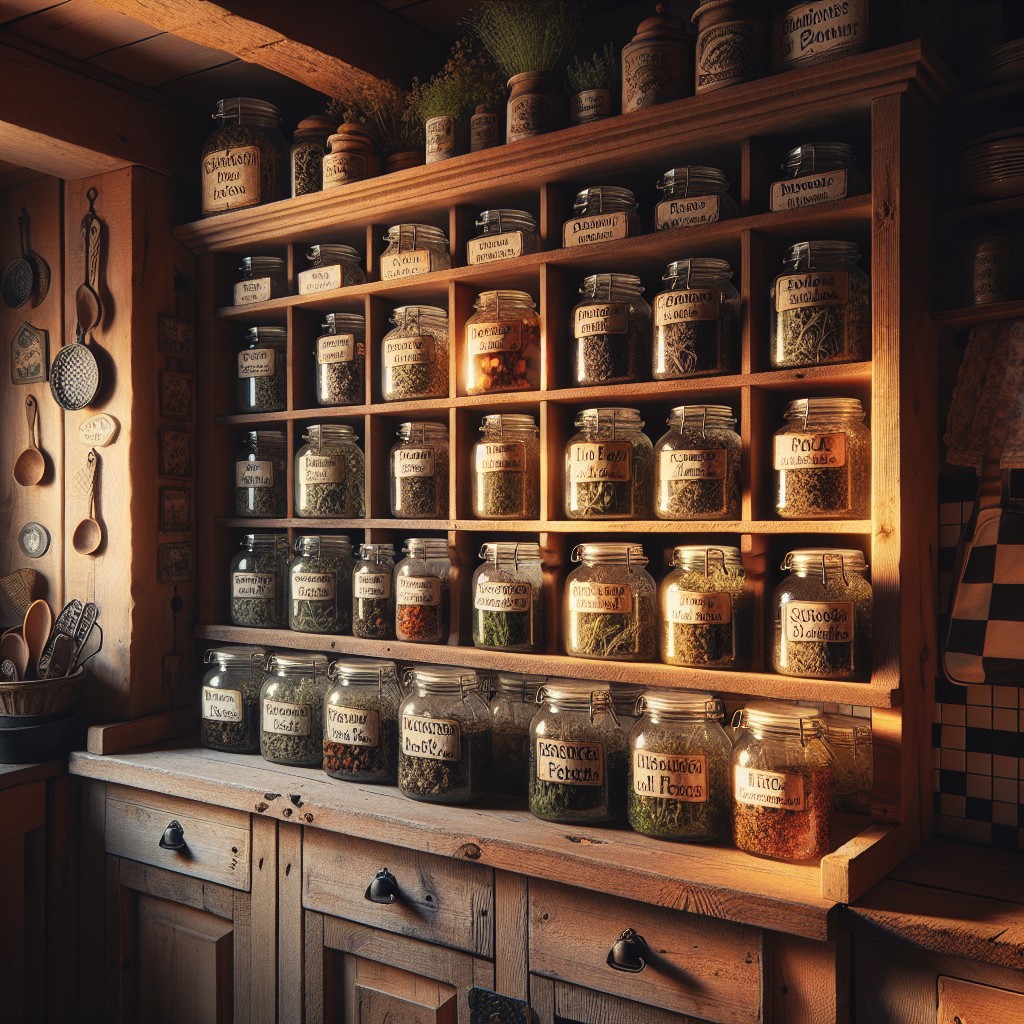
Incorporating garden-grown herbs into your tea collection at home offers myriad benefits. Not only do they bring a unique, vibrant flavor to your beverage, but several herbs also boast health properties. For example, chamomile is widely recognized for its calming effect, while peppermint tea may aid digestion.
Creating your own herbal tea collection is satisfying and relatively simple. Start by identifying a selection of herbs you’d like to try – perhaps lavender, rosemary, or even nettle. Once you’ve grown or acquired your chosen herbs, you can begin the drying process. All you need is a warm, dry place and some patience. Once completely dry, store the herbs in airtight containers, and they’re ready to be brewed!
A cup of homemade herbal tea is a soothing respite any time – enjoy it in the quiet morning hours, or wind down your day with a cup in the evening. Plus, they make for thoughtful, personal gifts for tea lovers in your circle. Sharing your homemade herbal tea collection is a testament to your love for homespun comforts. It’s a perfect blend of flavor, wellness, and the warming touch of the handmade.
DIY Macrame Wall Hangings
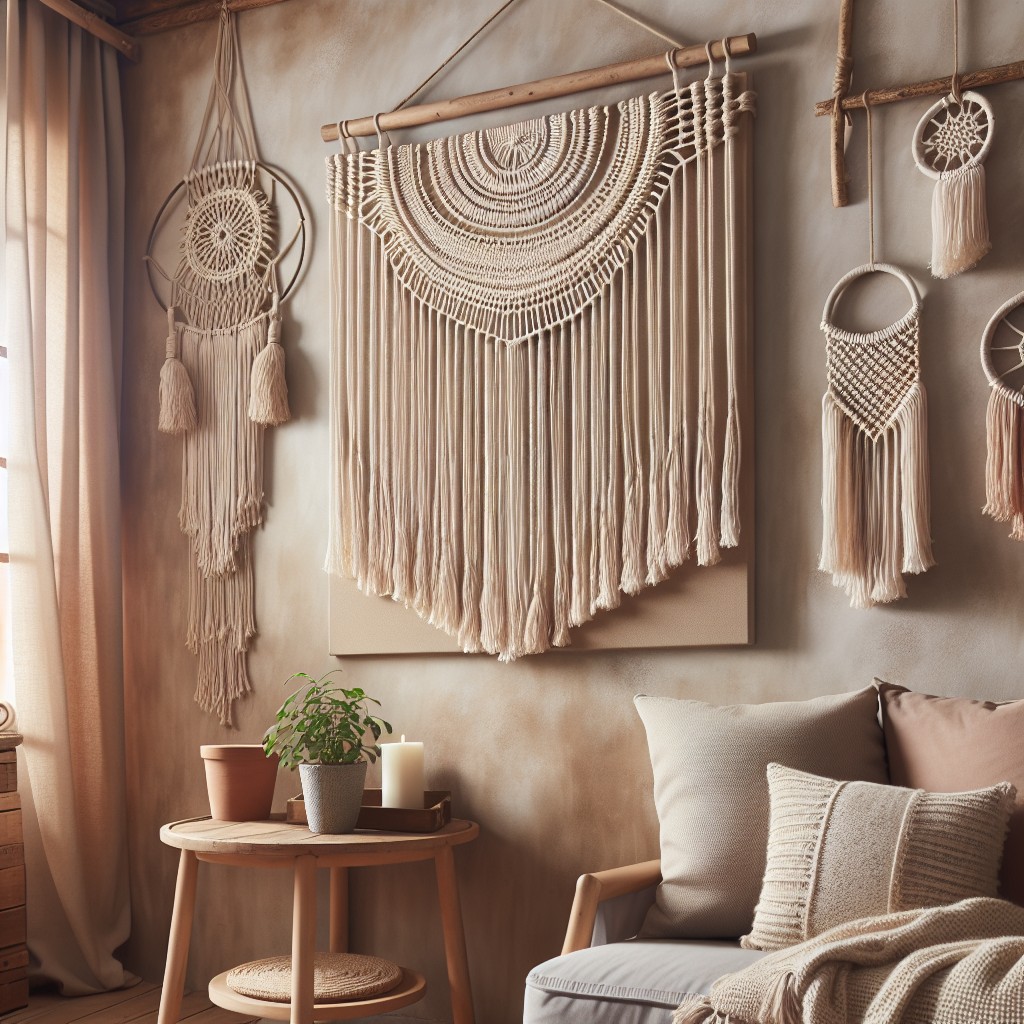
Originating from the 13th-century Arabic weavers, macramé has persistently retained its charm. These delicate knots and loops when woven together give life to extraordinary patterns, making it ideal for wall hangings.
Getting started with macramé wall hangings requires four basic elements: a wooden dowel or branch, macramé cord, scissors, and a measuring tape. A simple series of square knots can fabricate stunning designs.
1. Start by cutting the cord into multiple pieces of the same length. Double the length to account for the knotting process.
2. Attach the cords to the dowel using a simple lark’s head knot. Slide the fold of your cord under the dowel, then feed the ends over the dowel and through the loop.
3. Stick to repeating a knot of your choice to create a pattern. You can start with a simple square knot or spiral knot.
4. Maintain a balance between tight and loose knots to preserve the shape of the design.
5. Rotate between different knots to bring variation in the patterns.
With practice and patience, you’ll be able to construct complex macramé wall hangings that reign as rustic yet contemporary pieces of art!
Personalized Hand-painted Mugs
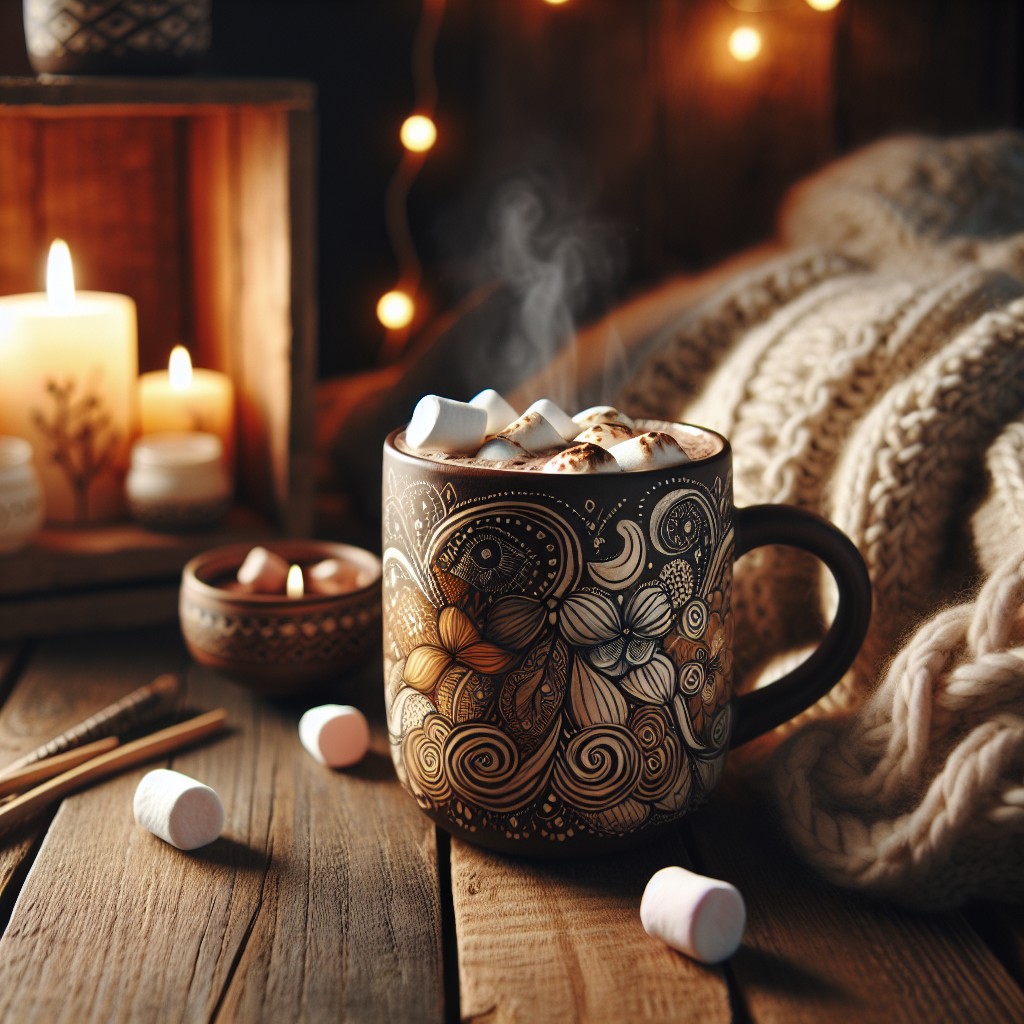
Creating your own custom dinette set can be as simple as getting artistic with a plain white mug. Acrylic paint provides enough flexibility for detailed designs and vibrant colors. Here are few tips to get you started:
- Use a pencil to sketch your design. From chic floral patterns to your favorite quote, anything goes.
- Colors work magic. Play around with contrasting shades for a bold statement or stick with a monochrome palette for a minimalist look.
- Allow drying time between each coat of paint for best results. Patience will reward you with a refined finish.
- Always seal your art. You’ll find a range of sealants in art stores which are safe for tableware.
- Wash carefully. These will not be dishwasher safe, so treat them with care.
This creative process not only gives you unique kitchenware but also a sense of accomplishment every time you sip your coffee. It truly turns your morning cuppa into an expression of personal style.
Cozy Woolen Scarf
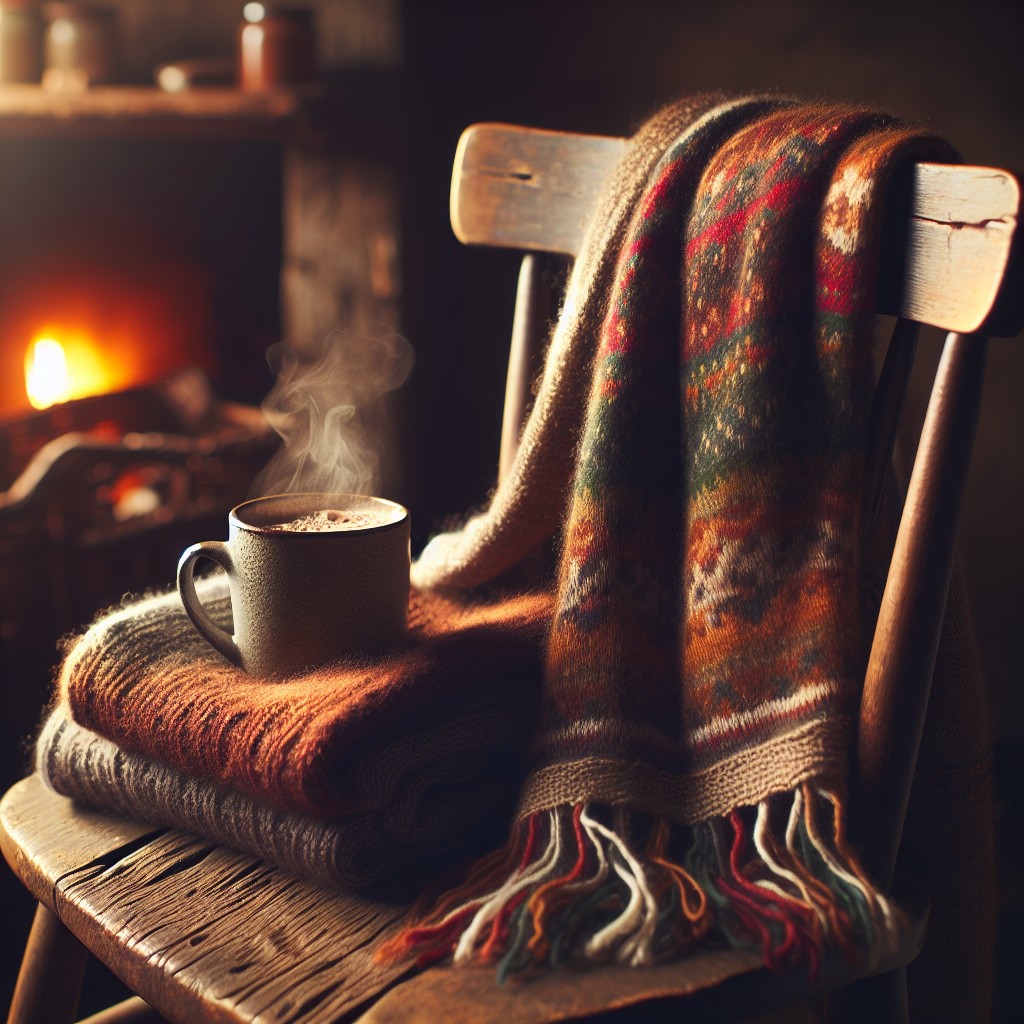
Once you’ve selected your preferred yarn, start by choosing a simple scarf pattern. If you are a beginner, a garter stitch (knitting every row) could be an ideal choice as it is relatively straightforward yet elegant.
Having decided on the pattern, you will want to consider the desired length and width of your scarf. A standard scarf is usually at least 60 inches long and 6 inches wide, but feel free to adjust this to your preference.
Now, let’s talk about the knitting process. Knot the end of the wool, slide this loop onto one knitting needle and weave the other needle in an under-and-over motion, creating new loops. Continue until the end of the row and then switch hands, making sure to always have the original needle in your left hand and the empty needle in your right hand.
Remember to keep an even tension on the yarn for a uniform look. Once you reach your desired length, simply cut the yarn (make sure to leave around 6 inches), thread it through the last loop, and pull tight.
Voila! With these steps, you’re on your way to creating your perfect cozy woolen scarf.
Homemade Preserved Flower Potpourris

Creating this aromatic delight isn’t as challenging as one might think. Begin by collecting a mix of flora, favoring fragrant blooms and hearty leaves. Dry these components gently but thoroughly.
Some prefer air drying – aesthetically pleasing and simple, though it requires several weeks. If you’re short on patience, consider oven drying, a quicker, albeit more delicate process.
Once bone-dry, combine your plant material with a fixative, a substance preserving the scent for longer. Orris root is a common choice. Well-dried citrus peel complements most flower scents and lends a punch of color to your mix. Add essential oils if desired but go light; subtlety is key here.
Finally, let your mixture cure in an airtight container for several weeks. Handle it sparingly during this time to allow the flowers and essential oils to blend well. Display your potpourri in decorative bowls or sew it into sachets for a subtle fragrance boost in smaller spaces like drawers or cars.
Organic Kitchen Garden Starter Kit
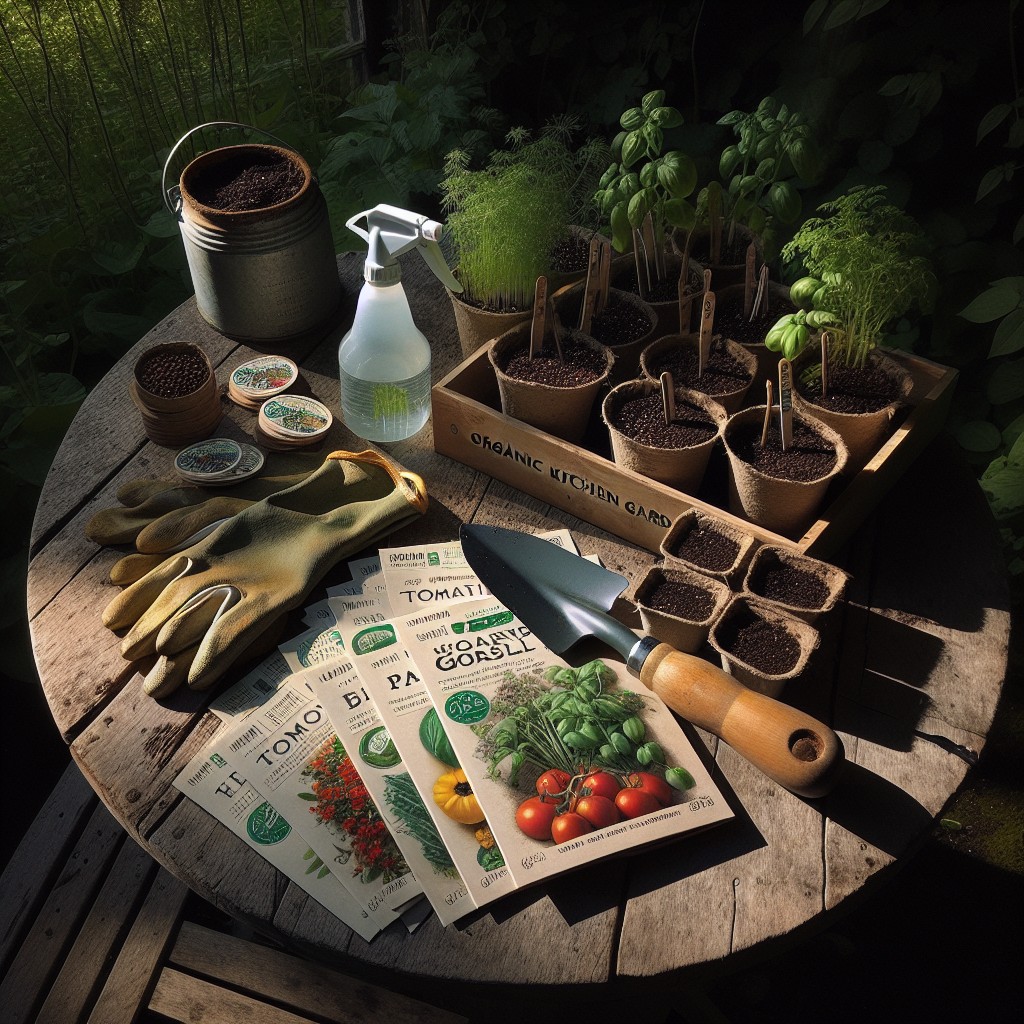
Embracing the concept of home gardening doesn’t have to be complex. An Organic Kitchen Garden Starter Kit simplifies every step of the process. Consisting of eco-friendly pots, organic seeds, soil mix, and a detailed planting guide, these kits are a great fit for both beginners and green-thumbed enthusiasts.
Here are some features to understand this concept better:
- Organic Seeds: The kit includes a variety of organic, non-GMO seeds such as basil, parsley, thyme, and tomatoes. These herbs and vegetables impart fresh flavors to your home-cooked meals.
- Eco-Friendly Pots: The pots provided in the kits are composed of bio-degradable or reusable materials. Following sustainable practices, they contribute to the world’s effort to reduce plastic waste.
- Comprehensive Planting Guide: Each kit comes with a clear and step-by-step guide, which simplifies gardening for newbies and enhances the performance of experienced gardeners.
- Organic Soil Mix: To ensure healthy and quick growth of the plants, the kit contains a soil mix rich in essential nutrients. This particular component ensures your plants will flourish.
Through the use of these kits, turning your kitchen space into a mini-greenhouse becomes an achievable reality, filled with visual appeal and practical benefits.
DIY Crochet Pillow Case Kit

Engaging in crocheting your own pillowcases can be incredibly rewarding. Not only does it provide a relaxing pastime, but it also allows you to add a slice of your own personality into your decor.
The kit should ideally have a crochet hook, various shades of yarn, and an easy-to-follow guide.
First, choose a pattern that suits your skill level. Beginners might opt for simple designs, while more advanced crafters can select intricate patterns.
If you’re new to crochet, picking up a beginner’s guide could be beneficial.
Selecting the right yarn is next. For a soft, comfortable feel, consider cotton or velvet yarn. Keep in mind that using yarn of different textures can uniquely bring out the pattern.
Finally, take your time. Crocheting should be an enjoyable activity, not a race. With patience and practice, you’ll soon have a beautiful, tailor-made accessory to accent your home.
Reclaimed Wood Picture Frames

Reaping the benefits of nature’s beauty and sustainability, these pieces hold a history of their own, each bearing distinct markings and unique characteristics. More than just embodying the concept of recycling, these frames enhance a room with warm, comforting visuals.
Here’s how to best utilize them:
- Match with Room’s Theme: A weathered frame can complement a rustic or industrial theme perfectly. Conversely, it can also add a touch of character to a sleek, modern room.
- Accentuate Artwork: Neutral tones of reclaimed wood can help artwork stand out, making it the focal point of your space.
- Group Together: Different sizes and finishes can be grouped together to create an eclectic and personalized gallery effect.
- Room Dividers: Larger frames can act as stunning statement pieces or even unique room dividers.
Remember, while these frames bring a sense of history, their impact on the overall decor largely depends on your creativity and how seamlessly they are integrated with other elements in your interior design.
Hand-crafted Wind Chimes
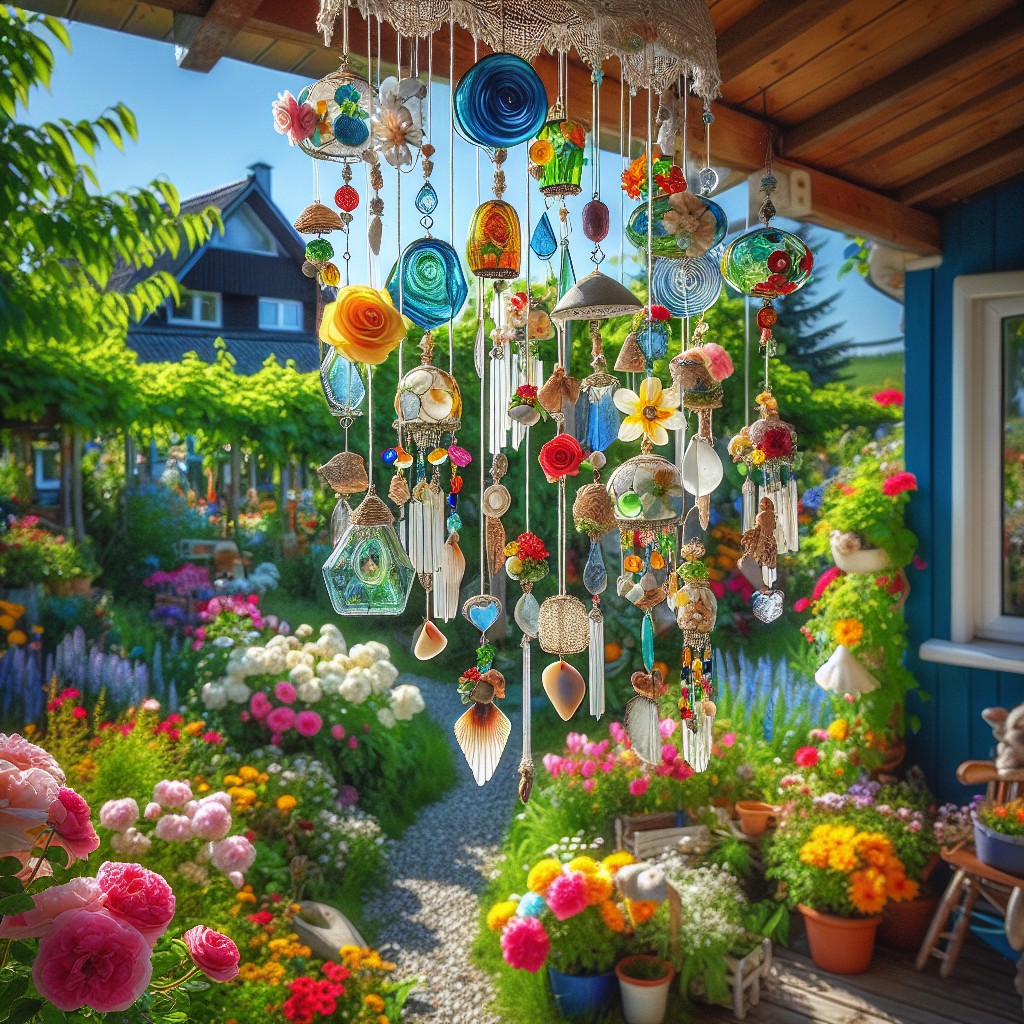
Creating your own wind chimes instantly brings a personalized touch to any outdoor space. The concept is surprisingly simple and versatile. You can source materials at a whim, from driftwood to seashells, attaching them to different lengths of sturdy twine to get diverse sound effects.
Here is a basic guide:
- 1. Select your Material: The sound of your chime will be determined by what you choose. Metal tubes create melodic sounds, while seashells or glass pieces give delicate tingling.
- 2. Length Varies, and So Does Sound: Adjust the length of the objects to get different pitches. The longer pieces create deeper tones while shorter ones produce higher pitches.
- 3. Space Them Out: To allow the objects to knock against each other in the wind, place them at different heights or distances apart.
- 4. Secure Them Well: Attach each chime securely to a base – be it a ring, piece of driftwood or bamboo, using durable fishing line or twine.
- 5. Check the Balance: The balance of the wind chime needs to be right so it can easily move in the breeze. Make sure the weight is evenly distributed across the length of the string.
Remember, the beauty of a homemade wind chime lies in its imperfections and the unique sound it produces. Your personal touches are what make it special. Happy crafting!
Homemade Wellness Herbal Bath Salts
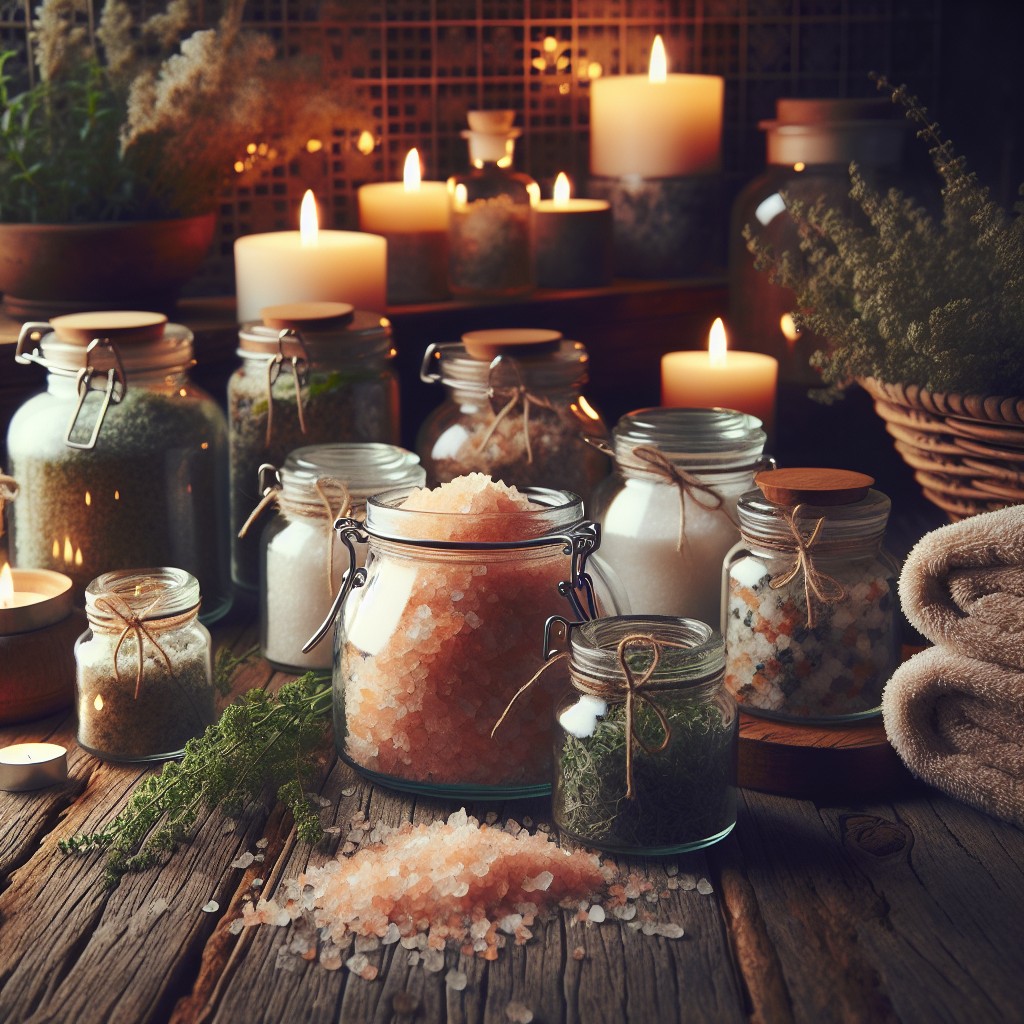
Creating your own wellness herbal bath salts is a delightful way to indulge in a luxurious bath experience. Simply combine Epsom salts, which can soothe aching muscles, with your choice of aromatics, such as dried lavender or rose petals. Consider adding a few drops of beneficial essential oils. Eucalyptus could invigorate and uplift, while chamomile may calm and soothe.
Dissolve 1-2 cups of your homemade bath salts into warm bathwater for a therapeutic soak that not only instills calm but could also potentially benefit skin health and wellbeing. If stored in an airtight container, your bath salts could retain their potency for months to come. And remember, presentation matters; a beautiful jar tied with a ribbon could turn your homemade bath salts into an attractive gift. Experiment with your ingredients and enjoy this ritual of self-care!
Dehydrated Fruit and Nut Basket

Dehydrating fruits and nuts not only extends their shelf life but also keeps their nutritional value intact. Preparing a basket of them can be both a fun and rewarding project. Here are a few steps to guide you through it:
1. Choose: Select a variety of fruits and nuts. For fruits, apples, bananas, pineapples, and berries are great choices. Almonds, walnuts, and cashews can be your go-to nuts.
2. Dehydrate: Slice the fruits thinly and sprinkle lemon juice to retain color. Spread the fruit slices and nuts on dehydrating trays, making sure they don’t overlap.
3. Time: Set the dehydrator at 135°F for fruits and 115°F for nuts. It may take up to 12 hours for the fruits and 7 hours for the nuts.
4. Store: Once completely cool, store in airtight bags.
5. Present: Layer the assorted treats in a beautiful basket, mixing colors and textures.
Remember, experimenting with different combinations can make each basket unique and exciting. Enjoy your healthy and delightful treat!
Organic Cotton Reusable Grocery Bags
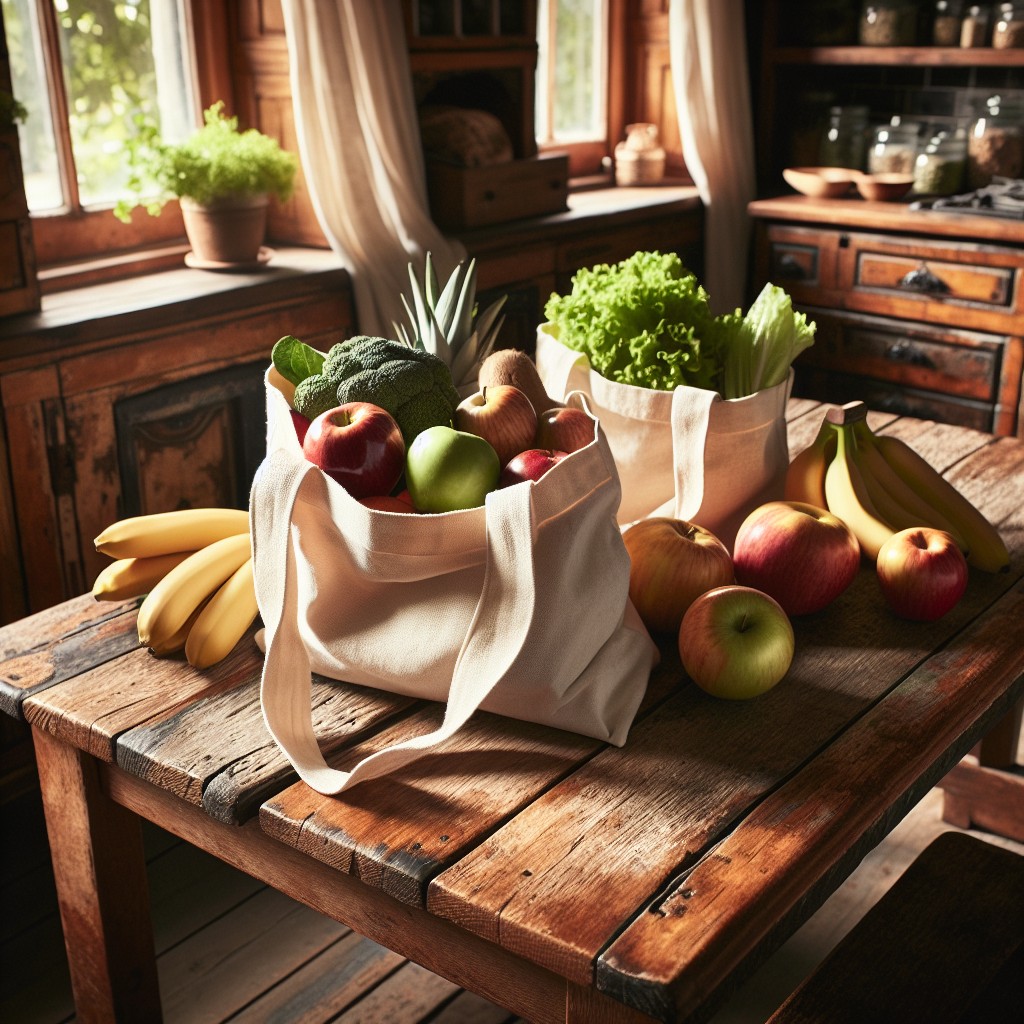
Switching to organic cotton reusable grocery bags can enhance both your shopping experience and environmental impact. These bags bring a touch of homespun charm to your daily routine while reducing the usage of single-use plastics.
1. Eco-friendly Design: Made from organic cotton, these bags are biodegradable and renewable. They reduce waste and carbon footprint.
2. Durability: Double-stitched seams can endure heavy loads. Forget about ripped plastic bags and fallen groceries.
3. Versatility: Not only for grocery shopping – use them for beach trips, picnics, or to store toys and craft supplies.
4. Health Benefits: Organic cotton is free from toxic chemicals that can leach into your food.
5. Stylish Appeal: Available in various designs and colors, they can reflect your personal style. Customize with patchwork, embroidery, or beads for added charm.
Thus, opting for organic cotton reusable grocery bags is a stylish and eco-friendly way to create cozy and comforting home vibes.
Handmade Recycled Paper Notebooks
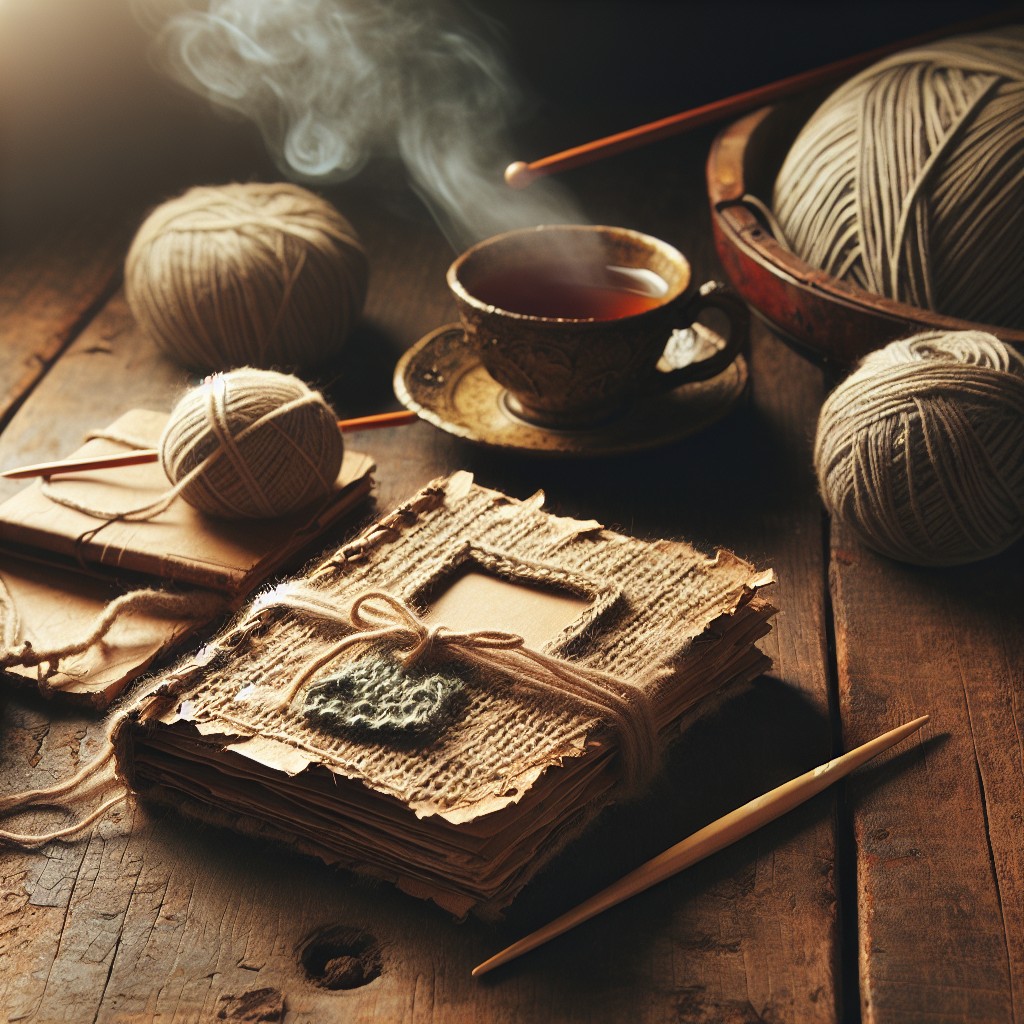
Using recycled paper to create handmade notebooks is an environmentally friendly and creative endeavor. These unique pieces carry personal style while reducing waste, offering a touch of character to your everyday notes or sketches. Plus, you get the satisfaction of creating personalized stationery!
Let’s spill the details:
1. Materials: Recycled paper, a cutting tool, thread, needle, and cardboard are all you need.
2. Process: Cut the paper into preferred sizes, then fold and stack to make the inner pages. Next, prepare a hardcover using the cardboard, attaching the pages through simple stitches.
3. Personal Touch: Decorate the cover in your style, using paints or sticking pictures or patterns to inject personality into your notebook.
4. Eco-Friendly: Beyond the satisfying creative process, these notebooks are a practical commitment to sustainability.
Remember, a handmade recycled paper notebook is more than just a stationery item, it’s a statement of your creativity and dedication to the environment.
Ideas Elsewhere
- https://homespun-comforts.com/
- https://homespuncomforts.com/
- https://wallpanelideas.com/homespun-comfort/
- https://www.calicoandtwine.com/blog/homespun-decorations
- https://www.angi.com/companylist/us/co/pagosa-springs/homespun-comforts-llc-reviews-7371208.htm
Read More
 15 Kitchen Garden Ideas for a Fresh and Fun Home Cooking Experience
 Kitchen Table Poly: Understanding Non-Hierarchical Relationships
 What Color Paint Goes with Brown Granite: Matching Tips for Your Home Décor
 Watch Cutthroat Kitchen Online Free: A Basic Guide to Free Streaming Platforms
 8×12 Prints Size: Understanding and Utilizing in Interior Design