Last updated on
Discover the essential steps to effectively repair steam-damaged kitchen cabinets and restore their pristine condition in no time.
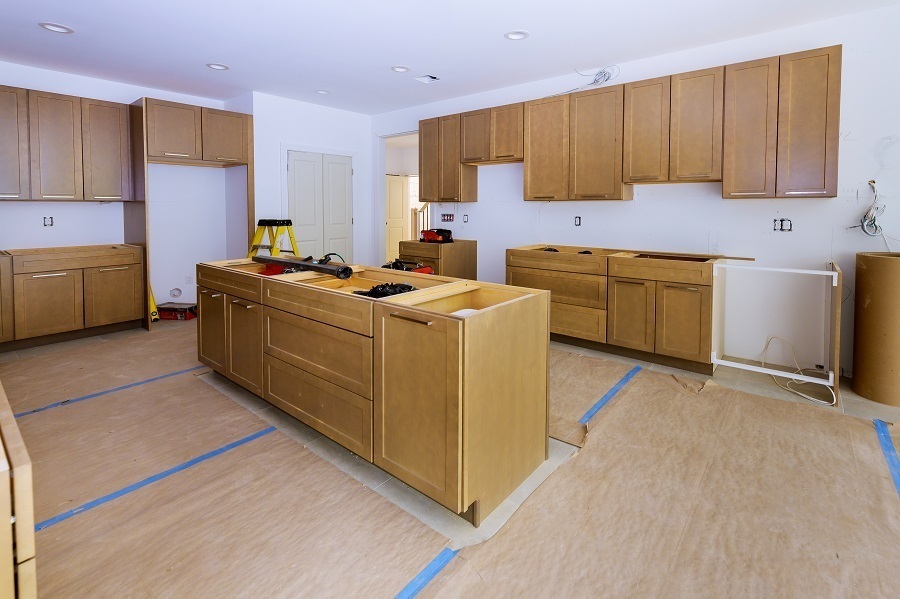
Have you ever experienced steam damage on your kitchen cabinets? It’s a common problem that many homeowners face, especially those who love to cook. Steam from cooking can cause your cabinets to warp, discolor, or even peel over time.
But don’t worry! There are ways to fix steam damage and restore the beauty of your kitchen cabinets. In this article, we’ll share some tips and tricks on how to fix steam damage on your kitchen cabinets and bring them back to their former glory.
So let’s dive in!
Key takeaways:
- Identify signs of steam damage: warping, discoloration, peeling.
- Assess the extent of the damage to determine repair or replacement.
- Gather necessary tools and materials: sandpaper, wood putty, paintbrushes, primer/paint/stain/sealer.
- Remove cabinet hardware and doors/drawers for easy access.
- Clean and dry the affected area before sanding and repairing.
What's Inside
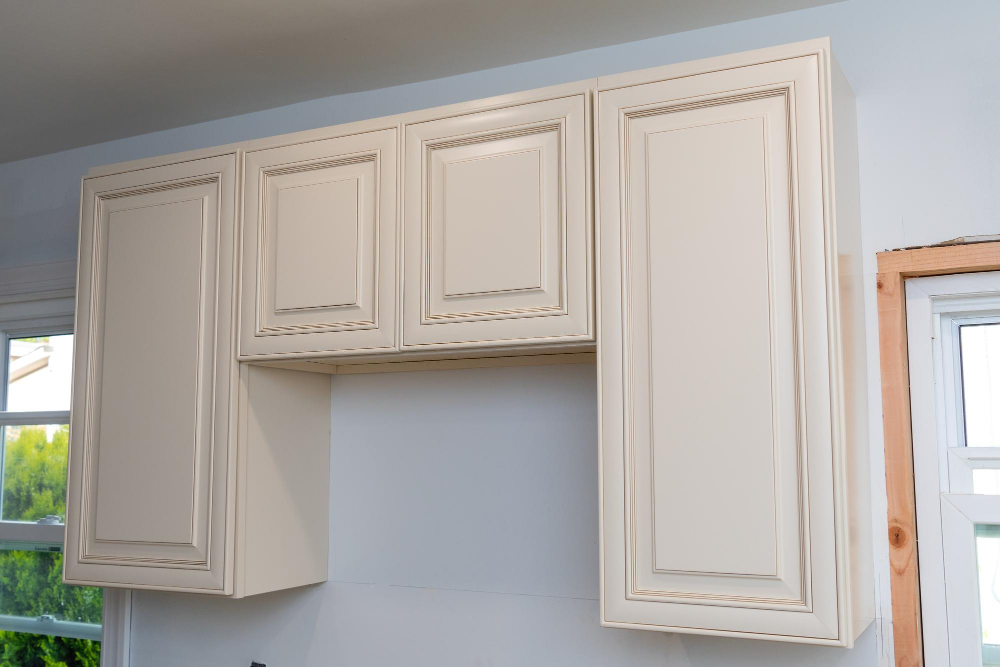
Identifying Steam Damage
The first step in fixing steam-damaged kitchen cabinets is to identify the damage. Steam damage can manifest in different ways, such as warping, discoloration, or peeling of the cabinet’s finish.
You may also notice a musty smell coming from your cabinets due to moisture buildup.
To determine if your kitchen cabinets have been affected by steam damage, inspect them closely for any signs of discoloration or warping. Check for cracks and gaps on the surface that could indicate water has seeped through.
If you’re unsure whether your cabinets have sustained steam damage or not, try wiping them down with a dry cloth and see if there are any visible stains left behind. If there are stains present after cleaning with a dry cloth only then it’s likely that they’ve been damaged by steam.
Assessing the Extent of Damage
This will help you determine whether you need to repair or replace your cabinets. Start by examining each cabinet carefully and looking for signs of warping, discoloration, peeling or cracking.
If only a small area has been affected by steam damage, then repairing it may be an easy task that can be done at home with some basic tools and materials. However, if there is extensive damage throughout multiple areas of your cabinetry or if it has caused structural issues such as swelling in wood fibers causing doors not to close properly anymore – replacement might be necessary.
Assessing the extent of steam-damage helps homeowners make informed decisions about how best they can restore their kitchen’s beauty without breaking their budget. It also ensures that any repairs made are effective in restoring functionality while maintaining aesthetic appeal over time.
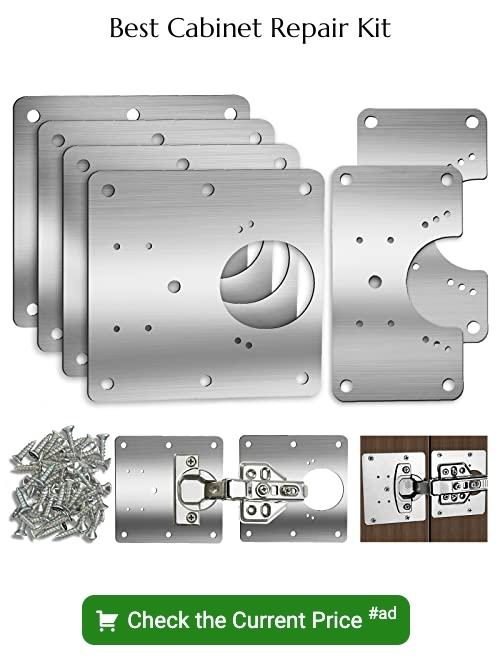
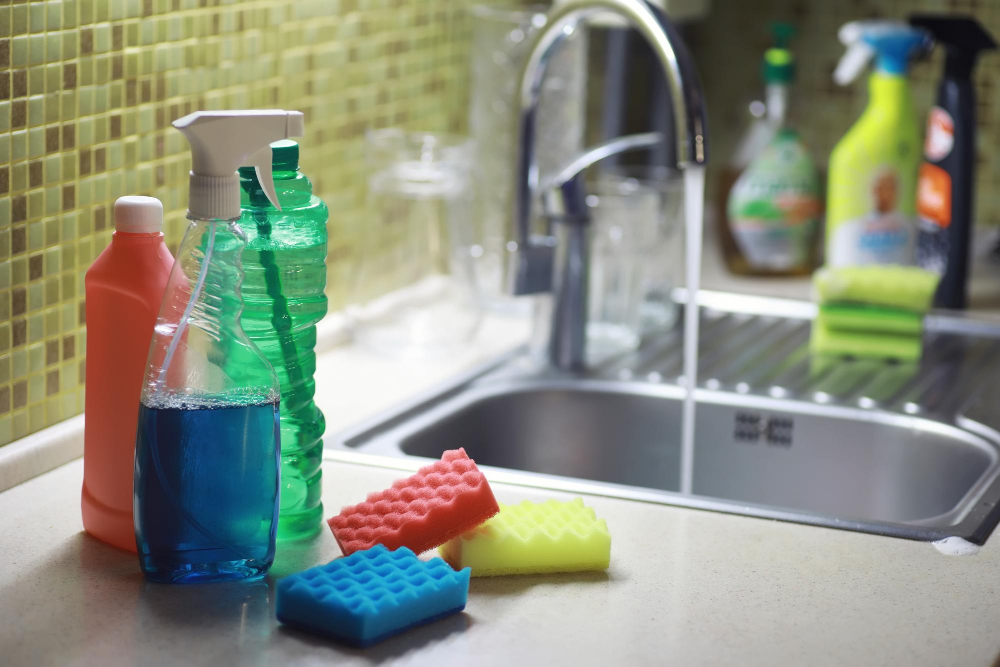
Repair Tools and Materials
Here are some of the essential items you’ll need:.
1. Sandpaper – You’ll need sandpaper with different grits (coarse, medium, fine) to remove damaged layers of wood and smooth out surfaces.
2. Wood putty – This material is used to fill gaps or cracks in damaged areas before painting or staining.
3. Paintbrushes/rollers – Depending on your preferred finish type (paint or stain), you will need brushes and/or rollers suitable for that application.
4. Primer/paint/stain/sealer- Choose a primer that’s compatible with both wood putty and paint/stain/sealer; this ensures proper adhesion between layers while also protecting against future steam damage.
5. Screwdriver/drill- These tools are needed when removing cabinet doors/drawers/hardware from their hinges/screws so they can be repaired separately without damaging other parts of the cabinet structure.
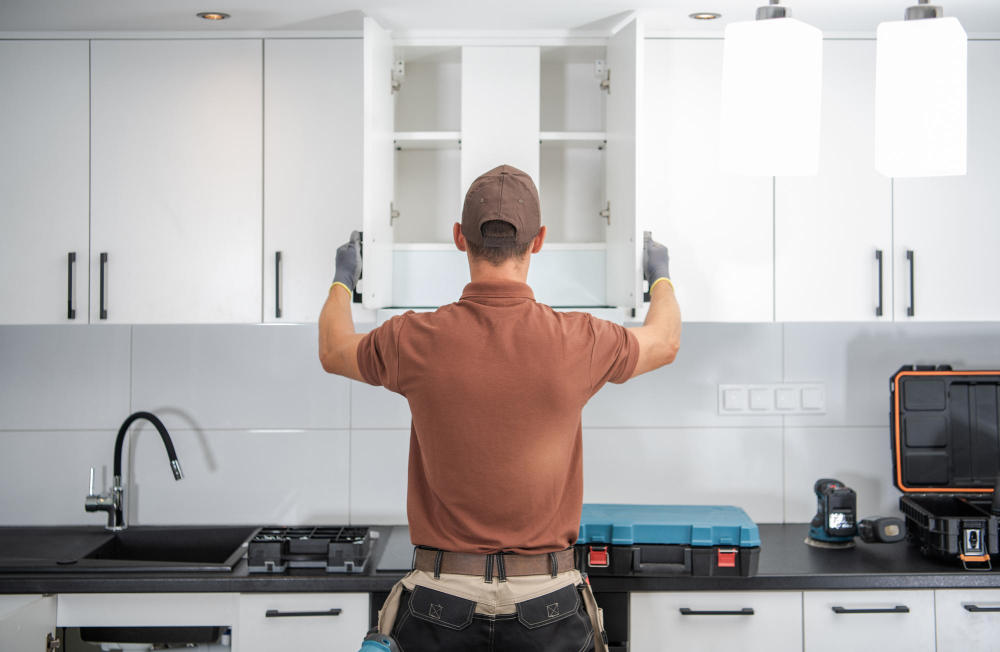
Detach Cabinet Hardware
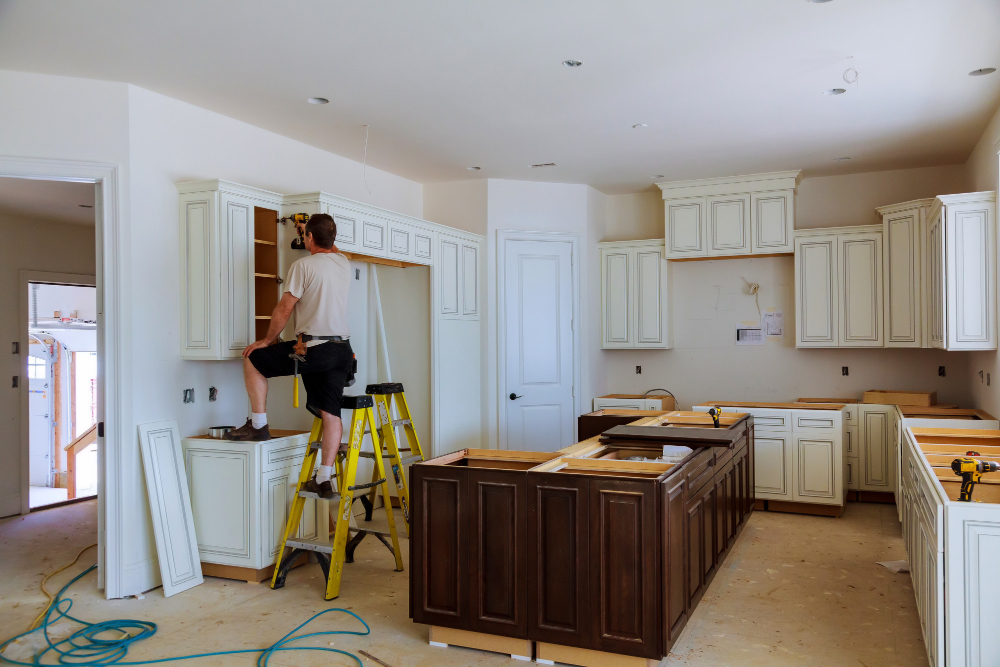
This includes handles, knobs, hinges, and any other fixtures that are attached to the cabinet doors or drawers. Removing these items will make it easier for you to work on your cabinets without damaging them further.
To remove the hardware from your cabinets, use a screwdriver or drill with an appropriate bit size. Place all screws and small parts in a container so they don’t get lost during repairs.
If you’re having trouble removing stubborn screws or hinges due to rust or corrosion caused by steam damage over time, try using penetrating oil such as WD-40 before attempting removal again.
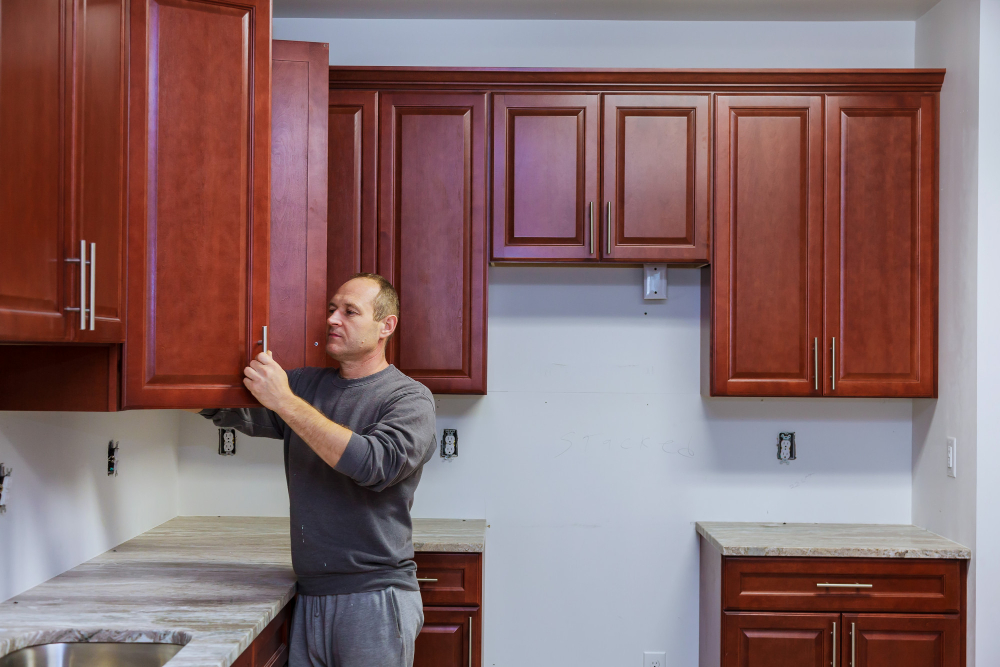
Remove Cabinet Doors and Drawers
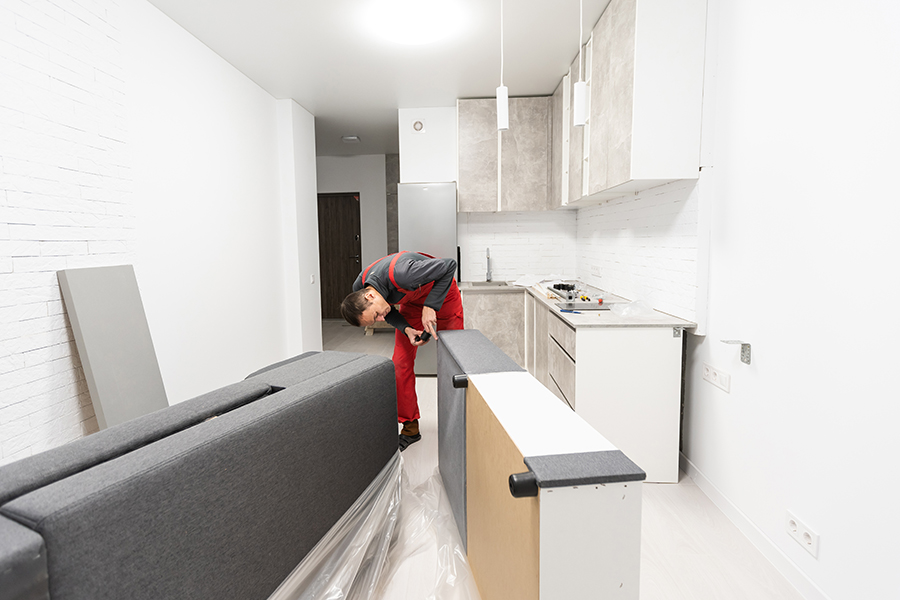
This step is crucial as it allows you to work more efficiently and access all areas that need repair.
To remove cabinet doors, start by unscrewing the hinges from both sides of each door. If there are any decorative elements or handles attached to them, take those off too.
For drawers, pull them out completely and detach any hardware or slides that may be holding them in place.
Make sure to label each piece with a marker so that you know where they belong when it’s time for reinstallation. Keep screws and other small parts in labeled bags so they don’t get lost during repairs.
Removing cabinet doors and drawers can be a bit tricky if you’re not familiar with how they were installed initially. Don’t hesitate to seek help from someone who has experience handling cabinetry if needed.
Clean and Dry Affected Area
This step is crucial as it ensures that there is no moisture left in the damaged areas before proceeding with repairs.
Start by wiping down any excess moisture from the surface of your cabinets using a clean cloth or paper towel. Next, use a hairdryer or fan to blow air onto the affected area for several minutes until completely dry.
If there are any water stains present on your cabinet surfaces, mix equal parts vinegar and water in a spray bottle and apply this solution directly onto them. Allow it to sit for 5-10 minutes before wiping away with another clean cloth.
Remember that leaving even small amounts of moisture can lead to further damage over time, so take extra care during this step.
Sand Damaged Surfaces

One of the first steps in fixing steam-damaged cabinets is sanding down any damaged surfaces. Sanding helps remove any rough or uneven areas on your cabinet doors and drawers, making them smooth again.
To get started with sanding, you’ll need a few tools such as an electric sander or sandpaper (medium grit). Begin by removing all hardware from the affected area before starting to avoid damaging them during this process.
Next, use medium-grit sandpaper to gently rub over each damaged surface until it becomes smooth again. Be sure not to apply too much pressure while doing so; otherwise, you may end up causing more damage than good.
Fill Gaps and Cracks
This step is crucial in ensuring a smooth and even surface for painting or staining. You can use wood filler or putty to fill these gaps.
To begin, apply the wood filler with a putty knife into any holes, dents, or scratches on your cabinets. Make sure you overfill slightly so that when it dries and shrinks back down to size there will still be enough material left behind.
Allow the filler to dry completely before sanding again with fine-grit sandpaper until smooth. Repeat this process as necessary until all gaps are filled evenly across your cabinet surfaces.
Apply Wood Putty
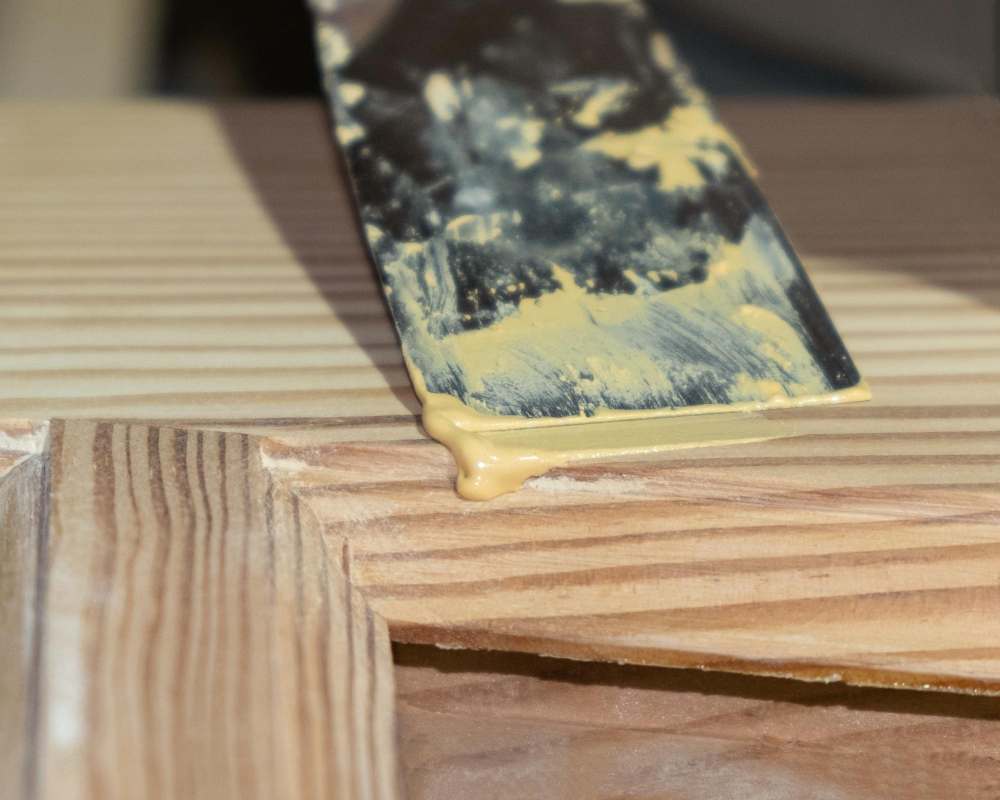
Wood putty is a versatile material that can fill gaps and cracks in your cabinets caused by steam damage. It’s essential to choose a high-quality wood filler that matches the color of your cabinets for best results.
To apply wood putty, use a plastic knife or spatula and scoop out some of the filler from its container. Apply it generously over any holes or cracks on your cabinet surface until they are completely filled up with no air pockets left behind.
After applying the wood putty, let it dry according to manufacturer instructions before sanding again with fine-grit sandpaper until smooth and level with surrounding areas.
Let the Putty Dry
The drying time will depend on the type of putty used and the extent of damage. Typically, most wood putties take around 30 minutes to an hour to dry completely.
It’s essential not to rush this step as applying paint or stain before the putty is fully dried can ruin your cabinets’ appearance. Once you’re sure that all areas are thoroughly covered with a layer of wood filler, leave them undisturbed for at least 24 hours.
After letting it dry for a day or two, use fine-grit sandpaper again over any rough spots until they become smooth and even with surrounding surfaces. This process ensures that there are no bumps or unevenness in your cabinet surface when painting or staining them later on.
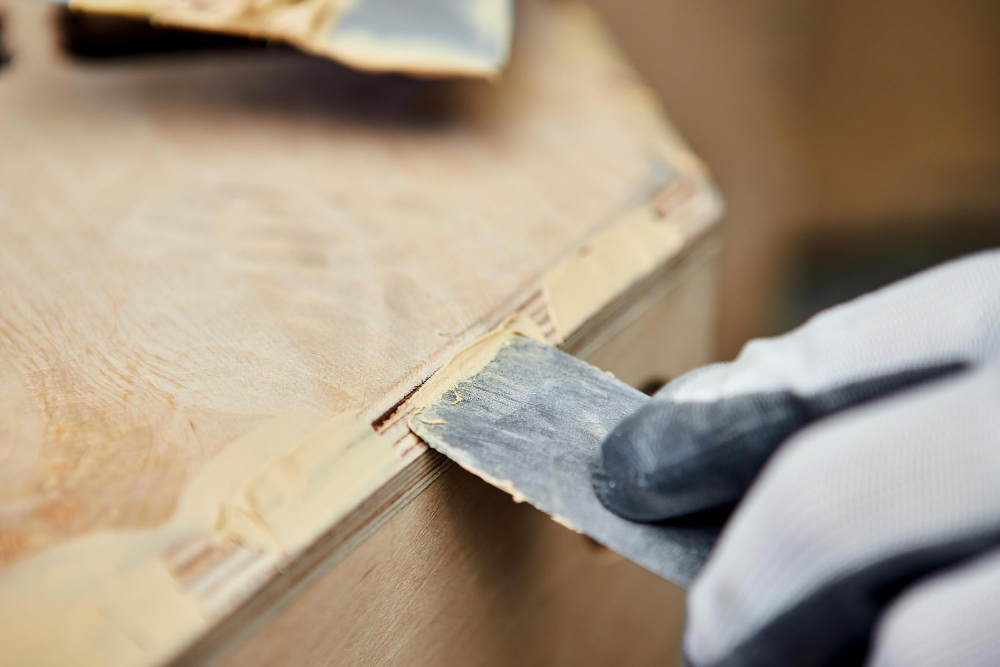
Sand and Smooth Putty
Use a fine-grit sandpaper to gently sand down any excess putty until it is flush with the surrounding cabinet surface. Be careful not to over-sand or damage the surrounding area.
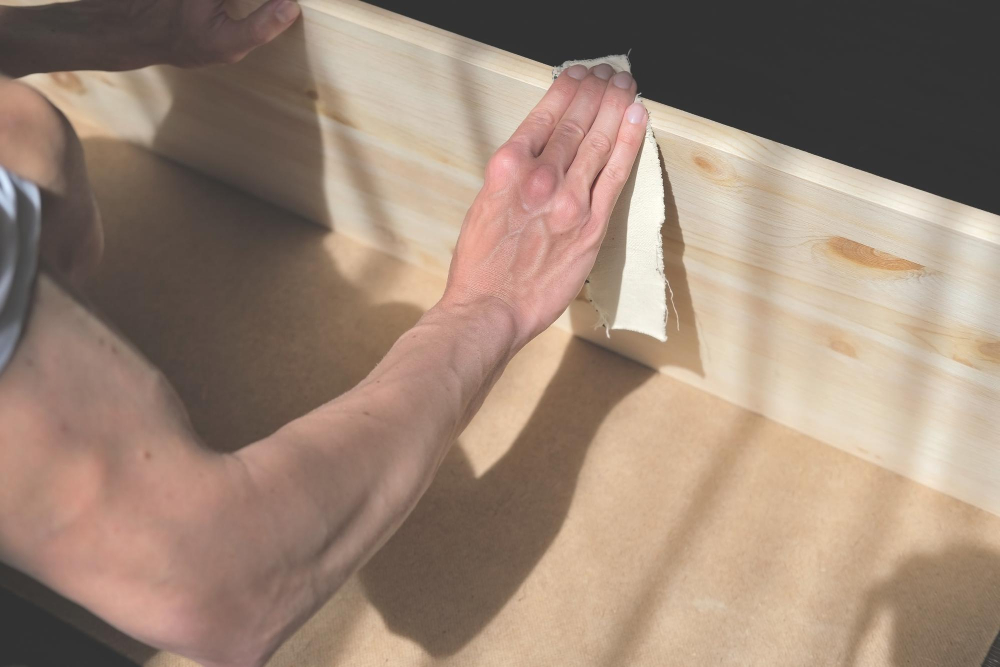
After you’ve sanded down all of your repairs, use a tack cloth or damp rag to remove any dust or debris from your cabinets before moving on.
Sanding and smoothing out your repairs will ensure that they blend seamlessly into the rest of your kitchen cabinets. This step may take some patience and attention to detail but is crucial for achieving professional-looking results.
Apply Primer
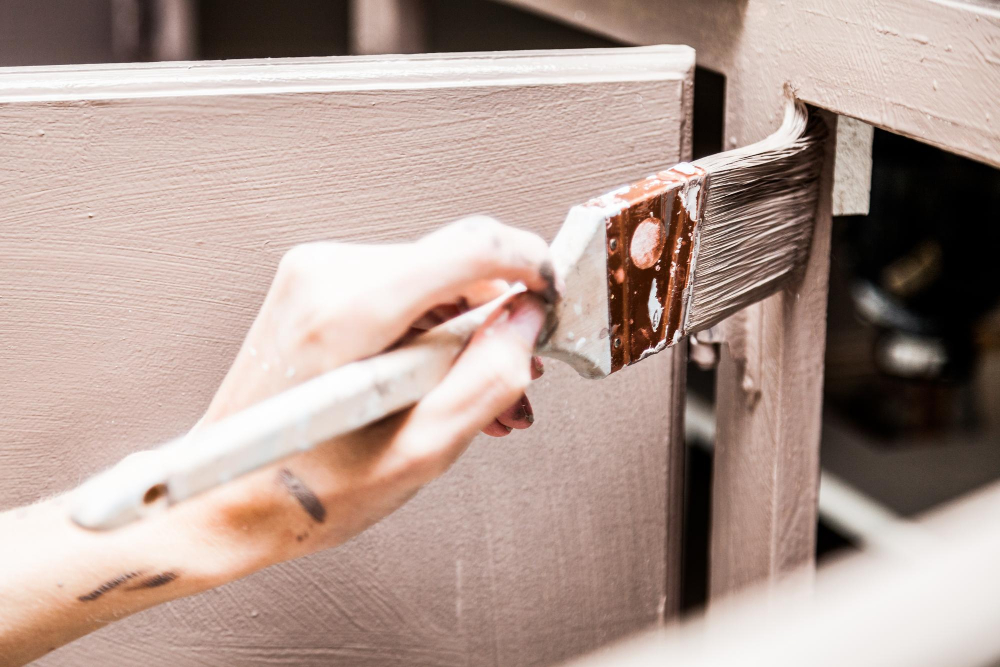
Primer is essential for creating a smooth surface that will hold paint or stain evenly. It also helps to seal any remaining gaps or cracks in the wood.
When choosing a primer, look for one that is specifically designed for use on wood surfaces. Apply the primer with a brush or roller, making sure to cover all of the sanded and filled areas thoroughly.
Allow the primer to dry completely before moving on to painting or staining your cabinets. This may take several hours depending on humidity levels and temperature conditions in your kitchen.
Remember that applying too much primer can cause drips and uneven coverage, so be sure not to overload your brush or roller when applying it.
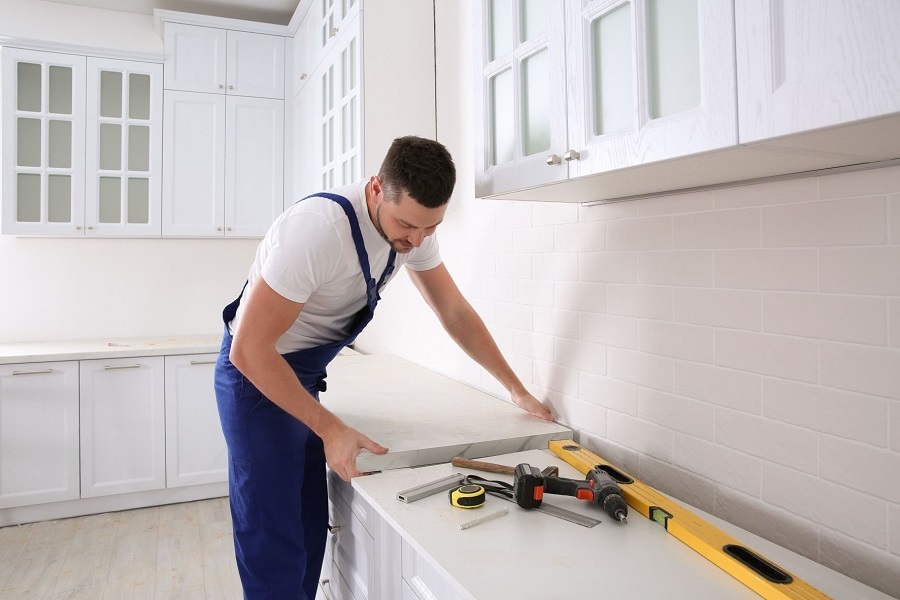
Choose the Right Finish
The finish will not only enhance the appearance of your cabinets but also protect them from future damage. There are several types of finishes available in the market, including paint and stain.
Paint is a popular choice for those who want to give their kitchen a fresh look. It comes in various colors and can be customized according to your preference.
However, keep in mind that painted surfaces tend to show wear and tear more easily than stained ones.
Stain is another option that provides a natural wood look while protecting against moisture and other elements that can cause damage over time. Stains come in different shades ranging from light oak or maple tones all the way up through dark mahogany hues.
Paint or Stain Cabinets
Both options can give your cabinets a fresh new look and protect them from future damage.
Painting is an excellent option if you want to completely change the color of your cabinets or hide any imperfections that couldn’t be fixed during repairs. You can choose from a wide range of colors and finishes, including glossy, matte, or satin.
Staining is ideal if you want to enhance the natural beauty of wood grain while adding protection against moisture and wear. Stains come in various shades ranging from light oak to dark mahogany.
Before deciding between painting or staining, consider factors such as durability, maintenance requirements, cost-effectiveness over time for each option based on usage patterns in your household among others.
Seal and Protect Surfaces
This will help prevent future damage from moisture and humidity. There are several options for sealing and protecting your cabinets, including wax, polyurethane, or a clear coat finish.
Wax is an easy-to-apply option that can provide a natural-looking finish while also protecting against moisture. Simply apply the wax with a clean cloth in circular motions until you achieve the desired level of shine.
Polyurethane is another popular choice for sealing wood surfaces as it provides excellent protection against water damage. It comes in both oil-based and water-based formulas; however, oil-based polyurethane tends to be more durable than its water-based counterpart.
A clear coat finish is also an effective way to protect your cabinets from steam damage as it creates a barrier between the wood surface and any potential sources of moisture or humidity. Be sure to choose one that’s specifically designed for use on kitchen cabinetry.
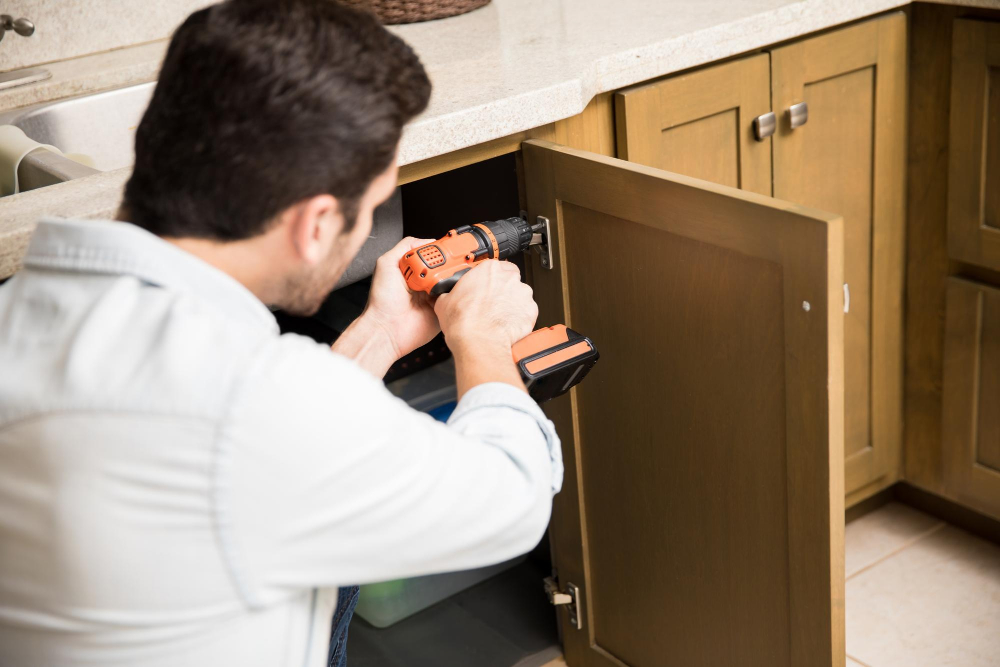
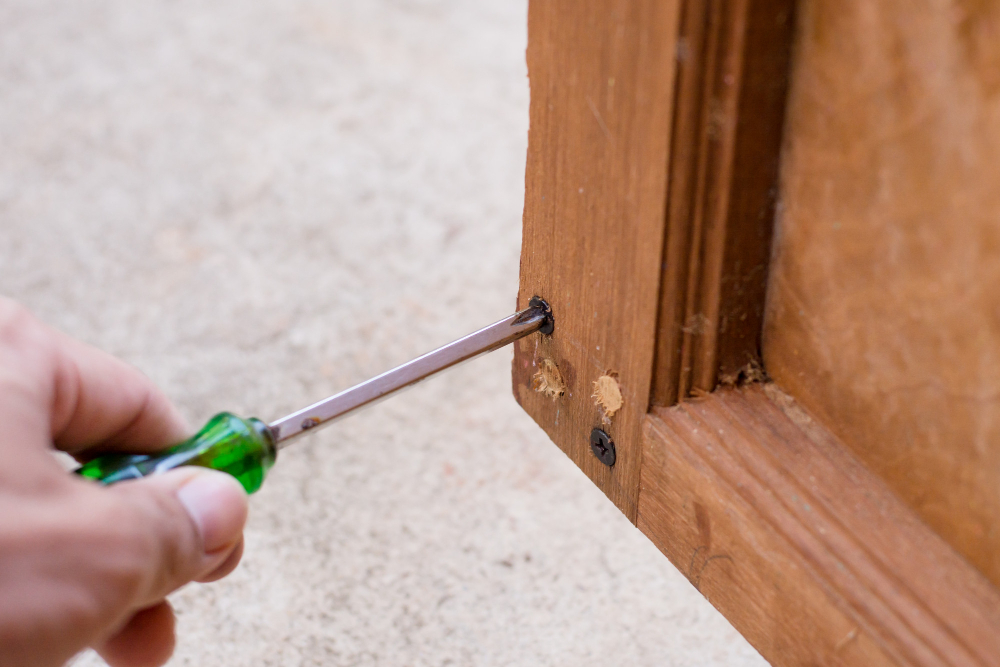
Reattach Cabinet Hardware
This is a crucial step in restoring your kitchen cabinets’ functionality and aesthetic appeal. Begin by placing all the screws and other hardware pieces in a safe place where they won’t get lost.
Next, take each piece of hardware and align it with its corresponding hole on the cabinet door or drawer front. Use a screwdriver to tighten each screw until it’s snug but not too tight that you risk damaging the wood.
If any of your old screws are damaged or missing, replace them with new ones that match their size and style as closely as possible. You can find replacement screws at most home improvement stores.
Double-check all handles and knobs for proper alignment before tightening them completely. Once everything is securely attached, give each handle or knob a gentle tug to ensure they’re firmly in place.
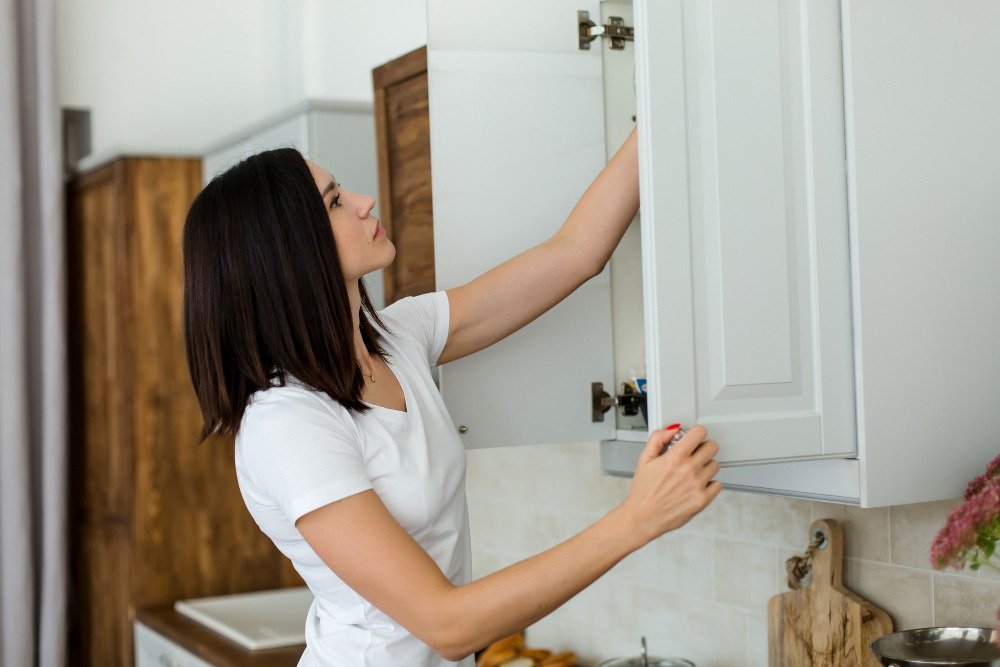
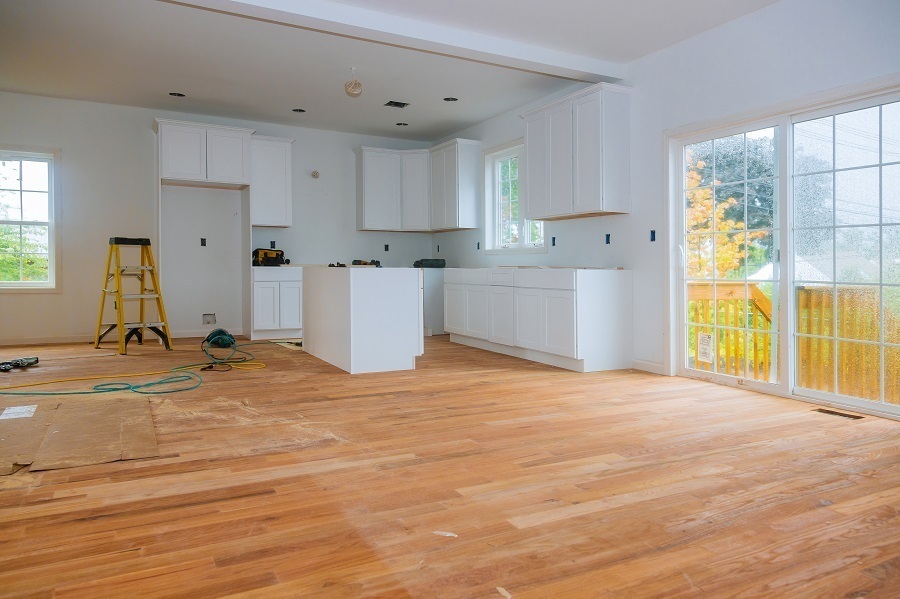
Reinstall the Cabinet Doors and Drawers
Make sure that they are completely dry before reattaching them to avoid any damage.
Start by attaching the hinges back onto the cabinet frame. Then, align each door with its corresponding hinge and screw them in place using a drill or screwdriver.
For drawers, slide them back into their respective slots until they click into place.
Before putting everything back together, double-check that all hardware is securely fastened and aligned properly. This will ensure that your cabinets look great and function smoothly for years to come.
Fixing steam-damaged kitchen cabinets may seem like a daunting task at first but following these steps can help restore their beauty in no time! Remember to act quickly when you notice any signs of steam damage on your kitchen cabinets as this can prevent further harm from occurring.
Maintain Cabinets to Prevent Future Steam Damage

To avoid future damage, it’s essential to maintain your cabinets regularly. Here are some tips:
1. Wipe down your cabinets after cooking: Use a soft cloth or sponge with warm water and mild soap solution to wipe down the cabinet surfaces after cooking.
2. Keep the kitchen well-ventilated: Proper ventilation can help reduce moisture buildup in the air that causes steam damage on your cabinets.
3. Avoid using harsh chemicals: Abrasive cleaners can strip off finishes from wood surfaces, making them more susceptible to steam damage.
4. Fix leaks immediately: Leaks under sinks or around appliances should be fixed as soon as possible since they contribute significantly to moisture buildup in kitchens.
Ventilation Tips for Kitchens
Proper ventilation helps to reduce humidity levels and prevents moisture buildup, which can cause warping, discoloration, and peeling on cabinet surfaces.
To improve ventilation in your kitchen, consider installing a range hood or exhaust fan above the stove. These appliances help to remove excess heat and moisture from cooking activities before they have a chance to settle on nearby surfaces.
You can also open windows or doors during cooking sessions for improved air circulation. If you don’t have access to natural light sources like windows or skylights in your kitchen area, consider adding artificial lighting that mimics natural daylight as it will make space feel more open while reducing humidity levels.
Act Quickly to Address Damage
The longer you wait, the more difficult it will be to repair the damage. Steam can cause wood fibers to swell and warp over time, making repairs more challenging.
As soon as you spot any signs of steam damage on your cabinets such as discoloration or warping, take action immediately. Start by assessing the extent of the damage and determining whether it’s something that can be fixed with a simple DIY solution or if professional help is needed.
In most cases where there is minor steam damage like peeling paint or slight warping in small areas of a cabinet door or drawer front; homeowners can fix these issues themselves using basic tools and materials found at home improvement stores.
However, for severe cases where there are large sections affected by water stains from prolonged exposure; seeking professional help may be necessary. A skilled carpenter will have experience dealing with this type of problem and know how best to restore damaged cabinetry back into its original condition without causing further harm.
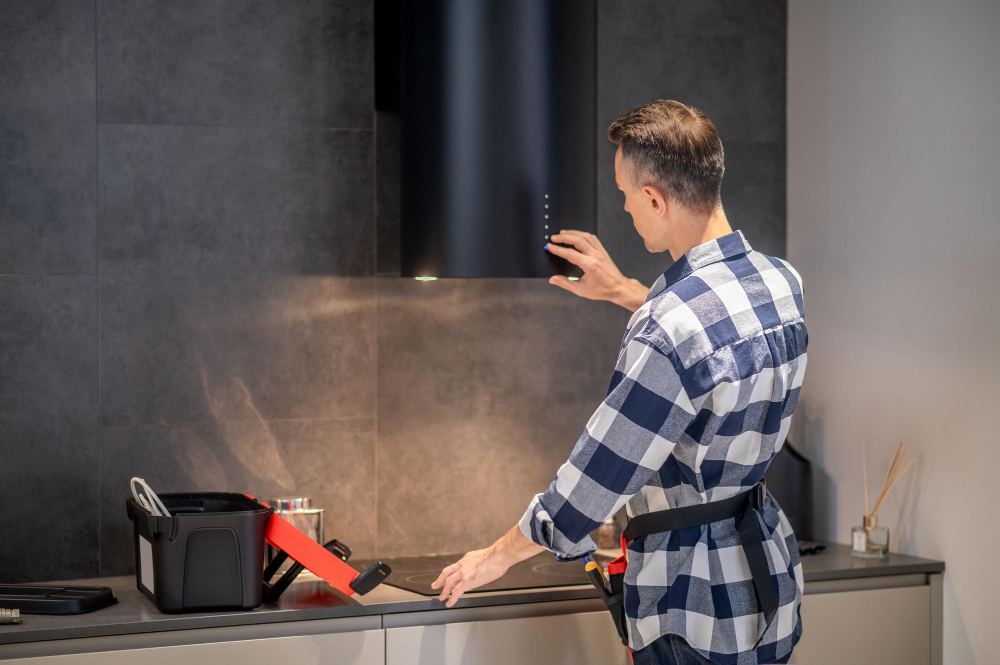
Professional Help for Severe Damage
A professional cabinet repair service can assess the extent of the damage and provide a solution that will restore your cabinets to their original condition.
Professional cabinet repair services have access to specialized tools and materials that are not readily available in hardware stores. They also have years of experience repairing all types of cabinetry, so they know how to handle even the most severe cases of steam damage.
While it may be tempting to try DIY repairs for minor damages, attempting major repairs without proper knowledge or equipment can lead to further problems down the line. So if you’re unsure about how best to fix your damaged kitchen cabinets or if there’s extensive warping or peeling involved, it’s always better safe than sorry by calling in professionals who specialize in this type of work.
Steps to Remove Grease From Cabinets
Grease can accumulate over time and cause discoloration or even damage to the cabinet’s finish. To remove grease from your cabinets, follow these simple steps:
- Mix warm water and dish soap in a bowl.
- Dip a soft cloth into the solution and wring out excess water.
- Gently scrub the affected area with the damp cloth until all visible grease is removed.
- Rinse off any remaining soap residue with clean water.
- Dry thoroughly using another clean cloth.
It’s important to note that harsh chemicals or abrasive materials should not be used when cleaning kitchen cabinets as they can cause further damage to their surface.
Tips and Advice for Cleaning and Repair
Here are some tips and advice for cleaning and repair:.
1. Regular Cleaning: Clean your cabinets regularly with a soft cloth or sponge and mild soap solution.
Avoid using abrasive cleaners that can scratch the surface.
2. Wipe Up Spills Immediately: If you spill something on your cabinet, wipe it up immediately with a damp cloth.
3. Use Cabinet Liners: Consider using cabinet liners to protect the interior of your cabinets from spills or leaks.
4. Keep Cabinets Dry: Ensure that there is proper ventilation in the kitchen area where you cook so that moisture doesn’t accumulate inside the cabinets.
5. Repair Damage Quickly: Address any signs of damage as soon as possible before they worsen over time.
Additional Tips and Advice for Steam Damage Prevention

First, make sure to use your kitchen exhaust fan every time you cook. This will help remove excess moisture and prevent it from settling on your cabinets.
Secondly, consider installing a dehumidifier in your kitchen or home if the humidity levels are high. High humidity can cause wood to warp and swell over time.
Thirdly, avoid placing hot pots or pans directly on top of cabinet surfaces as this can cause heat damage which is equally damaging as steam damage.
Lastly, wipe down any spills immediately with a dry cloth before they have the chance to settle into the wood surface of cabinets causing discoloration or warping over time.
By following these simple steps for prevention along with regular maintenance such as cleaning regularly using mild soap solution will keep your cabinetry looking new for years to come!.
FAQ
How do you get white steam marks off wood cabinets?
To remove white steam marks from wood cabinets, apply a paste of one part toothpaste and two parts baking soda on the mark, let it sit for a minute or two, and wipe it off, repeating as necessary until the mark disappears.
How do you repair water damaged wood cabinets?
Answer: To repair water damaged wood cabinets, apply a paste wax like Brimax or Harrell’s Jecowax Beeswax Blend using a clean cloth, following the product’s directions and wipe the cabinet surface afterwards to clean and shine.
Can you repair water damaged kitchen cabinets?
Answer: Water-damaged kitchen cabinets can be repaired, with limitations for badly damaged MDF and plywood, requiring special drying equipment and techniques.
Can hot steam damage cabinets?
Answer: Yes, hot steam can damage cabinets by causing burning, warping, discoloration, and melting, especially in lesser quality cabinetry.
What are the best methods to prevent steam damage on kitchen cabinets?
To prevent steam damage on kitchen cabinets, use an exhaust fan or a dehumidifier, keep doors and windows open when cooking, and wipe down cabinets regularly.
Are there any specific products recommended for treating steam damaged wood cabinets?
One recommended product for treating steam damaged wood cabinets is a wood cleaner and polish, such as Murphy’s Oil Soap or Howard’s Feed-N-Wax.
How can one effectively restore the original appearance of steam-damaged kitchen cabinets?
To effectively restore the original appearance of steam-damaged kitchen cabinets, gently clean the surfaces with a mixture of mild detergent and warm water, then refinish or reseal as needed.


