Last updated on
Discover the expenses associated with regrouting a kitchen floor and learn how to budget for this essential home improvement project.
Regrouting a kitchen floor may seem like a daunting task, but it’s an essential maintenance step that can extend the life of your flooring. Not only does it keep your kitchen looking fresh and clean, but it also prevents water damage and mold growth.
However, one of the most common questions homeowners ask is how much regrouting their kitchen floor will cost. In this article, we’ll break down the factors that affect the cost of regrouting and give you an estimate so you can plan accordingly.
So let’s dive in!
What's Inside
Understanding Regrouting
Regrouting is the process of removing old, worn-out grout from between tiles and replacing it with new grout. Over time, the grout in your kitchen floor can become discolored or cracked due to wear and tear.
This not only looks unsightly but also makes your flooring more susceptible to water damage and mold growth.
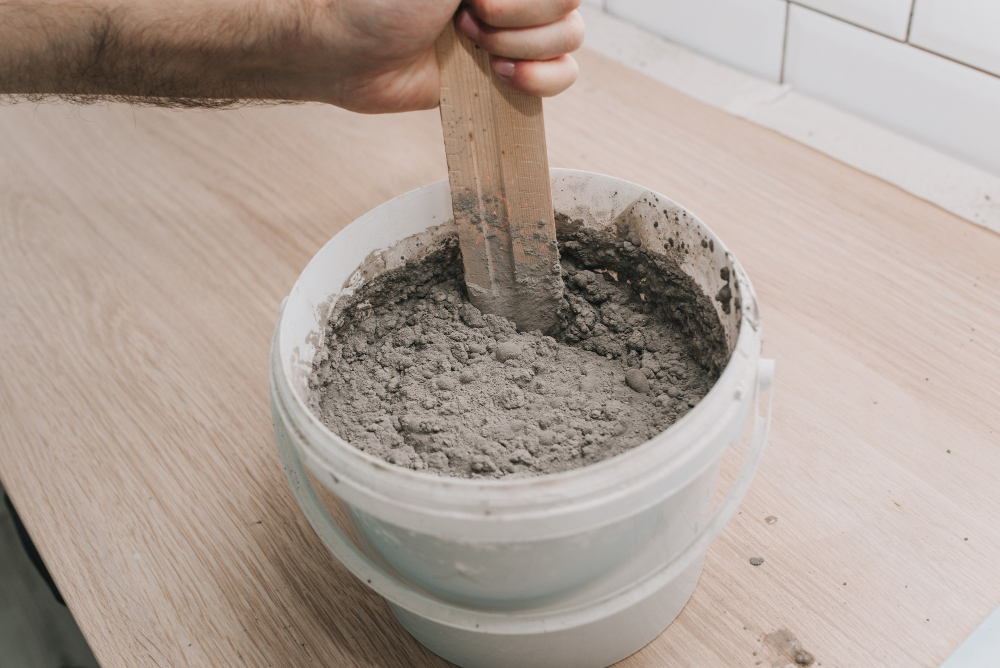
Regrouting is a cost-effective way to restore the appearance of your kitchen floor while also protecting it from further damage. It involves carefully removing the old grout using specialized tools before applying new, fresh layers of high-quality material.
While regrouting may seem like a simple task that you can do yourself over a weekend, it’s important to understand that this project requires some level of expertise and experience for best results. If done incorrectly or without proper preparation, regrouting could lead to more significant problems down the line.
Signs Your Kitchen Floor Needs Regrouting
These spaces can allow water to seep through and cause damage to the subfloor, which can be costly to repair. Another sign is discoloration or staining on the grout lines, which indicates mold growth and a need for deep cleaning.
If you feel like your kitchen floor looks dull and dirty even after thorough cleaning, it may be time for regrouting. Over time, dirt and debris accumulate in grout lines making them look dingy.
Lastly, if you see any loose tiles on your kitchen floor or hear hollow sounds when walking over certain areas of it – this could indicate that there’s an issue with adhesion caused by deteriorating grout underneath those tiles.
Factors Affecting Regrouting Costs

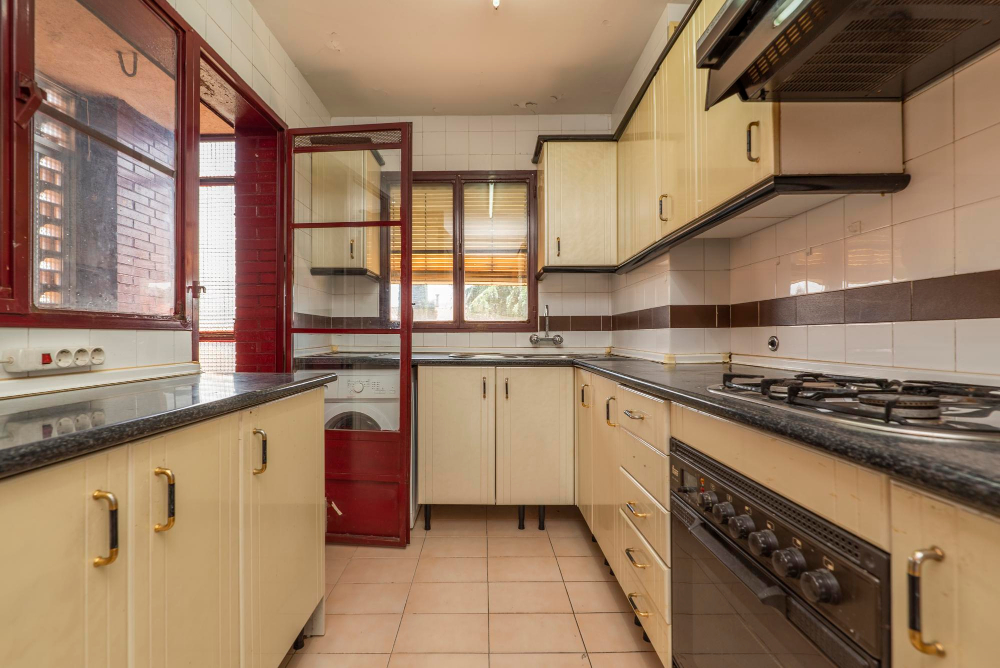
The size of your kitchen floor is one significant factor that affects the overall cost. A larger area will require more grout, which means higher material costs and longer labor hours.
Another factor to consider is the complexity of your tiling design. Intricate patterns or designs may require more time and effort to remove old grout and apply new ones, resulting in higher labor costs.
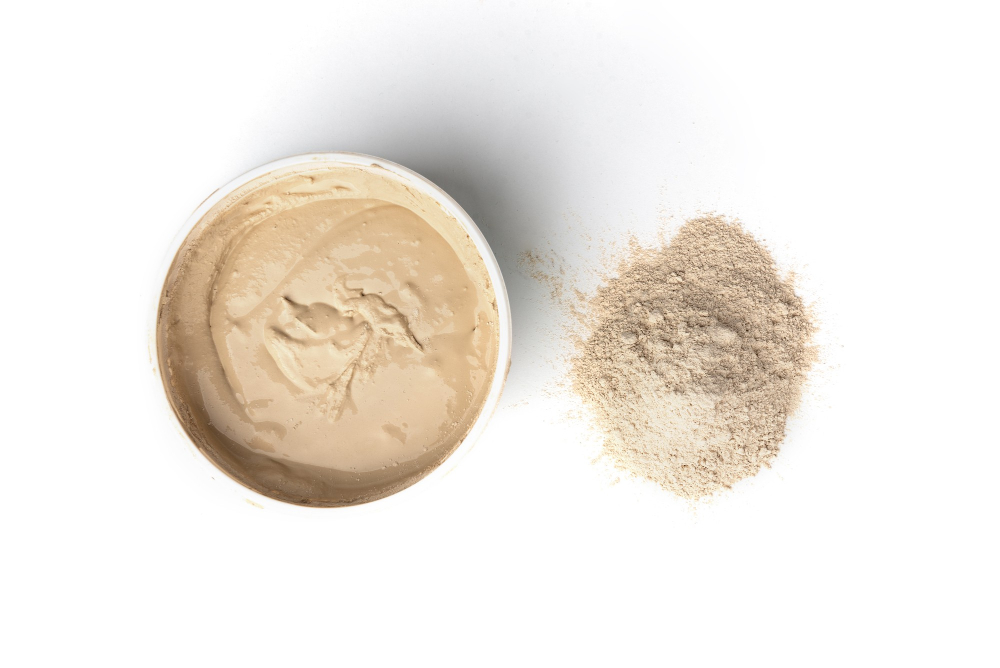
The type and quality of grout you choose also play a role in determining the total expense for regrouting. Epoxy-based or high-quality cementitious grouts tend to be pricier than standard options but offer better durability over time.
Material costs are another consideration when budgeting for regrouting expenses since different types of tiles may need specific types or colors of grouts that come at varying prices per square foot.
Size of Kitchen Floor
The larger your kitchen, the more grout you’ll need to replace, and therefore, the higher your costs will be. Typically, contractors charge per square foot for regrouting services.
So if you have a large kitchen with extensive tiling work on both floors and walls, expect to pay more than someone with a smaller space.
However, it’s essential not only to consider how much area needs regrouting but also how many tiles are involved in this process. If there are fewer tiles on your floor or wall surface area than average kitchens due to an open-concept design or other reasons such as custom designs or patterns that require less tile coverage overall – then this could reduce costs significantly.
Tiling Complexity
If you have a simple square or rectangular tile pattern, it will be easier and quicker to remove old grout and apply new grout. However, if your kitchen floor has intricate designs or patterns with multiple angles and curves, it will require more time and effort to complete the job.
In general, the more complex your tiling design is, the higher labor costs you can expect for regrouting. This is because intricate designs require more precision workmanship to ensure that every crevice between tiles gets filled with fresh grout.
Grout Type and Quality
The type of grout you choose will depend on your budget, personal preference, and the condition of your flooring. There are three main types of grouts: cement-based, epoxy-based, and furan resin-based.
Cement-based grouts are the most common type used for residential kitchens because they’re affordable and easy to install. However, they tend to crack over time due to their porous nature.
Epoxy-based grouts offer better durability than cement ones but come at a higher price point. They’re resistant to stains and water damage but can be challenging to apply without professional help.
Furan resin is another option for high-traffic areas like commercial kitchens or industrial settings where chemical resistance is essential. It’s also expensive compared with other types but offers superior strength against harsh chemicals.
The quality of the chosen product also affects its longevity; cheaper options may save money in upfront costs but require more frequent maintenance or replacement down the line.
Material Costs for Regrouting

The type and quality of grout you choose will affect the price, as well as any additional materials needed for preparation or finishing.
The cost of grout can vary widely depending on factors such as brand, color, and material composition. Cement-based grouts tend to be less expensive than epoxy or urethane-based options but may not be suitable for all types of tile surfaces.
On average, homeowners can expect to pay between $0.50-$3 per square foot for standard cement-based grout materials. Epoxy and urethane options typically range from $3-$10 per square foot due to their increased durability and resistance to stains.
In addition to the actual grout material costs, other necessary supplies include cleaning solutions like vinegar or baking soda paste (for removing old residue), sealant products (to protect against future damage), sponges/towels/brushes (for application), gloves/masks/goggles (for safety during handling).
It’s important also that you consider purchasing extra tiles in case some break during removal/reinstallation process; this will add an additional expense but is worth it if it means avoiding delays caused by having insufficient replacement tiles on hand when needed.
Grout Cost By Type
The type of grout you choose will determine how much you’ll spend on materials. There are three main types of grouts: cement-based, epoxy-based, and premixed.
Cement-based grouts are the most common type used for residential flooring projects because they’re affordable and easy to work with. They come in sanded or unsanded varieties, depending on whether or not your tiles have small gaps between them.
Epoxy-based grouts are more expensive than cement-based ones but offer superior durability and resistance to stains and water damage. They’re ideal for high-traffic areas like kitchens where spills can occur frequently.
Premixed grouts come ready-to-use out of the container without requiring any mixing or preparation beforehand. While convenient, they tend to be pricier than other types due to their added convenience factor.
The cost per bag varies by brand but generally ranges from $10-$50 per 25-pound bag depending on the type chosen.
Grout Cost Per Square Foot

The amount of grout needed depends on the size of your kitchen floor and the spacing between tiles. On average, you can expect to pay around $1-$2 per square foot for grout material alone.
However, this price can vary depending on the type and quality of grout you choose.
For example, basic sanded cement-based grouts are typically less expensive than epoxy or urethane-based options that offer greater durability and resistance to stains and moisture damage.
It’s also worth noting that some contractors may charge a flat rate for labor instead of charging by square footage. In these cases, it’s essential to get a detailed estimate from your contractor before starting any work so that there are no surprises down the line.
Understanding how much it costs per square foot will help you determine if regrouting is within your budget or not.
Labor Costs for Regrouting

If you decide to go with a professional, expect to pay an hourly rate that ranges from $50-$100 per hour. The cost will depend on your location, experience level of the contractor, and how much work needs to be done.
If you’re considering doing it yourself, keep in mind that regrouting is not an easy task and requires some skill. You’ll need specialized tools like grout saws or oscillating multi-tools with grout removal blades which can add up in cost if they are not already available at home.
Removing old grout is time-consuming work that requires patience as well as physical effort; this alone could take several hours depending on how large your kitchen floor area is.
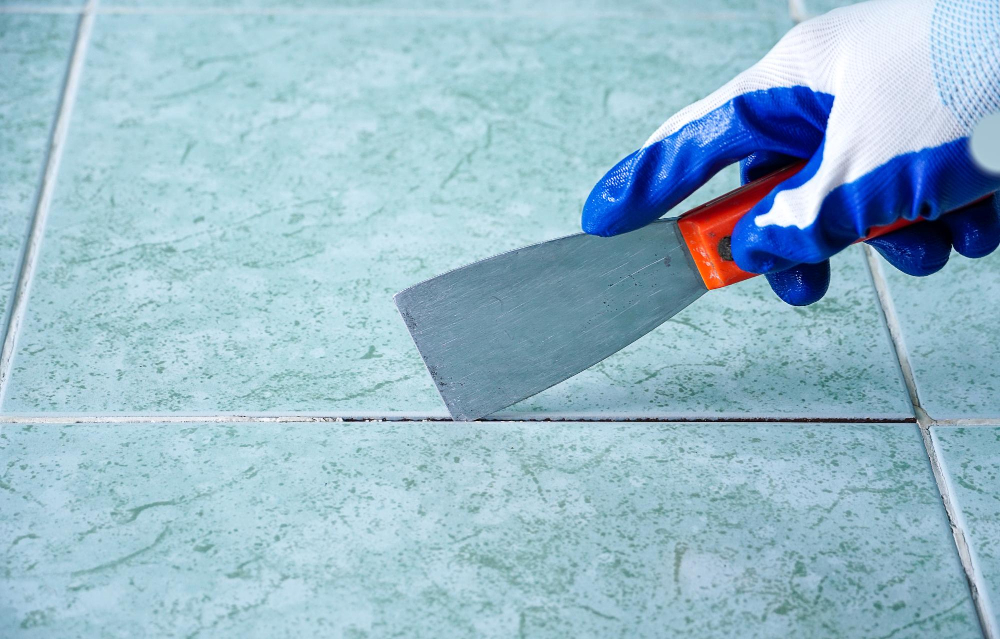
Removal of Old Grout
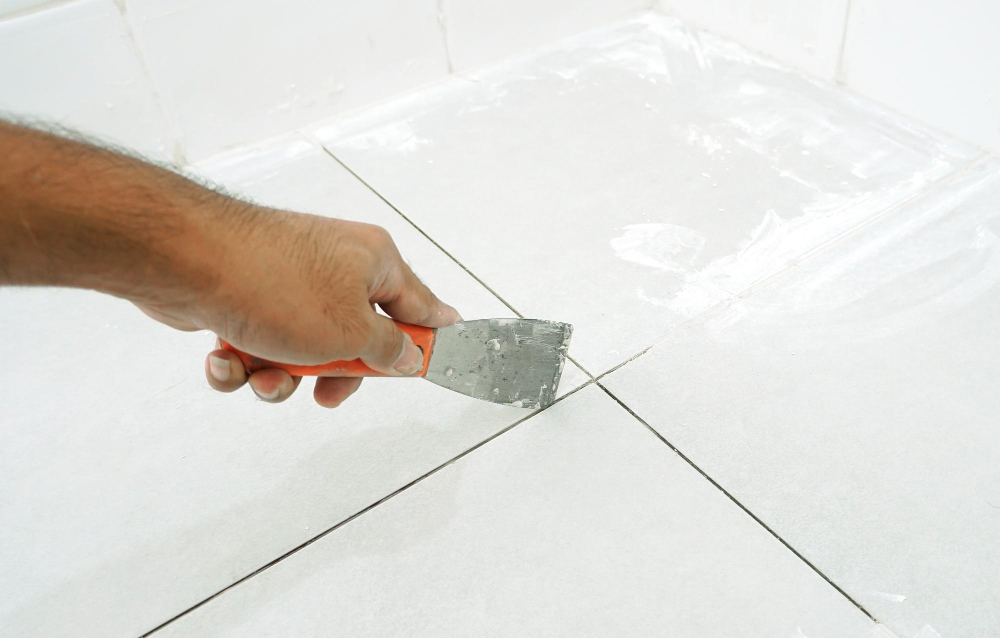
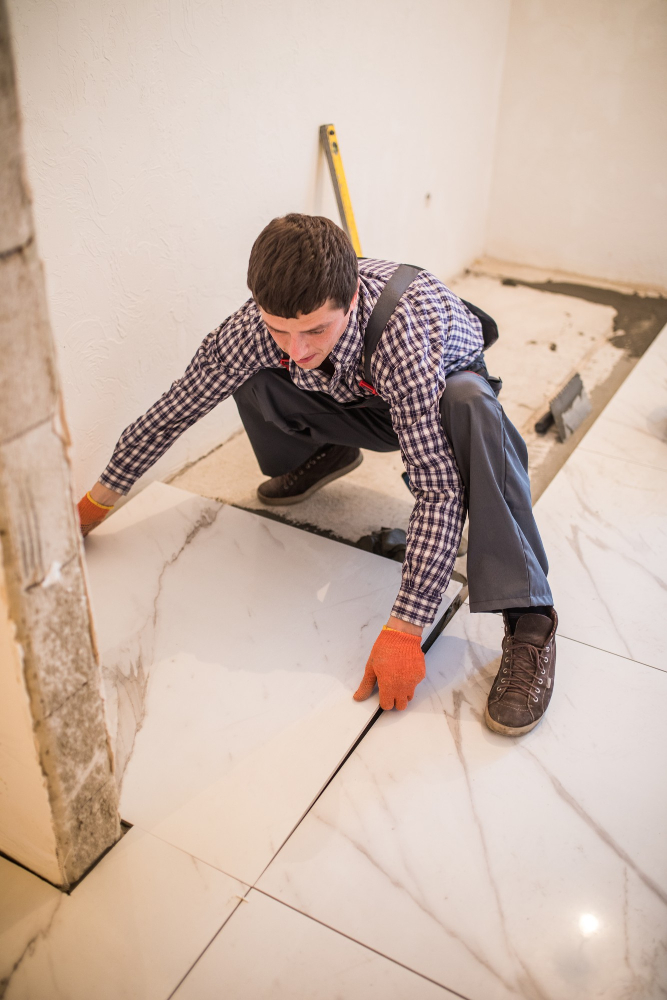
This process can be time-consuming and labor-intensive, but it’s essential for ensuring a clean and smooth surface for new grout application. The removal of old grout involves using specialized tools such as a rotary tool or a handheld scraper to scrape away the existing material between tiles carefully.
It’s important to note that if you’re not confident in your ability to remove old grout without damaging your tiles, it may be best to hire professional services. Professional tile contractors have experience with this task and can complete it quickly while minimizing damage risk.
If you decide on DIY removal of old grouts, ensure that all debris is removed from between each tile before applying new ones; otherwise, they won’t adhere correctly or look uneven once finished.
Preparation and Cleaning

This step ensures that the new grout adheres correctly and lasts longer. First, remove any loose or damaged tiles around the affected area using a chisel or scraper tool.
Then clean out all of the old grout from between each tile using a grout saw or rotary tool with a carbide blade.
Once you’ve removed all of the old grout, use warm water and soap to clean your kitchen floor thoroughly. You can also use vinegar mixed with water for tougher stains on ceramic tiles but avoid acidic cleaners if you have natural stone flooring as they can damage its surface.
After cleaning, let your kitchen floor dry completely before applying new grout. Any moisture left behind could cause mold growth under newly applied sealant leading to costly repairs in future.
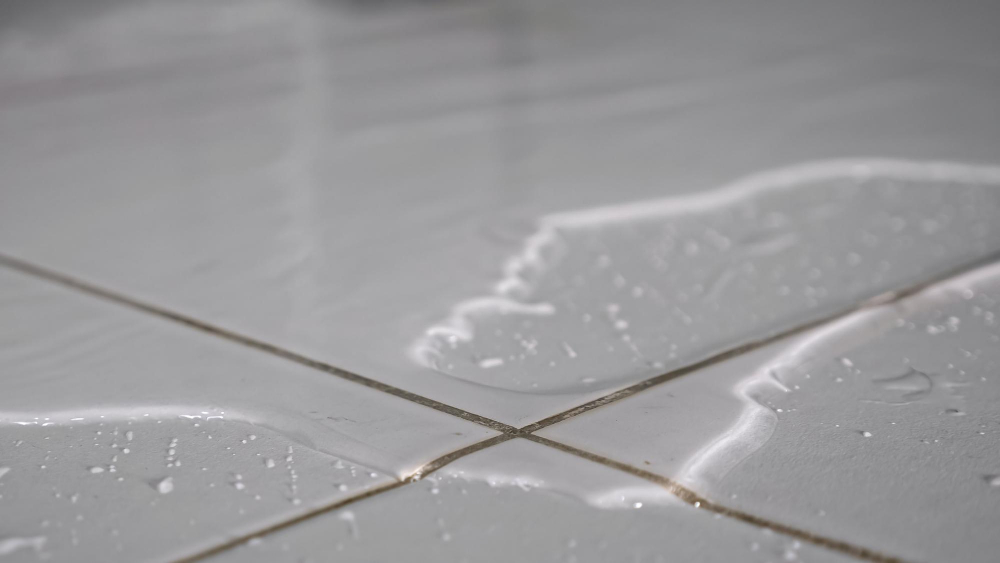
Sealant Application
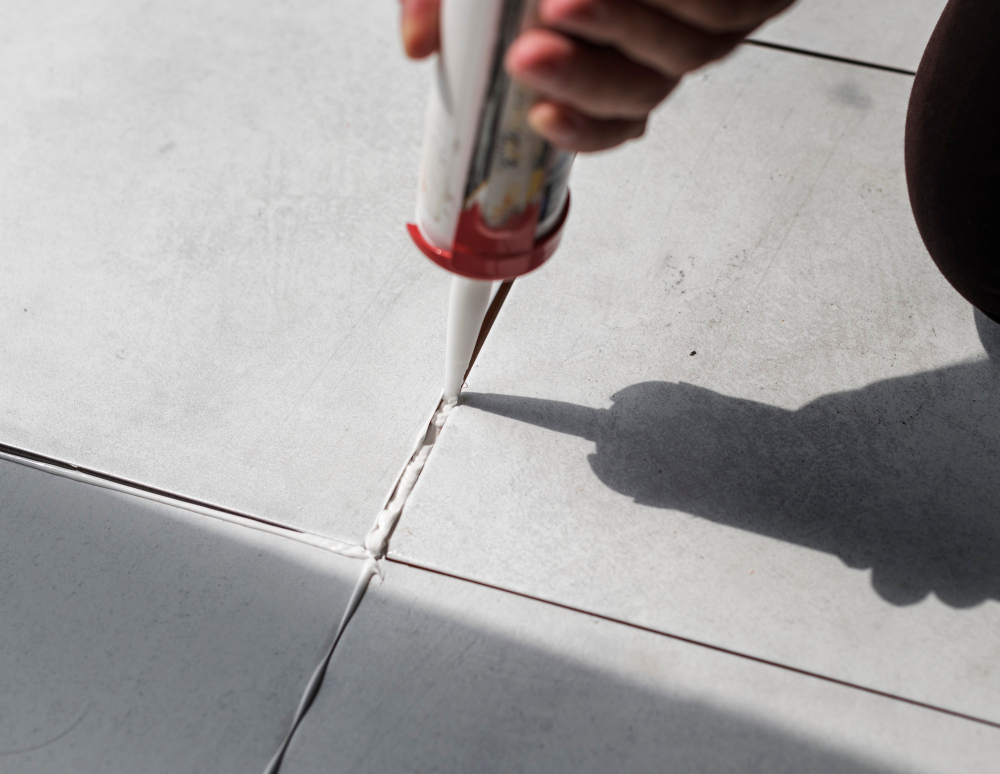
Sealant helps protect your kitchen floor from moisture and stains, which can cause damage over time. It also makes cleaning easier by preventing dirt and debris from getting trapped in the grout lines.
There are two types of sealants: penetrating and topical. Penetrating sealants soak into the grout pores to create a barrier against moisture, while topical ones sit on top of the surface like a coating.
Penetrating sealants are more effective because they provide long-lasting protection without altering the appearance of your tiles or grout color. Topical ones may change how your flooring looks but offer temporary protection that wears off quickly with foot traffic.
When applying a sealer, make sure you follow manufacturer instructions carefully for best results. Some products require multiple coats or drying times between applications before use.
DIY Vs. Professional Service

While DIY may seem like the cheaper option, there are some factors to consider before making a decision.
Firstly, if you’re not experienced in home improvement projects or don’t have the necessary tools and equipment for regrouting, attempting this task on your own could lead to costly mistakes and even damage to your flooring.
On the other hand, hiring a professional service can ensure that the job is done correctly and efficiently. They will also have access to high-quality materials that may not be available at local hardware stores.
Professionals can offer advice on how best to maintain your grout after installation so that it lasts longer without needing repairs again soon.
Ultimately whether you choose DIY or professional services depends on several factors such as budget constraints and personal preferences.
Tools and Equipment Needed

Some of the essential items you’ll need include:
1. Grout saw or oscillating tool: This tool helps remove old grout from between tiles.
2. Chisel or scraper: You can use this to scrape off any remaining grout after using a saw.
3. Vacuum cleaner: A vacuum cleaner will help clean up debris as you work, making it easier to see what needs cleaning.
4. Sponge and bucket of water: These are necessary for wiping down tiles before applying new grout.
5. Grouting float or trowel: Use these tools for spreading new grout over your kitchen floor evenly.
6. Rubber gloves, safety glasses, dust mask, knee pads – protective gear that keeps you safe while working on your project.
Having all these tools ready before starting regrouting ensures that everything goes smoothly without any hiccups along the way.
How to Save On Regrouting Costs

One option is to tackle the project yourself if you have experience with DIY home improvement projects. This will eliminate labor costs and allow you to purchase materials at a lower cost than hiring professionals.
Another way to save money is by choosing less expensive grout options or purchasing in bulk for larger areas. You can also opt for standard-sized tiles that require less cutting and installation time, which reduces labor expenses.
It’s important not to compromise quality when trying to cut down on costs, as this could lead to more significant problems down the line. Always choose high-quality grout that matches your tile type and invest in proper sealant application after regrouting.
How Long Does It Take to Regrout?
On average, it can take anywhere from one to three days for a professional service to complete the job. However, if you’re doing it yourself, expect to spend more time as you’ll need extra hours for preparation and cleaning.
If you have a small kitchen with simple tiles that require minimal grouting work or repairs, then regrouting may only take half a day or less. But if your flooring is large with intricate designs that require extensive removal of old grout before applying new ones or sealing them properly afterward – then be prepared for at least two full days.
It’s important not to rush through this process as proper preparation and application are crucial in ensuring long-lasting results. Rushing could lead to mistakes such as unevenly applied grout lines which will affect both appearance and durability over time.
Is Regrouting Worth It?

If you’re wondering whether regrouting your kitchen floor is worth the investment, the answer is a resounding yes. Regrouting not only improves the appearance of your flooring but also helps to prevent water damage and mold growth.
It’s an essential maintenance step that can extend the life of your tiles and save you money in costly repairs down the line.
Moreover, if you plan on selling your home in the future, having freshly grouted floors can increase its value and appeal to potential buyers. A clean-looking kitchen with well-maintained flooring will make a great first impression.
However, keep in mind that while regrouting may seem like an easy DIY project at first glance, it requires some skill and experience to do correctly.
Is It Cheaper to Regrout or Retile?
The answer depends on the extent of the damage and your budget. Regrouting is a cost-effective solution for minor tile repairs, but if there are major cracks or missing tiles, retiling might be necessary.
Retiling involves removing all existing tiles and replacing them with new ones. This process can be time-consuming and expensive since it requires more labor and materials than regrouting.
However, in some cases where extensive damage has occurred to the flooring surface itself (not just grout), retiling may actually end up being less expensive than trying to fix individual areas through regrouping.
On the other hand, if only a few tiles need replacement or repair due to cracking or chipping around edges then regrouping would likely suffice as an effective solution that will save you money compared with full-scale tiling work.
Maintenance Tips for Long-Lasting Grout

Here are some tips for maintaining long-lasting grout:
1. Clean regularly: Regular cleaning prevents dirt and debris from accumulating on the surface of your tiles and seeping into the grout lines.
2. Avoid harsh chemicals: Harsh chemicals can damage or discolor your grout over time, so opt for mild cleaners instead.
3. Sealant application: Applying a sealant after regrouting helps protect against moisture buildup and stains that could cause discoloration or mold growth.
4. Fix leaks promptly: Leaks can lead to water damage that weakens the integrity of your flooring, causing cracks in both tiles and grouts.
5. Use a soft-bristled brush when scrubbing: Scrubbing with hard bristles may scratch or chip away at delicate surfaces like tile glaze while also damaging any surrounding areas such as baseboards or walls near where they’re being cleaned.
By following these simple maintenance tips, you’ll be able to keep your newly-regrouted kitchen floor looking fresh for years!
FAQ
Is it cheaper to regrout or retile?
Regrouting is cheaper and faster than retiling, making it a more affordable option for bathroom flooring.
Can you put new grout over old grout?
Yes, you can apply new grout over old grout if you use a grout removal tool to strike out the old grout to a depth of at least 2mm.
Is regrouting expensive?
Regrouting cost ranges from $1.70 to $25 per square foot, depending on the extent of work needed, from basic cleanup to full professional removal and regrouting.
Is it worth it to regrout?
Yes, regrouting is worth it as it enhances the appearance of your floors, increases resistance to mould, prevents water damage, and prolongs the lifespan of the tiles.
How long does the regrouting process typically take for a kitchen floor?
The regrouting process typically takes around 24 to 48 hours for a kitchen floor.
What factors can influence the cost of regrouting a kitchen floor?
Factors influencing the cost of regrouting a kitchen floor include tile size, area coverage, grout type, labor rates, and site accessibility.
Are there any DIY options for regrouting, and if so, what tools and materials are needed?
DIY options for regrouting include using tools and materials like a grout remover, grout float, sponge, bucket, and new grout mixture.


